

artofcharly
-
Posts
255 -
Joined
-
Last visited
Content Type
Forums
Calendar
Gallery
Posts posted by artofcharly
-
-
On 12/3/2021 at 11:40 AM, Gorbatovsky said:
All Done.
Thank you very much! Will check now!
-
Please add real-time editing =) for Scale in SweptNGen and etc..
-
13 hours ago, Gorbatovsky said:
Thank.
Added TODO.Awesome! Thank you!
-
Done =) Thank you @Gorbatovsky
Waiting the improved SweptNGen =)

-
Just now, Gorbatovsky said:
How? =) Can you record a video? =)
-
8 minutes ago, Gorbatovsky said:
The bend radius of the spline is too small.
Hmm, but if I need this form? =) What I should do? How to change bend radius? I don't see this option in the tool.
I attached the scene -
Hi @Gorbatovsky
Tried to use SweptNGen for the main form + Swept for spiral... But still not working as needed=)
Video:
-
Hi @Gorbatovsky
Please improve this tool.
1) It will be awesome if we can extrude faces with this tool from Edges.
a) Manually.
Like in this video:
b) By Spline (Spiral and etc)
Video:
2) Create a graph for editing the extruded form
Like this:
Thank you and have a great day
Best regards,
Andrew.-
 2
2
-
-
Hi, @Gorbatovsky =)
It will be awesome if you will add something like this =) When we create a simple line and then can convert it to the Spiral.
Video with a demonstration of this function in Maya.
Because it’s easier to get the different shapes you want than to align a ready-made spiral along this curve.
But in the video, I showed the curles creation. And it will be awesome when we can create curls or spirals in 3d Coat like this =)
That's all
Thank you and have a great day
Best regards,
Andrew.-
1
-
-
3 hours ago, Gorbatovsky said:
Litle lesson.
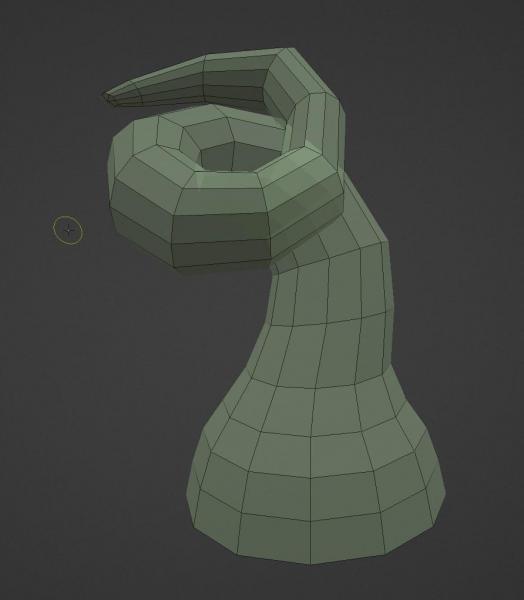
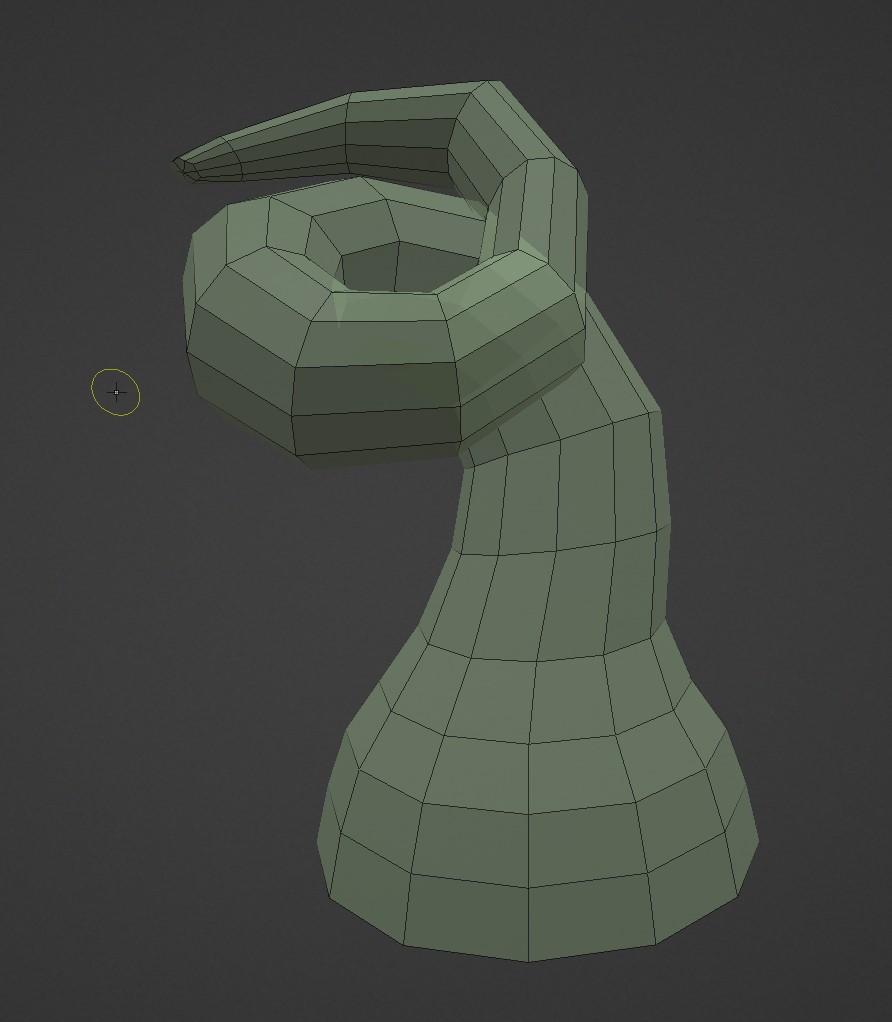
I tried to make a more simple spiral example in 3ds max with Loft =) The goal is to create the form, then control it with curves near the head.
This is inconvenient in 3ds Max. I would like to build a profile on the head, then one spiral and then control it all =)
To achieve something like this with good topology from Swept N GEn=)


Thank you.
-
-
2 hours ago, Gorbatovsky said:
Litle lesson.
Yeah. Excellent! But the question is different And if there is a spiral? I deliberately bent to just show this problem. OK. Now I'll prepare another scene = ) but first I'll check it myself. Thanks for the video.
-
8 minutes ago, sprayer said:
Maybe better to ask developer if it's possible.
alex.gorbatovsky@gmail.com
By the way you may also use single curve, change scale for points rotate them and use shapes from spline panel and when sculpt a bit with move tool. I am doubt what it's possible or will work well in 3dcoat because as i understand you want to make similar to nurbs

Yes, I already sent this topic to him =)
About curves in Sculpt mode. Yeah, I want to create a ready-made grid of quads and this allows ModelMode to be done along with Curves. If you sculpt, then you need to do a retopology later, and it's easier to get spirals with curves =) and in Nurbs. As I said, I showed simple shapes. And ideally - I want to learn how to make complex =) But for this - I need to deal with simple ones =) -
The main task is to create the surfaces for this plugin =)
Then I convert them to guides and then create a hair =)
But I dived into grooming so much that I have not practiced modeling for a long time =) Because now modelers give me this forms on my main work =) But it is still sometimes needed for my own projects - for such tasks. And I liked that 3D-Coat lets you create complex shapes using curves - much easier than I did in Maya or 3ds Max. While I'm showing simple examples to deal with them, and then I'll start trying to create complex shapes =) -
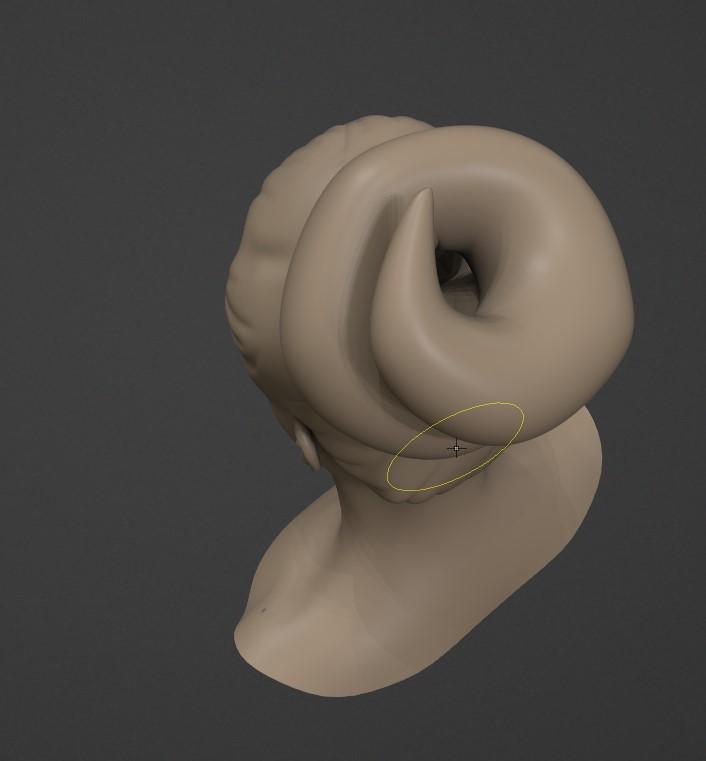
@sprayer
So, I think I need more curves =) Because with them easier to control the whole form.
Here is a video with a simple example, what I need(scene attached)
As you can see, when I used SurfaceSwept and only one curve - I didn't get the needed result...
Thank you and have a great day
Best regards,
Andrew.
-
1 hour ago, sprayer said:
But why do you need more paths than one? Your example can be made with only one path and profile

I'm not sure =) That is I created this topic to find help =))
So, as I understand, I should create the main profile with vertex shaping to the head.
Then Create the spiral spline and then control "roots" vertices with the main profile + snapping. Right?
And for all of this, I need a "Swept along guide tool". Right?
Ok, will try It and let you know. Maybe one curve will be enough. =)
Thank you and have a great day
Best regards,
Andrew.
-
18 hours ago, L'Ancien Regime said:14 hours ago, L'Ancien Regime said:
Typically you have your guides ( the ellipses) and then you have the (in your case spiral) rails. Then you shoot the guides along the rails
In your example video the the ellipse guides are fine but the spiral rails start out anchored to the first profile ellipse edge but then the two rail lines merge together part way through and the single remaining rail line devolves to the center point of the target profile not touching the target profile ellipse edge line at all.
That certainly wouldn't work in any NURBS modeler like MOI3D nor in Maya poligonal modeling either. The guide rails should both touch the target ellipse profile line not its center point and should not merge halfway through, otherwise, what is the point of the second ellipse?
I'd try that with just one rail between the ellipses for starters. A second one may be superfluous

Hi, L'Ancien
Thank you for this detailed answer. Ok. I will try =)
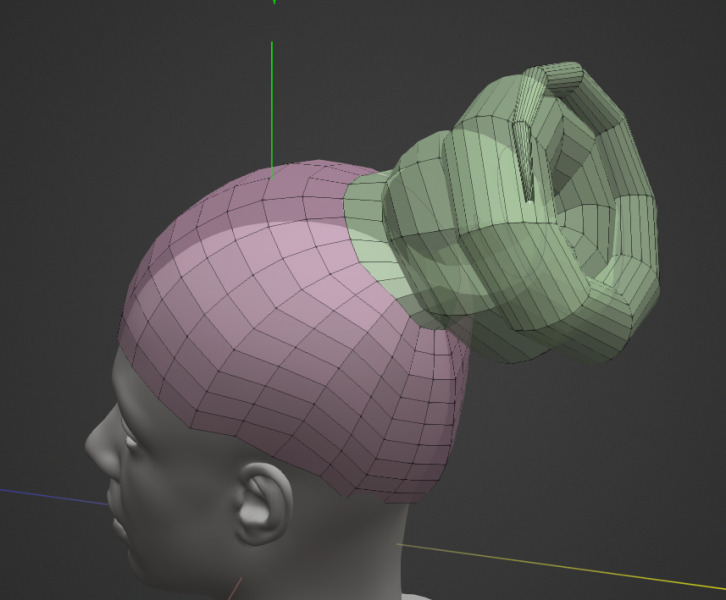
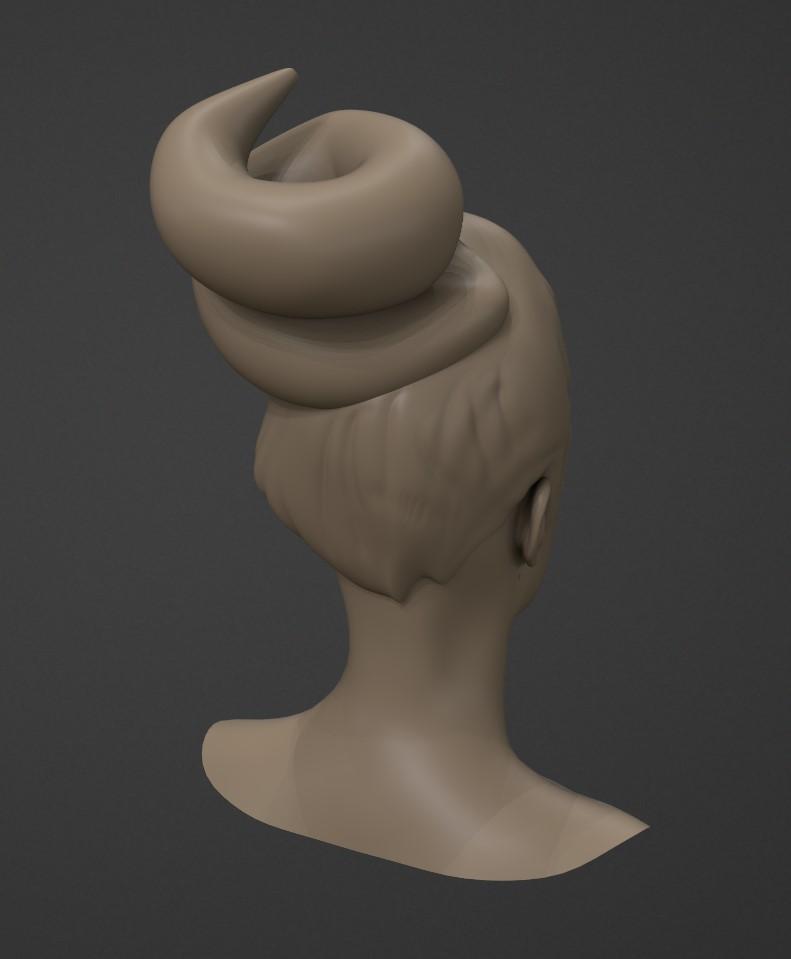
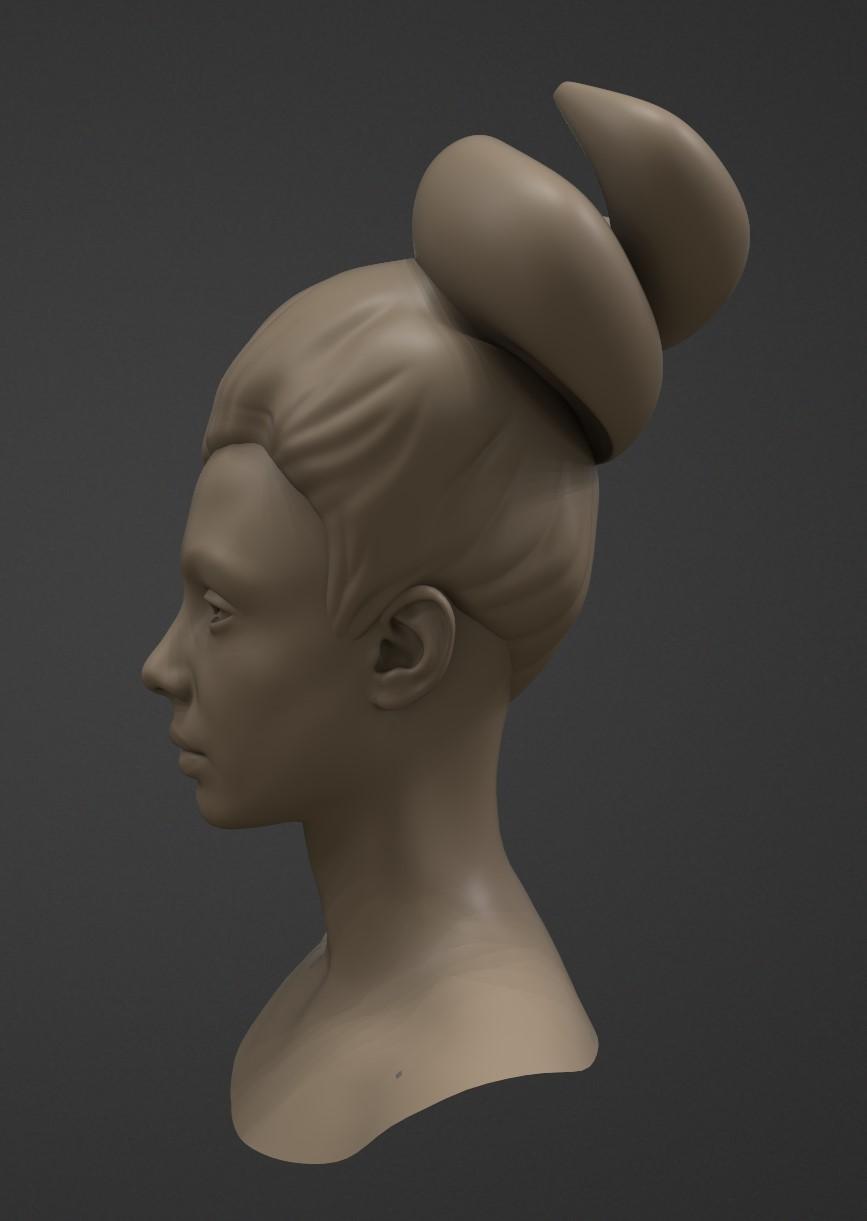
I tried to use more, that one curve - because the main goal is to create the base form for my hairstyles. For example, I want to create a hat like this =)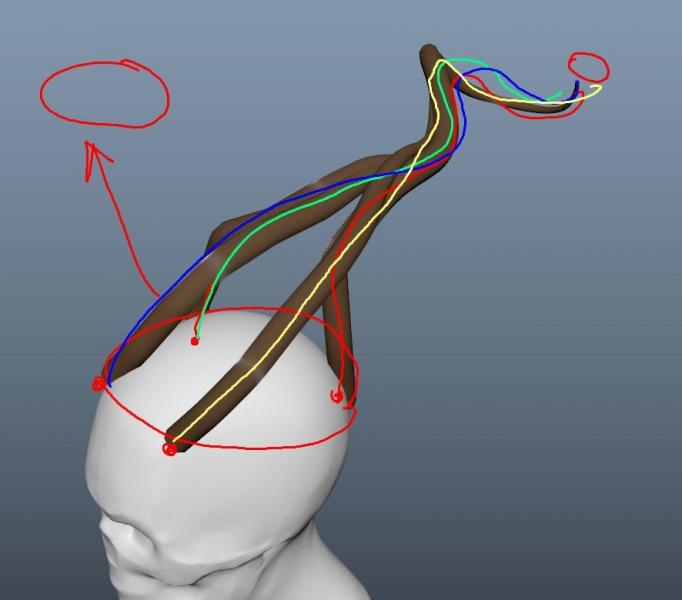
But with a more spiral and complex form.
Then want to control these curves by snapping to head near roots.So I think - I need more than one curve - to control the whole form. But still not understand, how to use them.. =) with Swept N Gen
17 hours ago, sprayer said:Check this videos
Hi, Sprayer
Thank you for this, but I saw these videos and in them, he used a simple form... Not spirals and etc.. I can create these forms too. There is no problem with this. -
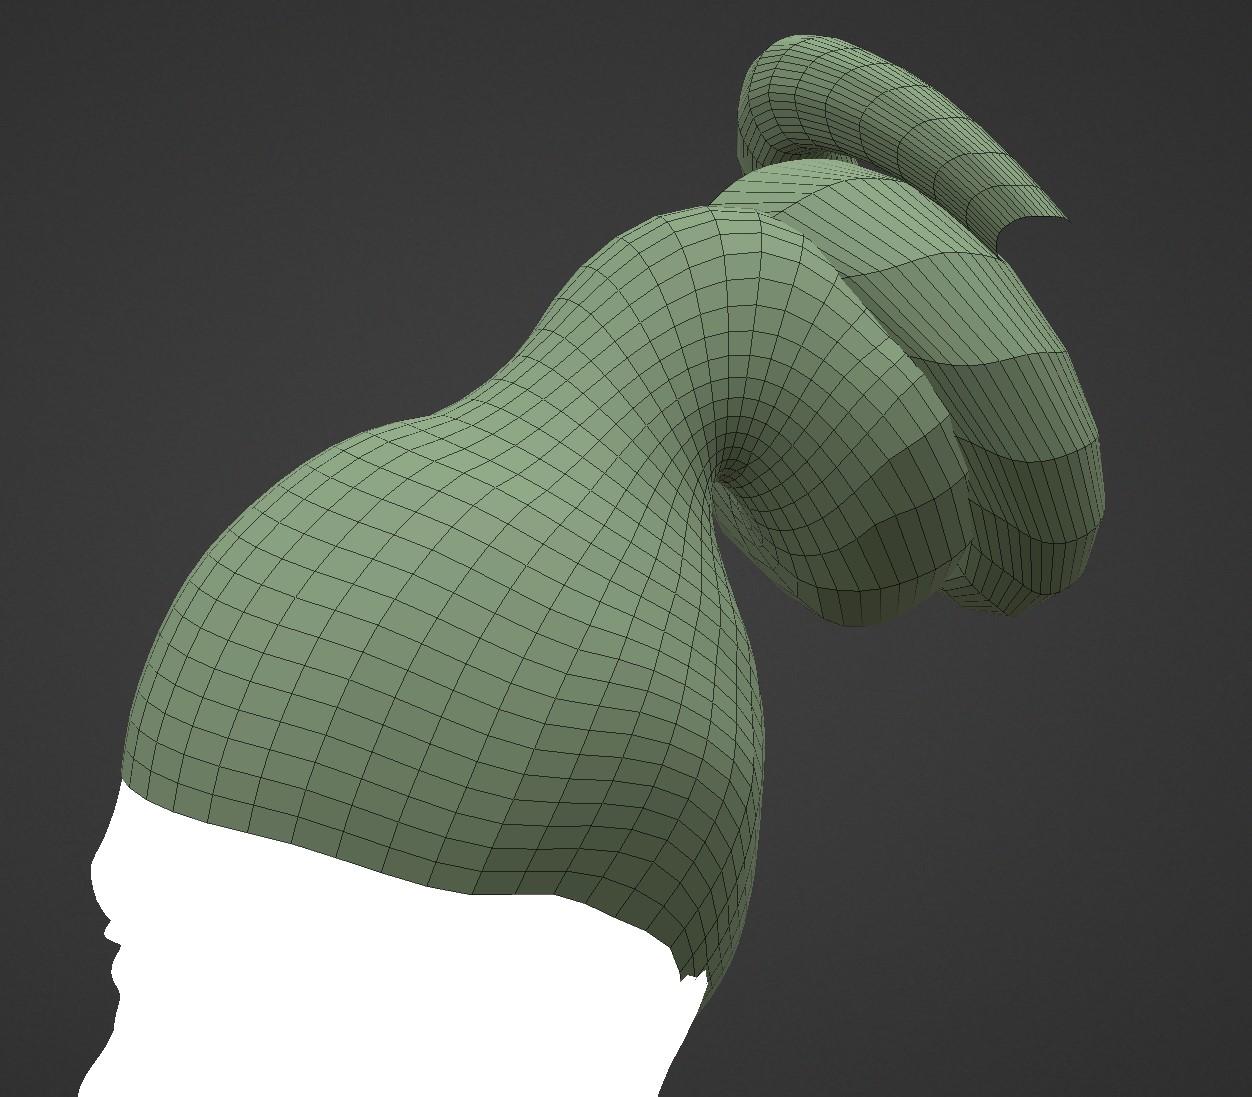
Hi, dear developers and 3D-Coat users.
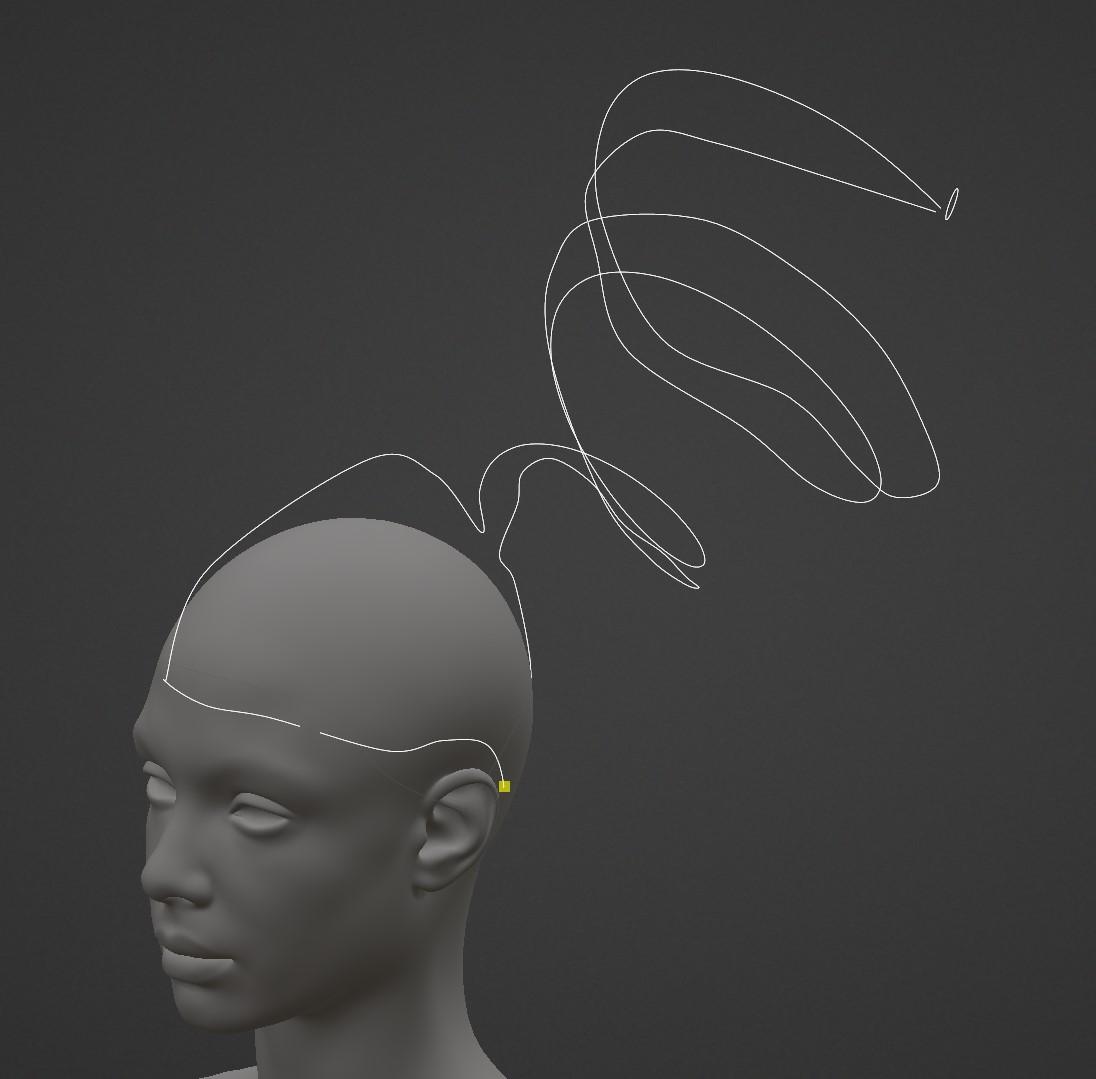
Decided to create this topic for different workflow questions =)I want to improve my skills in Curve modeling in 3D-Coat, but still do not understand a few things =) Hope you can help me =)
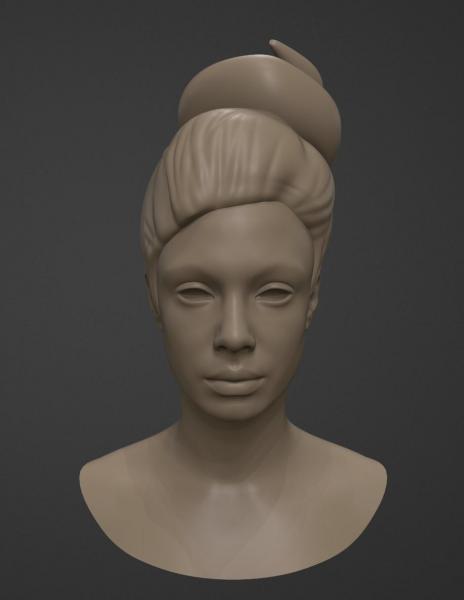
So, I want to model something like this, but with curves =) Because want to understand their logic.
I created these curves.
And as I understand - I should use Swept N Gen. Right?
But it doesn't work... What I'm doing wrong?
Video with the process:
The main goal is to create curves that I can change every time and make different surfaces like this.
Thank you and have a great day
Best regards,
Andrew.-
 1
1
-
-
5 hours ago, Yousung said:
1. Break the parent-child relationship first
(I don't know why, but it doesn't work for parent-child relationships.)
2. Point selection takes two curves together.
3. Let's connect two points using 'Joint Point'
(At this time, they are connected by one curve.)
4. Use 'Collapse 2 point' to clean it up.AWESOME! Thank you!
-
On 7/14/2021 at 8:47 PM, Andrew Shpagin said:
Huge thanks to everyone for participation! I started the thread dedicated to 2021 development. I posted the newest build there.
https://3dcoat.com/forum/index.php?/topic/25785-3dcoat-2021-development-thread/
Thank you for this awesome software!
-
1
-
-
Hi, dear developers and 3D-Coat users.
Can you help me?
I created 2 curve layers with different curves and now want to connect their points to make one main curve =) But I don't understand how to do that =)
Video with an issue:
Thank you and have a great day
Best regards,
Andrew. -
Sorry, forgot to send this topic here =) Done =)
-
Hi, dear 3D-Coat Developers. Hope you will improve this soon.
In Maya we can Blur colors with no restrictions. These masks are very important in creating a smooth transition in the hair.
For example, here's a job I did recently.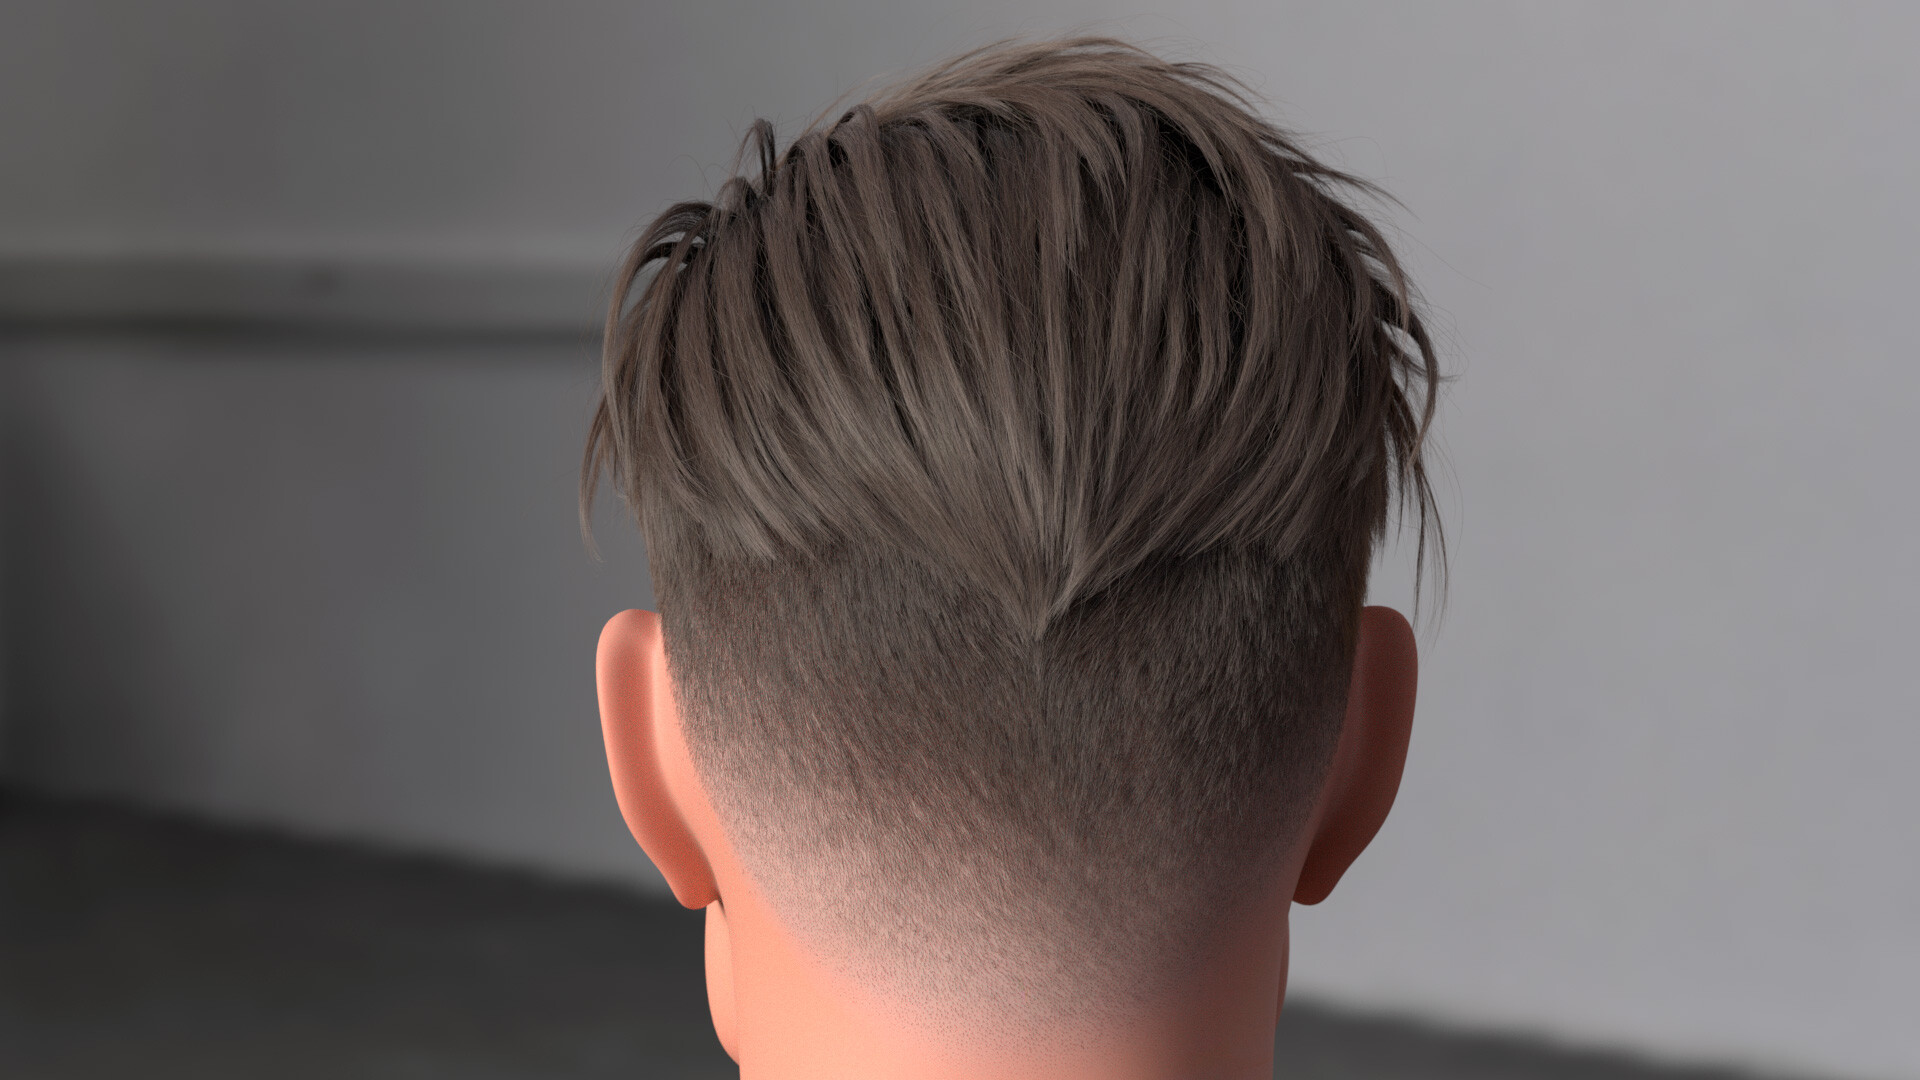
But in Maya it is still inconvenient to do it. All the drawing tools that we have in 3D-Coat - I like more and I want to continue to promote them in my lessons. But only one thing stops me =)Limited Blur ... It does not completely blur the border between colors.
This is how it looks in Maya.
If more examples are needed, I'll record them =) But all the advice that you gave here on the forum does not help. We just need to improve the Blur brush or create a new one. And I'm sure I'm not the only one who needs this feature ....
Thank you and have a great day
Best regards,
Andrew.-
4
-
-
On 6/25/2021 at 12:52 PM, Carlosan said:
Ok. I will do this =)
-
1
-


[Solved] Spine Tool improvements
in Feature requests
Posted · Edited by artofcharly
@Gorbatovsky
Все- же не Done =) Потому что я хотел, чтобы именно Spine Tool работал с Edges. Мне нравится, что мы видим Spline и его точки и можем сразу же влиять на Scale в этой точке с помощью средней кнопки мыши и сразу же выдавливать, редактировать точки, менять их положение. Это возможно с Edges?
Ты добавил выдавливание Edges с помощью Smart Extrude - но это не так удобно.
Также хотелось бы просто выдавить Edges по сплайну - просто выбрать их, выбрать сплайн и нажать Enter - готово. Сейчас это тоже не очень удобно. Сначала мы берем выделяем Edges, затем конвертируем это выделение в кривые(лищнее действие), а уже потом выбираем сплайн и выдавливаем. Не удобно.
Graph работает - done =)
Благодарю. Буду ждать улучшений именно Spine Tool. Потому что он кажется мне очень удобным.
---
ENG
Still not Done =) Because I wanted to make the Spine Tool work with Edges.
I like that we see the Spline and its points and can immediately influence the Scale at that point with the middle mouse button and immediately extrude, edit the points, change their position. Is this possible with Edges?
You've added extruding Edges with Smart Extrude - but that's not as handy.
I would also like to just extrude Edges on the spline - just select them, select the spline and press Enter - done. Right now, that's not very convenient either. First we select Edges, then convert that selection to curves (extra action), and then select spline and extrude. It's not very convenient.
Graph works - done =)
Thank you. I'll be waiting for improvements to the Spine Tool. Because I find it very handy.