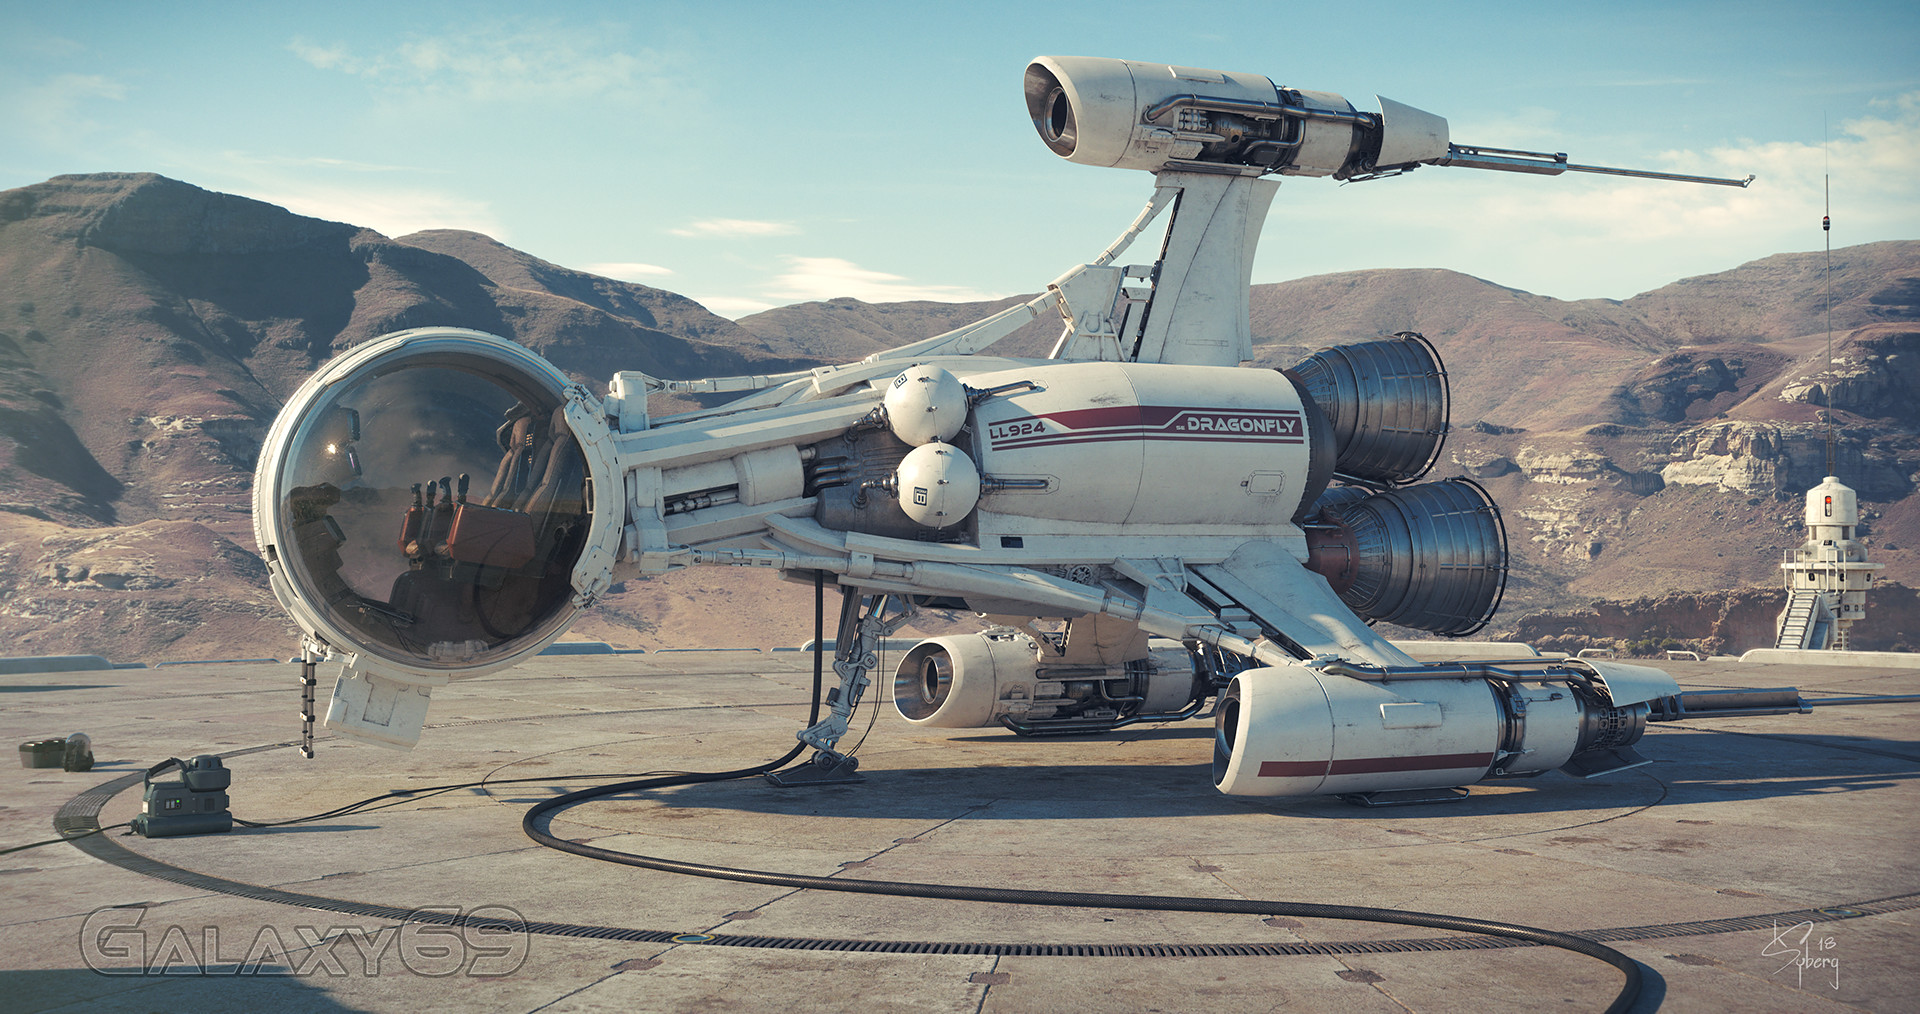
About the main properties of 3DCoat (Image by Kim Syberg)
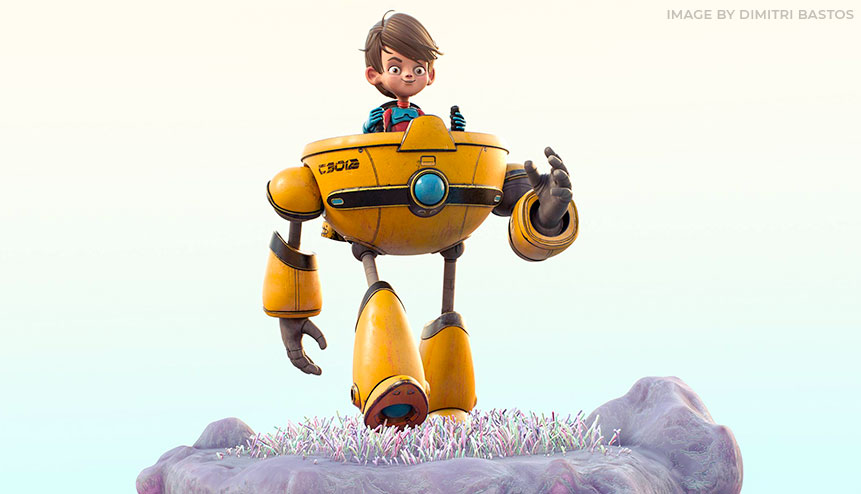
An introduction to 3DCoat(Image by Dimitry Bastos)
Viewport & Customization(Image by W.Murphy)
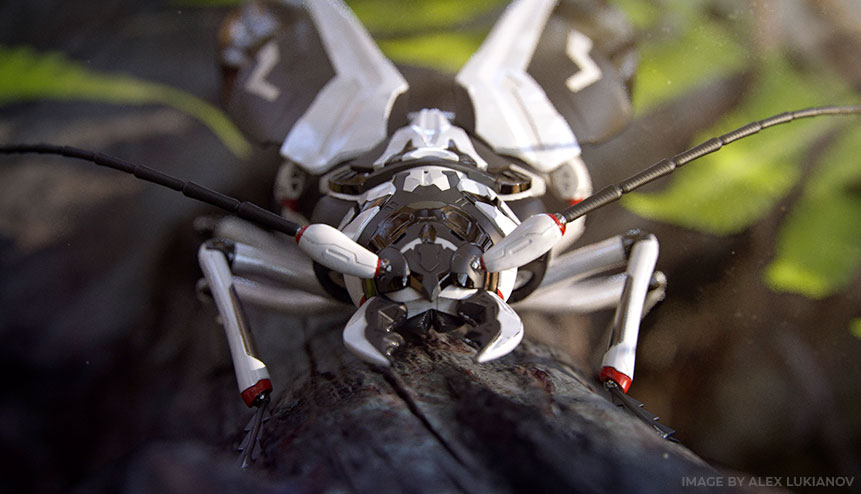
Brush Interface(Image by Alex Lukianov)
Workspace Structure(Image by Sangtaek Woo)
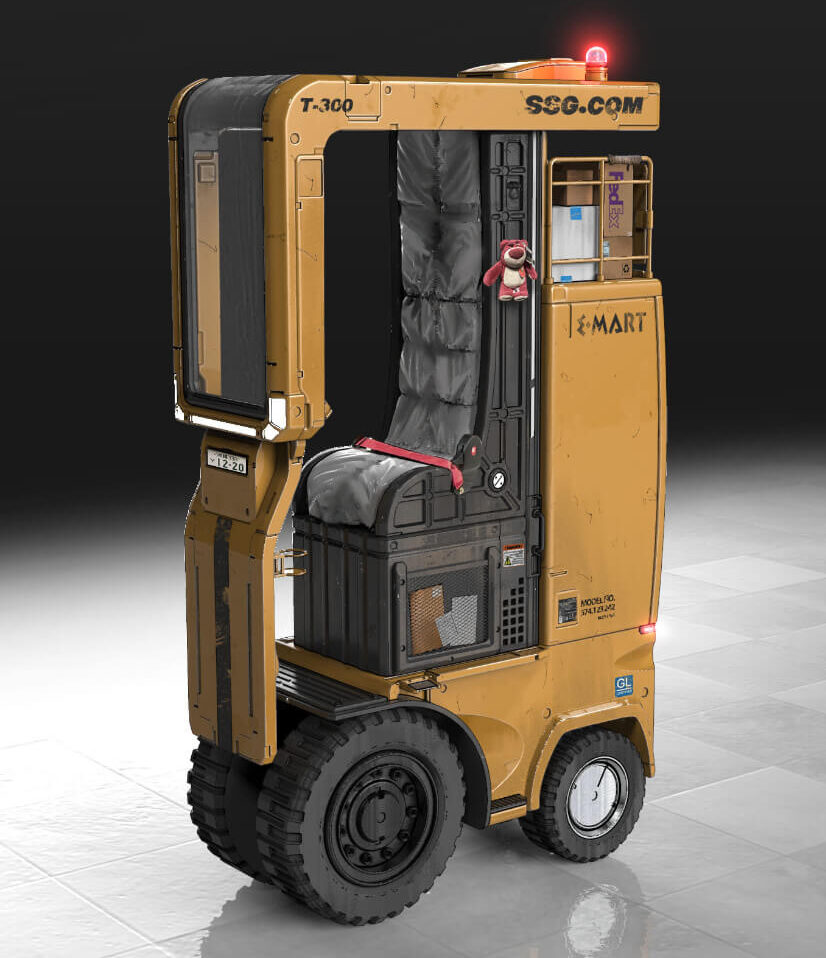
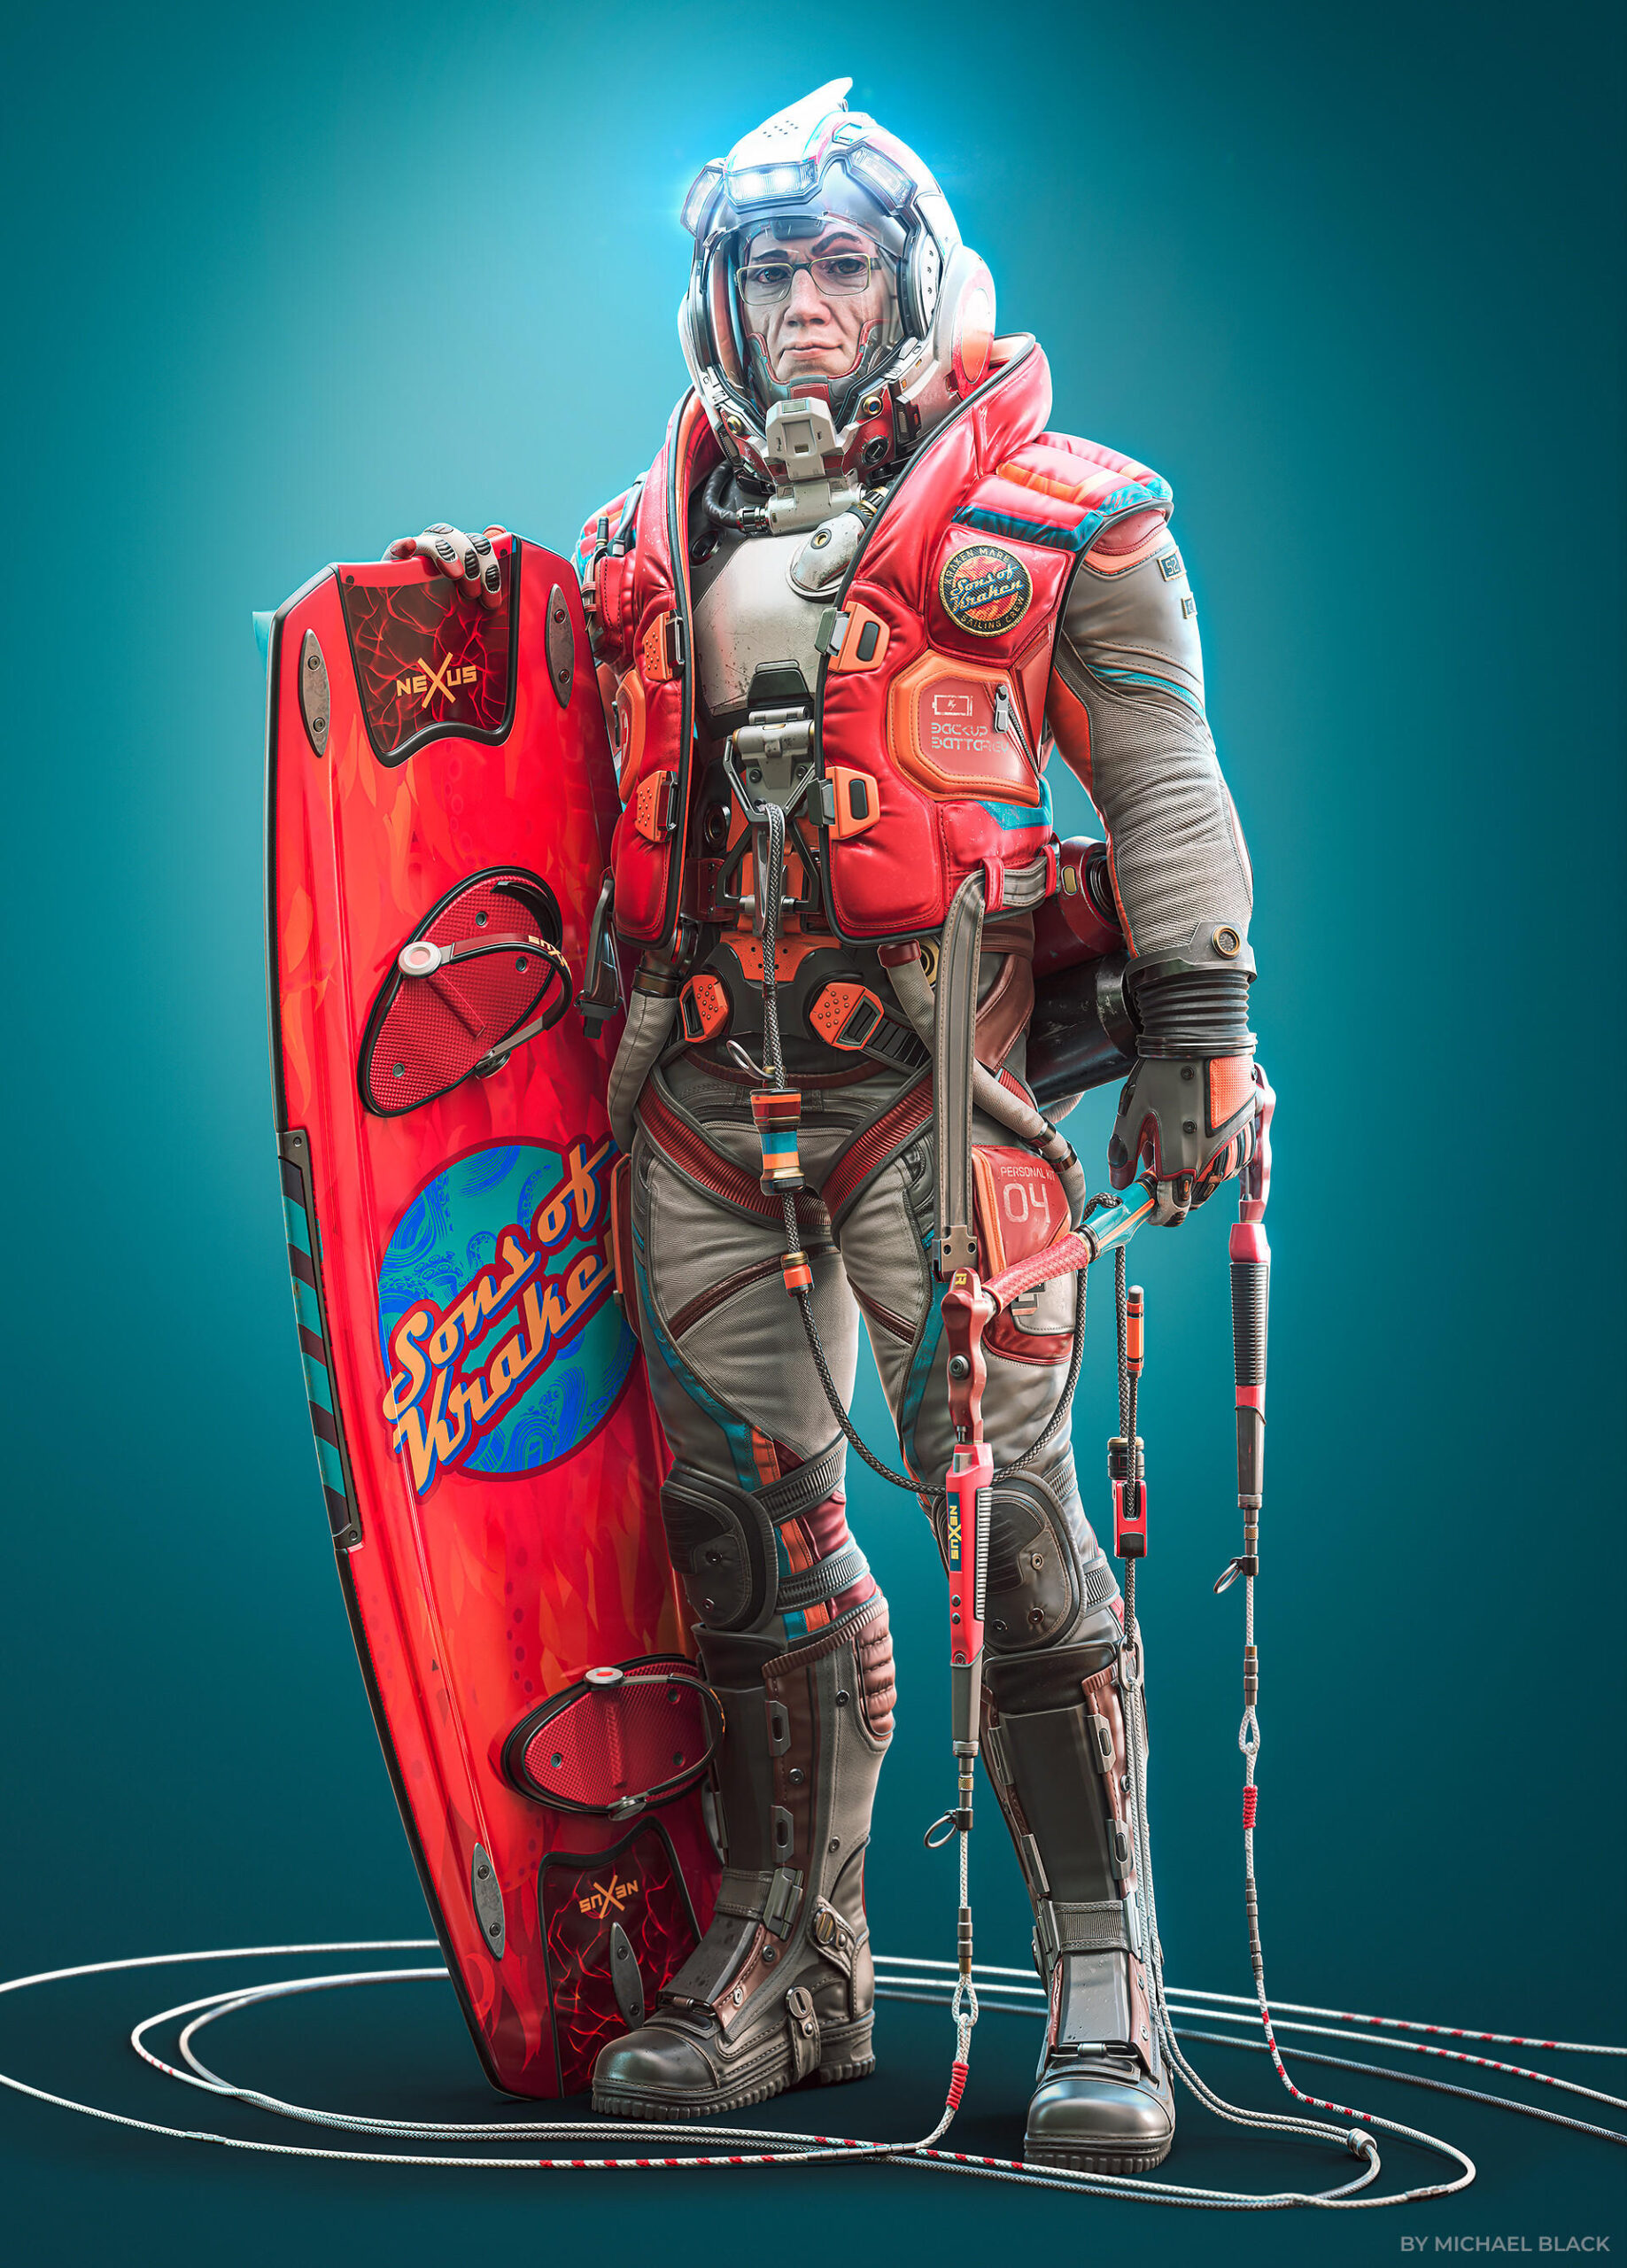
Create New Commands(Image by Michael Black)
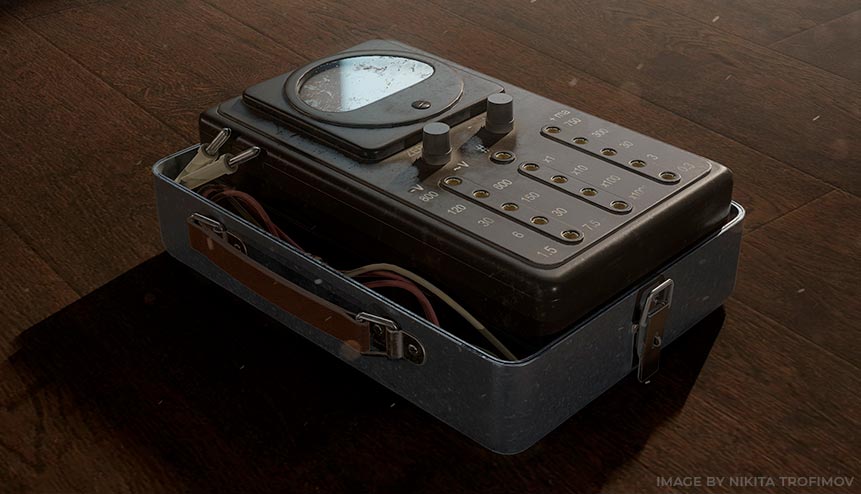
(Image by Nikita Trofimov)
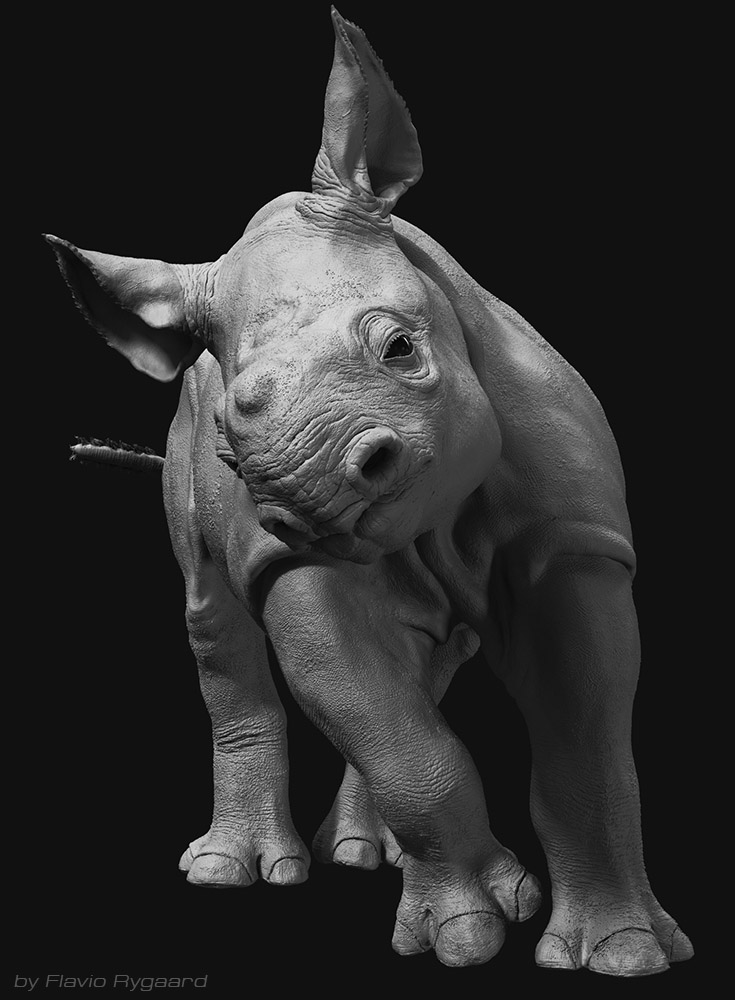
(Image by Flavio Rygaard )
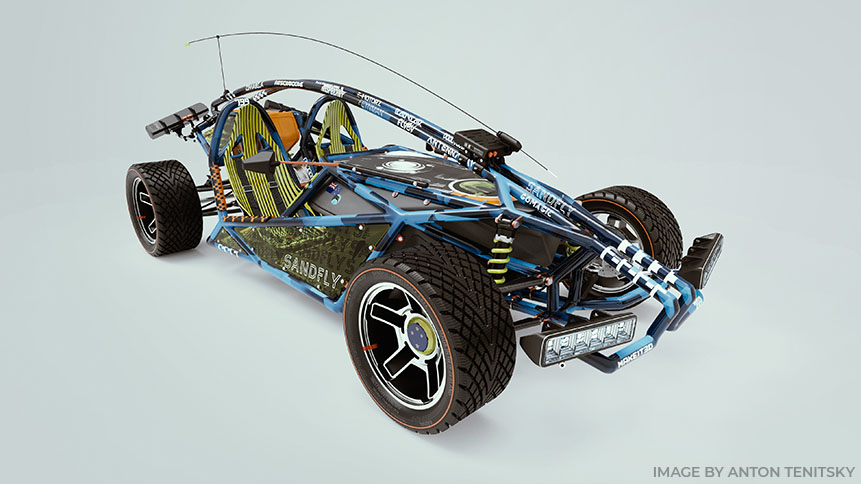
(Image by Anton Tenitsky)
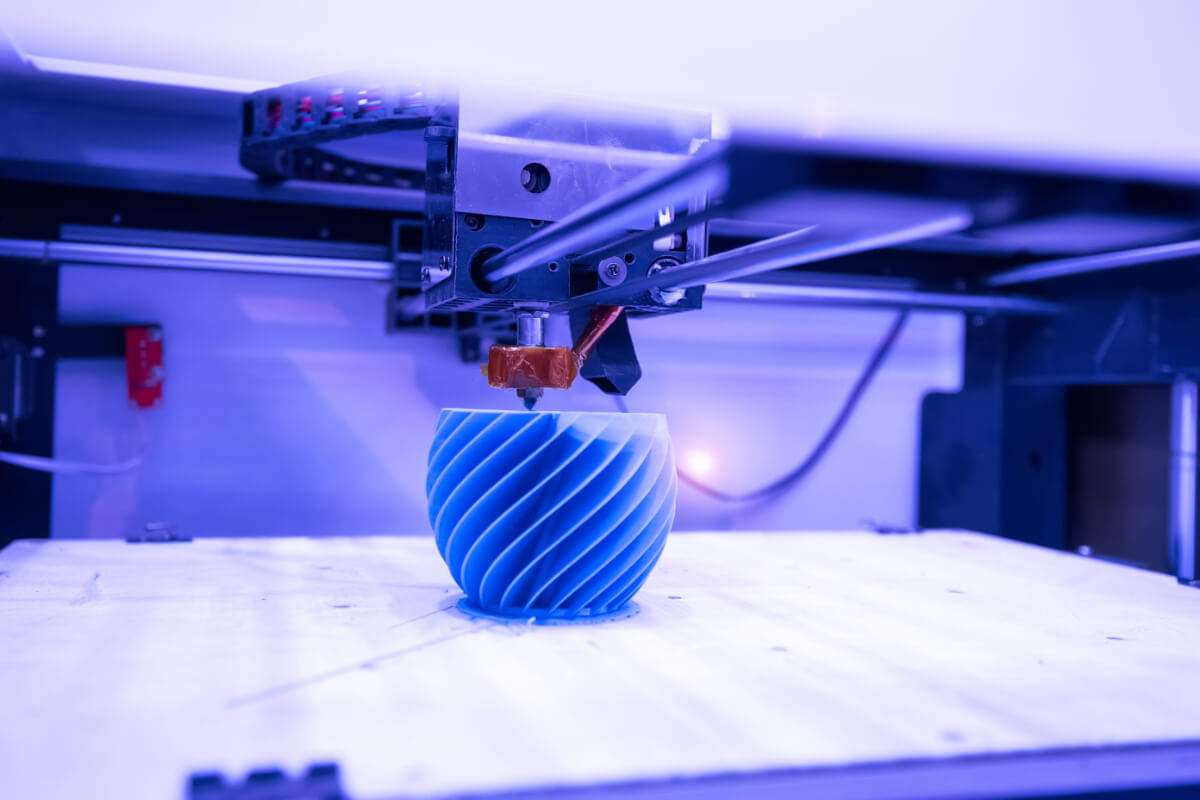
Compact free application with one primary goal – let you create your models for 3D-printing as easily as possible
 English
  Українська
 Español
 Deutsch
 Français
 日本語
日本語 Русский
 한국어
한국어 Polski
 中文 (中国)
 Português
 Italiano
 Suomi
Suomi Svenska
 中文 (台灣)
 Dansk
Dansk Slovenčina
 Türkçe
 Nederlands
 Magyar
 ไทย
ไทย हिन्दी
 Ελληνικά
 Tiếng Việt
 Lietuviškai
 Latviešu valoda
 Eesti
Eesti Čeština
 Română
 Norsk Bokmål