 Ελληνικά
  English
 Українська
 Español
 Deutsch
 Français
 日本語
日本語 Русский
 한국어
한국어 Polski
 中文 (中国)
 Português
 Italiano
 Suomi
Suomi Svenska
 中文 (台灣)
 Dansk
Dansk Slovenčina
 Türkçe
 Nederlands
 Magyar
 ไทย
ไทย हिन्दी
 Tiếng Việt
 Lietuviškai
 Latviešu valoda
 Eesti
Eesti Čeština
 Română
 Norsk Bokmål
Hi everyone.
Today we’re going to take a look at a new feature in 3DCoat: non-destructive texturing implemented through a nodebased workflow.
Non-destructive texturing gives us much more control over the entire texturing process, we can return to any element like color or any material property such as gloss, metaleness, and so on and adjust it at any stage.
For example, I can change the intensity of rust and instantly see the result in real time, or I can control dirt and tweak any of its parameters.
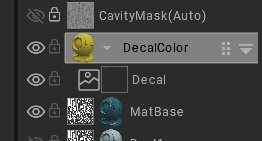
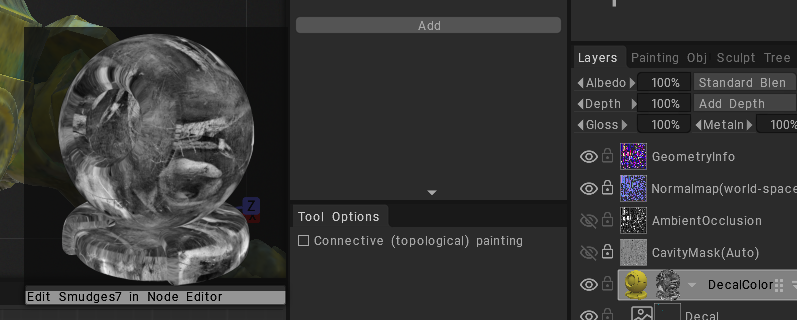
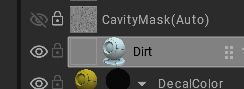
As you can see, new icons have appeared on the layers:
This one indicates a node material

And this one indicates a node mask
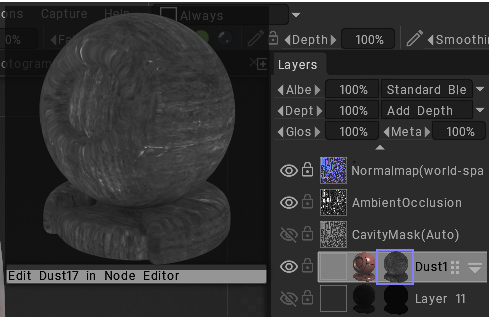
By switching between them, we can edit and fine-tune everything into Node Editor and Node Inspector Panels.
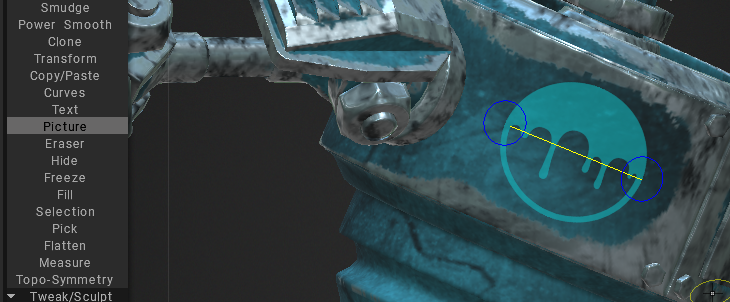
For example, we can adjust the dirt color or I can go into the base material and tweak the mask that controls the age-ear effect.

If needed, I can also manually paint over the cavity areas, and we can immediately see how it changes based on our baked maps.
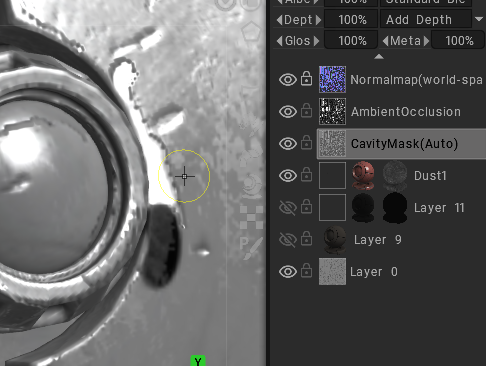
And as you can see, some elements are painted manually and the paint wear is also controlled through a non-destructive mask. At any moment I can modify any mask and adjust the look.
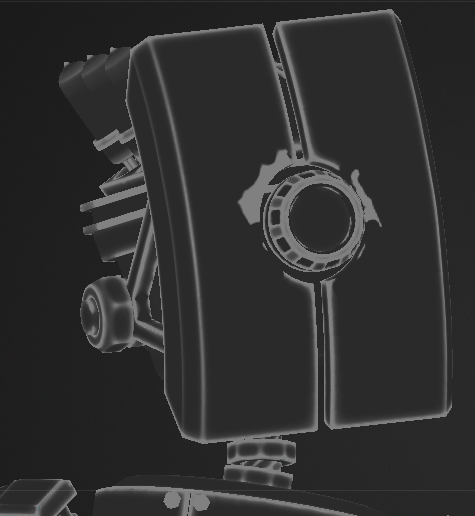
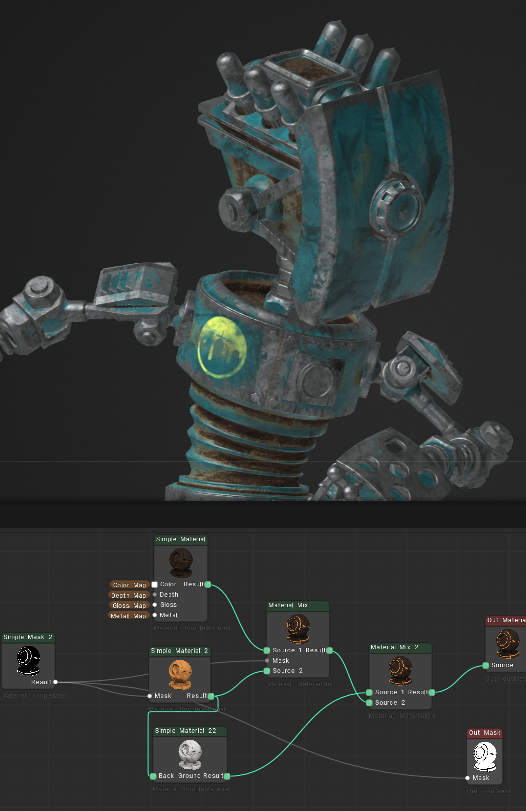
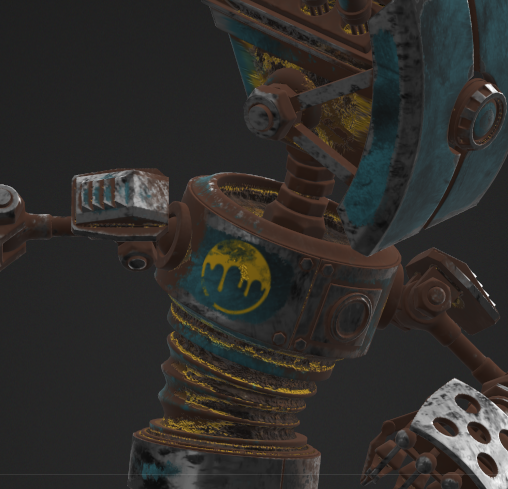
Now, let’s try texturing this robot from scratch, and along the way, we’ll see how the whole system works, what you need to know to start working with the node graph and why it’s actually not as complicated as it might seem at first.
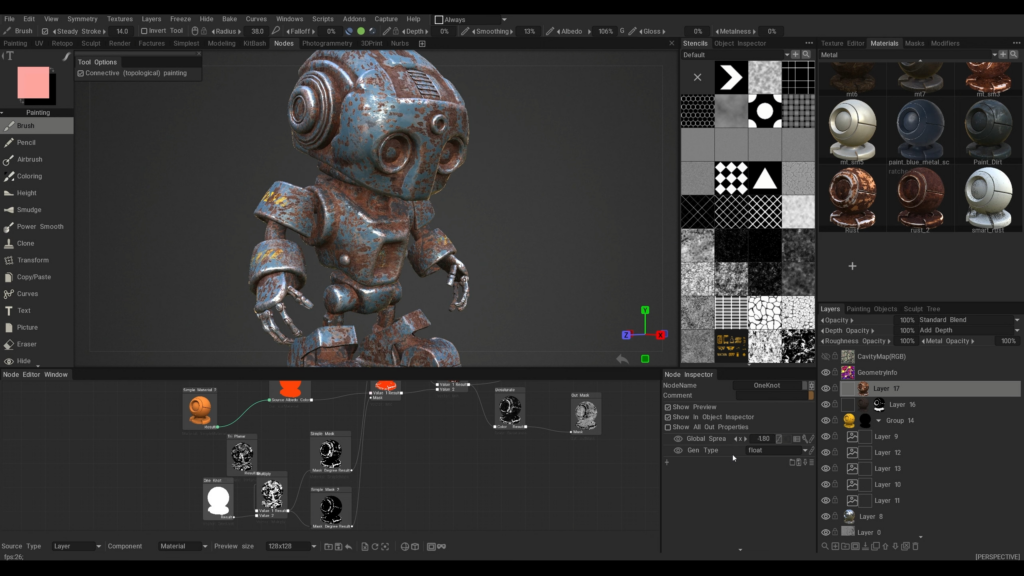
All right, we’ve loaded a new scene and as you can see, we now have a new workspace. Let’s switch to it.
Several new windows have appeared. So let’s quickly go through them.
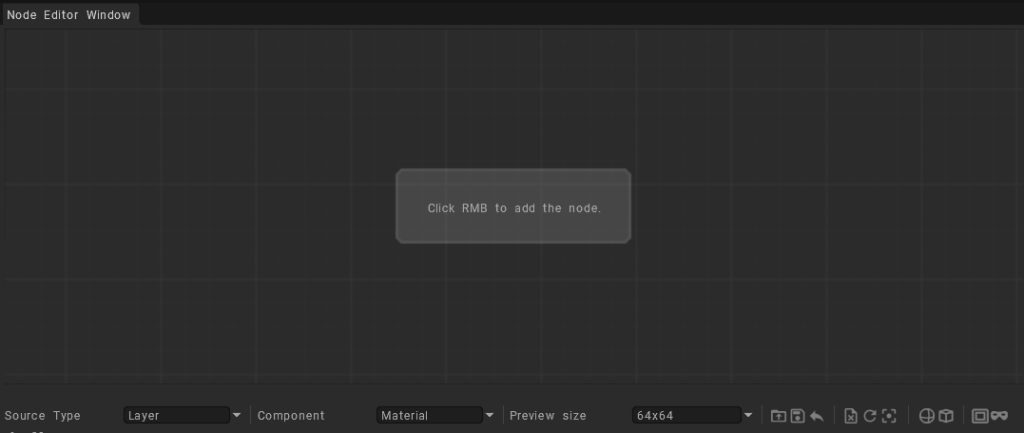
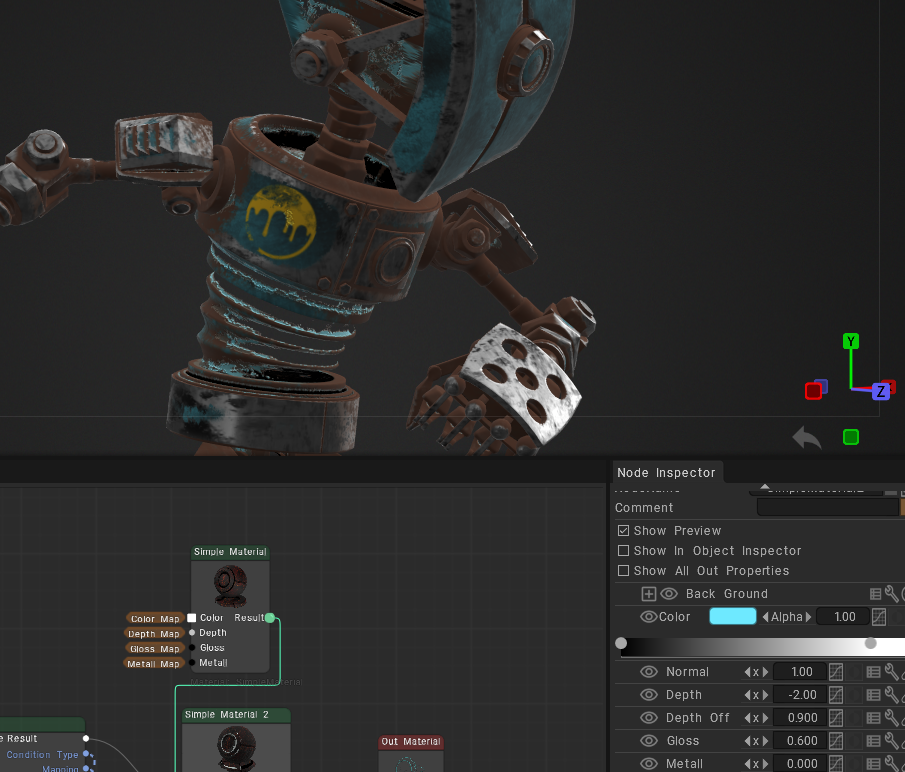
The first one is the node editor window. This is the main window where we create nodes, connect them together, and build the entire material logic.
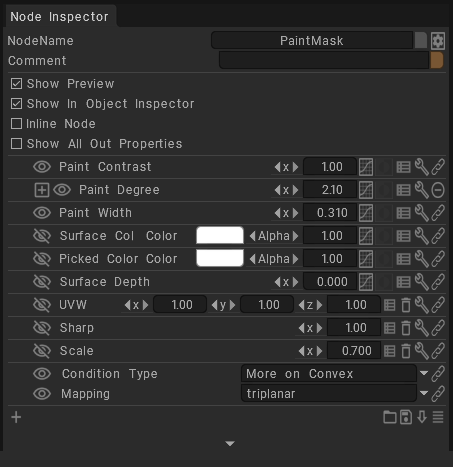
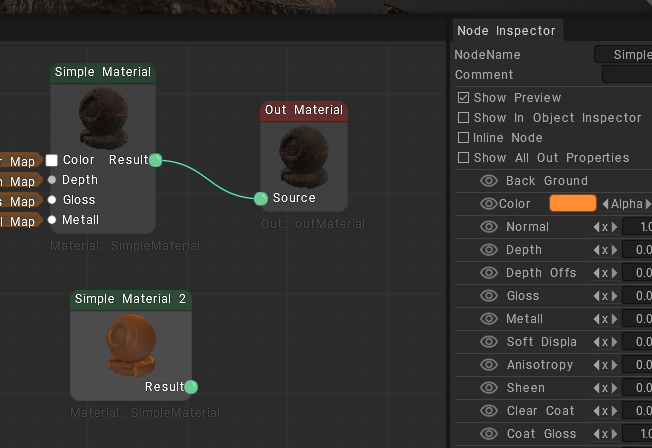
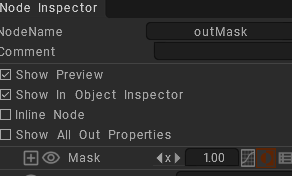
Next is the node inspector.
When we click on a node, we can see its parameters here and adjust them.
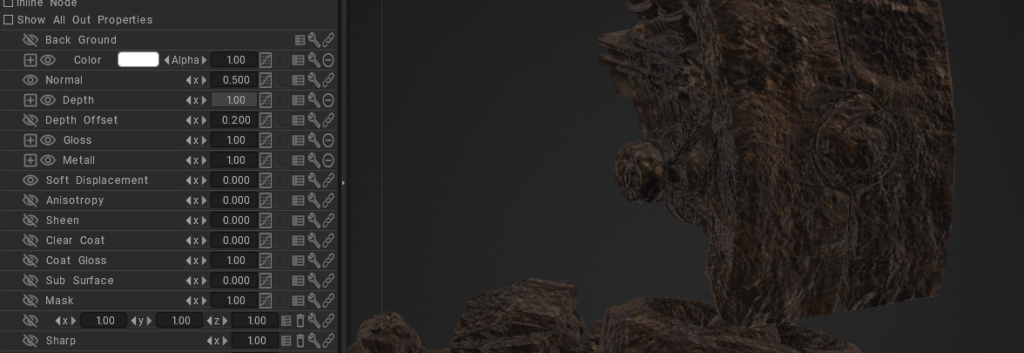
Then we have the object inspector.
This is where all objects are listed, but it can also display quick parameters.
For example, if we select a material, we can see many sliders and controls here.
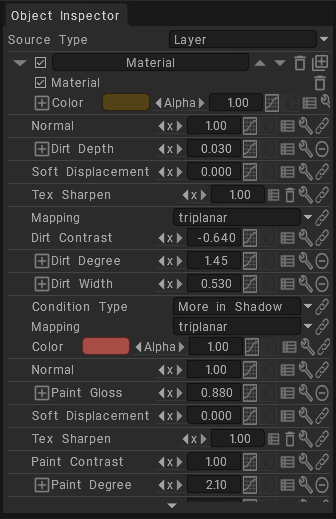
These are parameters exposed from nodes using these small eye icons inside the node graph.
This way we can expose any parameter we want and control materials quickly without constantly going into the node graph.
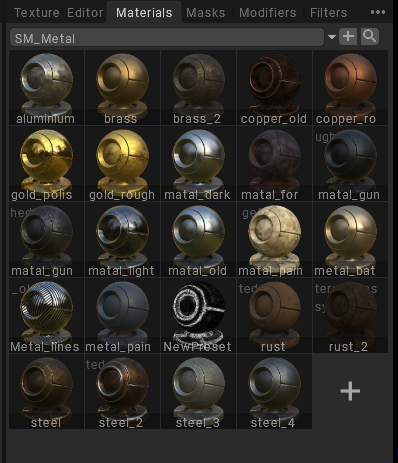
Next is the material window where we can select node based materials.
Here we have materials built with the node system and also converted older smart materials. They now work using the node workflow as well.
There is also the mask window which contains masks that can be combined with materials.

And we also have modifiers node setups that allow us to create additional effects and more complex results.
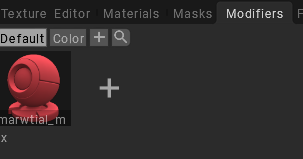
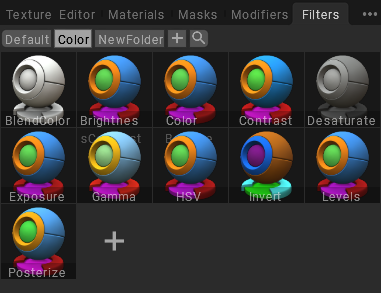
And Filters, that must be applied Above a Layer and inside a Group.
So that’s the interface.
Now let’s talk about the basic principle of how this node system works. The key idea is that nodes are assigned directly to paint layers. When we create nodes, they are applied to the current layer.
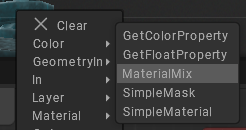
To create nodes, we simply right click in the node editor and we can see a large list of available nodes.
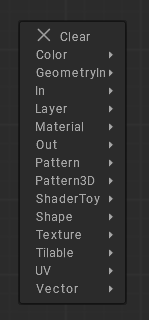
We won’t cover every single node right now. The goal of this tutorial is to demonstrate the main workflow.Later we’ll have a series of tutorials where we’ll go deeper into the full functionality.
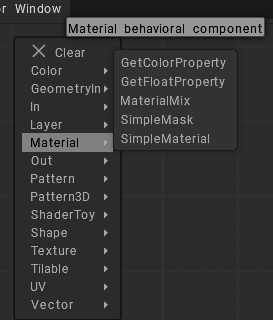
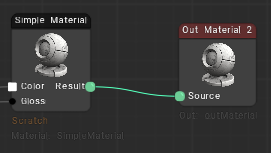
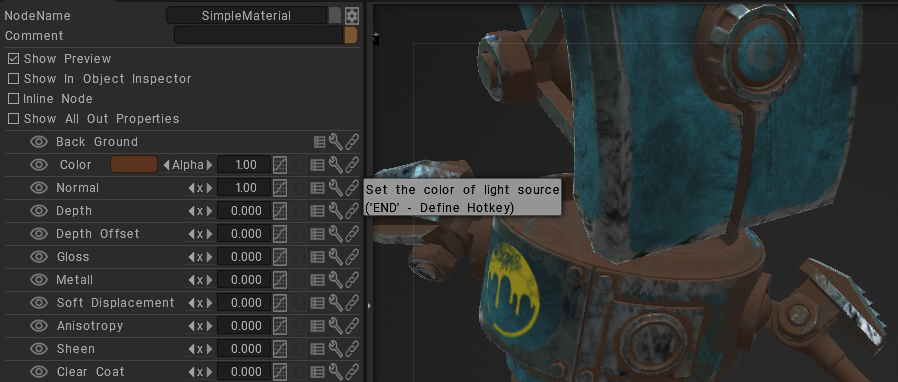
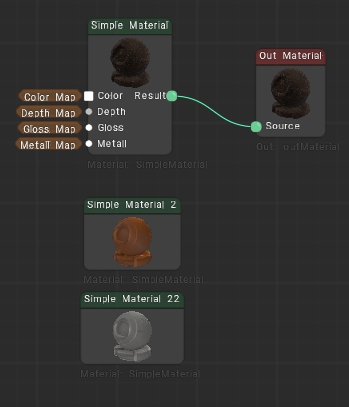
In the material tab we have nodes like simple material, simple mask and material mix.
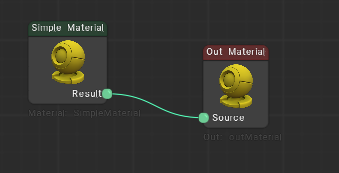
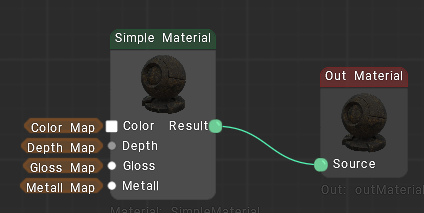
Let’s choose simple material. When we click it, we see many parameters, but if we start changing them, nothing happens on the object.
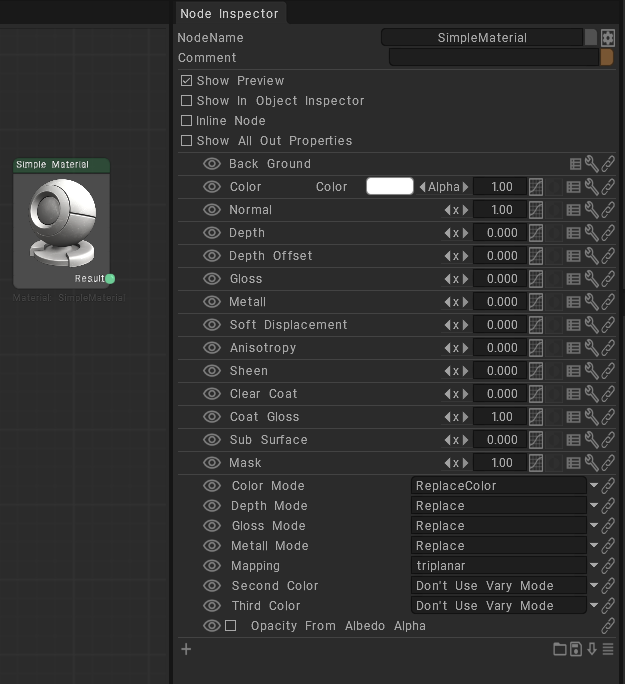
That’s because in order to connect our node graph to the actual layer and see the result on the model, we need an output node.
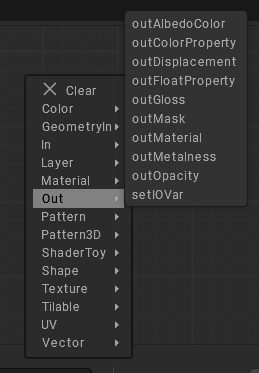
Output nodes connect the node editor to the paint layer so we can see the final result on the object. There are different outputs for different channels.
Out displacement, out albedo and so on.
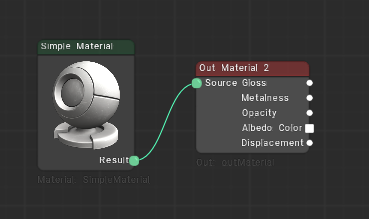
For simple material, we need out material. Let’s connect it.
However, even now, nothing changes. That’s because our layer is not filled yet. Meaning our node graph is blocked by an empty layer mask.
If we start painting, we’ll see that the nodes are working.
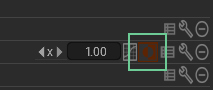
But for preview and setup, there is a special button that fills the layer for preview purposes. When we press it, we can instantly see the material applied. It doesn’t permanently fill the object. It only enables preview.
All right, let’s start texturing.
First, we need to create a base material. The base material for this robot will be clean metal.
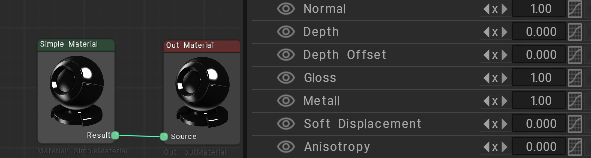
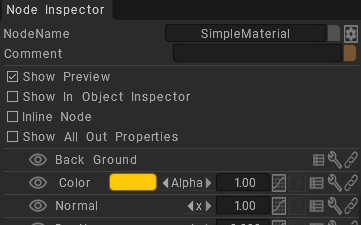
We already created a simple material and connected it to out material. Now let’s set the color for the metal.
Then we can scroll down and adjust parameters like gloss. We want it higher for metal. And we also increase the metal value.
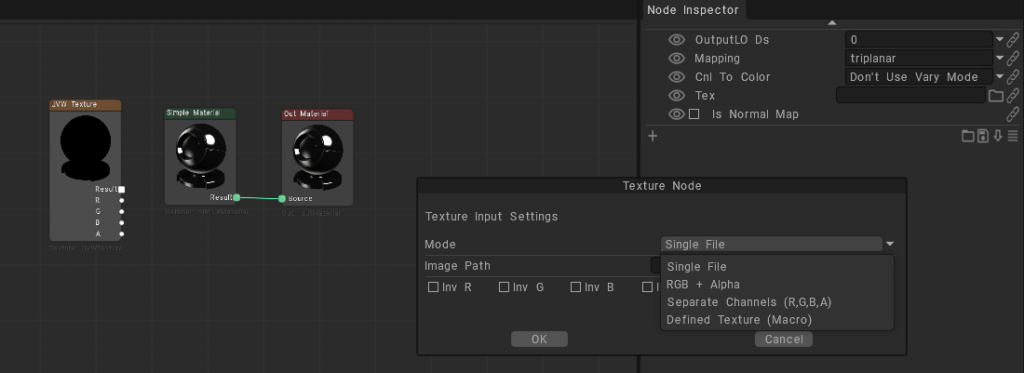
Now the material looks much more metallic. But we still need to make it more realistic adding scratches and variation. To do that, we go to the texture tab.
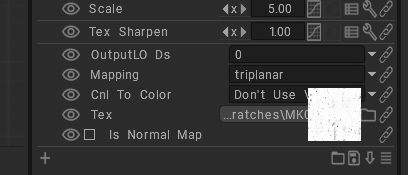
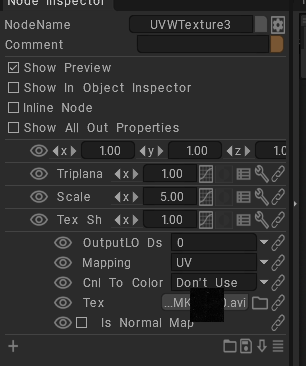
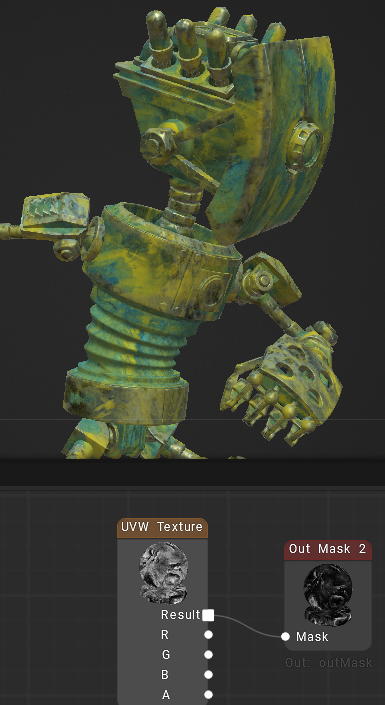
Here we have the UVW texture node. It’s a universal node that can load either color or grayscale maps. If we click here, we can choose different modes.

We can load many different textures and use them in our graph.
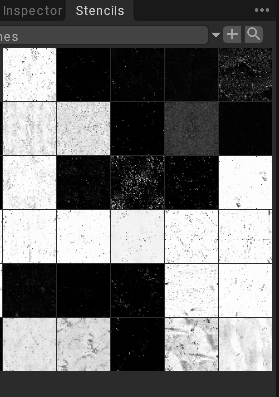
To make things easier, 3DCoat includes a set of ready to use maps inside the stencils window.
For metal, we need a map with scratches or surface spots. Let’s pick one.
I select this UVW texture node. And here we have a texture slot. I hold control and drag a texture into it.

Now the texture is loaded into the node, but it still doesn’t affect the object because we need to connect it into the simple material. If we drag from the result output and connect it to simple material, we’ll see multiple available inputs.
In this case, we want to connect it to gloss and maybe also to color. Now the metal already looks better, but we still need to fine-tune it.
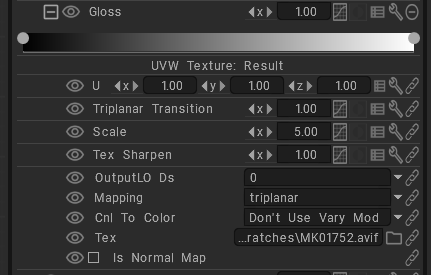
To adjust the input maps inside simple material, we can use these small icons on the right side of each parameter.
The first icon is the effect icon. If we click it we get a default effect.

If we right click over any dot, we can choose different kinds of parameters edition.
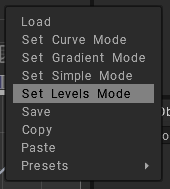
For example, I can adjust the curve for the color input.
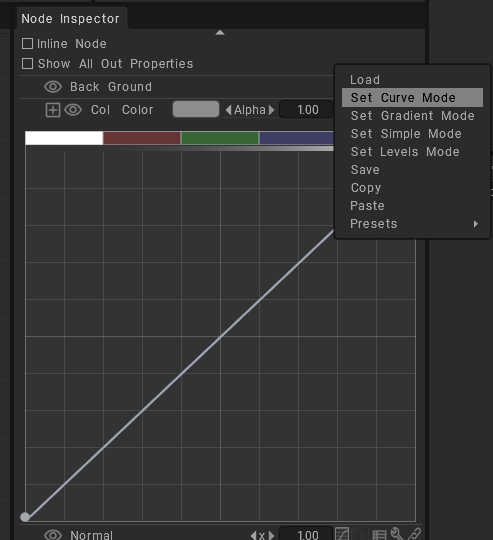
If I press two, I can clearly see the color channel. If I press three, I see the gloss channel.
I can switch to gloss, enable an effect there, too, and adjust it however I want.
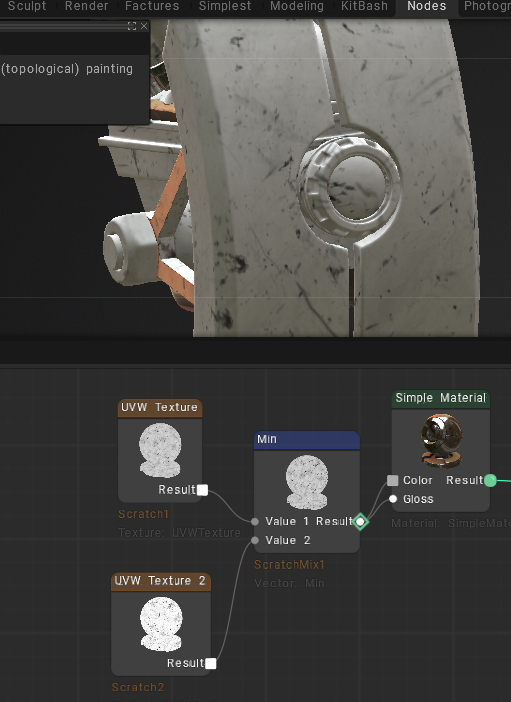
Now I want to add another scratch map to the metal. So let’s create another UVW texture node and load a scratch texture.
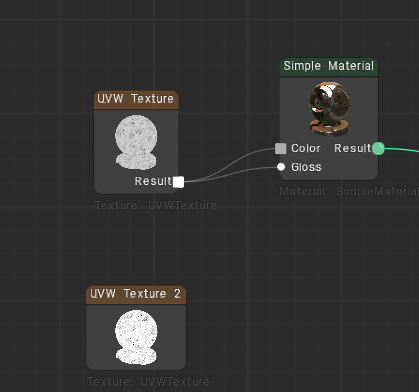
But now we have a problem. The simple material has only one gloss input and I need to combine two textures together. For that we can use blending nodes in the vector tab.
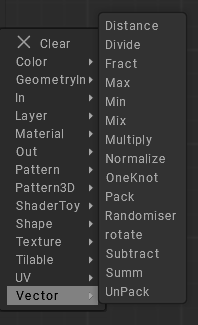
These include max, min, mix, sum, multiply and so on. Let’s combine the textures using the min node and we connect both textures into the two inputs.
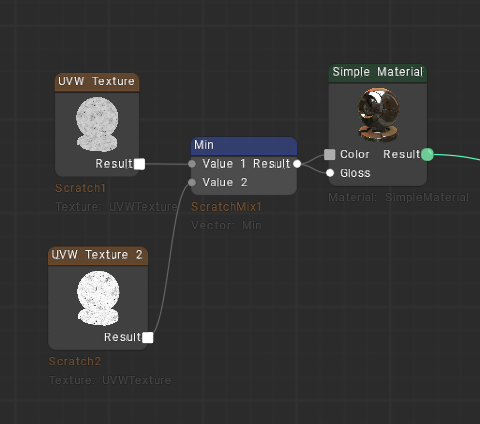
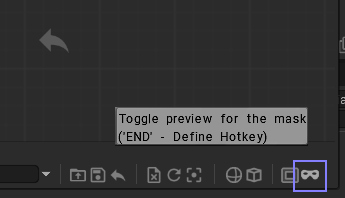
Now to preview the result, we can inspect any node output.
If we hold control and hover over an output socket, we can see a preview of that output. And if we control-click it, it becomes locked. So we can keep viewing it.
Now, if we edit any of these nodes, we instantly see how they blend.
I don’t really like the scratch map I selected. So, I’ll try another one, maybe this one.
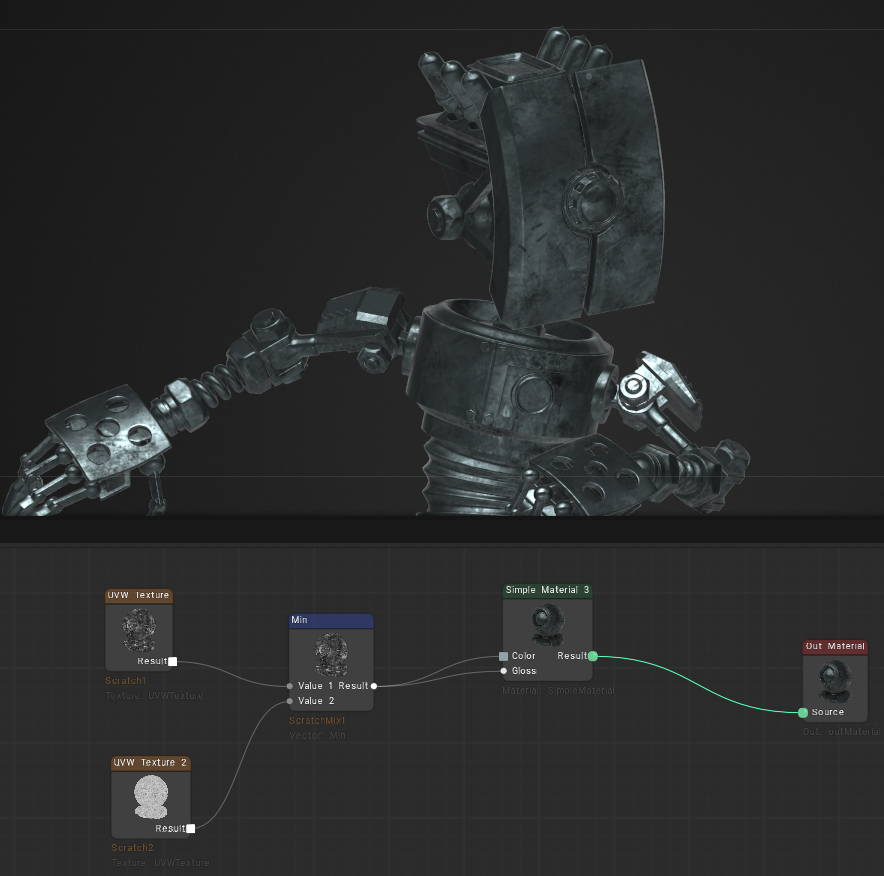
Now, it looks better. We can adjust it and then connect the output to gloss and color.
Okay, for now that’s fine.
So now we have our base metal material. Next, we need to add a paint material.
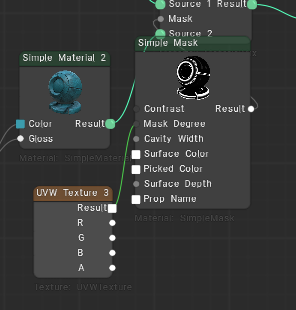
Let’s create another simple material and set the paint color.
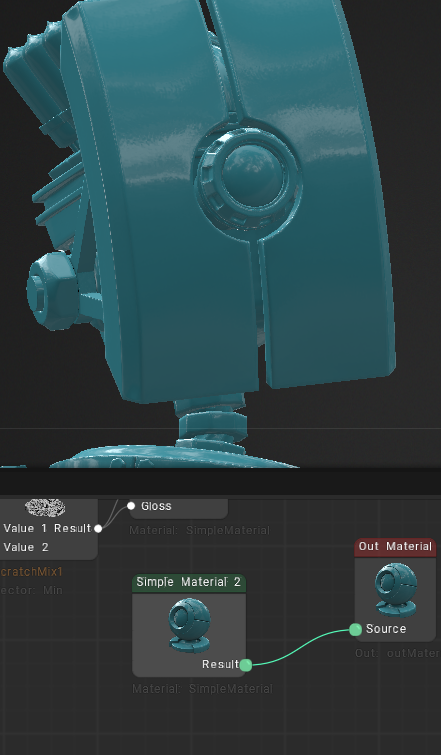
For paint, we also need higher gloss. And just like with the metal, we want to add textures to make it more realistic. Okay. Something like this.
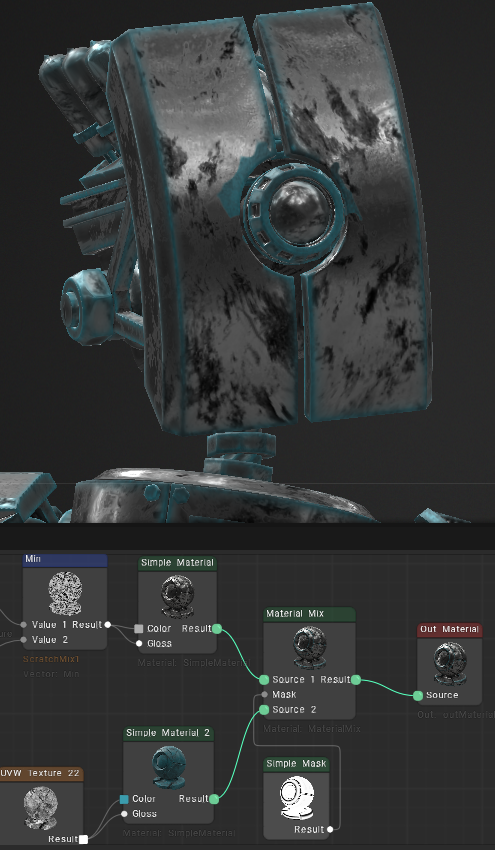
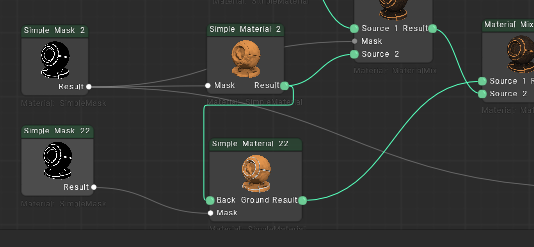
Now we need to blend these two materials so that in some areas the paint is worn off and the metal underneath becomes visible especially on edges. For this we use material mix.
This node is specifically designed to mix simple materials. We connect both materials into it.
Then connect the output.
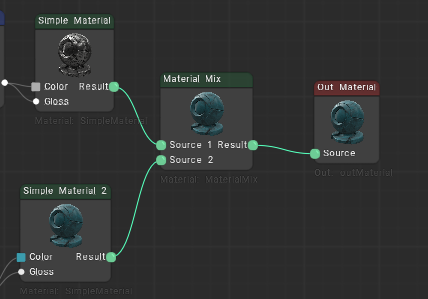
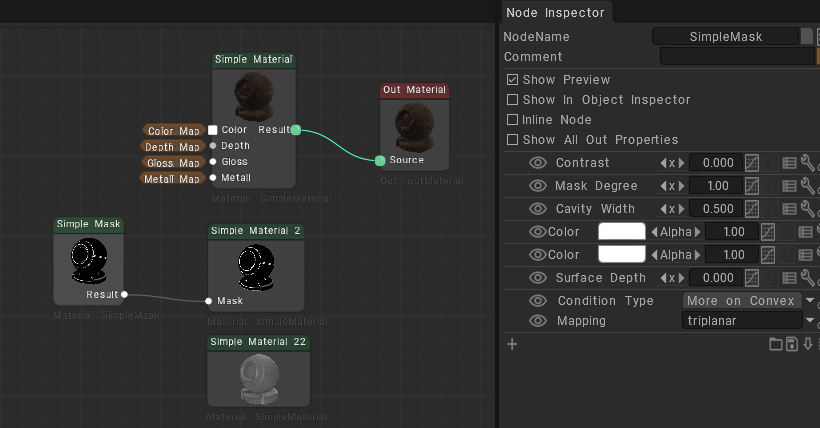
But nothing changes yet. That’s because material mix needs a mask that defines how the blending happens, so we need to create a mask.

Then we add the Mask node to Material Mixer.
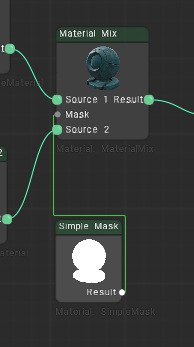
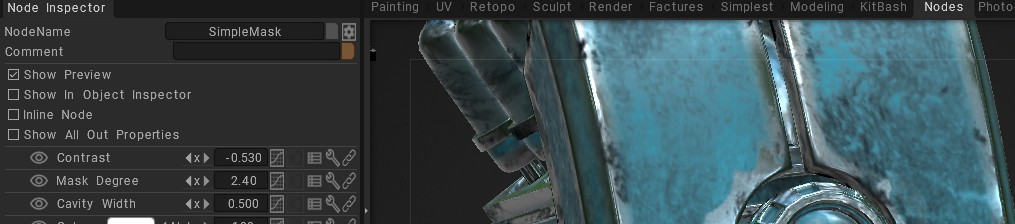
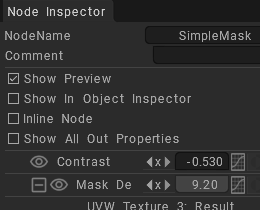
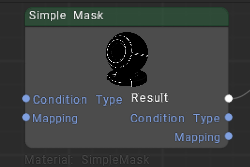
Simple mask contains smart parameters like cavity, curvature, ambient occlusion and so on.
To use these, we need baked maps.
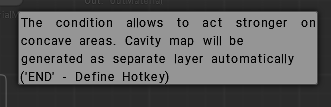
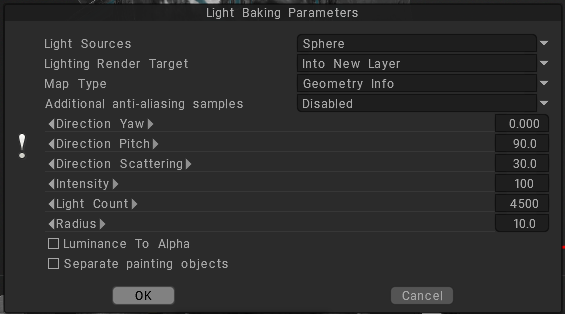
When we create the mask, 3Dcoat automatically prompts us to bake them.
When baking Geometry Info on Light Baking Tool We can increase the light count to improve quality. Then press okay. Now everything gets baked.
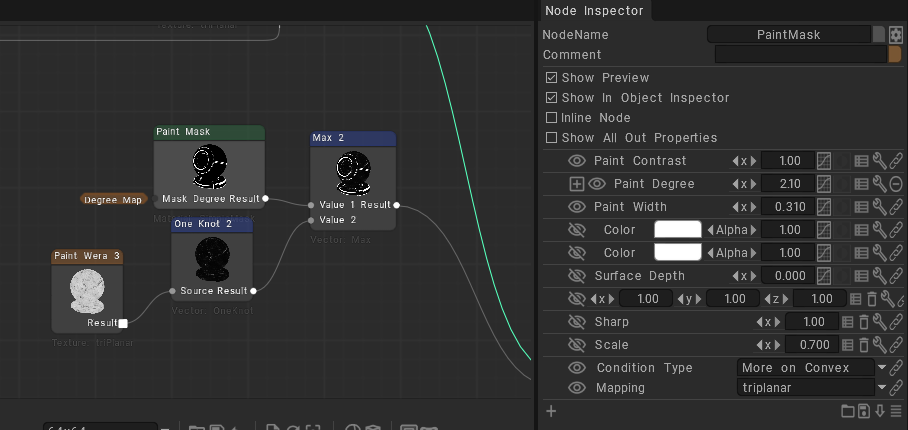
Now let’s go into the mask settings. First we connect the mask to the mask input in material mix.
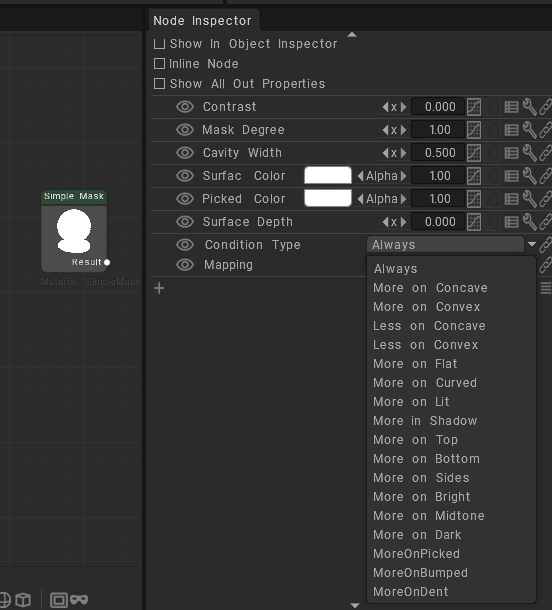
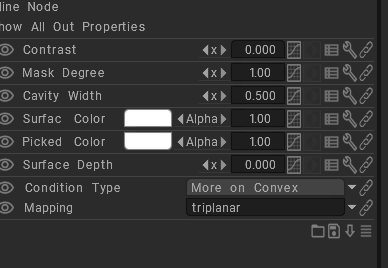
Now we see different parameters including condition type. There are many options like convex, concave, in shadow and so on.
In this case we want convex because we want wear on the edges.
But as we can see the result is reversed. If we control preview the mask, we can see that white areas currently represent the paint and black areas represent the base metal.
We need the opposite. So we go to material mix and enable invert on the mask input.
Now it works correctly.
We have paint and worn edges where metal shows through. We can go into the simple mask and adjust the amount of wear on Mask Degree parameter.
But right now it looks too clean and artificial. We need scratches and noise. For that we can use the degree map option. Let’s load a scratch texture into degree map.
At first everything disappears because we need to increase the influence slightly.
Now we get much better edge ware driven by the scratch map. We can load any other texture the same way.
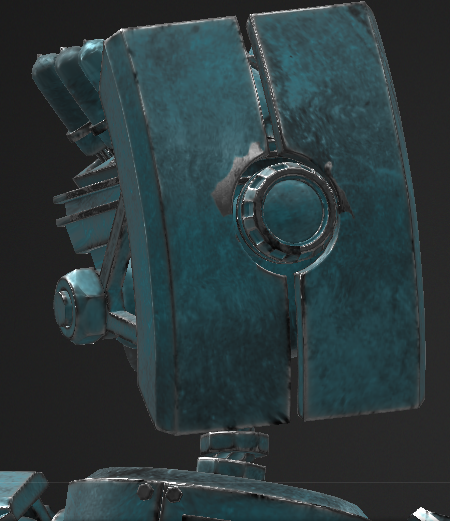
But in this case, I like the result. So now we have a good base material for our robot.
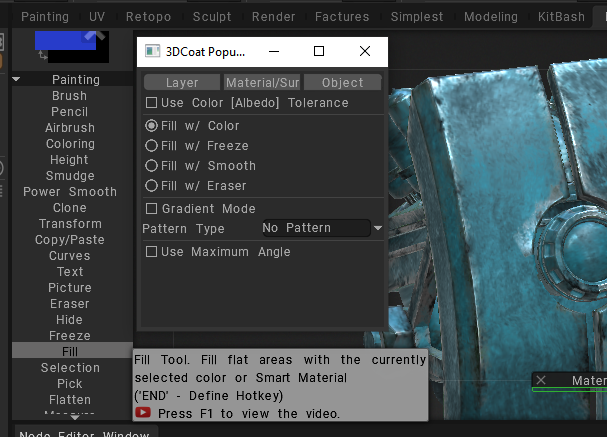
Now we need to apply it to the object. Let’s disable the preview button. We can apply materials in different ways, by painting with a brush, using stencils, or using the fill tool. But in this case, I want to apply it to the entire object at once. So I’ll use fill entire layer.
Next, let’s create some painted details on top.
All right. Now we have painted elements on different layers. Let’s create a folder and move all these layers Decals into it.
Now we can apply a simple material directly to the folder.
We connect the output.
and now we can control the color of all these painted elements through the simple material.
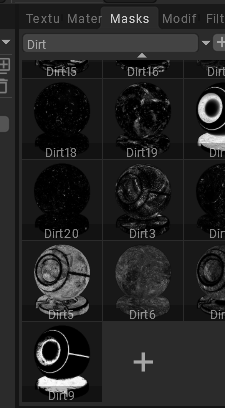
Since the robot is old, we also need to add wear to the painted parts. For that, we go to the masks window.
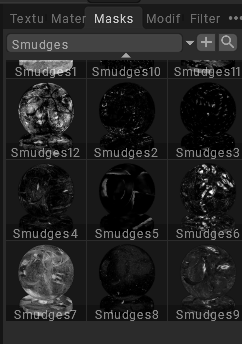
Here we have a set of default masks. We choose one and simply click it. The mask is applied automatically.
But as we can see, it gets applied to the entire object and we only want it on the painted elements.
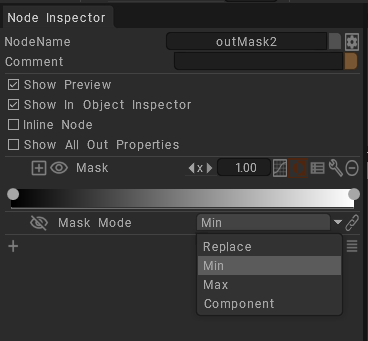
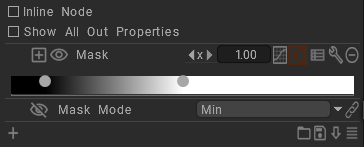
To fix this, we go to the out mask node settings and there is a parameter called mask mode.
This controls where the mask is assigned. If we choose the correct mode, the mask applies only to the elements we need.
Now we can tweak it slightly with the help of ranged map parameter.
Now let’s create dirt. We create another simple material and apply a dirt mask.
We choose a mask, this one looks good. We click it.
Now we need to set a dirt color. So we go to the material and adjust the color here.
We can also go into the mask and tweak it. Now it already looks pretty good.
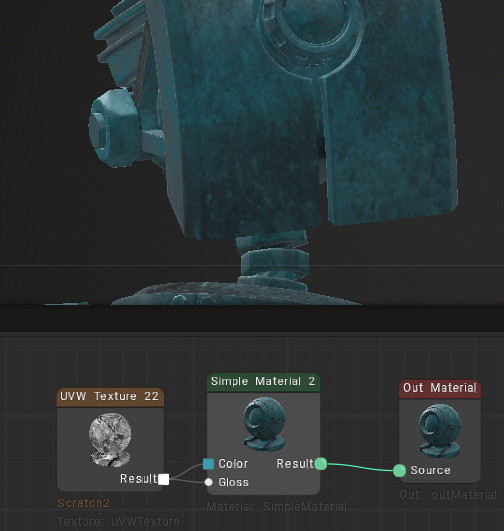
Now let’s create a new layer and build a rust material.
As a base for rust, I’ll use a default material included in 3DCoat. Let’s select it.

This is what it looks like. If we open it, we can see that it already has textures linked into slots like color, depth, gloss, and metal.
This is also how you can load your own maps into simple materials. They will be assigned correctly and controlled by these parameters. Depth is controlled by the depth parameter and also by depth offset which adjusts its strength and all other channels work the same way.
But this is still not enough. We need it to blend properly on the object.
Also, we want to create an additional transition material between the rust and the surface, usually a bright orange tone to make the rust look more realistic.
So, we create another helper material for that.
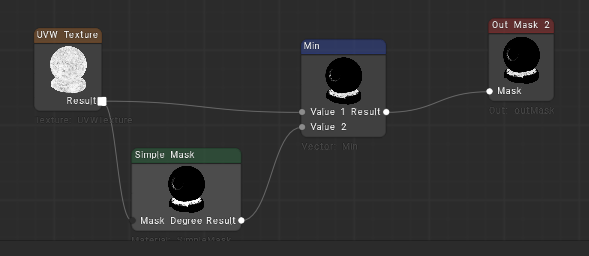
We create a mask and connect it to the mask input.
We connect the output and now the object is separated by the mask.
Now, we have three materials and we can connect them sequentially the result to material mix nodes.
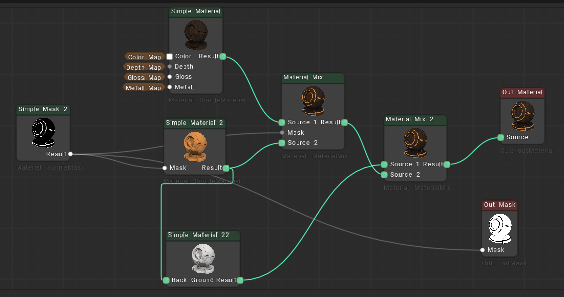
But we see that in some areas we should be able to see everything below.
Instead we get white color. To make this white color behave as transparency, we need to create an internal mask inside the node editor.
We search for out nodes and there is out mask. We connect the mask output to out mask.
So it is used as the transparency mask.
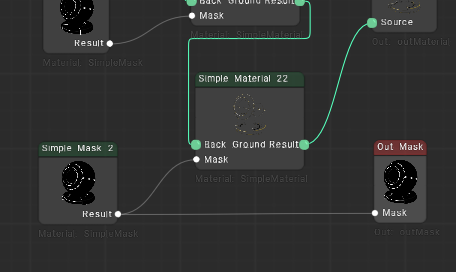
But again the mask works inverted. So we just press invert.
Now it looks much better.
To get better result we load a degree map again.
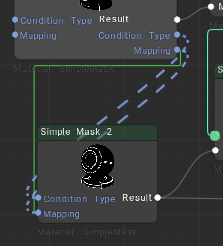
But before that here’s the situation. Right now I have two masks and I need them to have exactly the same parameters. For example, the same condition type.
If I double click a mask node, I get these blue linking parameters.
These allow us to link parameters between nodes. For example, if we link condition type here, then changing it in one mask will automatically change it in the other mask as well.
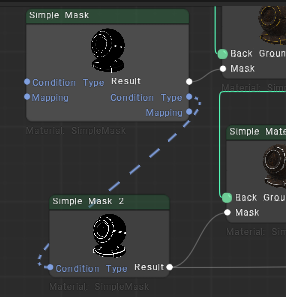
The same can be done with the degree map input. So now if we drag a degree map texture into one mask, it will automatically appear in both.
Let’s try it.
Now the texture is in both masks. Now I also want to adjust the degree map strength simultaneously for both masks. For that in the Vector tab there is a universal node called OneKnot.
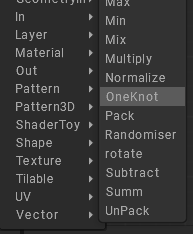
The key idea is that if we connect it to the same inputs, we can control everything through a single parameter.
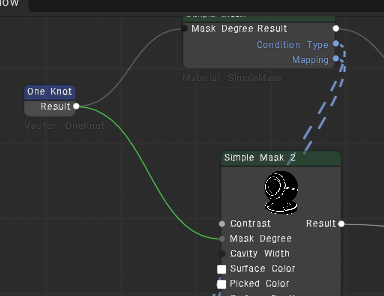
And as a result, we get this interesting effect. Let’s reduce it a bit.
Now, I don’t really like the rust color.
I want to change it slightly. Something like this. And maybe make it a bit brighter.
That looks great.
We can tweak the colors even more if needed.
And finally, we can save any material we’ve created using the bottom panel.
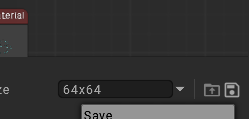
And now this exact material has been saved.
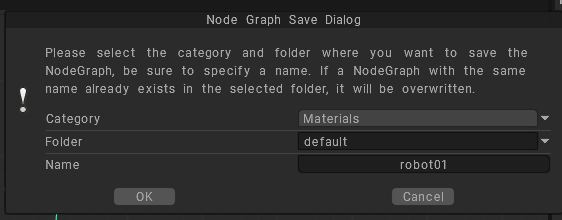
So if we open another model, we can simply find our saved material in the library and apply it instantly.
Here it is.
All right, that covers the basic functionality for now.