In order to learn to create 3d character art with 3DСoat, you need to know the basic principles of the program.
3DCoat is a program that has many different features and tools. There are 6 rooms in the program’s interface where you can perform a variety of tasks.
- Paint room is where you can texture your model and apply materials. You can also create your own materials and texture
- Tweak tools is where you can edit polygonal meshes.
- Retopo room is where you can retopologize your model and make polygonal modeling.
- UV room provides for a convenient and versatile set of tools to work with UV maps. Here you can manually or automatically quickly create high-quality UV maps.
- Sculpt is one of the most popular rooms where you can sculpt any object. Two technologies that you can use at the same time – voxel and surface modes – give you a plethora of sculptural capabilities.
- Render room is where you can quickly see how your model will look like with the customized light and environment.
So 3DCoat is a program that has a lot of functionality to let you create variety of things from scratch to final stages.
In this article we want to describe how to create 3D characters in 3DCoat.
Well, let’s talk a little bit about what actions we need to take to create a character.

In the image you can see the pipeline that most people use to create a character.
So to know how to make 3D characters, you need to learn each of the items in this pipeline.
In this article we will go through each of the points that are needed to create a character.
3D characters can be created for many purposes and projects. And depending on where the character will be used, it will have a little different ways of creation. Now we look at some of the areas where 3D characters are used most, so it’s a gaming and animation movie industry.
HOW TO MAKE 3D MODELS FOR GAMES
When creating a game character you need to remember that in a game all scenes are calculated by computer resources in real-time. Therefore, you should do as much optimization as possible. You need to create textures of an optimal size, and you also need to do mesh optimization to result in the proper number of polygons. The process of converting a high-polygonal mesh to a low-polygonal one is called retopology. We will explain in more detail how to create 3D models with good optimization for games.
HOW TO MAKE 3D CARTOON CHARACTERS
Creating cartoon characters is different than creating game characters. First of all, it’s the level of detailing. In case of a cartoon character what’s important is to ensure the quality of textures is as good as it’s possible, there’s no need to optimize the 3D mesh, it should be as smooth and detailed as possible. You can also use full-fledged hair and clothing simulations.
So let’s get started with creating a character.
After you come up with a character idea you need to create a concept for it. The concept is a 2D representation of the future 3D object. Outline all the details as good as you possibly can.
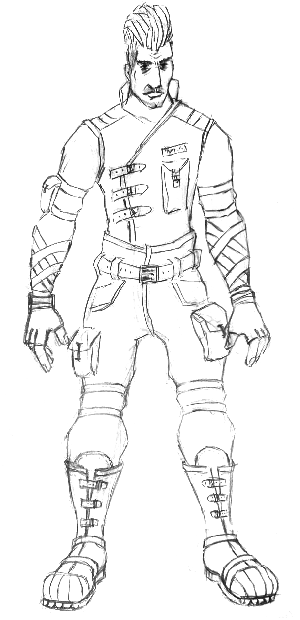
HOW TO START MAKING 3D CHARACTER MODELS
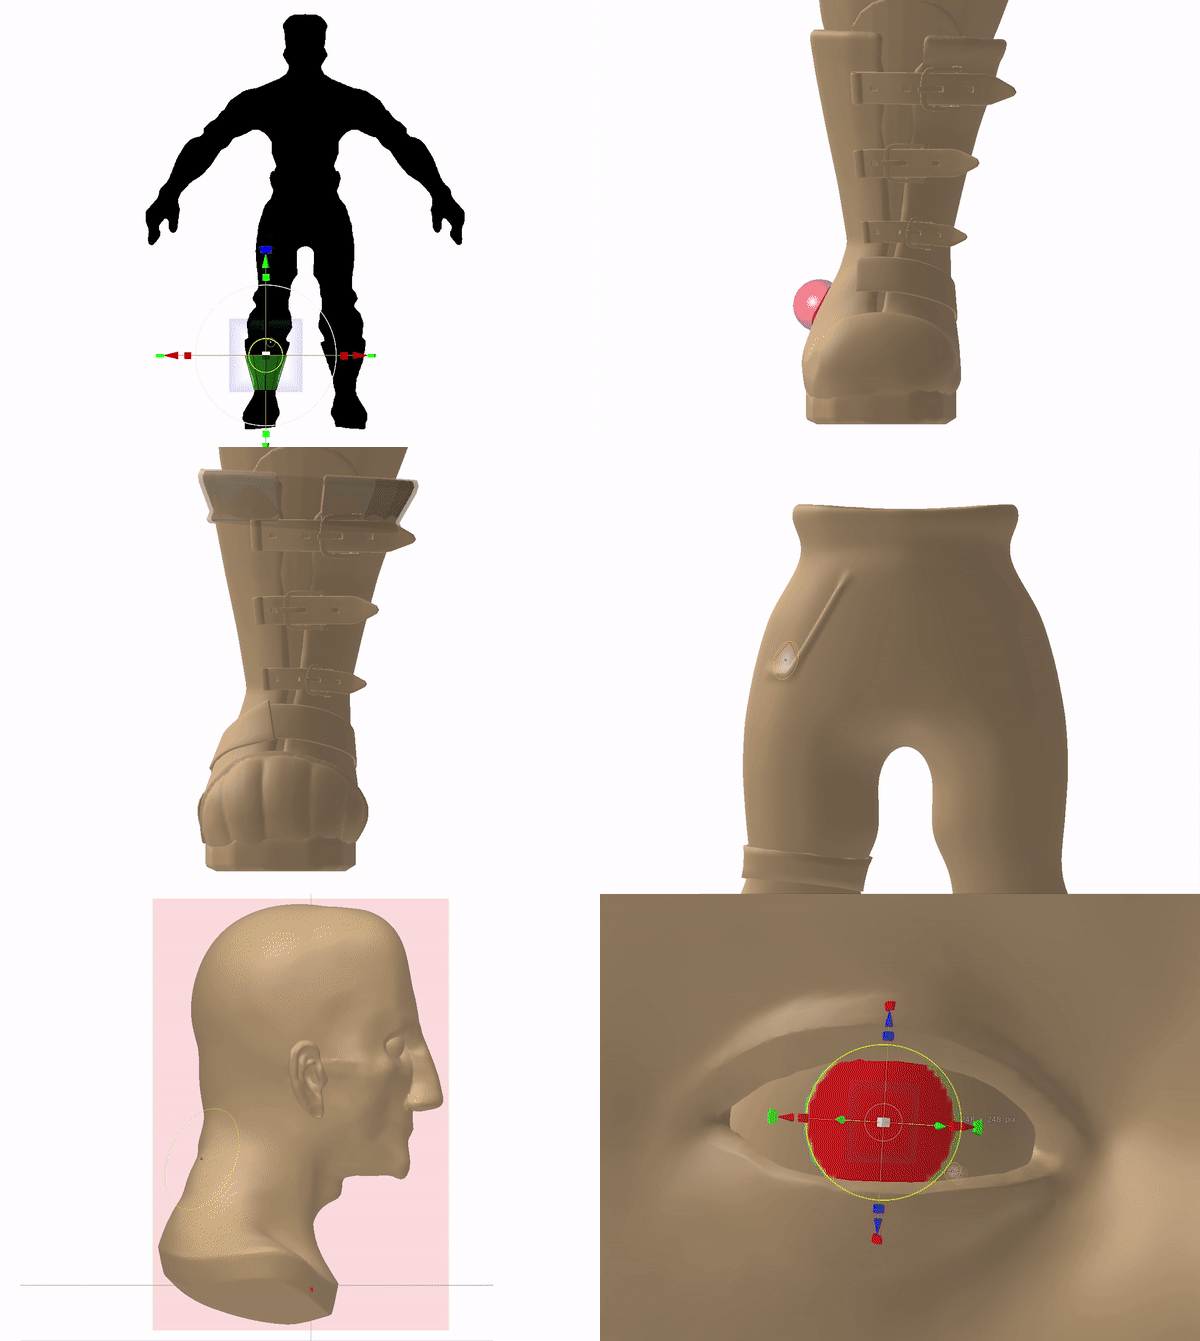
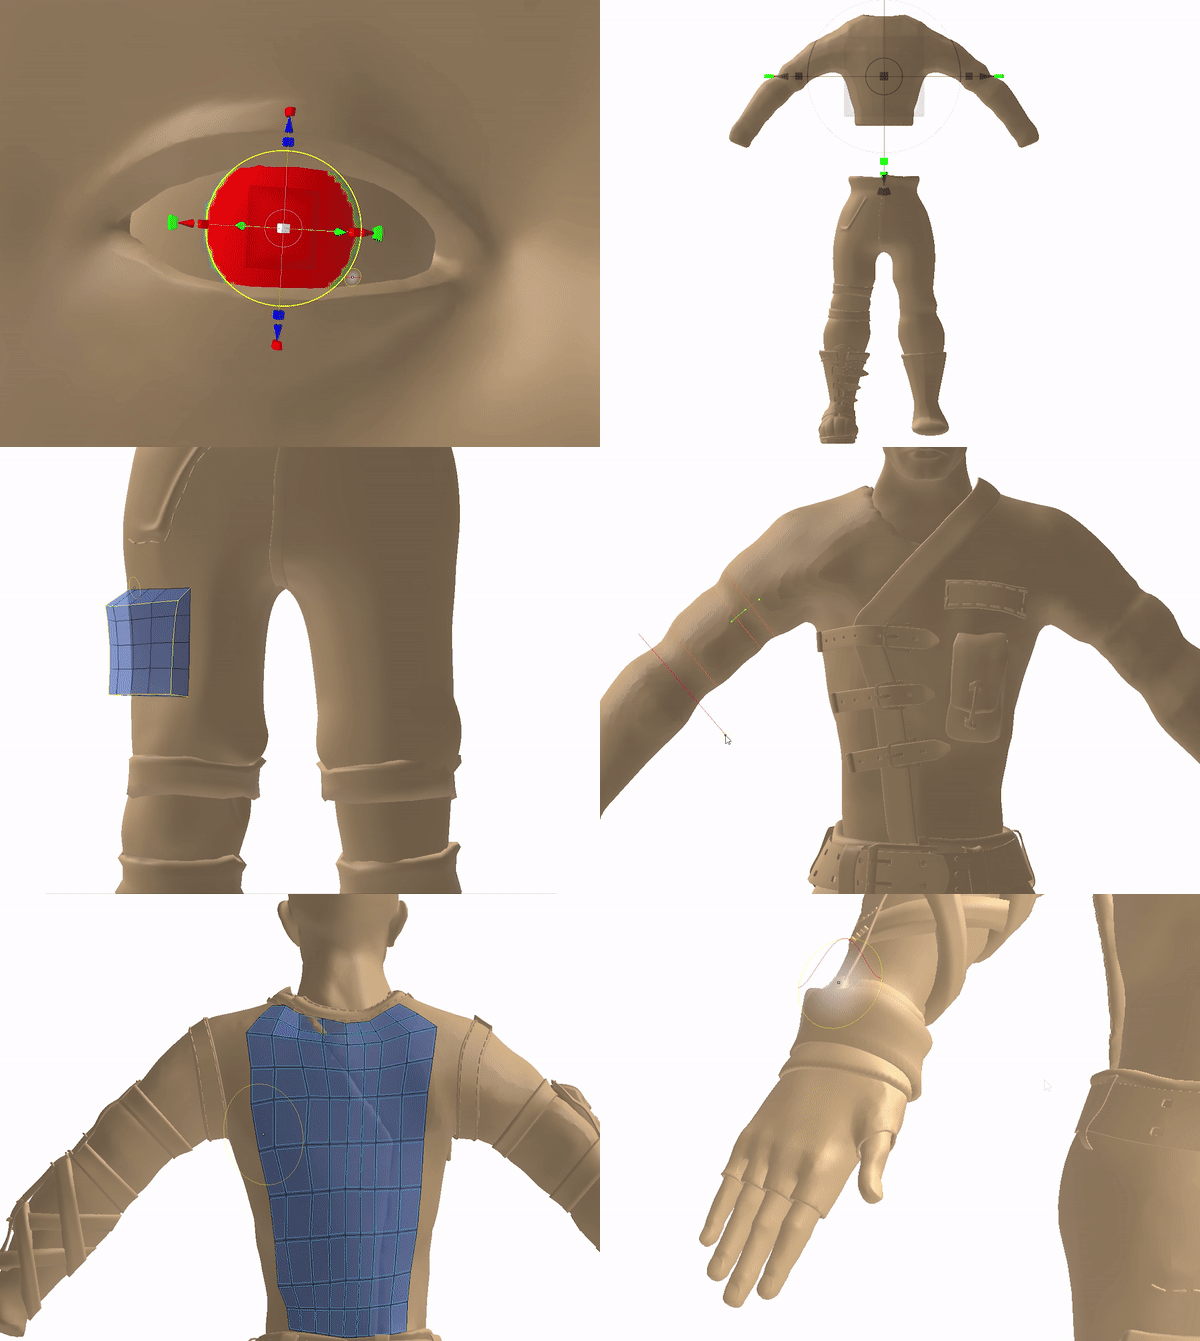
First you need to make an initial model for which you will build more and more details. This can be done through sculpting or polygonal modeling. Use the reference tool to download your drawn reference and repeat it in 3D.
Then you need to give the model more details. You can use many handy tools in the Sculpt room. The GIF shows the process of sculpting. In 3DCoat the workflow is well optimized and you can do complex things easily.
To simplify your work you need to use two rooms: Modeling and Sculpt.
For more information about Sculpting, see this article.
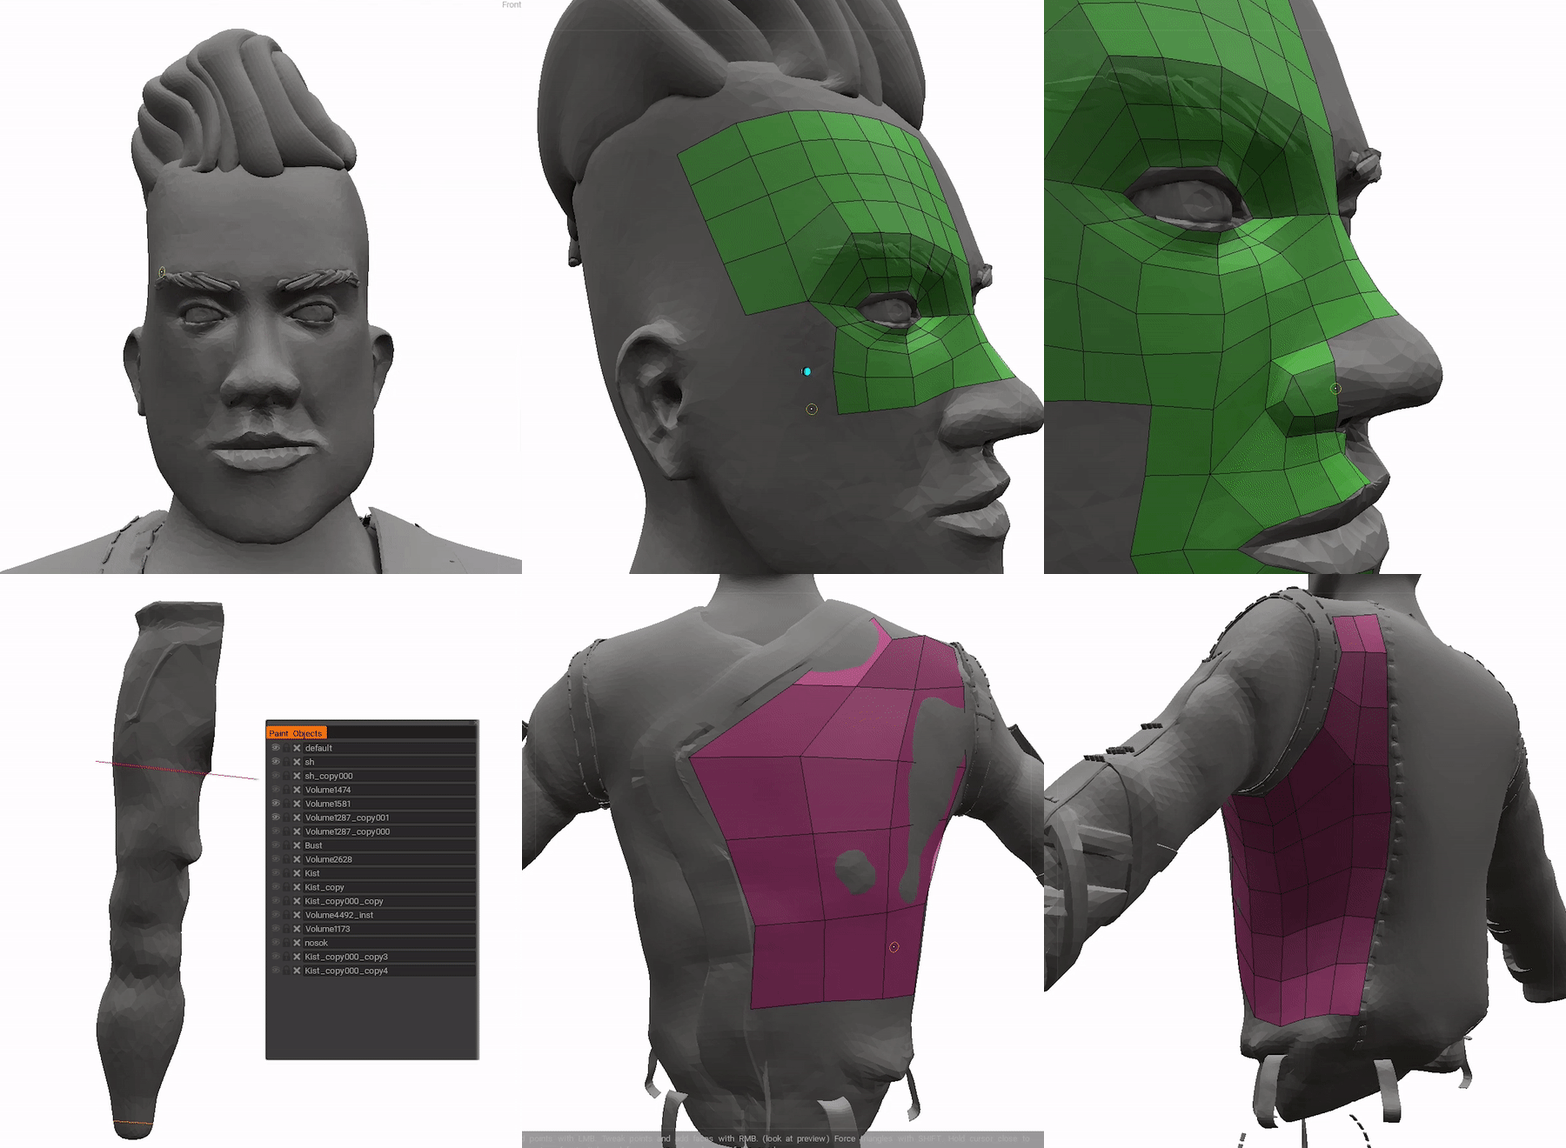
After planning and applying the details onto your model, it’s time to start creating the retopology. Use the Retopo room to quickly and conveniently create the retopology. There are all the necessary tools for this.
For more information about Retopology, check out this article.
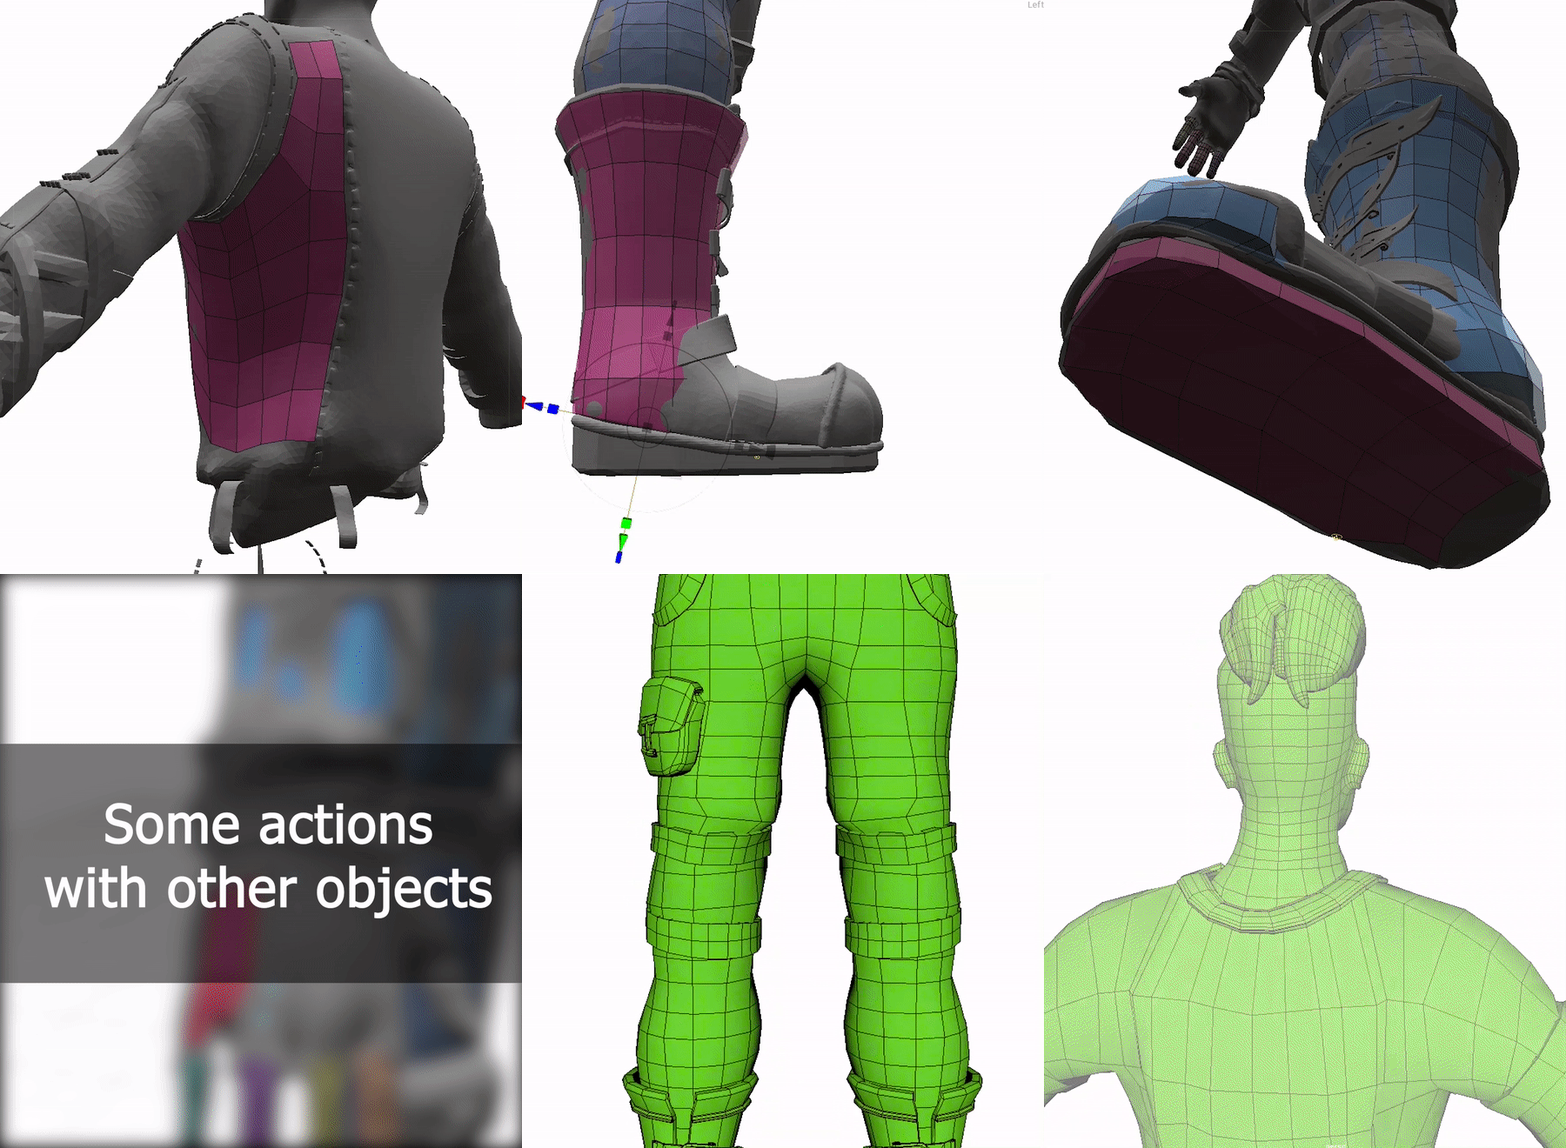
Following that, you need to make a UV Map. UV Mapping is the process of transferring the 3D mesh from a 3D model to 2D space for further texturing the model. You can do either manual or automatic UV Map. For more information about UV mapping, read the article.
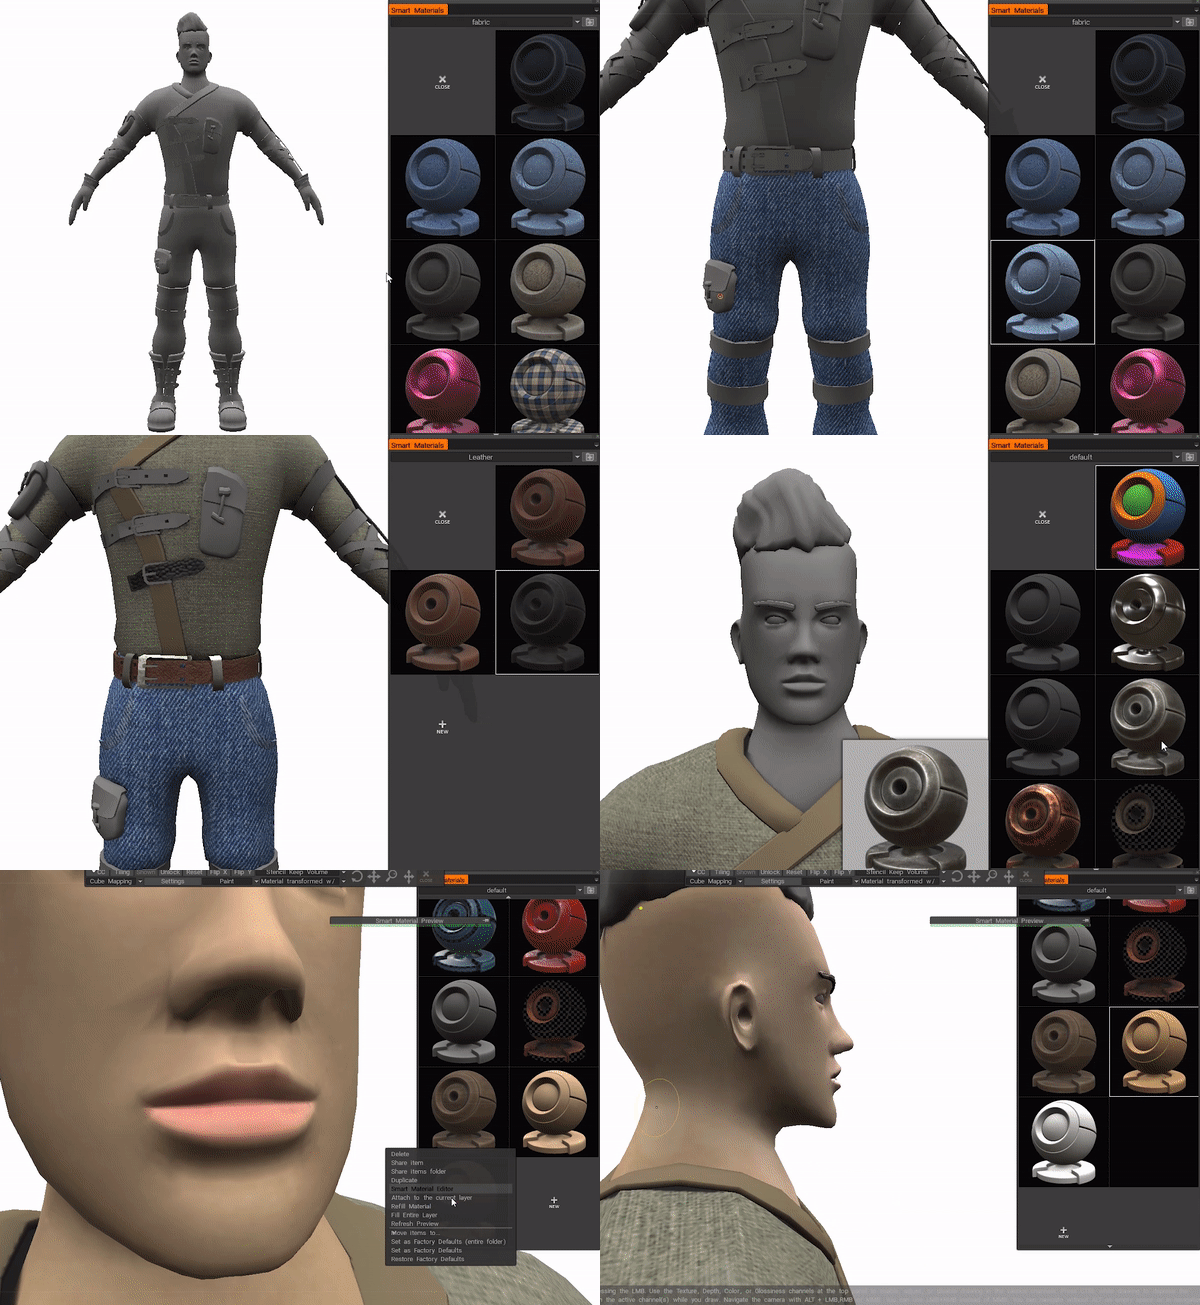
When the UV map is ready it’s time to start texturing. 3DCoat has a very strong texturing engine. There are many interesting features there. With Smart Materials you can quickly create very high-quality and realistic textures. You can also configure PBR. A very useful feature for optimizing an object is Texture Baking. It transfers details from mesh to textures. This way you can save the details to a low-poly mesh.
For more information about Texturing, read this article.
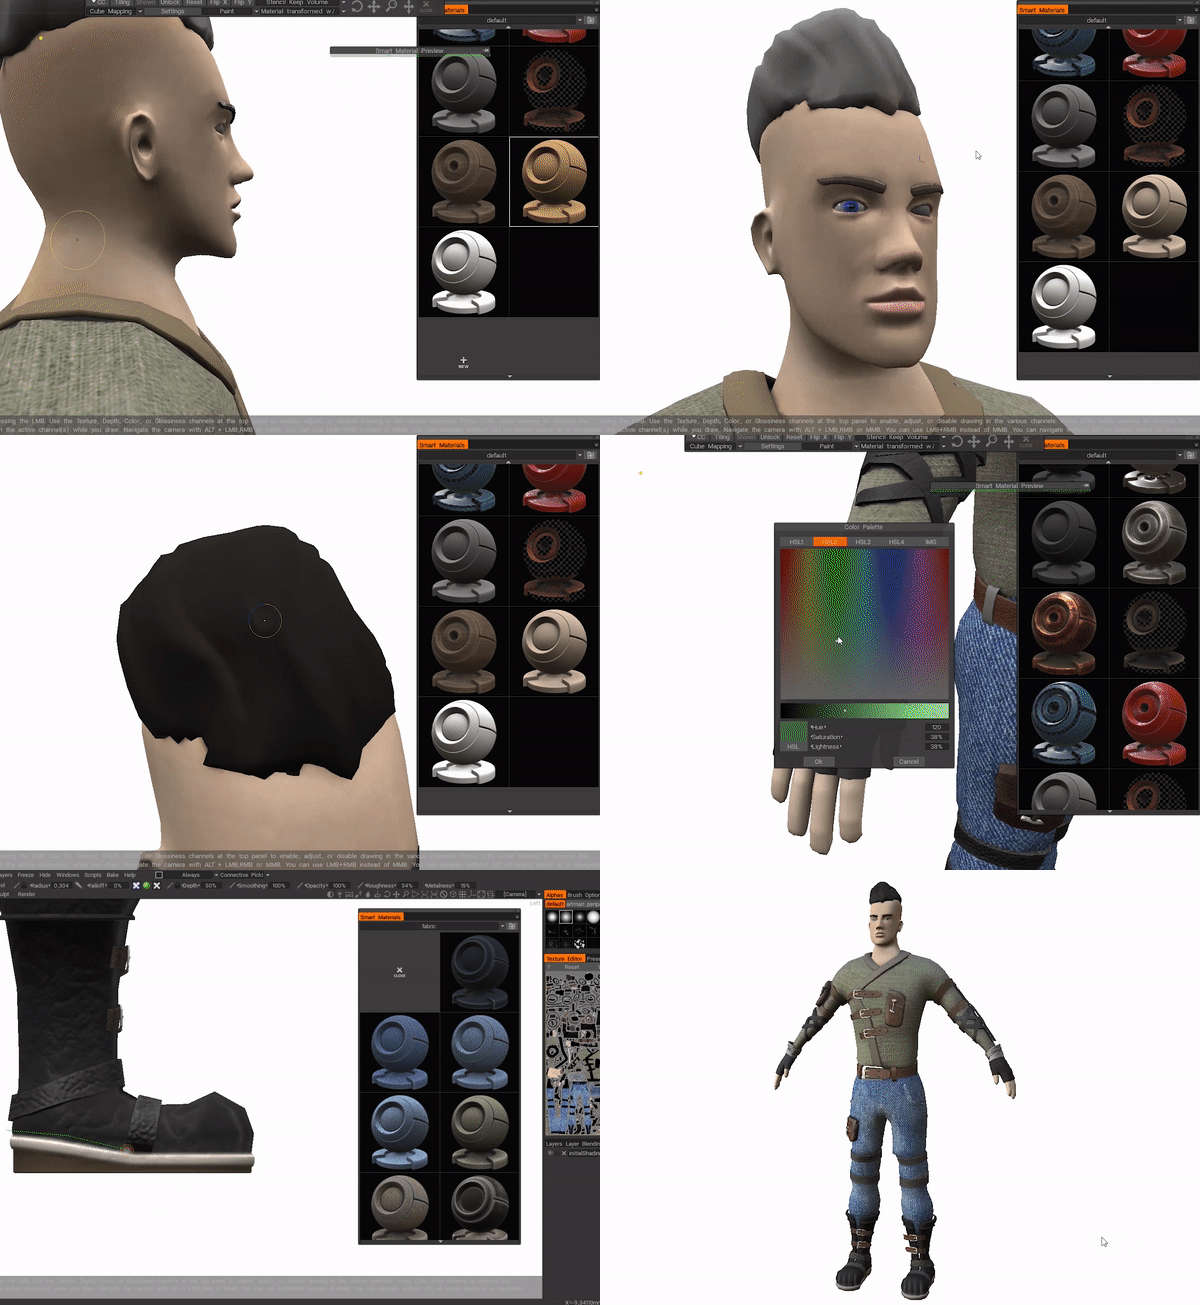
The model is ready!
But in order to put the character in any pose for rendering, you need to create a rig. Rigging is the creation of manipulators and bones on an object that help you move the mesh. You can create a horn in any program that is convenient for you.
The model is now ready and can be used for any purpose.
All the above mentioned therefore makes 3DCoat a large and versatile program that offers convenient pipeline for creating any 3D model. If you are an artist who doesn’t want to switch from program to program many times while working, 3DCoat is just what you need.
This article is not a detailed character creation lesson. We have outlined the creation process in a very simple way.
The best way to proceed is to try 3DCoat yourself and practice those tools. You will see the results very soon!
Good luck!
 Ελληνικά
  English
 Українська
 Español
 Deutsch
 Français
 日本語
日本語 Русский
 한국어
한국어 Polski
 中文 (中国)
 Português
 Italiano
 Suomi
Suomi Svenska
 中文 (台灣)
 Dansk
Dansk Slovenčina
 Türkçe
 Nederlands
 Magyar
 ไทย
ไทย हिन्दी
 Tiếng Việt
 Lietuviškai
 Latviešu valoda
 Eesti
Eesti Čeština
 Română
 Norsk Bokmål