 Eesti
Eesti  English
 Українська
 Español
 Deutsch
 Français
 日本語
日本語 Русский
 한국어
한국어 Polski
 中文 (中国)
 Português
 Italiano
 Suomi
Suomi Svenska
 中文 (台灣)
 Dansk
Dansk Slovenčina
 Türkçe
 Nederlands
 Magyar
 ไทย
ไทย हिन्दी
 Ελληνικά
 Tiếng Việt
 Lietuviškai
 Latviešu valoda
 Čeština
 Română
 Norsk Bokmål
Sometimes there is a confusion comparing a Shader Nodes system with a Material Nodes (and Textures) system.
To work with Texturing Node system on 3DCoat follow this steps:
– Create a Paint Layer, add or create a Material (double click over the material icon)
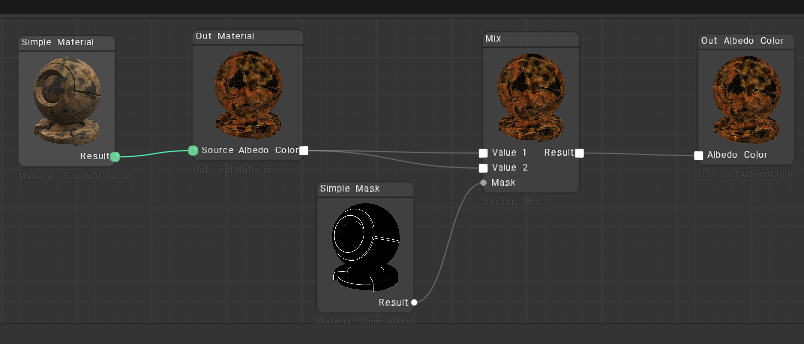
Here is a set of materials based on the nodes that you can use to learn.

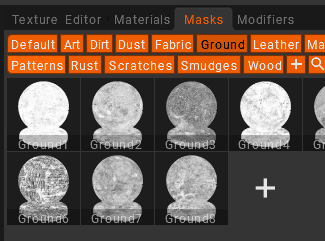
– Add or create a Mask, apply it on the same layer (double click)
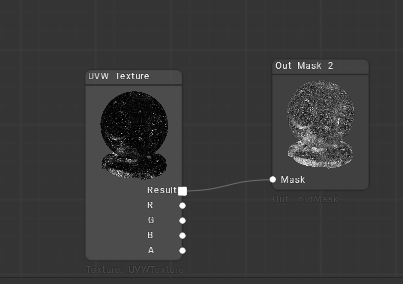
Here is a set o mask based on the nodes
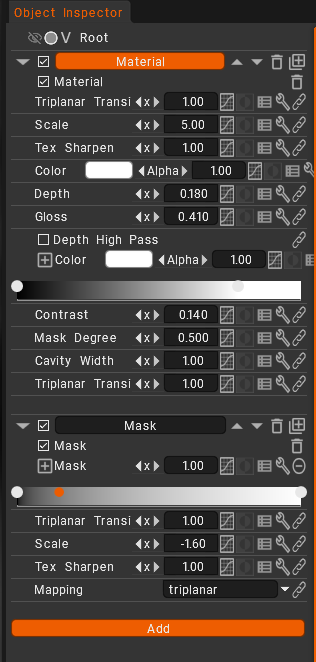
The first icon (L2R) is your painted or filled layer, second is the material and 3rd is the mask.
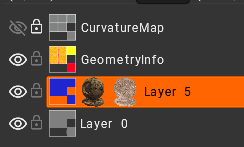
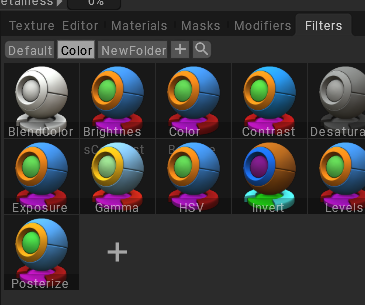
Filters on the other hand, must be apply on a new Layer above the previous Layer (or inside a Group in first place). It take input data from the layers below.
If a layer is inside a group, the layers below it will only be those that are inside the group.
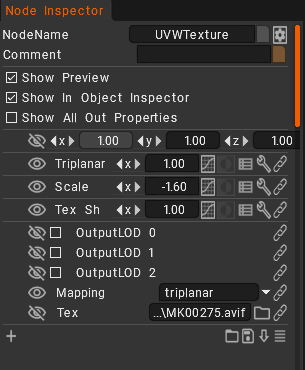
– All the node parameters can be edited individually on Node Inspector
– Or globally on Object Inspector
The Node system’s primary objective is the procedural synthesis of various 2D texture maps, such as Base Color, Normal, Roughness, and Metallic, which define a material’s visual characteristics.
It enables the mapping and construction of these visual elements that define the surface using a structure of graphic nodes.
It does not directly control the mathematical formulas used for lighting or shading calculations.
The behavior of light when interacting with a surface is determined by the shading nodes.
Subsequently, these generated maps are connected to shading networks within a 3D rendering application or game engine.