


psyborgue
-
Posts
248 -
Joined
-
Last visited
Content Type
Forums
Calendar
Gallery
Posts posted by psyborgue
-
-
Excuse, but I had no success in reproducing it... Are you trying to make it with pen or mouse? I am trying to understand reason.
Does anyone experienced the same bug?
I've found it only happens with some brushes. A brush with a smooth falloff (like the gaussian brush tip) there is no problem. other brushes with sharp faloffs on the edges, there are problems.
-
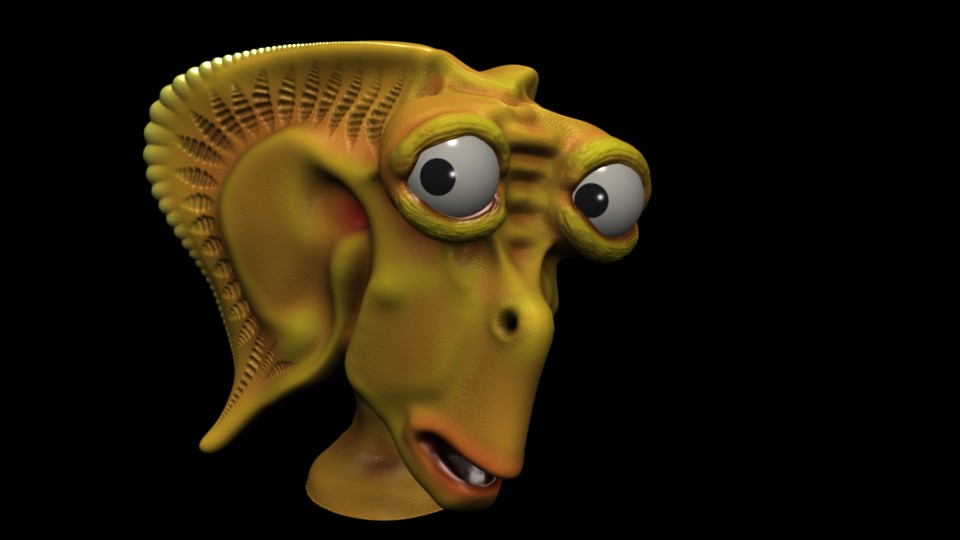
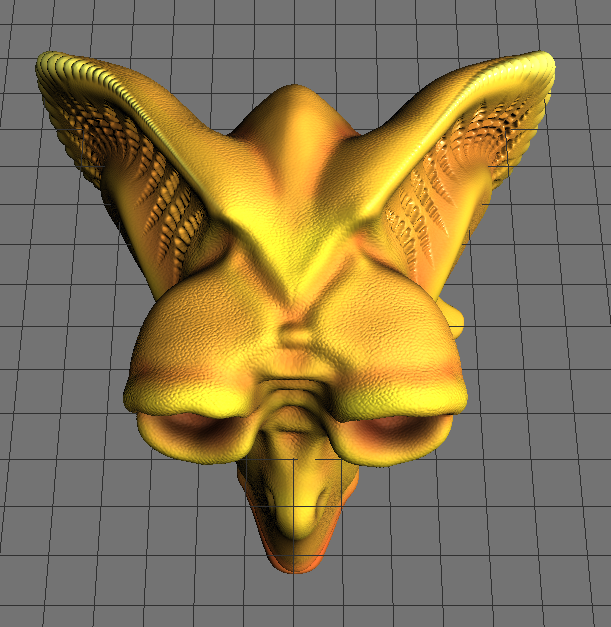
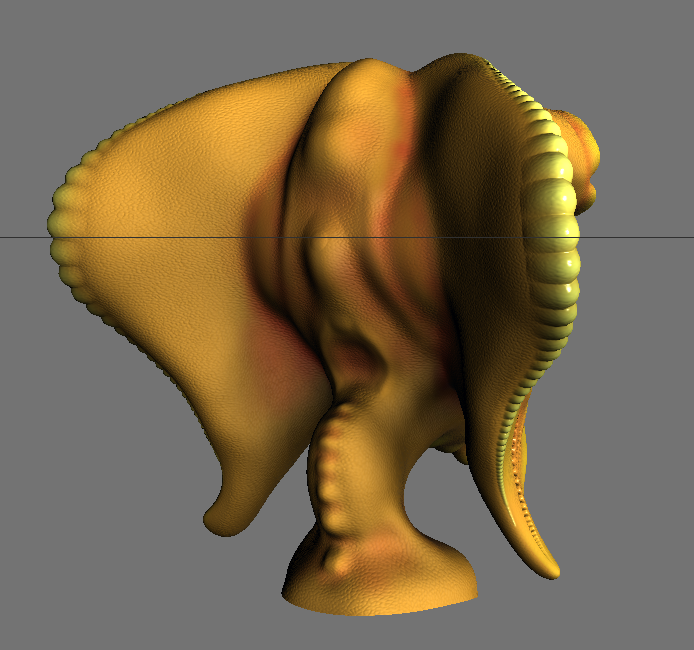
Some testing with blendshapes and deformation (attached). Rendered with blender's equivalent of a playblast (animated viewport screencapture). I think i'm gonna take this to the next level and model the rest of the body.
-
Cool creature, nice edgeflow. Keep on posting, I can't wait to see an animation.
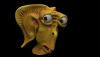
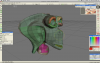
Thanks. I just imported the object into blender, rigged it (very basic), and rendered it. I'll probably keep working on the textures, though. I just wanted to see how it looks with eyes in the sockets.
-
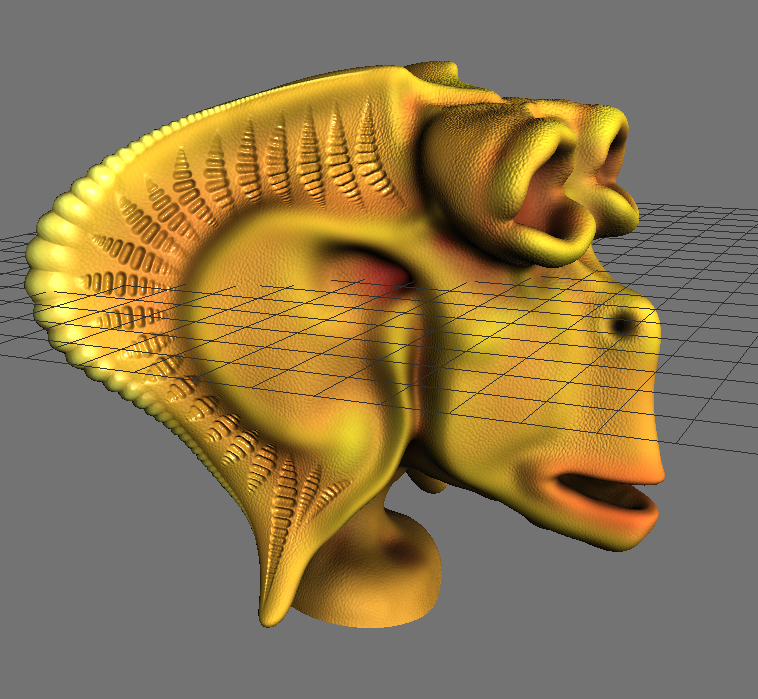
I may choose to animate this at some point in time so it's modeled accordingly. What i'm trying to do now is figure out how to finish/coat the object. I'm pretty content with the base color of the object but am not sure precisely what details i'm going to add to each portion of the head. Suggestions and critique is very welcome.


-
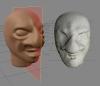
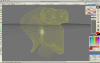
I think I found the problem. After double checking my UVs, it seems as if a couple islands were "astray" outside the normalized range (see attached). After fixing that problem, the patch merged perfectly into the scene with displacements and all. I apologize for wasting your time.
-
I agree 100%, it's the only software on the market that have a intuitive approach without distorsions or something. And above all, i don't need to crash my head on the wall trying to making absurd UV maps.
-TOXE
Well. It's still a great skill to have. It's difficult to modify textures in photoshop if the UV's aren't laid out in a consistent manner, and seams will still be slightly visible on a render (so it's better to have them in hidden areas). This is especially true when using TS normal maps in most renderers and game engines.
I might suggest Blender for laying out UVs. Blender allows one to pin UVs and "stretch" portions of islands with real time unwrapping. (video example of realtime unwrapping on this page, video example of live pinning here) A 3d World tutorial is here. Note that the features have advanced significantly since then (such as the addition of realitime angle and area based distortion visualization). It's a good free (open source) compliment to 3d Coat.
Once you get your mind around it. It's not too difficult. The easiest way to think of it is: if I have a knife, how is it easiest to slice up the object into pieces and flatten them out.
-
I downloaded object and will look it soon.
Thanks. I'd really like to figure out what the problem is so I can get around to painting the head.
-
Direct painting feature is much more simple to implement then VS. It will take 2, maximum3 weeks to implement. I still have a hope to release 3DC V3 in 1-st quarter of 2009.
Even if I will not be able to finish in 10sq quarter, I will implement direct painting in 1-st quarter.
Personally, I like the microvertex based painting better than UV painting. Every direct-UV painting program i've used has serious problems with seams. 3d coat is the only program i've used so far that doesn't resort to some kind of projection and still has fantastic speed and seamlessness.
Props to Andrew for using this approach. I love it.
-
Thanks so much for the clear explanation

So, at the end the symmetry don't work? I'll try after your good lesson about retopo

-TOXE
I just edited my message as you posted a response. It works now, but you have to go "apply symmetry" under the retopo commands menu. So "apply symmetry" "mark seams" "auto seams" "unwrap" and "merge into scene" works (though manual tweaking is still best for optimal results).
-
Yes, it don't work with Q&P like psyborgue says... But, sorry i havent ever used retopo tools... After converting it to polygons how can i use the model?
-TOXE
switch to the "mark seams" mode, click "auto seams" then, "unwrap" (unless you want to manually set the seams). After that, go to "merge into scene" under the "retopo commands menu". Then simply set your options as usual and switch to paint mode. If you're going to animate your model, though, it's probably best to manually retopo the object (and for optimal results, place UV seams manually). The manual covers that. Retopo is quite simple to use.
Edit: actually. Cancel that. I just tried it out and the resulting mesh is not symmetrical. It appears that the symmetry plane isn't applied in retopo mode. Although the mesh appears to be symmetrical in retopo mode, turning off the symmetry plane reveals it's not really (and neither is the retopo result).
Edit: it works if you go "apply symmetry" first (retopo commands menu). That seems to be the step that is missing when going directly from voxel sculpt mode to paint mod (@Andrew: Q&P does not apply symmetry. It should when a symmetry plane exists).
-
Hi Andrew,
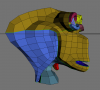
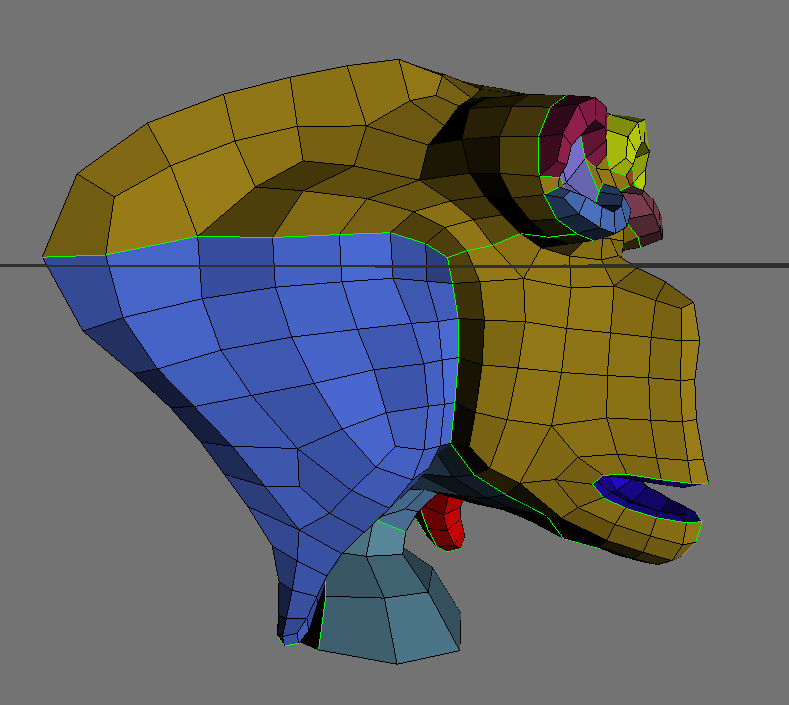
yes the object is modeled with symmetry enabled and is really symmetrical. This is the screenshot, before and after, i've used a low resolution on polygon to better see the wires.
Thanks
-TOXE
I can confirm this is happening to me too (Mac Os Alpha 49). With a symmetry plane enabled, it works properly when going "quadrangulate"... The problem only occurs when I go "quadrangulate and paint".
It also seems that using the "Voxel Shift" tool can break symmetry (after many uses and/or high brush size) during modeling with a symmetry plane (not that the problems are necessarily related).
-
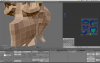
Ok. I switched to voxel mode again, edited the voxel version a little bit, went back to retopo, and now it snapping works again (odd). Baking works as well, but when I switch to paint mode, the model is all gray (no shading at all. same color as background). I have to switch to wireframe to see anything (screenshot attached).
i tried saving and restarting the program, but I still have the same problem. I've uploaded the 3b file here (11.9 mb zip).
-
I modeled a alien head in voxel sculpt mode, created a mesh in retopo mode, exported that mesh to blender, unwrapped the object, re-imported it into retopo mode and now the vertices won't "snap" to the reference voxel mesh when I drag them around or tweak using the brush (the vertices penetrate the mesh). In addition, when merging the patch into the scene, all I get is a smoothed version of the retopo mesh (instead of proper displacements). Am I doing something wrong or is this a bug. I've used this workflow sucessfully in Alpha 46. Currently I am using Mac OS Alpha 49.
Atached is the .3b file as well as the obj retopo mesh.
-
I've noticed that for some tasks, 3d Coat can use a large amount of memory to the point where swapping slows down the program considerably. Would it be possible to have a feature to clear up the undo buffer (and maybe other caches) to free up memory and speed things up?
I'm using Mac OS if anybody is wondering.
-
Quick question (I apologize if this has been asked before):
Is CUDA currently enabled in the OSX version or is it windows only for the time being? If windows only, will CUDA support be added to the OSX version?
-
I've had this issue as well. It's resolved easily enough with smoothing. It seems to happen only at seams, so if you place them in flat / hidden areas it shouldn't be much of a problem.


3D-Coat 3.0 ALPHA
in New Releases, Bugs Reports & Development Discussion
Posted
I am using alpha 49 (mac OS) and am getting an out of memory issue every time to load a file I was working on. The last I checked the file it was working fine, though. Is there any way we can get a 64 bit Mac version (if, indeed, that is the problem. The file was working fine last I had it open and is only 500mb)?