


gbball
-
Posts
668 -
Joined
-
Last visited
Content Type
Forums
Calendar
Gallery
Posts posted by gbball
-
-
4 hours ago, Silas Merlin said:
I'm not convinced.
I played with the N key to move objects in combination to 3d mouse. I really tried, spent some time with it, on different days.
It's really a fun novelty, yes. but. I'd love to hear about someone who has really put it to practical use.
My conclusion was/is that I want the 3d mouse for... navigation. So, I would/will use the trace mode, yes, but not with the N key.
(and in fact it is not really a novelty, Second Life has has it for years, but I have never heard of anyone who uses it. It is just not practical, because while you manipulate the object you lose the ability to navigate... and without the ability to navigate it become impossible to judge the real position of the object, because you are in 2d the whole time).
Your suggestion is appealing, but I think it would be like what I just described. a nice novelty, probably not practical.
As it is, it is possible to define the stroke origin point by "touching" an object at the distance at which you want your stroke to start. Normally you can then move into the void (being careful not to touch anyting else) before you start your stroke (except at present if you do that with muscle tool your stroke depth will be zero).No, what would be really nice would be to be able to manipulate the stroke origin some other way, (and to manipulate an object N-key style too).
For that, the only thing that would make sense to me would be to do it with hand gestures in the air. (kinect style).Actually, what you can try Silas is ghosting the layer and changing the pick behaviour to act, but don't pick. That should help in the situations where you draw over existing geo.
-
 1
1
-
-
On 7/22/2021 at 2:38 PM, Andrew Shpagin said:
eople who want to help with translation
4 minutes ago, Silas Merlin said:Excellent, thank you !
-If the stroke is started in the void.... it has zero depth until it hits an object.
-If your stroke is fast enough, you can avoid the snapping to a distant object, which is nice, but... a tick box to disable it entirely would be nice.It would be useful to have a way to manipulate a drawing plane or stroke origin point using the 3D mouse in real time. So instead of changing the view, there could be an option for the 3D mouse to move around a depth/orientation plane.
-
Thanks @RabenWulf
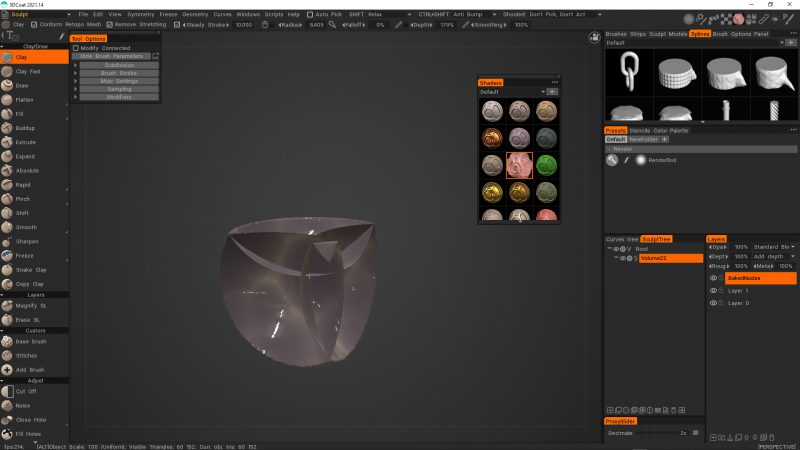
Excuse my ignorance...I have yet to do a deep dive into sculpt brush settings. I mainly use pinch and one of the rapid or clay brushes.
When I've used Zbrush a little bit here and there, the sculpting has felt in some ways a bit more predictable and the surface felt firmer...and the stroke details more localized... in the sense that what I expected and what I got were the same. I think 3D coat has gotten better in this regard, but I only use a few brushes like I said and I don't use ZBrush that much, so I can't make a definitive statement one way or the other. I'll definitely try out the Dam Standard 2 brush though and do some comparisons.One thing about 3d-Coat is that the brushes have constantly been changing, which isn't a bad thing, but that makes it hard for me to say definitively what it feels like vs something else because previous versions have been different. I think the changes have been for the better.
I think the way falloff in 3d coat vs focal shift in Zbrush is a fundamental difference that should be overlooked. As in my mind falloff should allow me to make strokes that provide a nice buffer within the border of the brush radius that doesn't affect the underlying sculpt geometry at all. -
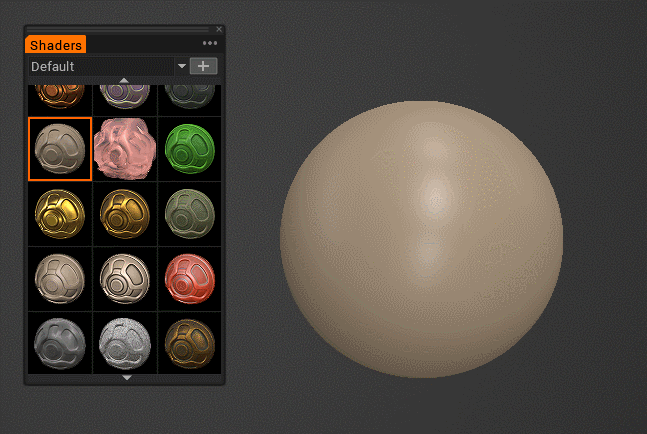
Here is the shader if anyone wants to test it out.
-
2
-
-
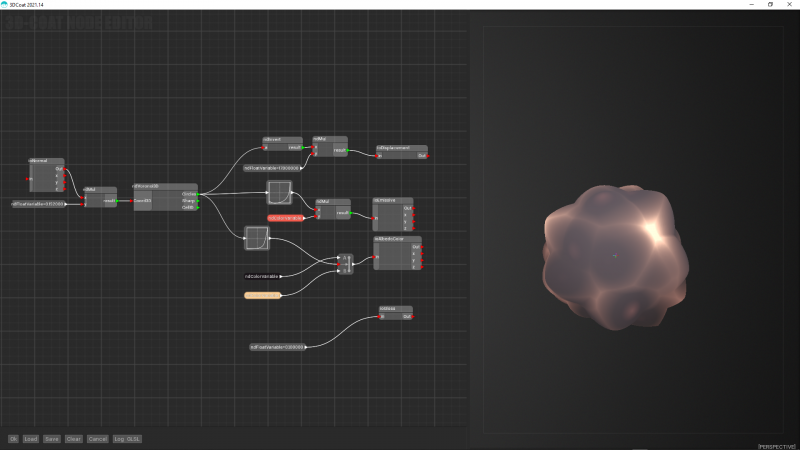
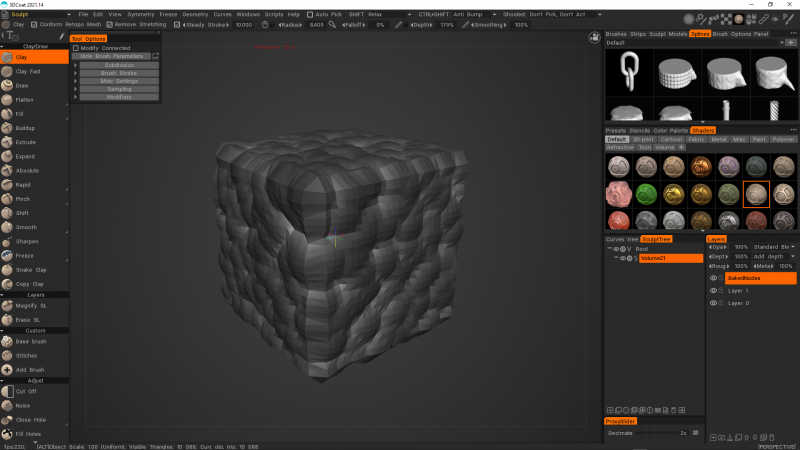
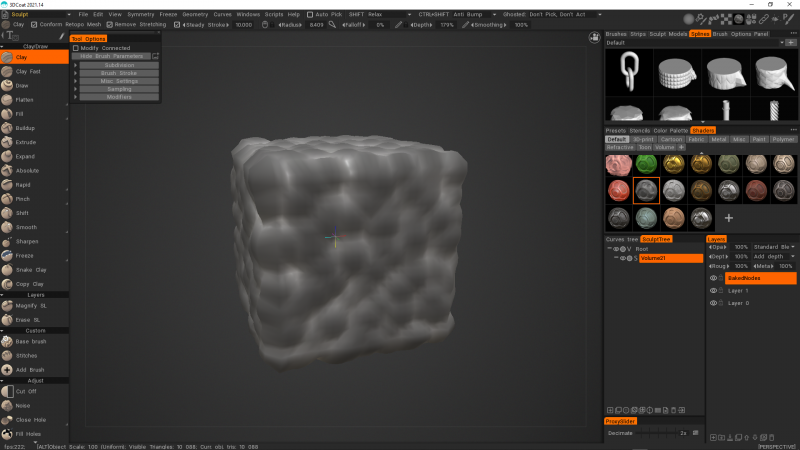
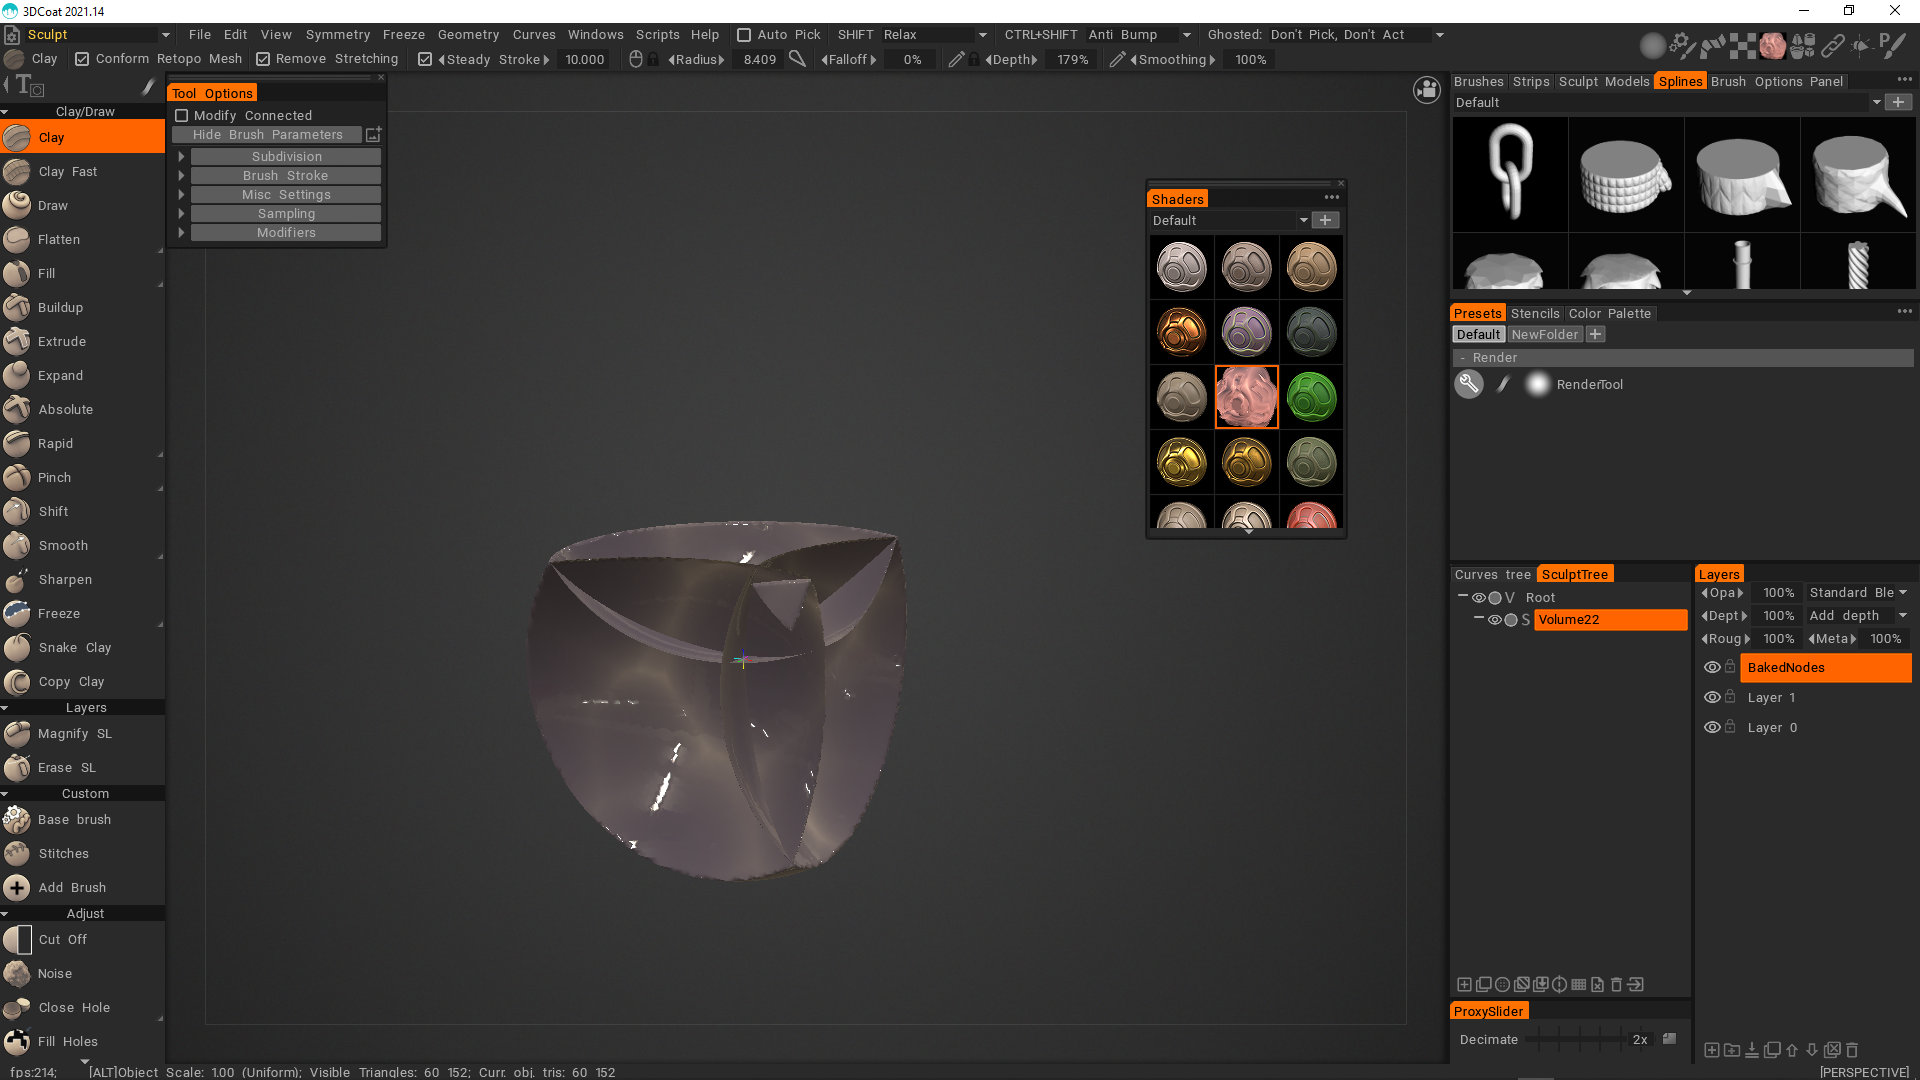
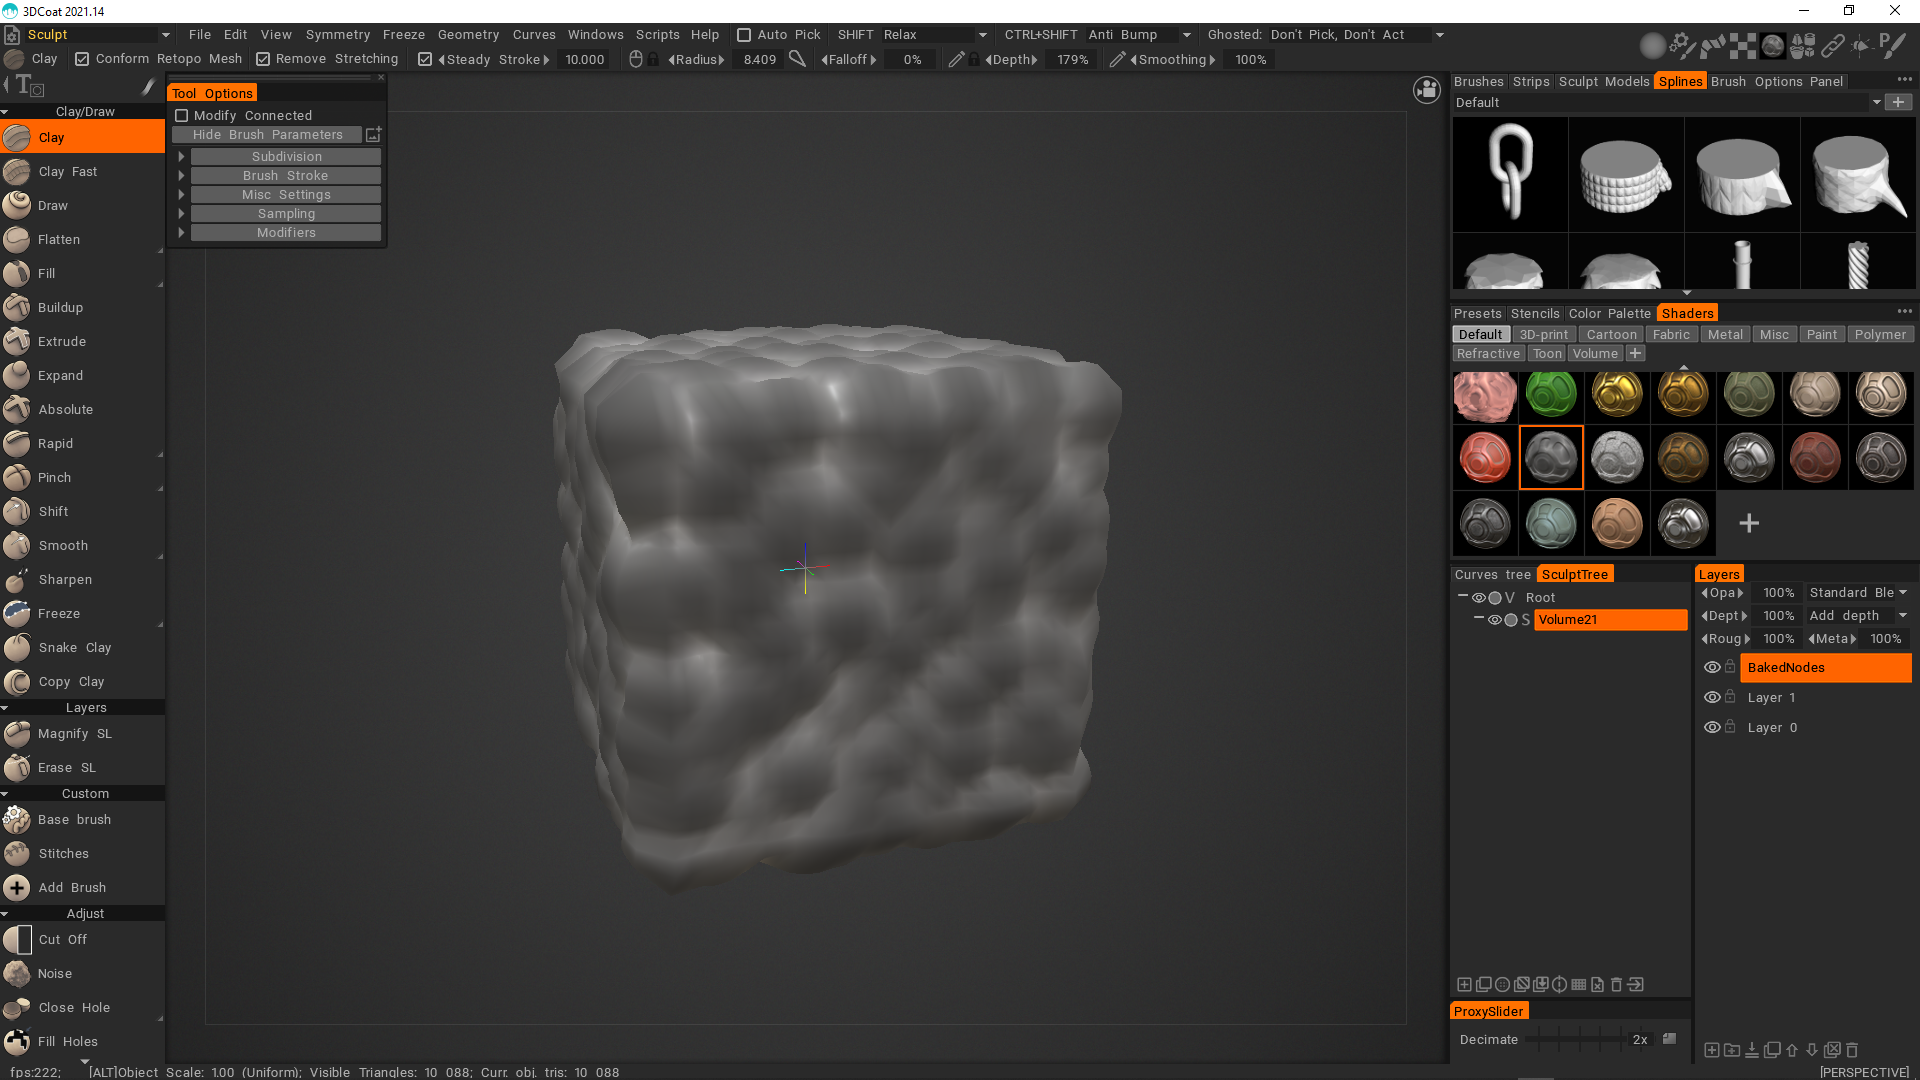
When I try to bake that shader I get this
-
This is a gif showing me clicking on the same node-based shader multiple times. The parameters keep changing for some reason. This used to happen with all the node shaders I made, but now it's just this one. The others seem more stable. I made this in an older version of the program...maybe 2021.09 or something which might be part of the issue.
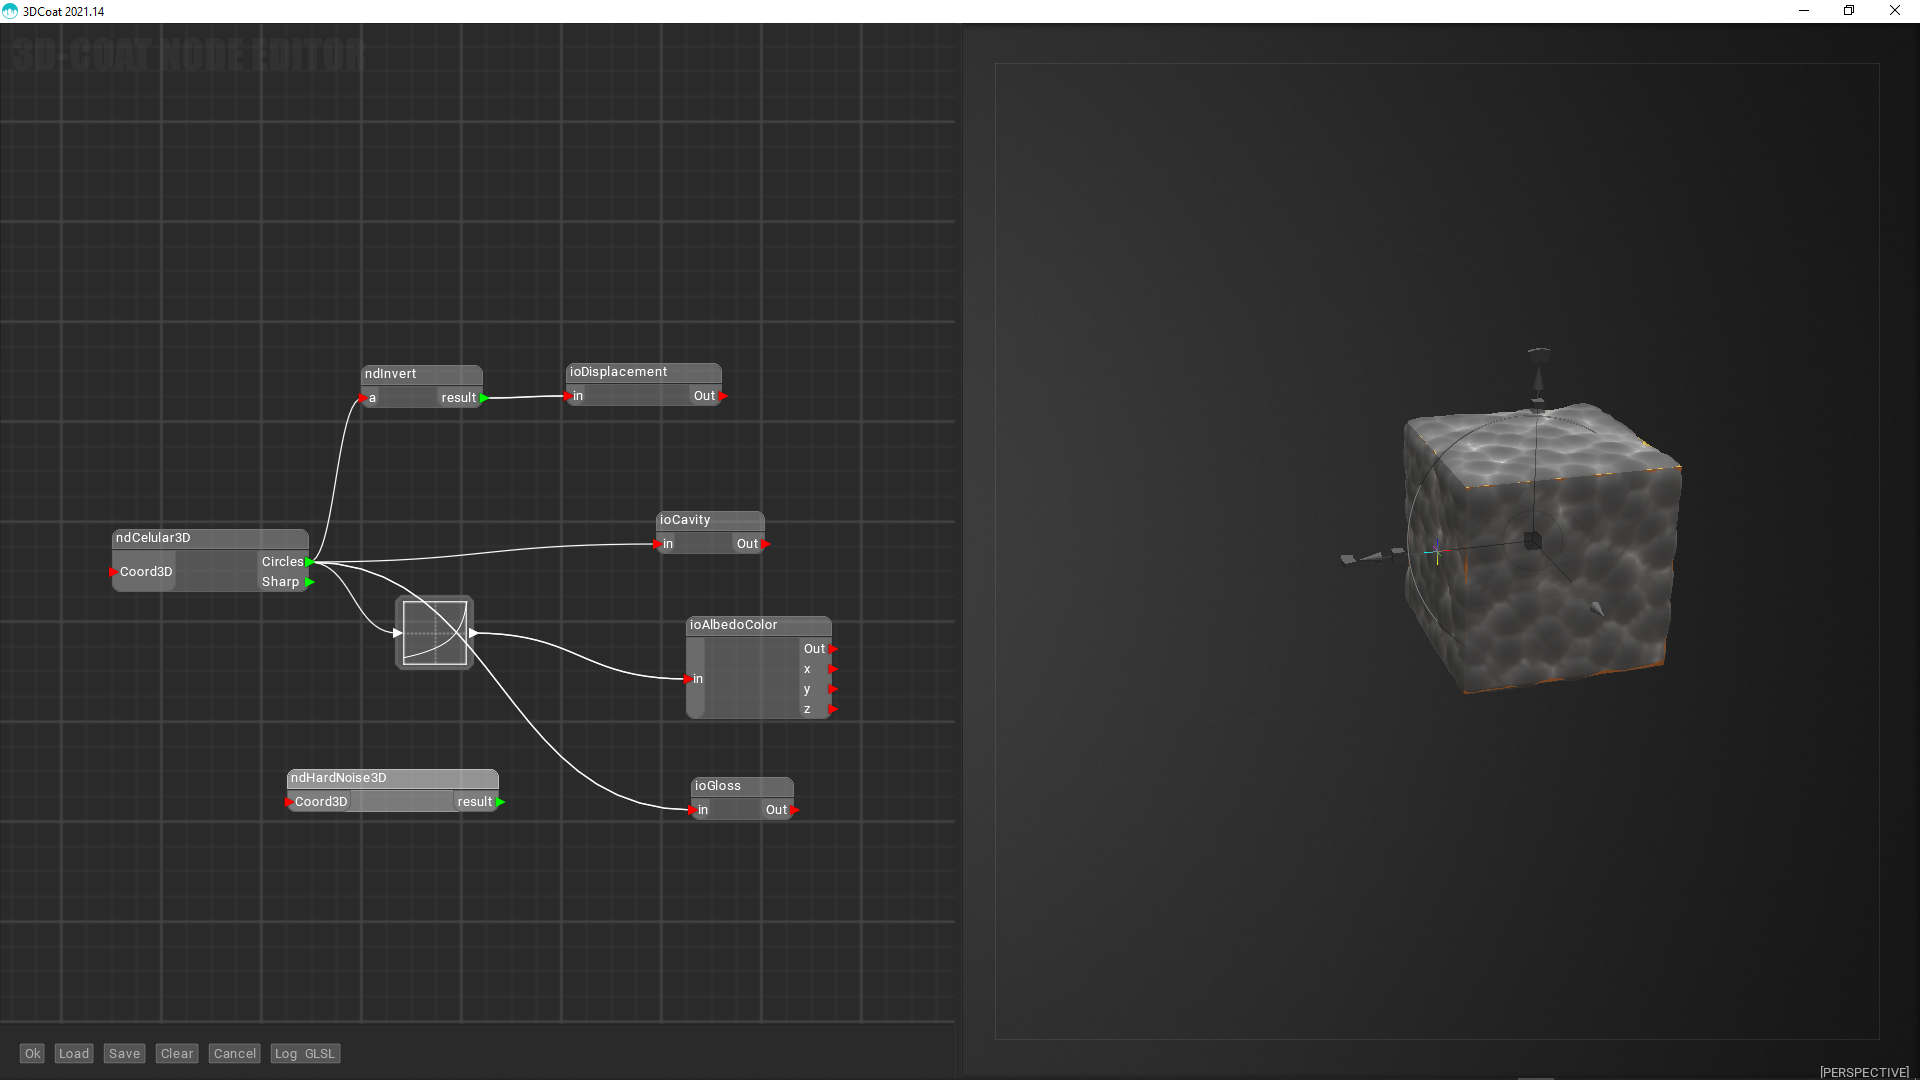
Here is my node tree...the shader in this image isn't displaying as intended.
-
2
-
-
1 hour ago, Andrew Shpagin said:
The reason is that you sculpted something into the "BakedNodes" layer. Nodes baking overwrites that layer, so your layer content vanished. Try to rename the BakedNodes layer before baking.
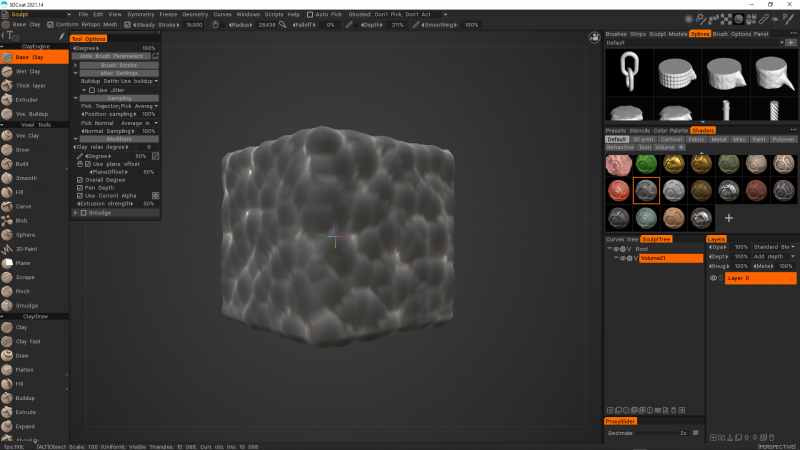
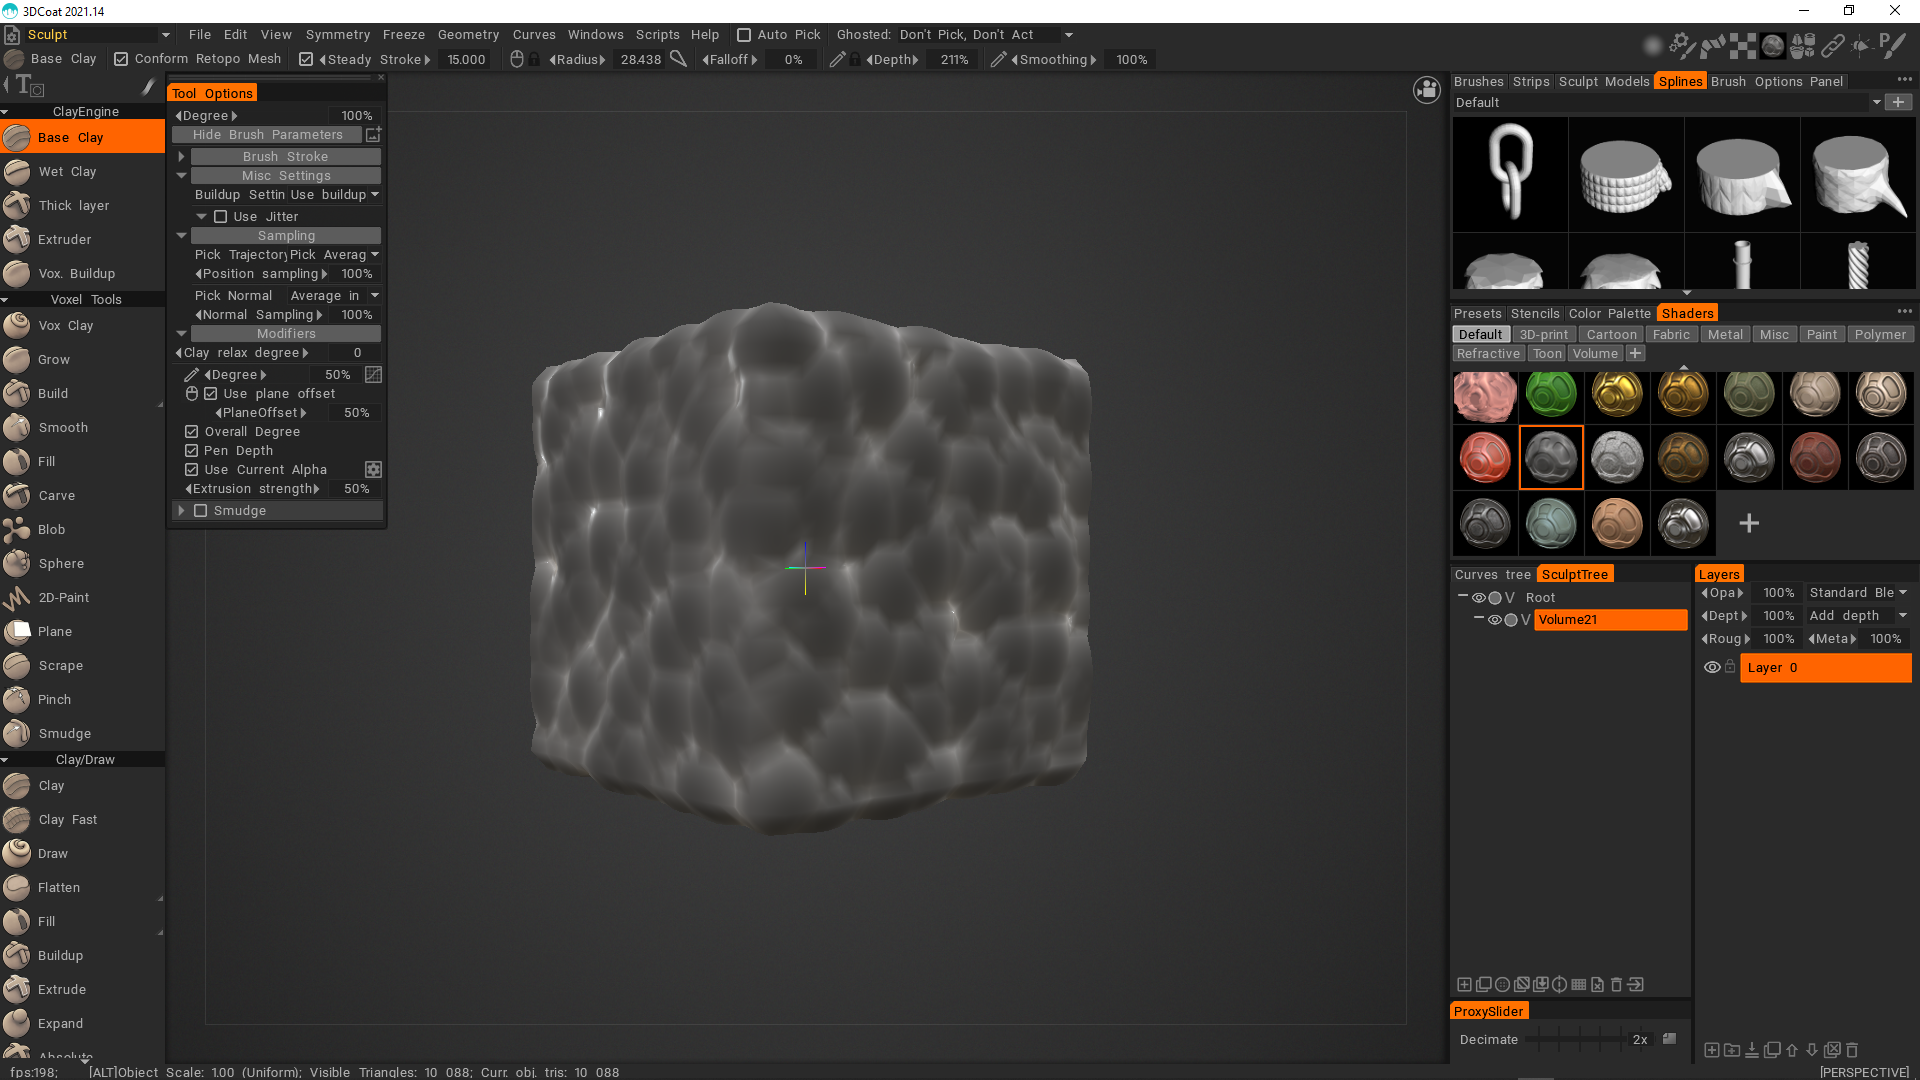
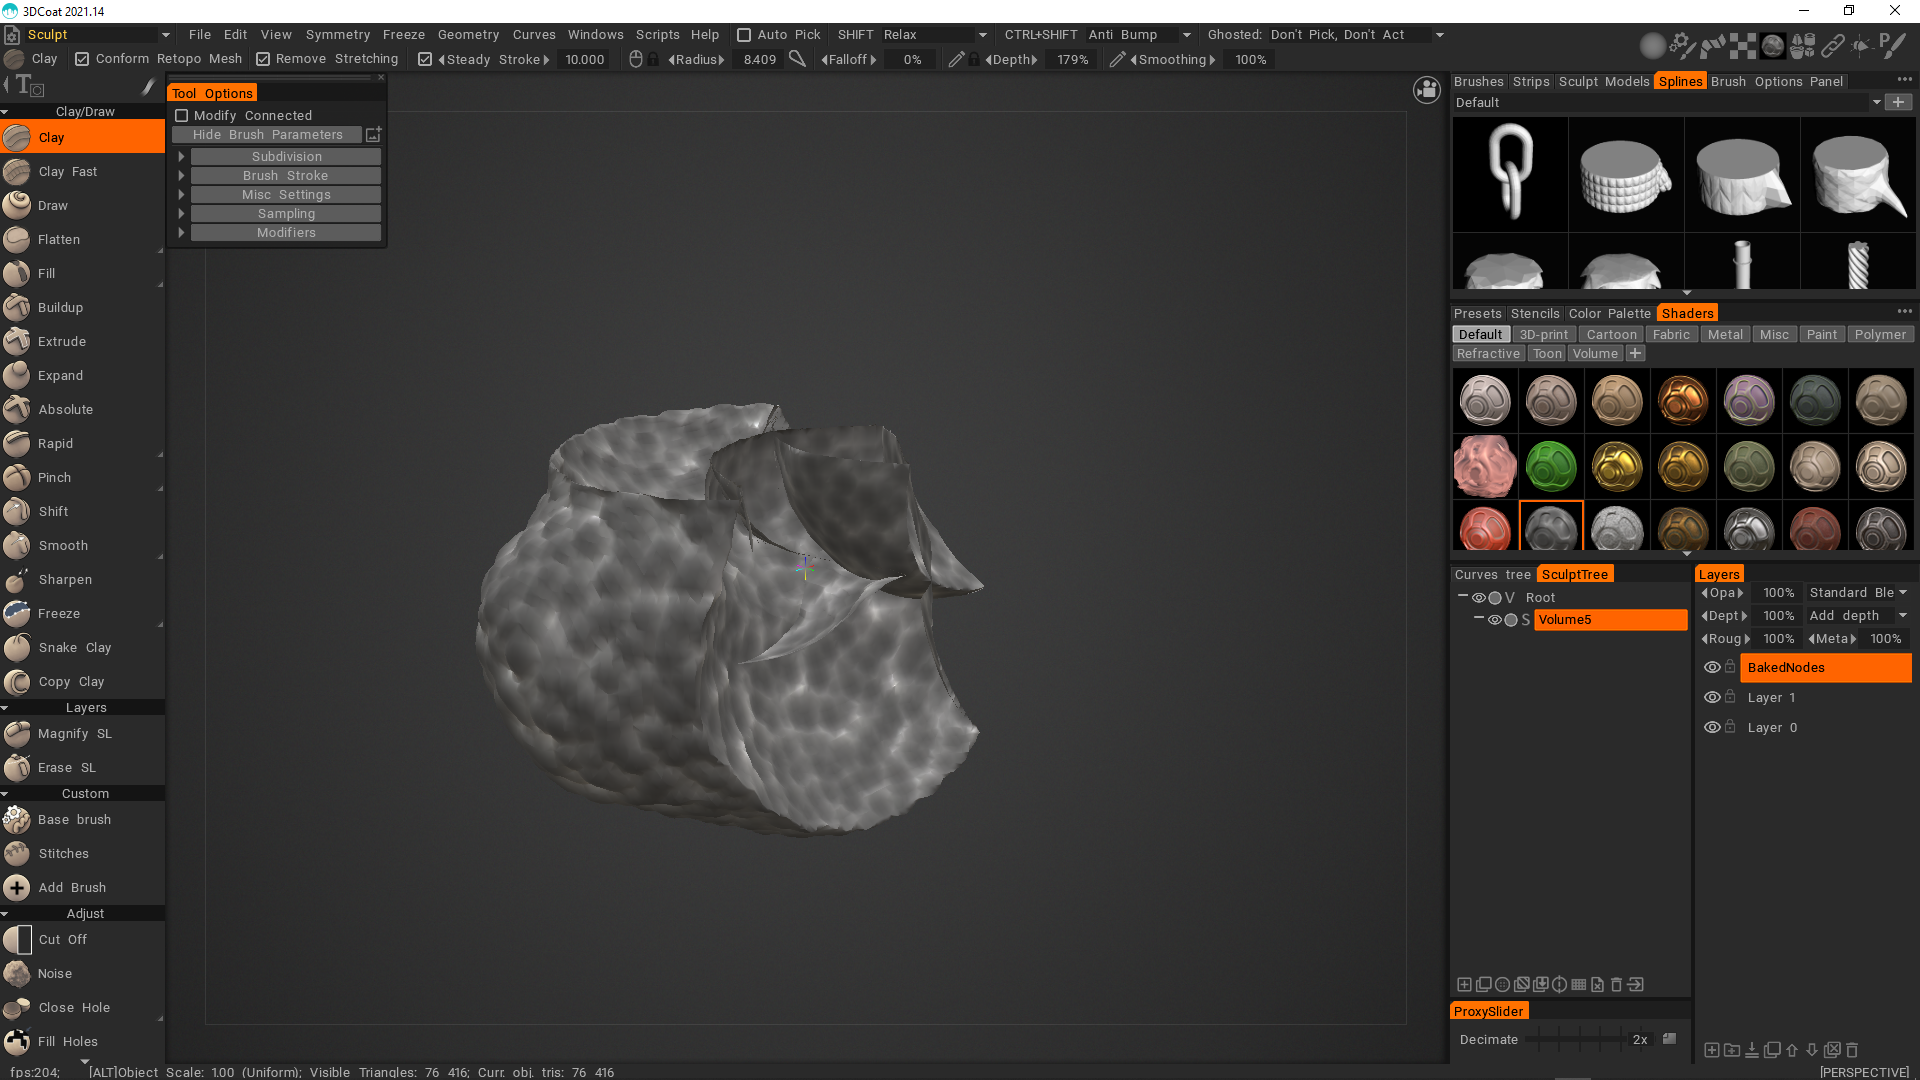
It's happening even with the default sphere.
I'll do some testing, but I also tried deleting the default shere in voxel sculpting and creating a new sphere primitive in which case it worked...but I had the same problem with cube and some other primitive shapes.
Node setup.
No sculpting done.
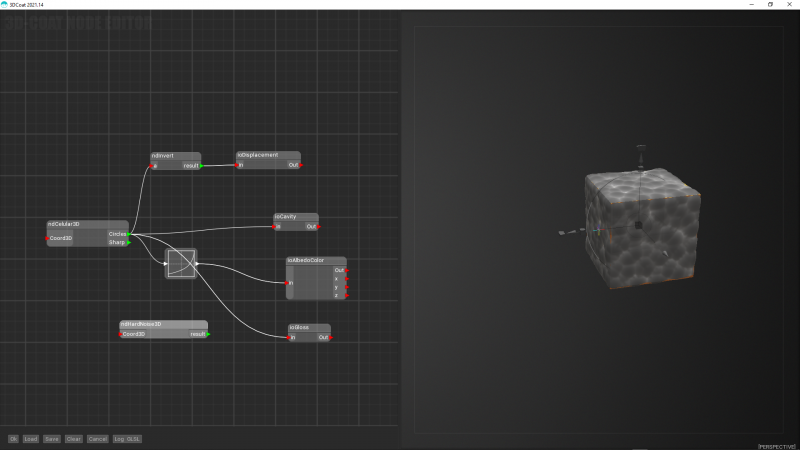
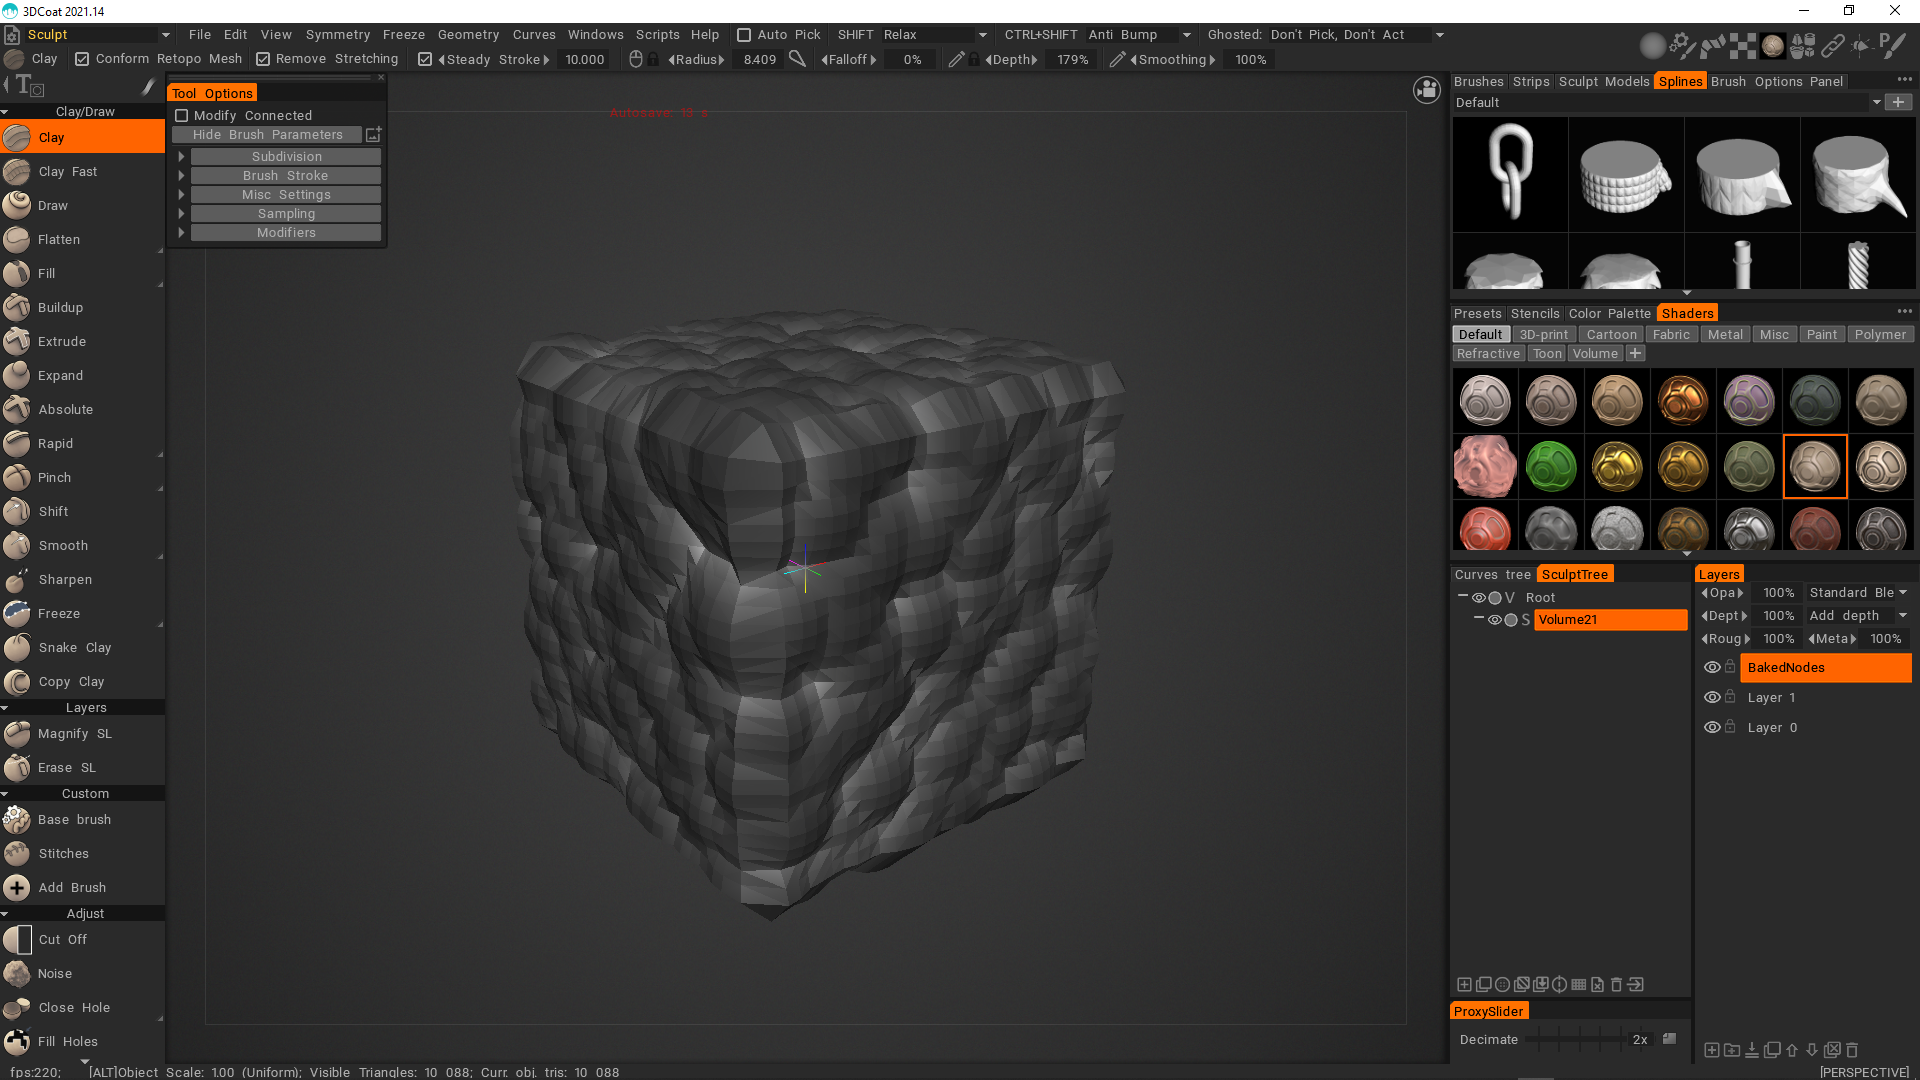
It worked this time...but it's not working every time???? Very strange...I'll see if I can pinpoint the issue. Maybe you can try a few times to see if works consistently.
-
I'm having a problem baking from nodes. Version 2021.14

-
16 hours ago, RabenWulf said:
Picture: Less than 20 seconds of squiggling it around, broad strokes and close proximity ones.
I'd say in comparison to the way the mesh displaces the surface, it is horrendous, at least to me. There is definitely something Zbrush is doing behind the scenes that is giving the user a finer amount of control on their brush strokes, with a more natural surface displacement going on with the same kind of ease. This is one brush that is able to offer so much variety in result without making any adjustments to its properties. I really struggle to get the same kind of results with 3D Coat. The tool's behavior is definitely important, but I think there is something else driving this difference, namely how it interprets input and displaces the mesh, especially when it comes to overlapping/sharp cornered areas. The 3DC brush engine definitely needs whatever zbrush is doing that makes it work so well in this regard, unfortunately it does not appear to be present in 3DC's new one (at this point in time).
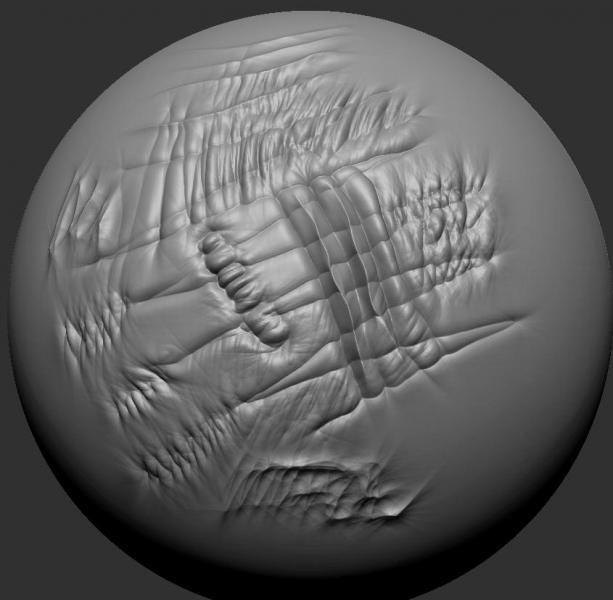
What brush is that? I wonder if it has anything to do with the way falloff works.
-
2 hours ago, RabenWulf said:
I tried just about every combo, once more just now including that one with a similar alpha and could not even get close to the same results or behavior. Zbrush seems to displace the surface in such a way where its shifting and expanding out the areas around the cut, and when the cuts intersect they merge smoothly with one another. Depending on the direction you move the brush it creates a specialized pattern that mixes well with intersecting crevices. 3DC just gives me horrendous results trying to emulate the same thing, leaving me to think its just not possible in 3D Coat as it exist now. Keep in mind this is the Dam Standard 2 brush, not the more simplistic version that comes with Zbrush by default.
I hate to say this, but the developers might have to take time to use zbrush for awhile to kind of '"reverse engineer" what is going on with their brush engine, assuming they have not done it already. There is just something different going on with the brush behavior that is keeping it heads above the competition, and its not just performance.I think the best path towards what you're suggesting to is to create a more robust set of sculpting abilities in the paint room, which seems to be more a straight displacement style sculpting. Of course, I don't know how it all works under the hood, but I think if you paint with displacement... i.e. a black and white pixel information to displace an underlying mesh you could do a lot of cool tricks since you're really just be working into a 2d texture essentially, so blending, masking and smoothing would all work really nicely and you'd have the same level of control as you would if you digitally painting something in Photoshop.
Not sure if that makes sense or not, but that's what I suspect zbrush and Mudbox do and I think 3D Coat does the same when you paint on a sculpt object with depth in the paint room...with the only difference being that the brushes there are extremely limited and the seem to just push out on the vertex normals.
-
 1
1
-
-
One more. This is a timelapse, but it shows some of the other techniques all being used.
Then a continuation using curves for the armor
One last one showing one of my first forays into 3D Coat 2021
-
1
-
1
-
-
I think this one is pretty helpful too.
-
5 hours ago, muzgawa said:
Hello ,
I second you. Imho, the lack of high quality tutorials is the biggest drawback in sales for 3D-Coat. It is mandatory for Pilgway to partner with
a handful of skilled people as "ambassadors" of this marvelous piece of software. When I say ambassadors I mean teachers. I need them to show me, step by step, over and over again the WHOLE process of creation, back and forth, from zero to render. No time lapse, no shortcuts. And the very next day, I wouldn't mind at all if they will use a different workflow to same result. I am sure this sounds familiar to many on this forum regarding other great names in CG industry.
Every single full tutorial will advertise 3DCoat. I can't see a better commercial to improve the sales. Also, relying on third party paid tuts would be a mistake for many reasons.
Please Andrew, don't ignore the fact that so many people don't know how to proper use this gem. Help them, make them want a license.I've made a few tutorials over the years and lately a weekly sculpt session for a game I'm working on.
Here are a couple of videos. The first breaks down how I build a reusable character body base and the second on how to start with a sculpt, retopo, bake, texture and export.
Old video, but really breaks down the foundation of using the program for sculpting.
I have a lot more on my channel, but these 3 are pretty solid for understanding the basic character sculpting tools
-
4
-
1
-
-
2 minutes ago, Elemeno said:
i know this is late to ask but can the room be properly catered to its uses... for example sculpting room will have its own hotkeys
and then modelling room having its own hotkeys an a proper interface and tools... for exactly b for bevelling ,workflow of 3dc lowpoly is way too slow... its not even worth using because its just a timewaster not a helper.
select should use a replace each selection... so when you select a face or edge and then select another edge it will remove the previous selection and only way to stack selection woul be using the shift key,
going into clear selection after every adjustment is crazy and not something i ever want to do againI agree about the amount of clicks for selecting. But if you change the select mode to a marquee selection in the E panel, it will be have more like what you're suggesting iirc.
My main gripe is that select should always be available...we shouldn't have to switch to a dedicated select mode. It slows things down having to always do that. Even setting a hotkey seems like an unnecessary extra click. Perhaps holding the CTRL key or something similar should allow selecting at any time...kind of like how we always have access to the smooth tool while sculpting with the SHIFT key while sculpting.... Also, we will need the ability to snap the pivot point to verts/selections and adjust the transformation orientation for face normals, world space, local space, etc.
-
Still having that shader issue in RC3. The shader was made in RC2 though, so not sure if that's part of the issue.
https://www.dropbox.com/s/c0jwxq8nqsooobk/Action%202021-07-11%203-44-08%20PM.mp4?raw=1
-
7 hours ago, Andrew Shpagin said:
Question for 4K owners - is the default Large font enough good in terms of letters size? What diagonal do you have?
I always worked on 2K monitors (rather because it is most distributed), but plan to move to 4K soon.
I use 150 - 200% because my monitor is only 24 inches.
But, I'm curious, will this be handled in 3D Coat or through the Windows 10 settings? The reason being. If I leave my Windows 10 UI scaling at 100%, it's too small for all my other applications, even if 3D Coat does its own scaling. So this creates an awkward situation when switching applications.
Once I scale the UI through the Windows 10 settings it causes problems with brush offset in 3D Coat. But for me this would be preferable because it will make everything I do outside of 3D Coat more workable.
-
I'm still having some issues with making new shaders where some of the nodes seem to persist even when I change to another shader. For example, I put a 3D voronoi node into a cavity i/o node and then it seemed to carry over to other shaders that I hadn't edited.
-
4 hours ago, ebitz said:
Concerning "construct new Shader". Specifically when trying to construct a new shader from one of the two existing default matcaps, after naming, the screen will freeze but not crash. Simply adjusting the window around in the monitor unfreezes it. However 3d coat will enter you into the PBR parameters rather than the Matcap dialog. If you cancel the operation at this point the new matcap shader is created anyway. From there you can edit the shader settings and the matcap dialog will appear as expected. Simply put the matcap dialog for "construct new shader" is replaced initially with the PBR dialog instead.
Another issue is that once a new matcap is created from one of the existing default ones, there is a file that fails to be generated into that new shaders userprefs folder. This missing file is the " CustomSampler3.dds". I have found significant viewport performance when this file is present. Now, once you construct new shaders from the new user shaders the file comes along and things work as they should. I have no idea why this "CustomSampler3.dds" file increases my performance or why it is relevant.
This error is also present in 4.9.75
On Linux Ubuntu 21.04 Based.
Is this is RC2 or RC1?
It seems Andrew has addressed some of the shader bugs, but I haven't tested myself yet.
-
18 hours ago, Carlosan said:
if I create a new shader with assigned nodes (edit nodes option), the other old shaders can no longer be selected.
I can confirm this issue.
Also, when I make a shader using nodes. Close it and reopen. There are duplicate nodes stacked on top of each other.
-
1
-
-
3 hours ago, TreetopFlyer said:
Yes, I have been using merge visible as a work-around. (I just dont think I should have to) I think if the 'P' label is there that would be best as far as a visual indicator goes, but then it is likely that internally that will require a lot of -re-work with how the current S/V toggling works and there is the question of what happens when you click it? does it become: a surface or voxels? But now it seems like where this is going is a "universal conversion dialog" somewhere in the UI, that lets you convert between these types: Voxel, Surface, Retopo Object, Paint Object.

Hey Treetop,
Yeah, you're correct it would make switching back and forth a bit more complicated. Hotkeys and preferences could help with that though. Also, I'm not sure there should be a distinction between a poly object and a paint object aside from whether or not it's been UVd.
Another alternative would be to leave the Voxtree as it is and add in a proper outliner. This would solve the other problem of having a separate dialog for each of Curves, SculptTree and Paint Objects.
Right now there are separate menus for Curves, Sculpts, Poly Groups and Paint Objects. An outliner with the ability to filter by type would be a lot easier to manage. Even photoshop has all kinds of different layer types and the Layers panels is more like an outliner in a 3D application.
But to your original point, there should definitely be some kind of distinction of poly objects currently. There is a similar issue with curves modifier sculpt objects.
-
1
-
-
1 hour ago, TreetopFlyer said:
Regarding the Voxelization of subdivision preview objects:
In this example there is a cube and a cylinder sculpt object. Outside of the telltale name, the cylinder “PolyGroup1” looks like any other surface object in the sculpt room.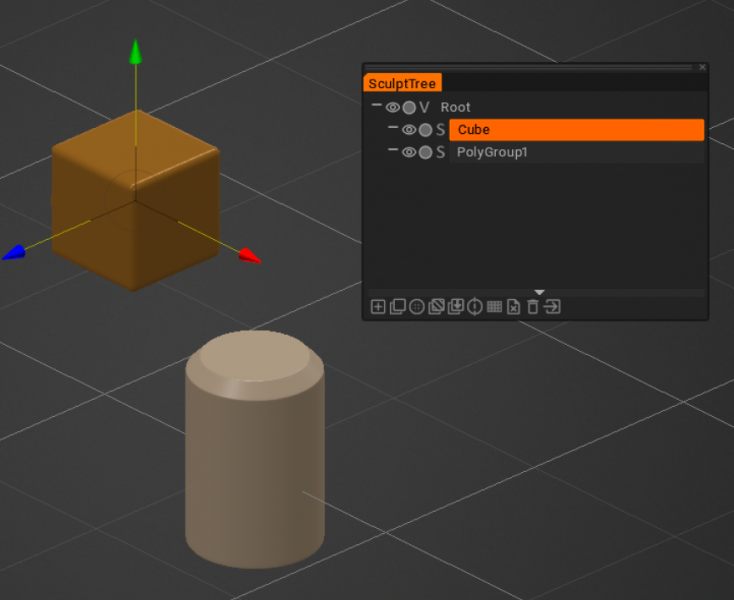
However, it is not. If you click on the “S” to turn it from a surface into a voxel object nothing happens because in this example it is being dynamically placed there from a subdivision preview in the modeling/retopo room.
First, there needs to be some visual indicator in the tree that this object is being generated dynamically from something else. (The name itself is not sufficient) There is a “bracket” convention used when an object has been resampled e.g. “[0.5]Cube” so something like “[Dyn]PolyGroup1” might work? (This should also be used for curves-generated objects)
Second, it doesn’t matter if the object is being generated dynamically: you should just be able to click the “S”, and have it voxelized in one move.
Right now to voxelize a subdivision preview in the sculpt room, you have to click the "S" and if nothing happens 1) switch to the modeling room 2) hunt down correct the poly group 3) select `Mesh > Unlink Sculpt mesh` 4) go back to the sculpting room 5) find the object again in the sculpt tree 6) click the “S” toggle button again.
Regarding retopo primitives: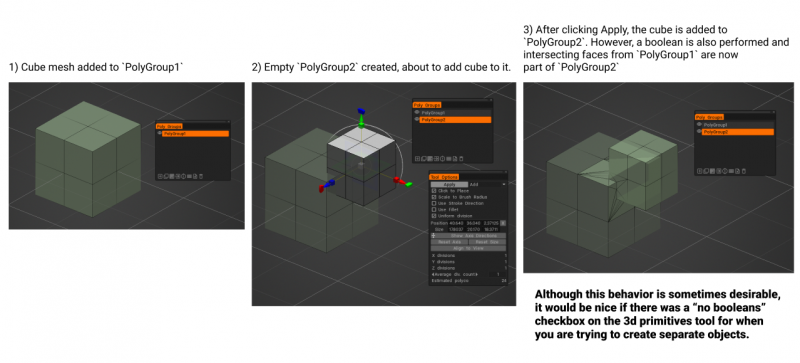
What about a 'P' instead of an S to denote Poly Object, or Polygroup?
I'm hoping that eventually we'll have access to poly modeling and quad based scuplting tools/options in the sculpt room in these cases. And yes, as you've said, being able to convert to a S - sculpt or V - sculpt object would be ideal. Albeit with a warning for the destructive process.
Have you tried merging visible onto another layer?
-
1
-
-
1 hour ago, John Spittle said:
Hi All,
What menu should be displayed in the retopo room when you RMB over an Item in the scuplt tree? I'm getting
is that correct? i'm presuming it should be more like the old one. I was looking for the auto retopo. I am a bit of noob so correct me if i'm wrong.
Also if i right click on an any item as soon as i move that mouse the menu dissappears! I have to move the mouse fast and try a couple of times before being able to select anything on the menu.
cheers
Johnny
Yeah, it should give you sculpt object options. At least, that's what i would prefer
-
1
-
-
1 hour ago, SERGYI said:
Please try to reproduce the problem on our standalone test:
http://pilgway.com/~sergyi/TestStroke/TestStroke.zip
Key "1" enables the Wacom "WinTab" interface. Key "2" enables Microsoft "TabletPC" interface. Try them both. Report which of them has the problem and contact me directly: sergkryzh at gmail dot com.Email sent.
-
Bug in latest Beta:
Render room settings are lost when I move to the sculpting room and back. I haven't tested much, but I have shadows turned on in the sculpt room.
Can anyone else confirm?
Also, I haven't tested, but has the issue with UI scaling affecting Wacom cursor offset been fixed with 4k monitors in dual monitor setups where each monitor has a different resolution. I think you'll definitely want to fix that issue prior to release.


3DCoat 2024 development thread
in New Releases, Bugs Reports & Development Discussion
Posted · Edited by gbball
I think the picking actions only work on ghosted layers...It should be clearer though. I can see why you'd make the mistake.
Edit: Nevermind, I think you're talking about something else.