

Ma3rk
-
Posts
42 -
Joined
-
Last visited
Content Type
Forums
Calendar
Gallery
Posts posted by Ma3rk
-
-
OK. I whanged on it some more and figured out what wasn't clicking with my wetware the 3DCoat process.
I went back to the model in LW and found & fixed some things that would happen when mirroring the geometry. Fixed a couple poly flow issues around the fins as well.
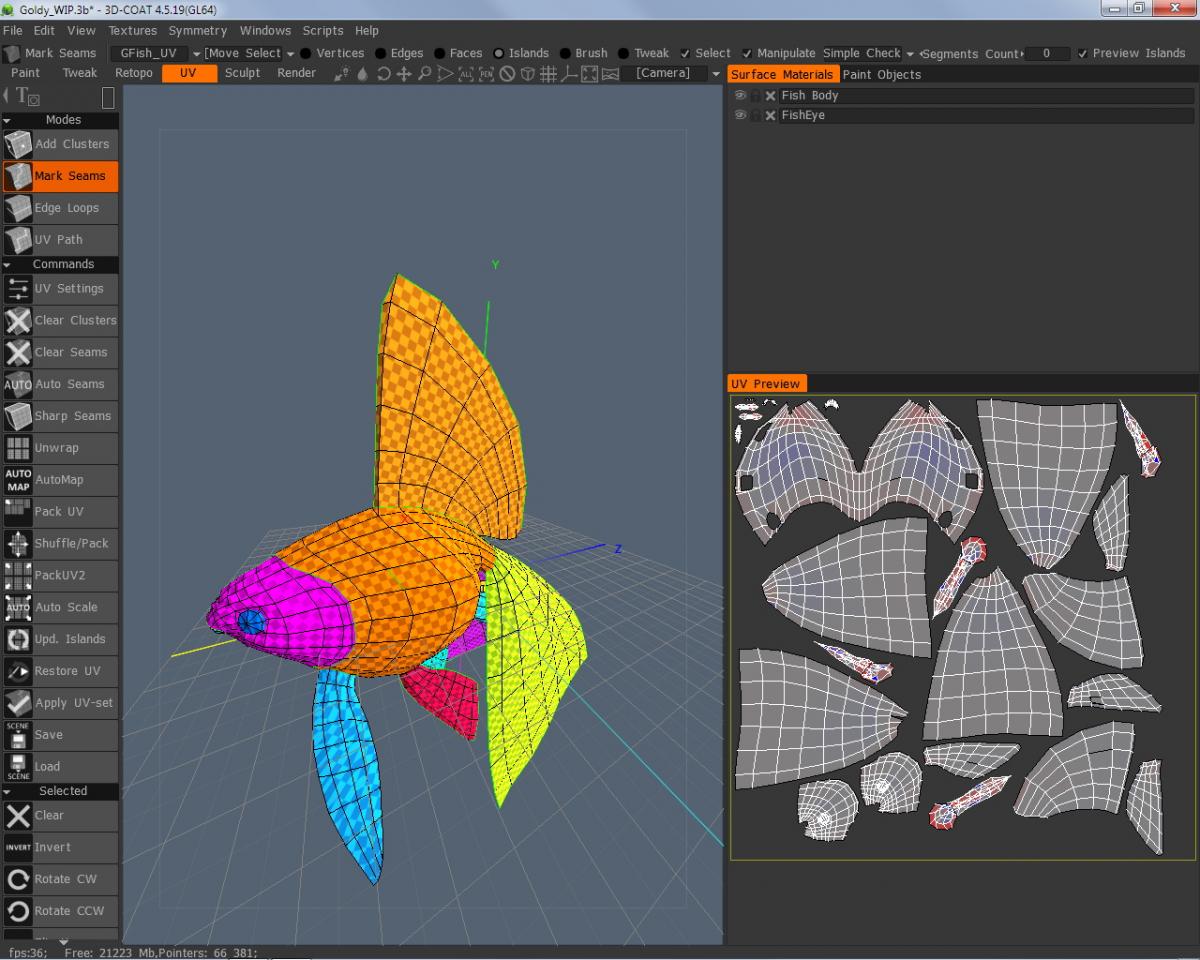
Marking seams is quite the Art & Science, Trial and Error, ah HA! type process I'm finding. The biggest revelation was that I needed to perform the Update Islands task, then re-unwrap. Until I got everthing in it's seperate spot, I couldn't perform the flipping & rotating of the UVs w/o mucking the companion side. That and learning the difference between Pack UV and PackUV2.
Happy to report that I believe I've sorted it out & ready to carry on. I wanted to be able to get entirely though the process to create a genuine UV.
I tried the PTex route as well which seemed idiot proof, right out of the box paint & (I think sculpt) right on your model & not have to worry about anything not being seamless.
-
I guess part of what I'm testing is workflow coming out of Lightwave. Is there any advantage woking with it's LWO format vs. OBJ. Should I import object as a subpatched mesh vs poly faces? Which OBJ export options do I need or need to ignore? Those sorts of things Oh, and what prep do I need to do in Lightwave to seperate out the the needed layers in 3DC? It doesn't seem to go by Modeler's Layer scheme but rather by surface name. I know it split up some earlier fiddling around but was paying attention to other things to understand what happened.
For the mostpart, 3DC seems fine with the .lwo's so if I can stick with that the better. It's coming back to me now though that there were some mirroring issues that don't show up when in sub-D mode.
I'm still not sure what process you performed that split body island that looked seperate but isn't. Perhaps you'd detail a bit.
Thanks.
-
I'll have to study what you're refering to.
In essence though, you found some errant geometry it sounds. OK. This was coming from Lightwave (I see I didn't mention that in this post, did in an earlier one). I'd like to see if I can find & fix in Modeler. I was seeing the oddness in the fins as well but was going to assk about that seperately.
In short, I need to go over the geom.
Thanks.
-
Zipped, the .3b file it crunches down to 2.6 megs so let's see if I can simply attach it here. Nothing propriatary; just a reworking of something I found years ago that figured would make a good painting excersize. There are probably other issues but this one so far has me stopped.
-
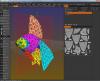
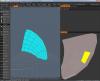
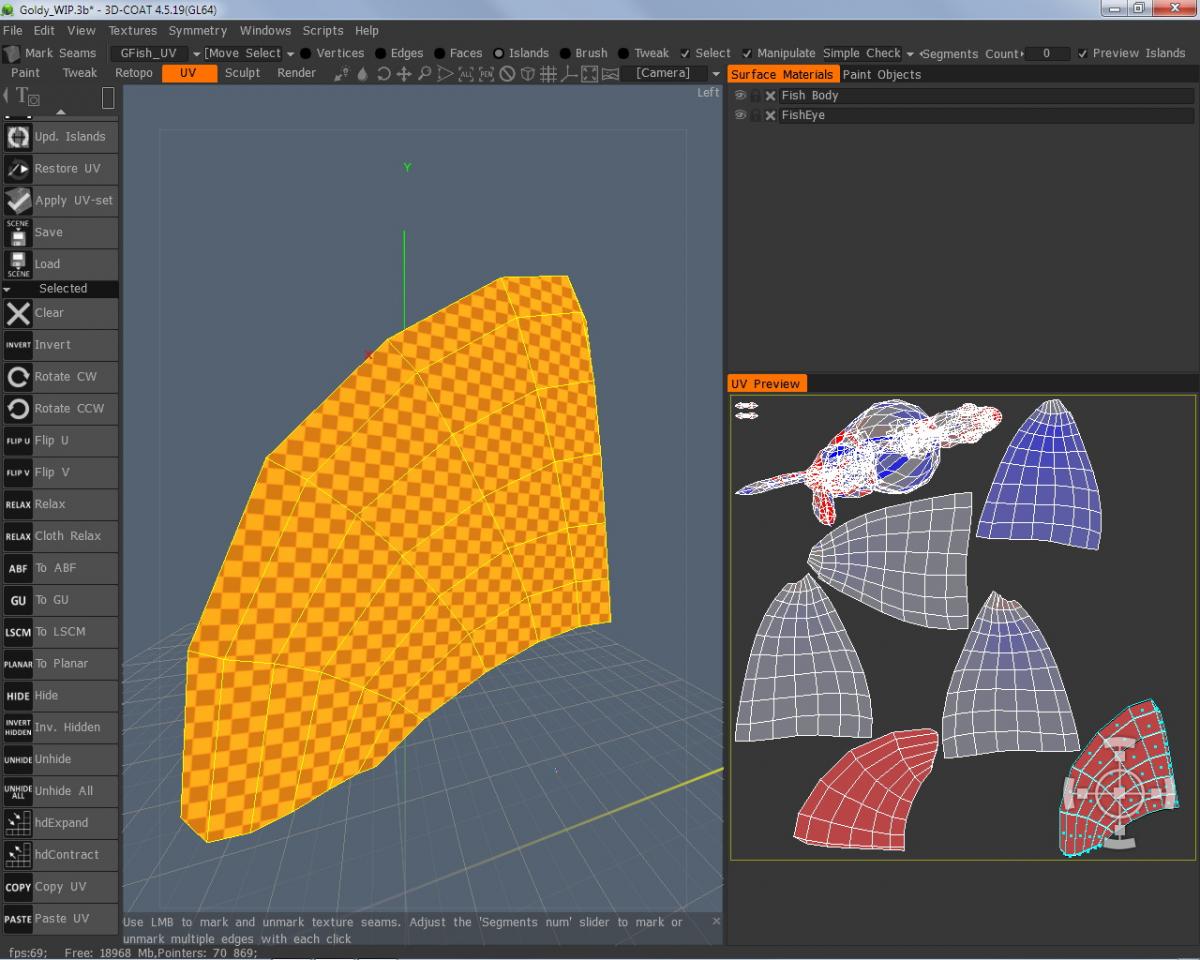
I'm sure this is a common occurance and I say conundrum as I'm not sure it's entirely a problem from a painting paint of view. However, for sake of really liking to have the control & understanding how to manipulate what & when I need, how do I get around this:
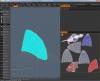
It appears that I have two distinct islands and can use the 3D viewport's select island function:
but my result is that both halves get selected I guess as their UV's are entirely overlapping I'm guessing.
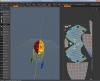
How do I get them seperated? Is there some other selection tool I'm forgetting?
-
Ah. Fiddled some more. Updated my islands and unwrapped again.
-
I'm still finding my way with 3DC but not sure if I came across this in any of the vids I've watched.
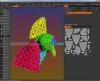
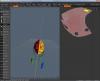
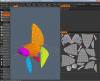
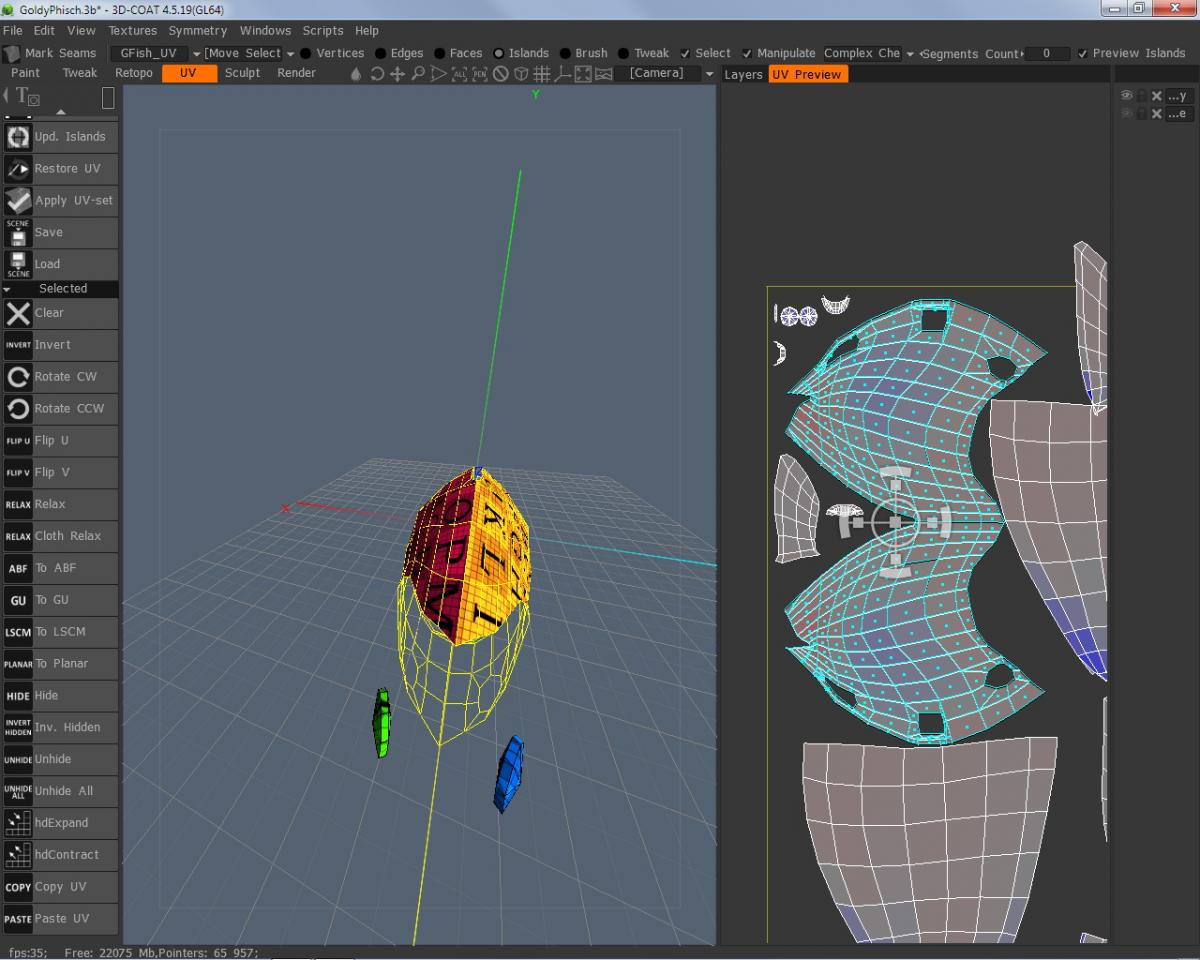
I'm importing a model from Lightwave and as such it places me in the UV room initially & I'm starting afresh in 3DC to make a UV map. As I'm breaking things apart, I have this though:
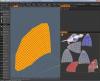
In the overall UV preview, these islands show up as quite red. Yet, when I isolate view either, they're pretty clean.
This just some sort of simple flip, or...?
Thanks.
-
Didn't watch all of them, but the ones i did definitely clarifies some things the official tuts missed.
-
FWIW, I d/led your vase.obj and followed the steps listed for your video posting and had no issue with the object being visible and editable. Out of curiosity, is it possibly a display card issue? Dirvers or some OpenGL setting that's amiss?
-
On a similar note, I fortunately came across a posting suggesting setting the tablet options (I've an Intuos medium) to use the Hover-Click option. I've indeed found this to work the best for zooming, panning, brush size & power. I wish this was settable on a per application basis but doesn't seem to be the case.
-
Slick. Thanks. Will put one on my wishlist then.
-
I'm intrigued about the 3D mouse and watched a couple of the videos on the 3D Coat Youtube channel. What I'm not understanding though is: would/can you use this in conjunction with a Wacom tablet?
Thanx.
-
Actually, it was pretty easy to follow along. I have some questions about your export choices, but more wondering if you've tried any displacement maps yet and incorporating them into the Lightwave object. I'm pretty sure this has to be done via Nodes as per the LW docs.
Looking forward to more
-
I too got 3D Coat to work along with Lightwave. I'm pretty sure I can follow along with the silent version but annotations would be quite helpful. Obviously you write well enough in English so wouldn't think narrating would be much of a problem.
There are translation apps though.
-
Ooo, my first questions.
When working in the Brush Alphas panel, there's a flyout panel if I keep the cursor on an icon.
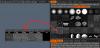
It's not selectable so wondering if it has other functions besides just being a preview?
FWIW, if using the mouse, the RMB does bring up the menu to edit, etc. If using a Wacom though, I have to use the pen button assigned to MMB. Any idea why this might be?


Baking transparency?
in General 3DCoat
Posted
I've gotten the basics of this working but wondering if there's a way of ganging layers so that the erasing operation is in sync so to speak? I'm working on a fish & trying to figure out the best approach for transparency & translucency.
Similarly, I'm not fully understanding the RMB function of Make Transparent for a layer. Seems that the Blend mode is important for ths to work properly. Any tutorials anywhere on this?
Thanks.