


DustyShinigami
-
Posts
199 -
Joined
-
Last visited
Content Type
Forums
Calendar
Gallery
Posts posted by DustyShinigami
-
-
Sorry to resurrect an old thread, but I seem to be having issues still, but this time with a new project. Whenever I try to assign a new material in the Sculpt room, nothing seems to happen. Likewise if I jump back into the Retopo room.
-
Hi
Is it possible to use the Alembic format for a reference mesh like you can in Maya?
Thanks
-
How do the versions work exactly? I'm confused with them. Wikipedia is saying the latest stable release is 2021.21 from 4 months ago, the website is saying it's 2021.53, you've suggested to upgrade to 2021.76... Do the newer versions have a lower number or higher?
-
3 minutes ago, Gorbatovsky said:
Looked at the animation and did not understand why you need it?
We also have the ability to create cross-sections of the mesh with a plane in the Sculpting room.Unless there's a command/key I'm not aware of, it's because when I try to make a loop of geo, and have to stop to turn the camera, I can't seem to carry the loop on all the way around a mesh. If I click on a point, it will just create a new ring/curve of points. Whereas a method like that would allow a ring to be automatically generated all the way around a mesh just by holding the Shift key and clicking.
-
Sadly, the uni version is lower than I thought. It's 2021.36/7...? We're not allowed to install or update anything either - it can only be done via an administrator. :-\ I have discovered that tapping X to move the topology brings the plane back. But even if you save it, it's gone again once reloaded.
-
In the Symmetry options...? Yeah, it's set to Global Space. No mention of centre though.
-
Yeah, I think the one we’re using is 2021.62.
-
 1
1
-
-
Hi
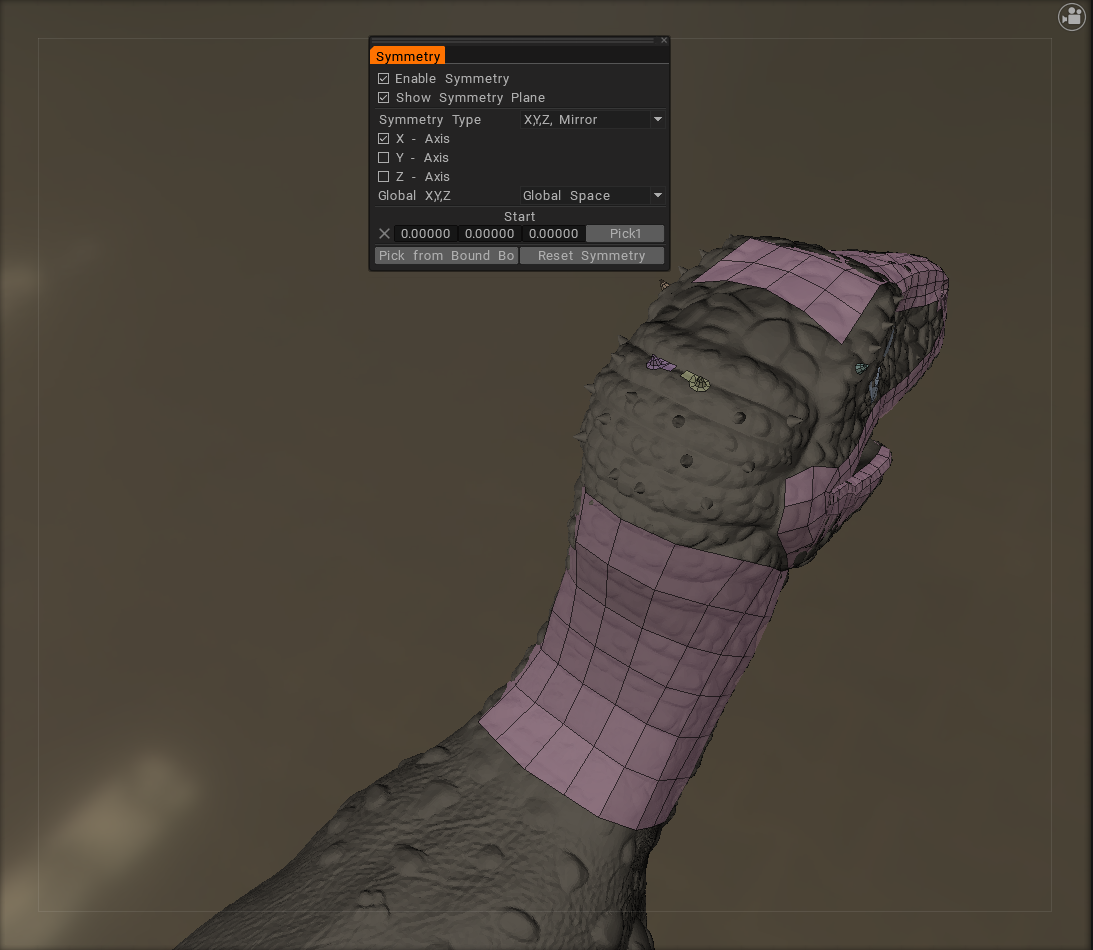
I think I may have stumbled on a bug...? I loaded up my file to continue work and discovered the symmetry plane had disappeared. I checked under Symmetry and the check box was still ticked. I tried un-ticking and re-ticking it, but there was still no sign of it. I managed to get it back again by messing with a centre quad, but it looks to have gone again once I re-loaded my file.

I'm not sure if this has already been reported and fixed in a more recent version... The version that's currently installed at my university might not be the most up to date, which is what I'm using from home too.
-
6 hours ago, Gorbatovsky said:
I did not understand your request.
Please give me a link to the video.Okay. Here's a GIF of the feature in ZBrush. Holding Shift puts a ring straight around the mesh.

-
Never mind. Figured out it was because Auto Snap wasn't enabled. ^^
-
 1
1
-
-
Looks like disabling Virtual Mirror and then applying Symmetry under Commands gets rid of it and shows it properly.
") However, is there a way of getting Virtual Mirror to work correctly or is this a bug?
However, is there a way of getting Virtual Mirror to work correctly or is this a bug?
-
Hi
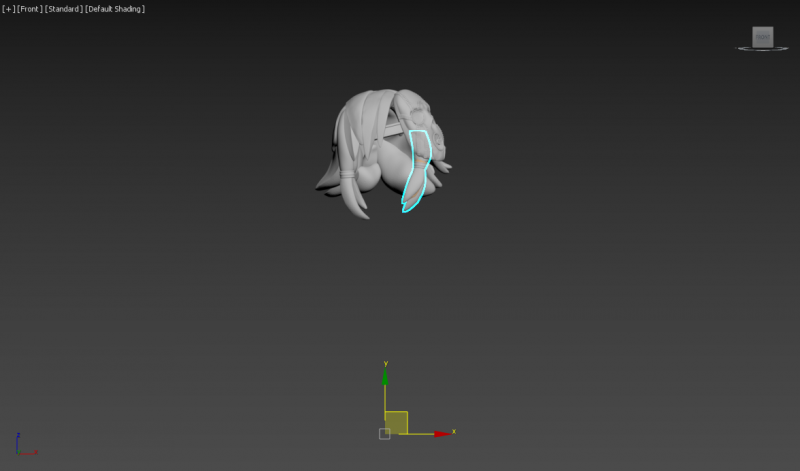
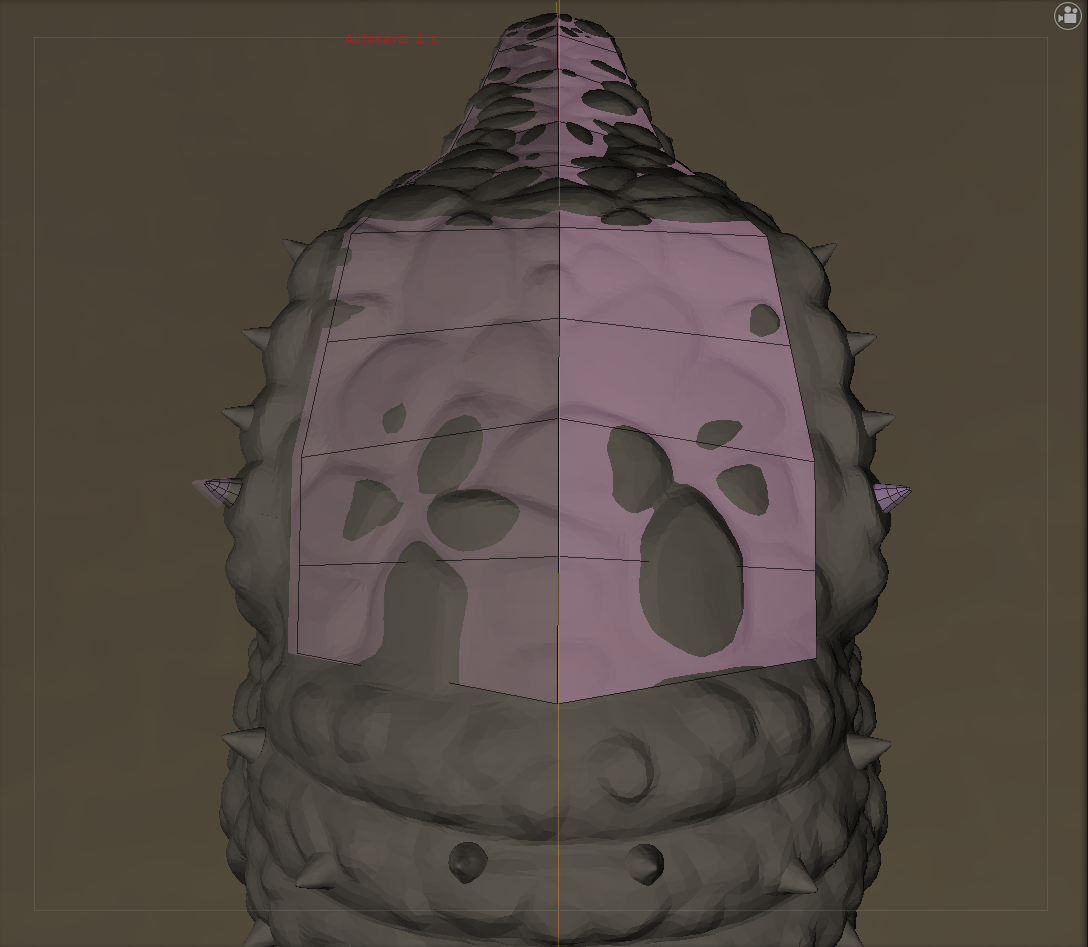
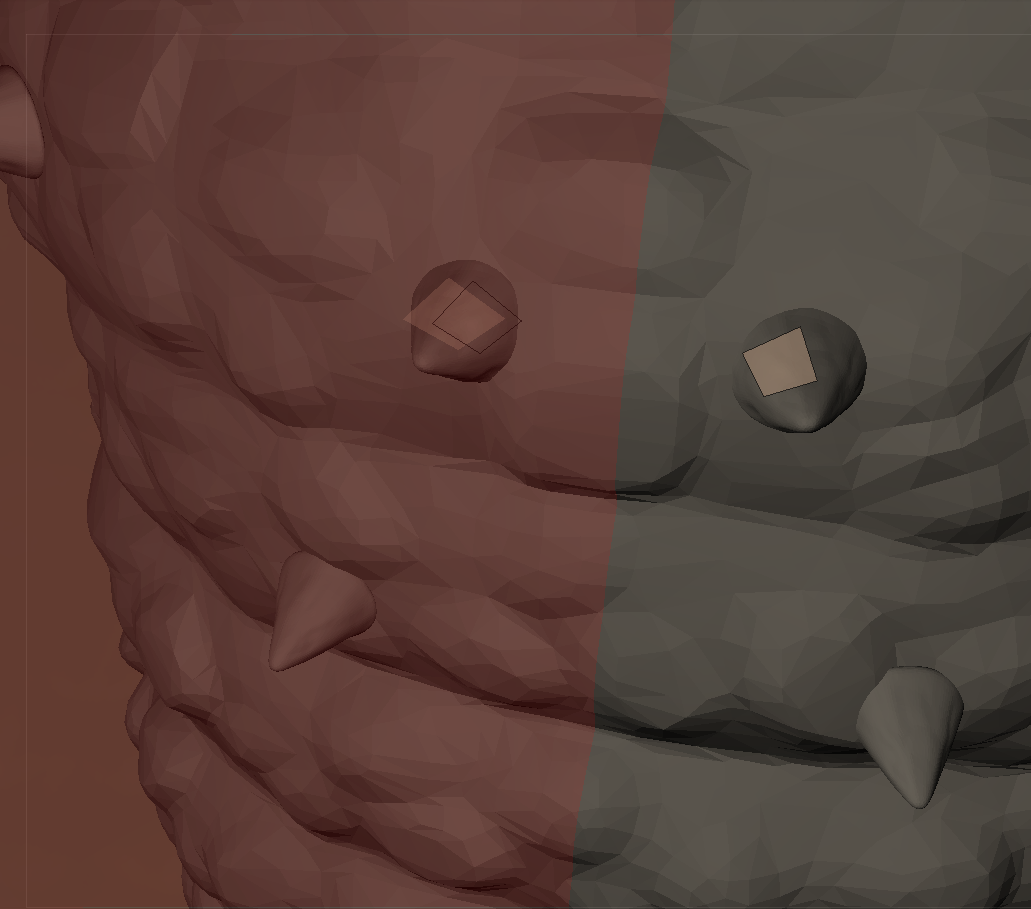
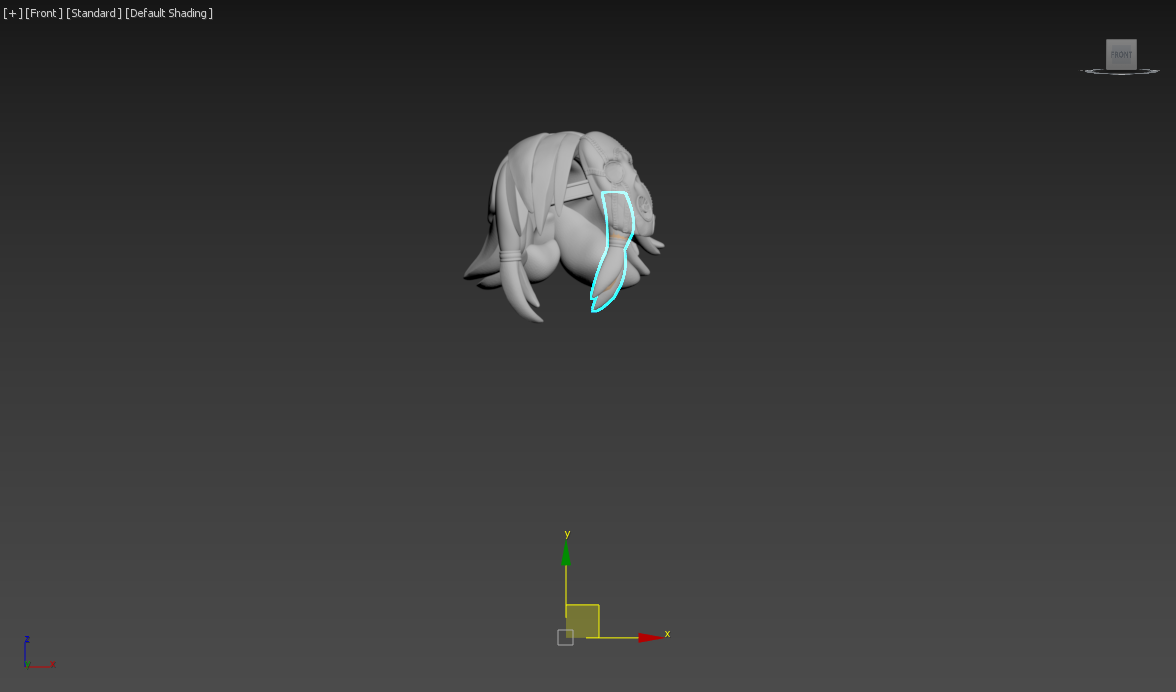
I seem to have a bit of an issue with the Symmetry whilst retopping my mesh. I've double checked in ZBrush, and apart from the alphas/tertiary details up the middle/centre of the head, both sides are symmetrical. I even tried the Modify Topology > Mirror and Weld tool for both the model itself and the small spikes. Apart from the tertiary details changing, the meshes on the opposite side didn't appear to move any. And yet, in 3DCoat, the opposite side isn't matching up very well. Mainly the small spike I've retopped on the right. :-\ What could I do to fix this? Thanks.

The face doesn't always appear to fit in the outline either.

-
Hi
I have a feature request. When using the Smart Retopo tool, or a similar curve tool for adding a ring of new geo, is it possible to add a feature similar to how the ZModelerGuide brush in ZBrush works? So when you make part of the ring/curve, you hold Shift or something, which then makes a snapped guide that goes all the way around a mesh and makes an automatic ring?
-
Cool. Will do.
Just another quick question: With the Split Rings tool - I might be misremembering, or getting mixed up with another app, but previously, couldn't you hold Shift before adding a new edge that would make it conform to the mesh? It doesn't appear to work. If that was never a thing, I can add that to the feature request too.
-
 1
1
-
-
Hi
I guess this could be more of a feature request, but is it possible to make a quick ring? Similar to how you can do it with ZBrush's ZModelerGuide brush...? With that, you can make a stroke, and then holding Shift, it will make a ring around an object. That would be quite useful for my dinosaur's tail.
As it currently is, is there any way of continuing a loop with Smart Retopo? Whenever I release the mouse button, there's only half a loop made, and I can't seem to continue it. It just makes a new curve, and the faces made in the middle end up stretching across to the new curve. Can you add new points in the curve too? I can only move the end point it seems.
Thanks
-
1 hour ago, Carlosan said:
Hi
It is not possible to change grey shader on relief view, trying bringing the lights up.
Yes you can change any shader to default pressing RMB over the new select shader.
In Sculpt if you right-click on one of the shader balls, it can be set as the default.
Ahh, that's a shame. :-\ I've also noticed I can't seem to get the environment back. I think in Perspective mode, it would automatically give me a background to light the environment. In an underground parking lot. All I have now is a dark grey background. I tried selecting a background from the options available, but haven't been able to get it to work yet.
I figured out how to assign a new material in the Sculpt room though, so thanks for that. It seems to change it in the Retopo room too.
-
55 minutes ago, sprayer said:
That's because you have two mesh intersections, one you previewing for import, another what you already imported on layer. If you change to any other tool than import, it will looks normal with default shader
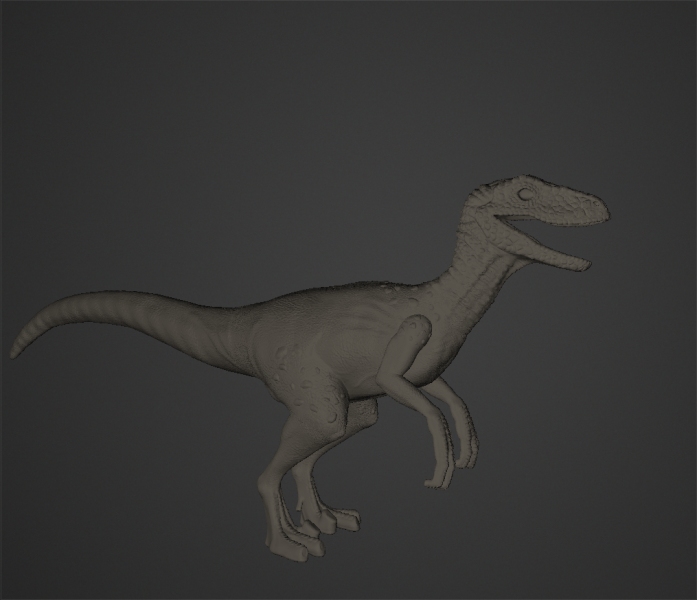
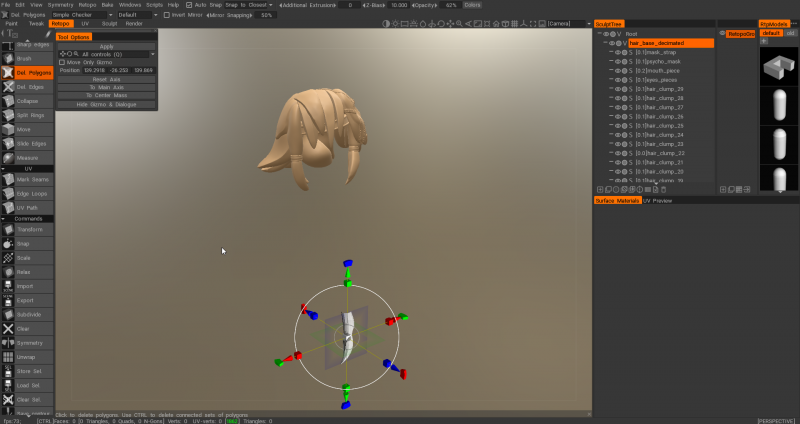
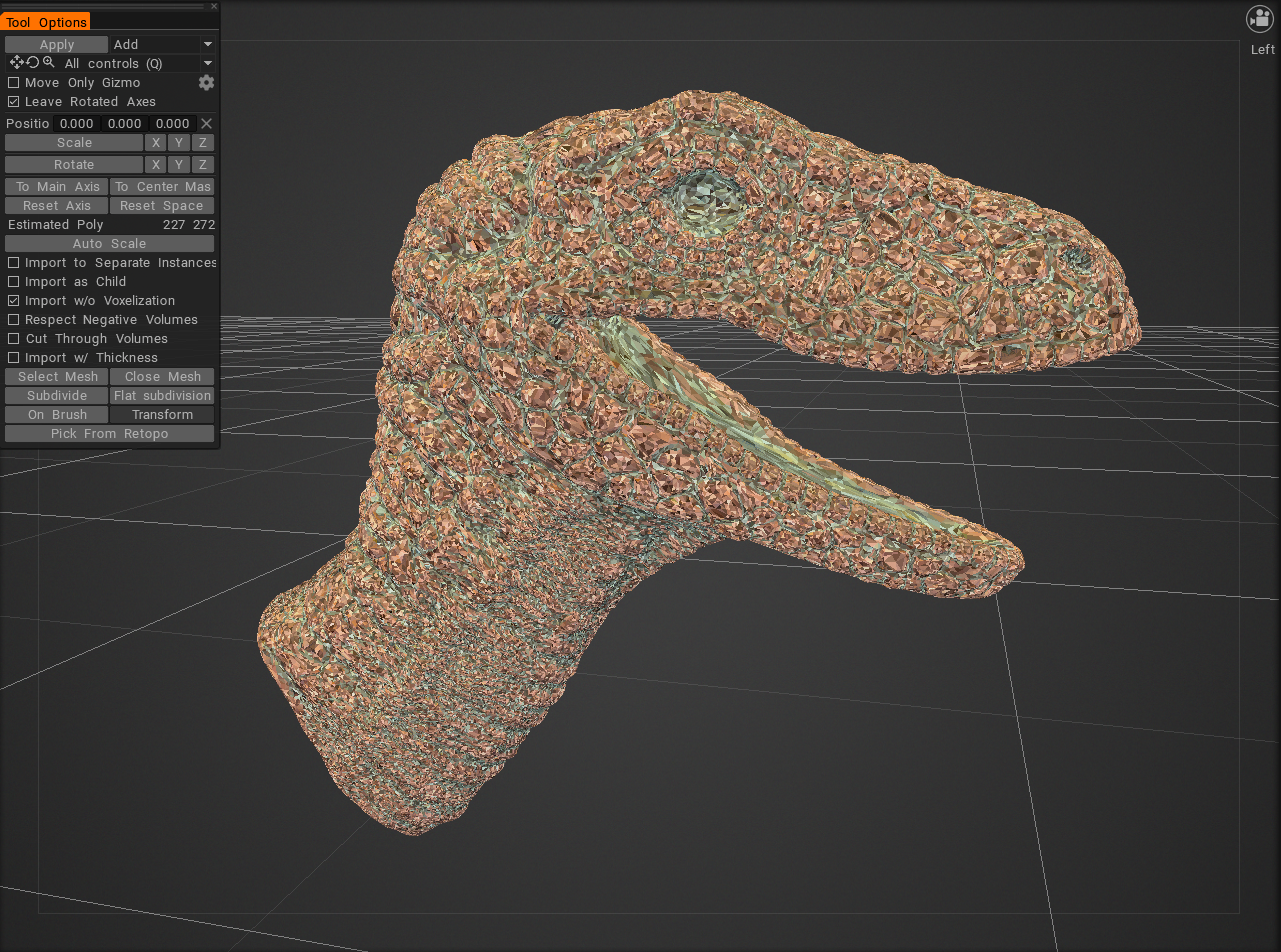
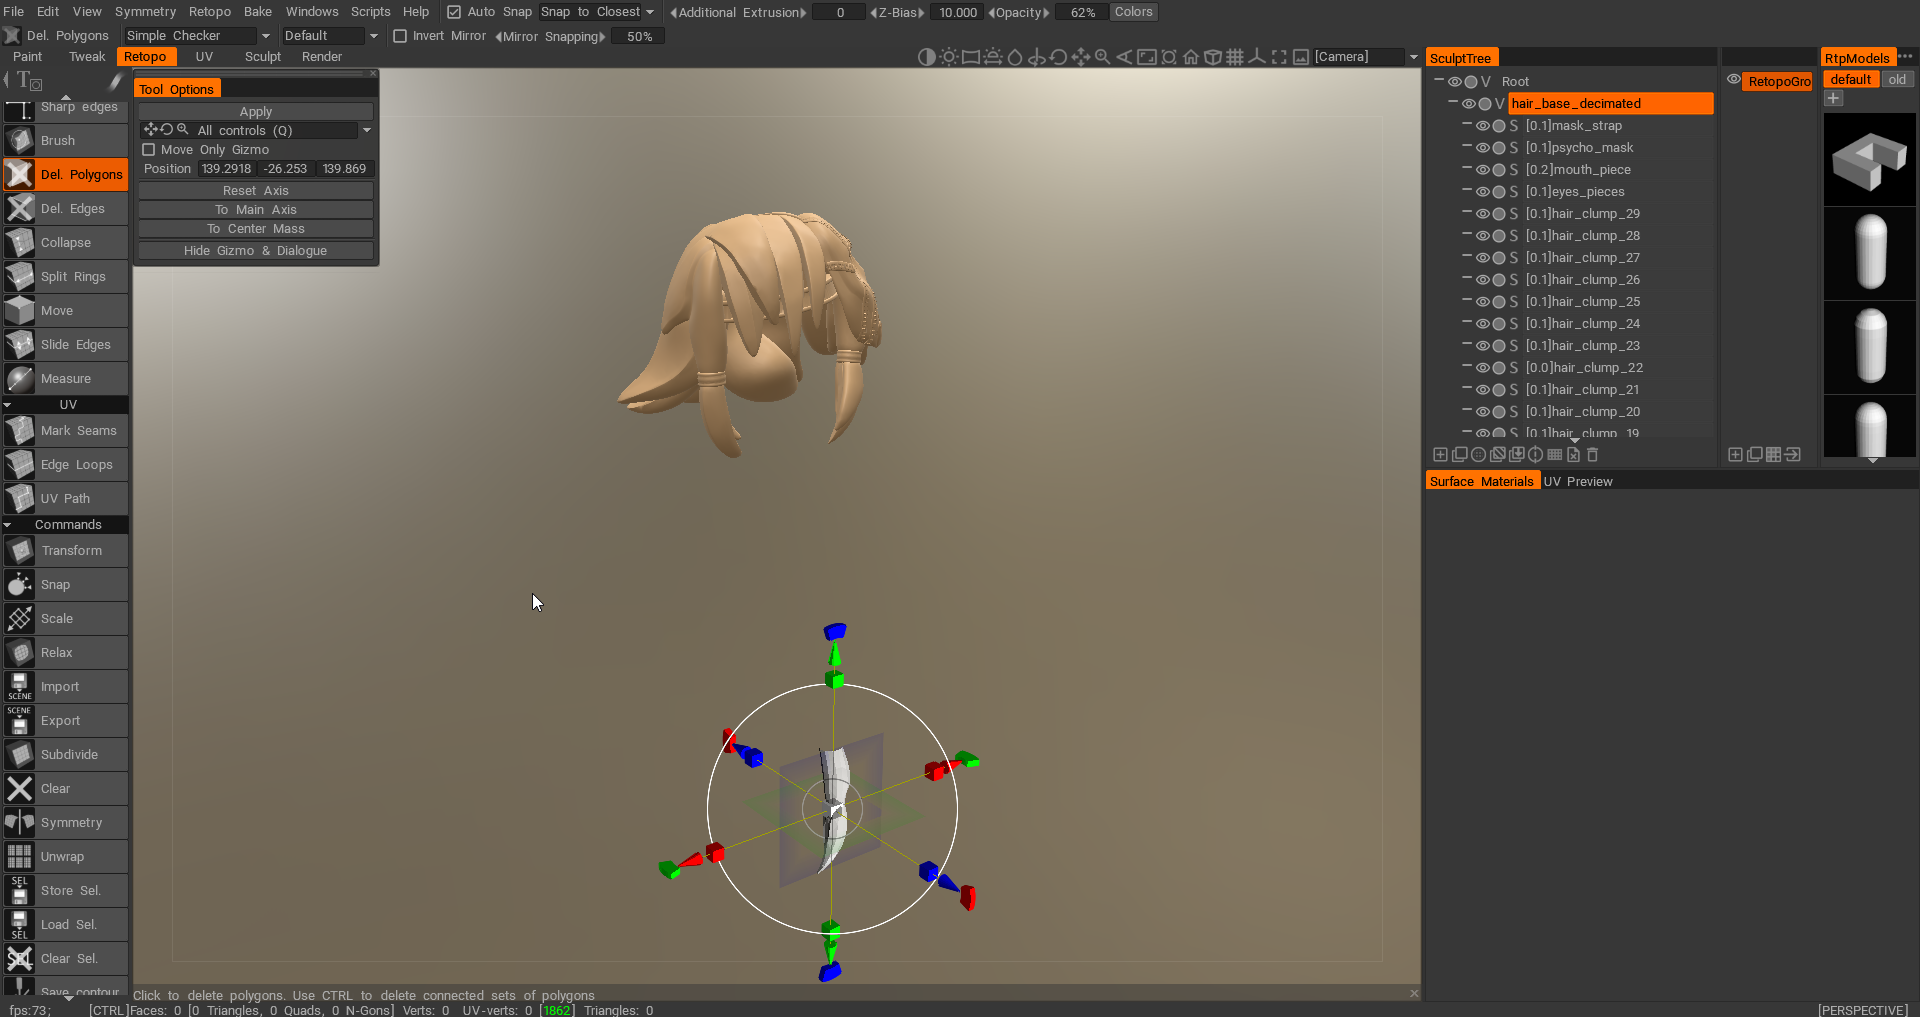
Sorry, I'm a little unsure what you mean. Do you mean there are two meshes that have been imported that are overlaying each other...? One from the Retopo room and one in the Sculpt room...? At the moment, it doesn't appear to be doing the issue. I've imported the mesh into the Sculpt room, so there are no other meshes that have been imported. The way it's looking at the moment, it does look like two meshes are overlapping, but there's only the one that's been brought in so far:
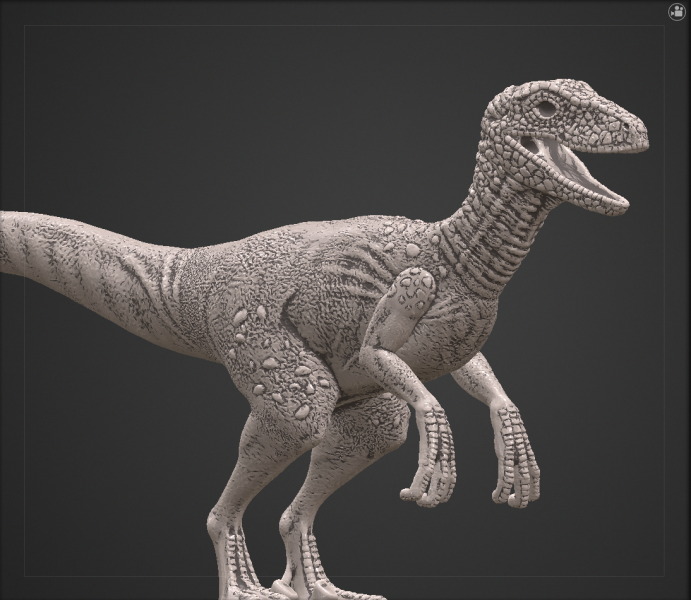
Though I'm guessing it's looking the way it does due to the decimation... I've tried bringing in a mesh into the Retopo room and one into the Sculpt room, and that issue still hasn't happened - they just overlay each other.
-
Hi
I've started using 3D Coat 2021, and I was wondering if it's possible to change the material in the Retopo and Sculpt rooms? In the former, the default looks to be a horrible dark grey when in Relief mode:
I've tried playing around with the materials in the Sculpt room, but I'm not sure how you actually apply them. Is there no way of getting the same material back from the older version of 3DCoat? Thanks.
EDIT: Also, I've noticed that if I import a high poly mesh into the Sculpt room, it can go funky looking after hitting Apply.

-
Sorry, I should have mentioned - it's in the Retopo room.
But thank you, poeboi! That works perfectly.

-
Hi
Am I dreaming here, or am I right in that you can add more to your selection with the Lasso tool...? What I mean is, when you use the Lasso to select multiple faces, is there a key you can press so you can lasso select some more faces in addition to the ones selected? I coulda sworn you could... In Maya, you hold Shift I believe. When I've tried a combo of Ctrl, Alt, and Shift, nothing seems to happen. The most I can do is deselect faces when going over new ones.
-
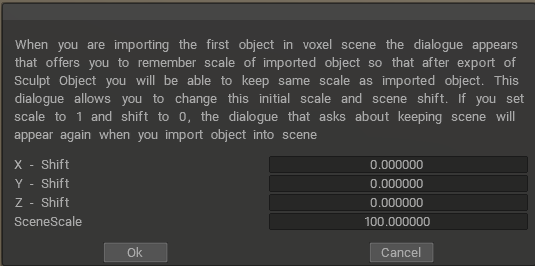
I can confirm that now I have the Scene Scale set to 100, the high poly and retopped mesh in the Sculpt room are no longer flickering or showing through on the other side.
-
1
-
-
*Sigh* I hope this is something simple I'm overlooking, but now I'm getting the reverse problem. >_< I've made another adjustment/addition to my high poly/reference mesh, and I've taken my original retopped mesh so I can add it to the new scene/retop. Before I did that though, I checked if they align in 3ds Max, which they do, and I made sure the pivot was zeroed out on the low. So all that's gravy. I then applied an X-Form to it.
However, now, once I follow the above advice in 3DC, it seems to think the pivot has been aligned to the centre of the mesh instead, and is completely off the high as a result. o_O I've even changed my Scene Scale in 3DC to 100, and set the measurements to Centimeters (same as I use in Max), that someone else has suggested to me.
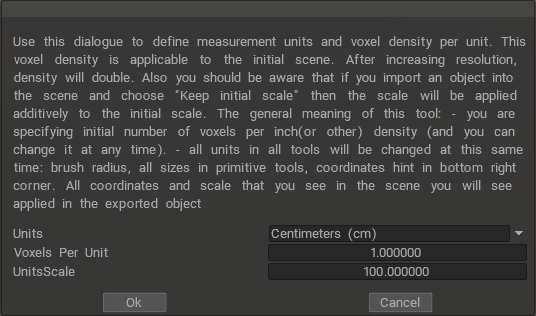
But 3DC still seems to think my retopped mesh isn't zeroed at all.

-
I see. Is there a go-to scale when starting out with a model/sculpt...? Just adding a sphere in ZBrush can give my a scale on the X, Y, or Z axis that can be anywhere from 0-2+. Even if I'm making a character, and I start with the block-out first, and it all matches up to a reference of a male/female, the reference and the mesh could still easily be too small in global scale.
-
Yeah, I've played around with that. It helps somewhat, but no matter the Z-Bias or Opacity, some part of the sculpt still shows through. This is where I've always preferred importing a reference mesh straight into the Retopo room as it remains solid and there's no transparency issues. To be fair, thanks to setting the pivot point in the right area, they now match up correctly if both meshes are imported to the Retopo room anyway.


Retopo and Sculpt Room - Change Material
in General 3DCoat
Posted
To be honest, I’m not sure what version I was on - I was using a university PC, so it most likely wasn’t up to date. I’ll give it a try on my home PC once I’m back and confirm.