

Javis
-
Posts
4,712 -
Joined
-
Last visited
Content Type
Forums
Calendar
Gallery
Posts posted by Javis
-
-
Hi and welcome!
There's a function called "hotkey stacking", and that's what's going on here. When you first assign a hotkey to a function, there is a prompt that asks if you'd like to set the hotkey and replace any other functions, or stack the hotkey with all the other functions. It allows you to stack multiple functions on one key and is really useful. So when the prompt comes up, be sure to click the path you want to use.
-
Of course.
")
-
Hi! And welcome.
Yes, they can absolutely use a different version to open files. There is no restriction on that.
-
And that if you haven't done it! =)Try switching this icon to pen (pressing LMB over the icon)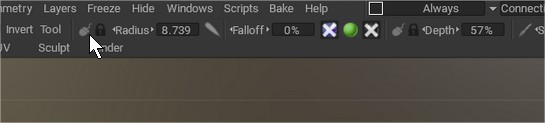
Sent from my XT1650 using Tapatalk
-
If you use an older version of 3DC, does it work then?I tried last week, worked for a bit and now it's back to this again.
Sent from my XT1650 using Tapatalk
-
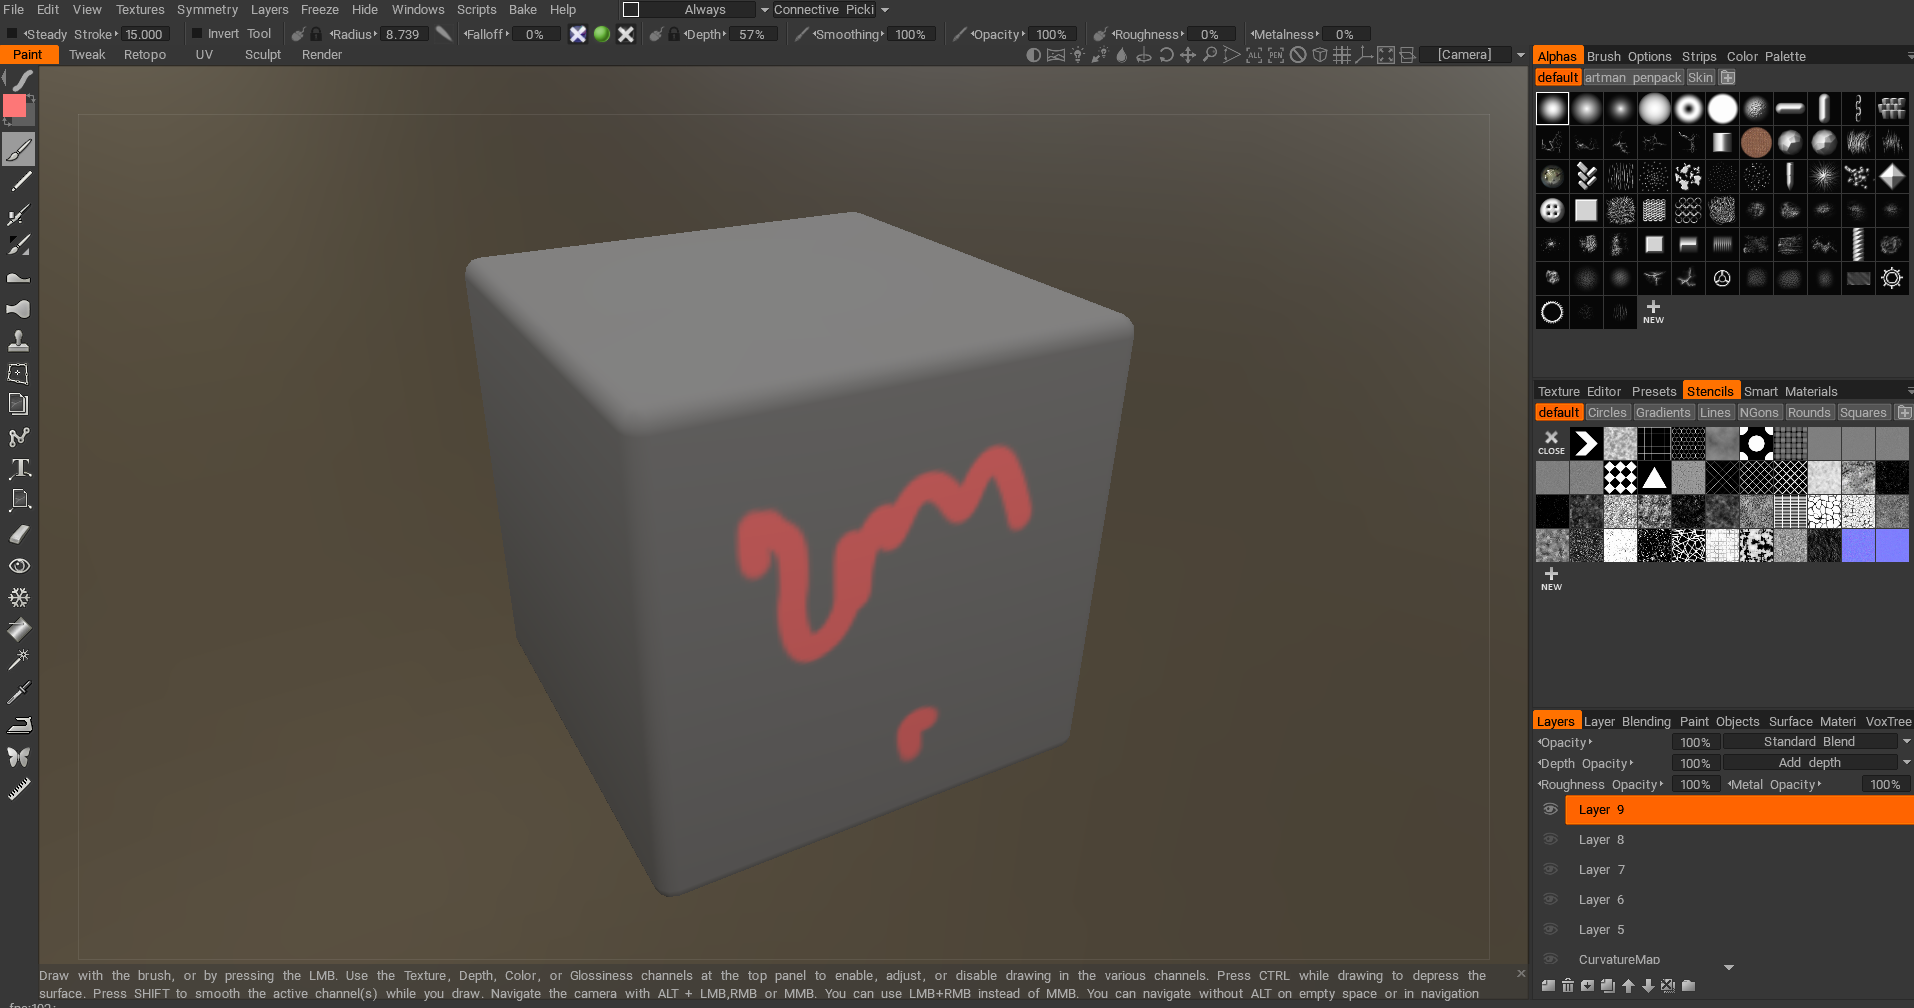
Tried uninstalling/reinstalling 3DC?Thanks a bunch, but unfortunately this did not work for me. Here's my painting room, if anything looks off.
Sent from my XT1650 using Tapatalk
-
Hi, and welcome!Hello everyone,
The pen pressure for 3D-Coat has been randomly not functioning lately. It just has the default size, and no opacity no matter the amount of pressure. My pressure works on Photoshop just fine.
For reference:
Windows 10
Wacom Intous Pro - Latest Drivers
3D-Coat 4.7 (Broke after a while, switch to 4.8. Worked for a bit and now broken again).
I have tried the following solutions.
Upgrading program and drivers.
Restarting PC.
Deleting tablet preferences.
If anyone can help, please let me know. Thanks!
This has been an issue with various tools on Windows that use wacom devices. Try ALT+ Tabbing from 3DC and back. That seems to work for me most of the time. Hopefully for you too.
Sent from my XT1650 using Tapatalk
-
And all searchable.
-
 1
1
-
-
9 hours ago, Taros said:
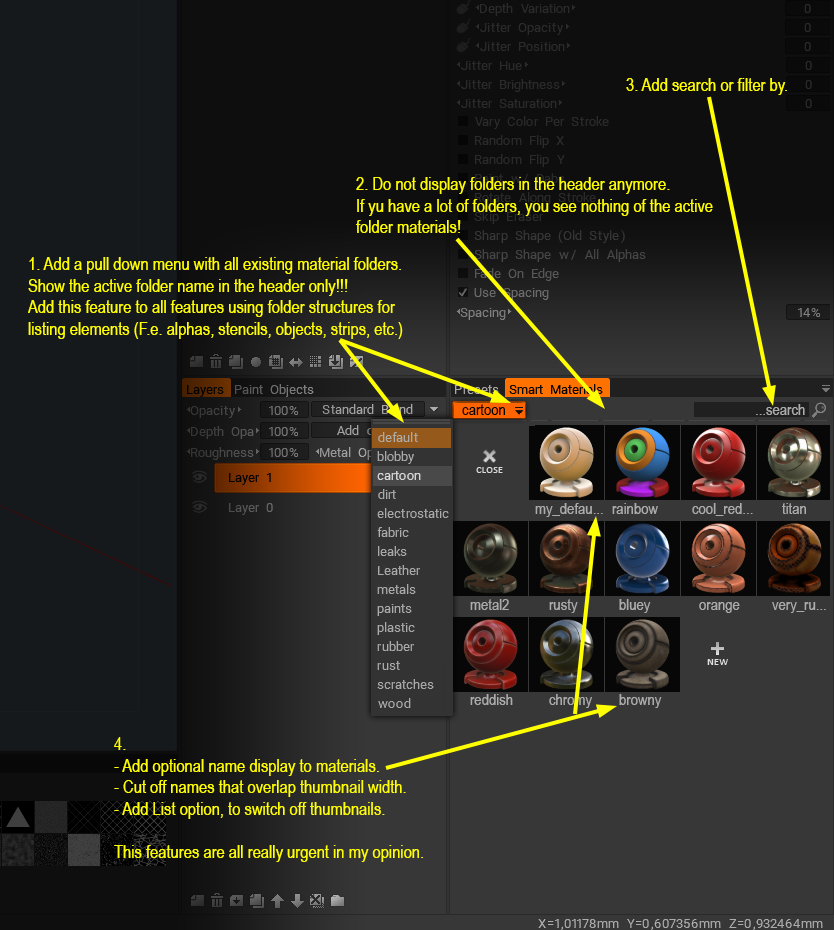
Another try to improve 3DC gui.
My attached concept explains a way how window folders should be displayed in the future.
It is needed for all areas and one of the most important improvements in my eyes.
Drop your 2 cents if you like it.
Thank you
Chris
This is really necessary. With having so many materials, the icons become meaningless to a point. Having names as well as the icon would really be useful.
-
1
-
-
Looks like the gradient issues are all fixed. Thanks Andrew!
6 hours ago, thinkinmonkey said:So when I read this morning " The following issue has been RESOLVED. " and I started to cry for happiness... it was for nothing?
You are so cruel!

Hoping you'll fix that... for reeeeaaaallll!!!!
No kidding! I got that email and was excited to see it. Bummer.
-
Glad to be of help!
-
Yep, you don't need anything else really. I personally do find it easier to model hard surface things in another application (modo), but that comes down to personal preference. 3DC is definitely capable of it.
-
Hi!
I don't know where the model was created for that video, but the answer is yes. You can definitely create hard surface objects in 3DC and use them in Unreal. You can also retopologize in 3DC and export, which is recommended for creating a low res asset from the high res sculpt.
-
1
-
-
On the top right of the 3D viewport is a "Camera" settings area. If you go to "Customize Navigation", there's a function near the top of the list called "UseShiftSnapping". Untick this, and you're good to go. This function is meant to emulate the Zbrush style orthographic views (left, right, front, etc.) snapping.
-
1
-
-
Glad to help.
Sent from my XT1650 using Tapatalk -
3DC connects to the internet, as you said, when you first install and register the license. It will check occasionally to see if the license is valid, if there is an internet connection. If there is not one, it does not matter. It does not need a persistent connection to the internet.
So you can install it, register it, and forget about it.
-
1
-
-
On 7/3/2017 at 4:47 AM, Carlosan said:
Can see the nodes, but the fill is noisy
I'm getting the same bug with the noise, when attempting to fill by layer or surface material.
I'm also still not seeing the nodes in build 4.7.32. I did a fresh install and everything. I go right back to build 4.7.31, and I can see the nodes.
-
1
-
-
I don't usually bag on software, but you are not kidding @willzacharie. UV mapping in C4D is probably the worst thing I've ever been subjected to. It's a hot, steaming pile garbage (UV mapping in C4D).
-
1
-
-
Hey Andrew.
Looks like the gradient mode nodes are broken again in 4.7.32. They do not show up at all, giving the user zero control over how to place the gradient. It works as expected in 4.7.31. Could you take a look at this? Thanks!
-
Once you perform a bake, the Retopo object will be transferred, with the UVs you created there, to a Paint object.
If you are meaning though if there is some way to transfer the work you've done UV seam wise, and only the seams. Not really. You'd probably need to redo it. But, if it's the same mesh in the Retopo room, baking is the easiest way.
-
1
-
-
Use the "Mark Seams" tool, hold CTRL and LMB click on the edges you want to deselect.
-
It looks like you may have islands that over overlapping or flipped normals on those sections, in your first bakes. If you supply the original mesh file (OBJ or FBX), the 3B and your baked normal map. I can take a look at it.
For those auto unwrapped islands, just unmark the seams around the area you don't want them, and you should be good to go.
-
Hi and welcome!
1. Yes. There is a snapping tolerance on the top bar of the application. You could also turn symmetry off when you get close to these areas.
2. More information is needed to properly answer your question. Could you explain more detail what you're needing?
3. The easiest way to bridge to edges is with the "Quads" tool, which has a bridge equivalent preset in the top bar , there is a drop down list called "Edge Extrusion Method", change this to "Parallel". Then click one of the edges you want to bridge, then click the second edge.
-
1
-
-
I spoke with Andrew. He says this will be implemented in 4.7.30.
Sent from my XT1650 using Tapatalk
-
3
-

[Feature] Option to disable hotkeys swapping to previous tool
in General 3DCoat
Posted
Hi!
That's not intended behavior, and sounds like a bug. Which build are you using?