


L'Ancien Regime
-
Posts
2,189 -
Joined
-
Last visited
Content Type
Forums
Calendar
Gallery
Posts posted by L'Ancien Regime
-
-
That looks good. What sources did you use for skin textures? How high was the resolution in the image of skin you used for texture painting?
-
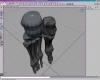
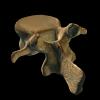
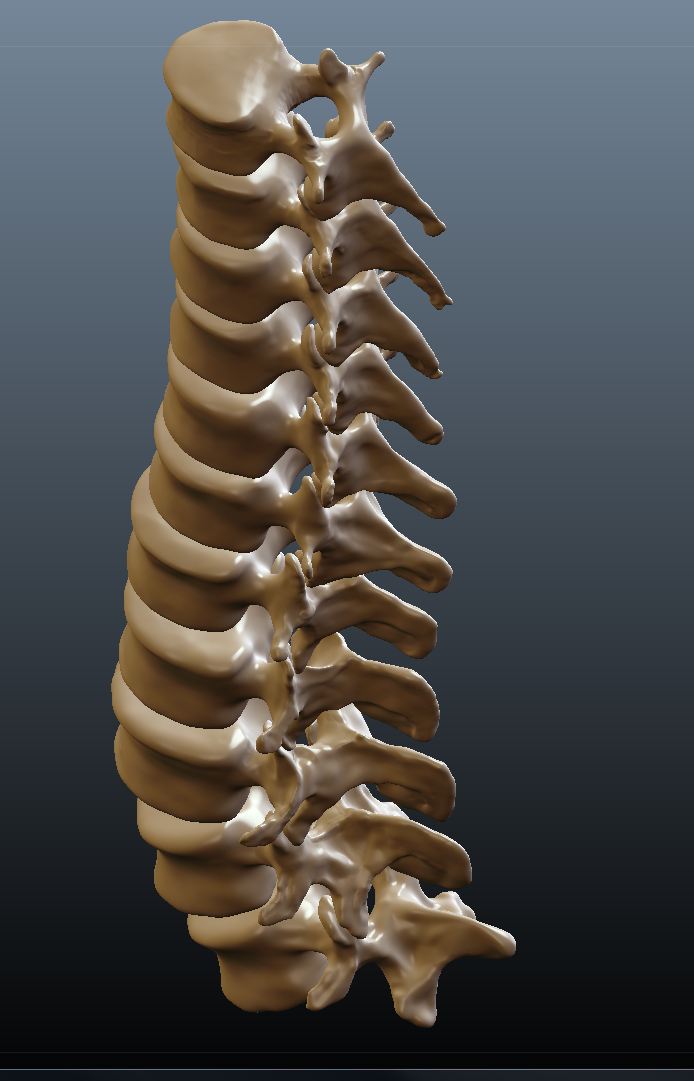
Here's an experiment from when I first bought 3d Coat when I was struggling to learn how to get thin walled surfaces...it's a study of the interior of the skull, just a crude sketch but still successful in that I got what I wanted from it.

-

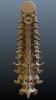
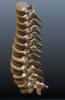
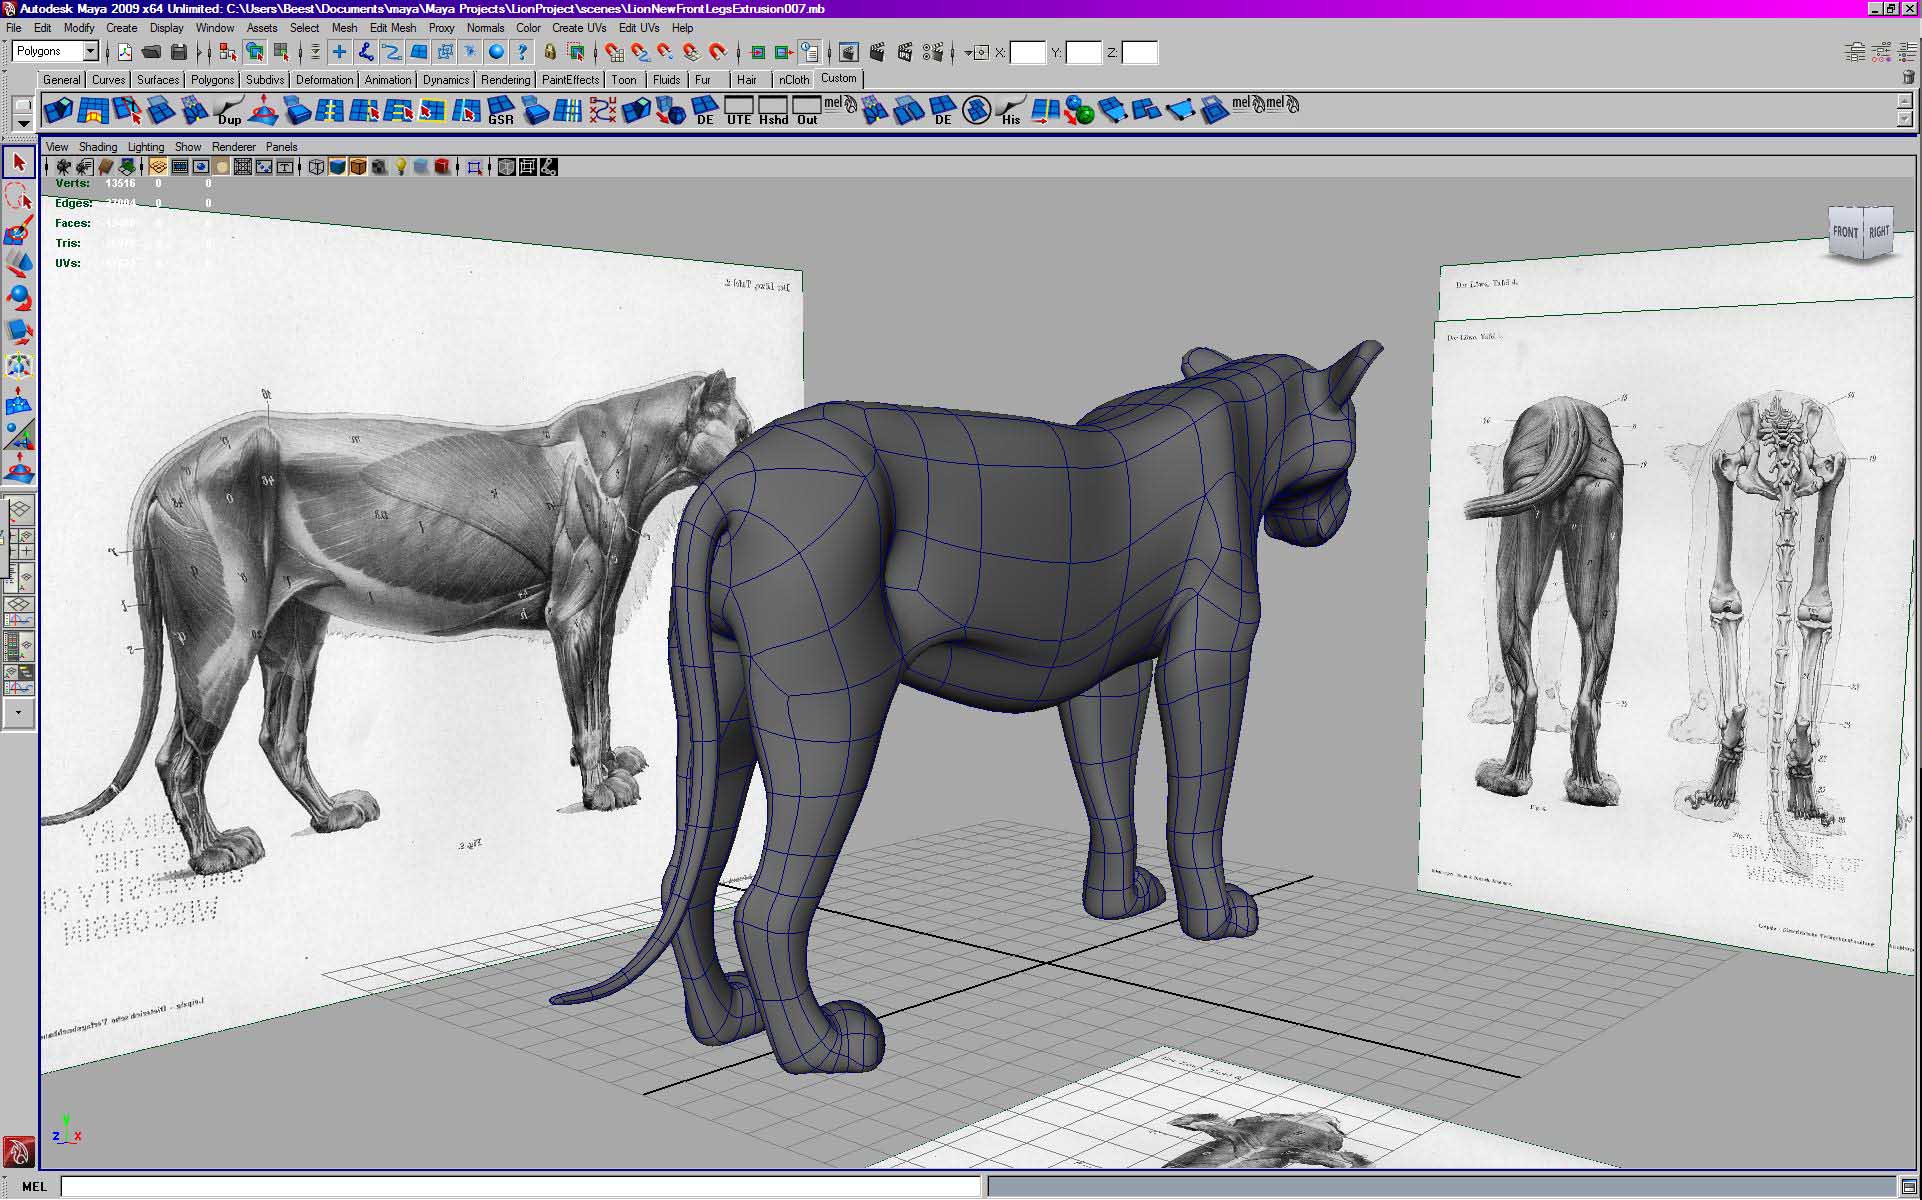
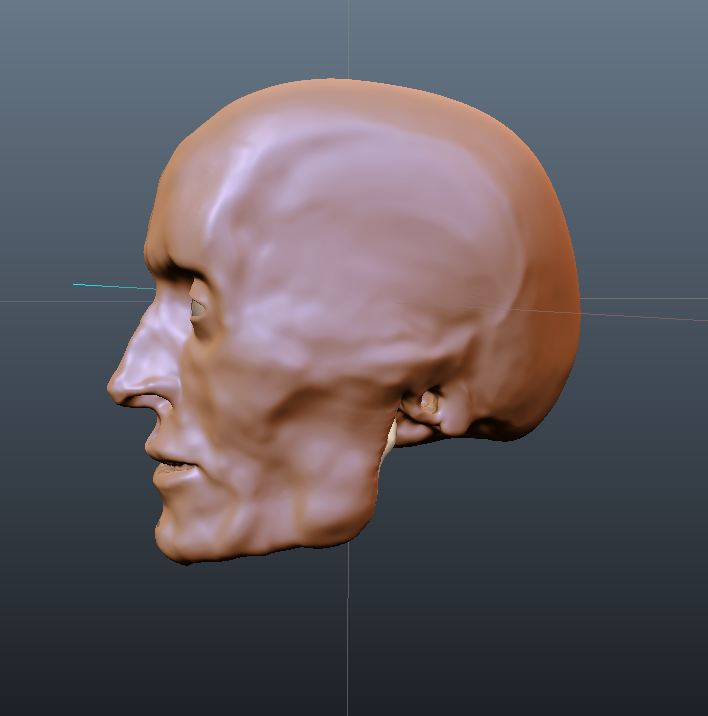
If there's one single subject of study that will immensely improve the abilities of any artist, it's the study of anatomy. And we, the beneficiaries of the computer graphics revolution are fortunate enough to have at our disposal the resources and tools that only a very few wealthy people or people fortunate enough to be patronized by the wealthy and enlightened could experience. We have a sculpture studio on our desk capable of amazing things. Man is the microcosm of the universe, and if we master the art of sculpting, drawing, and painting man to excellence then we master all...
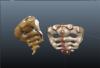
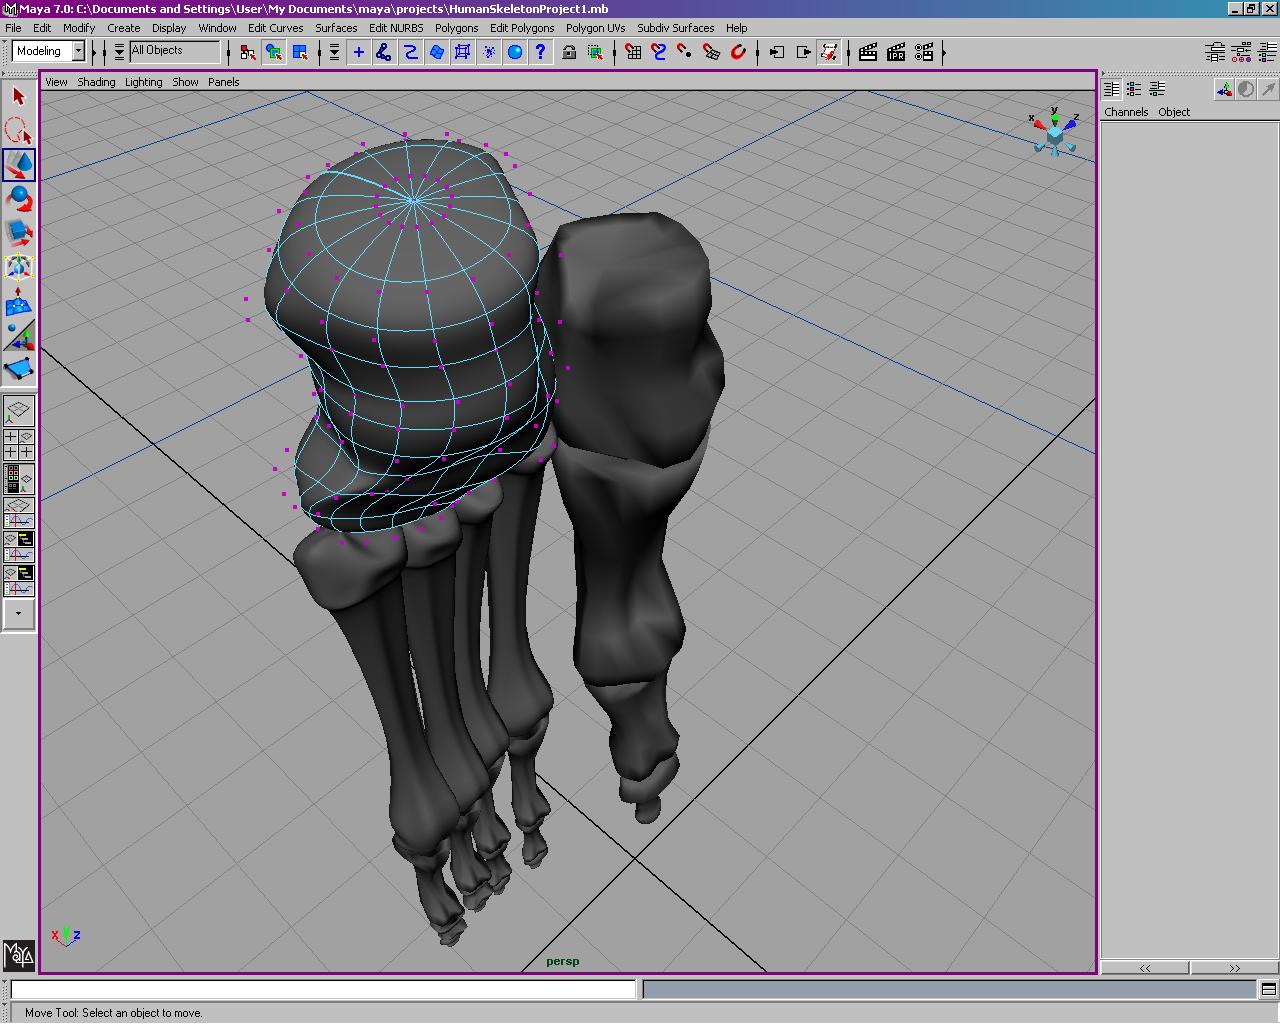
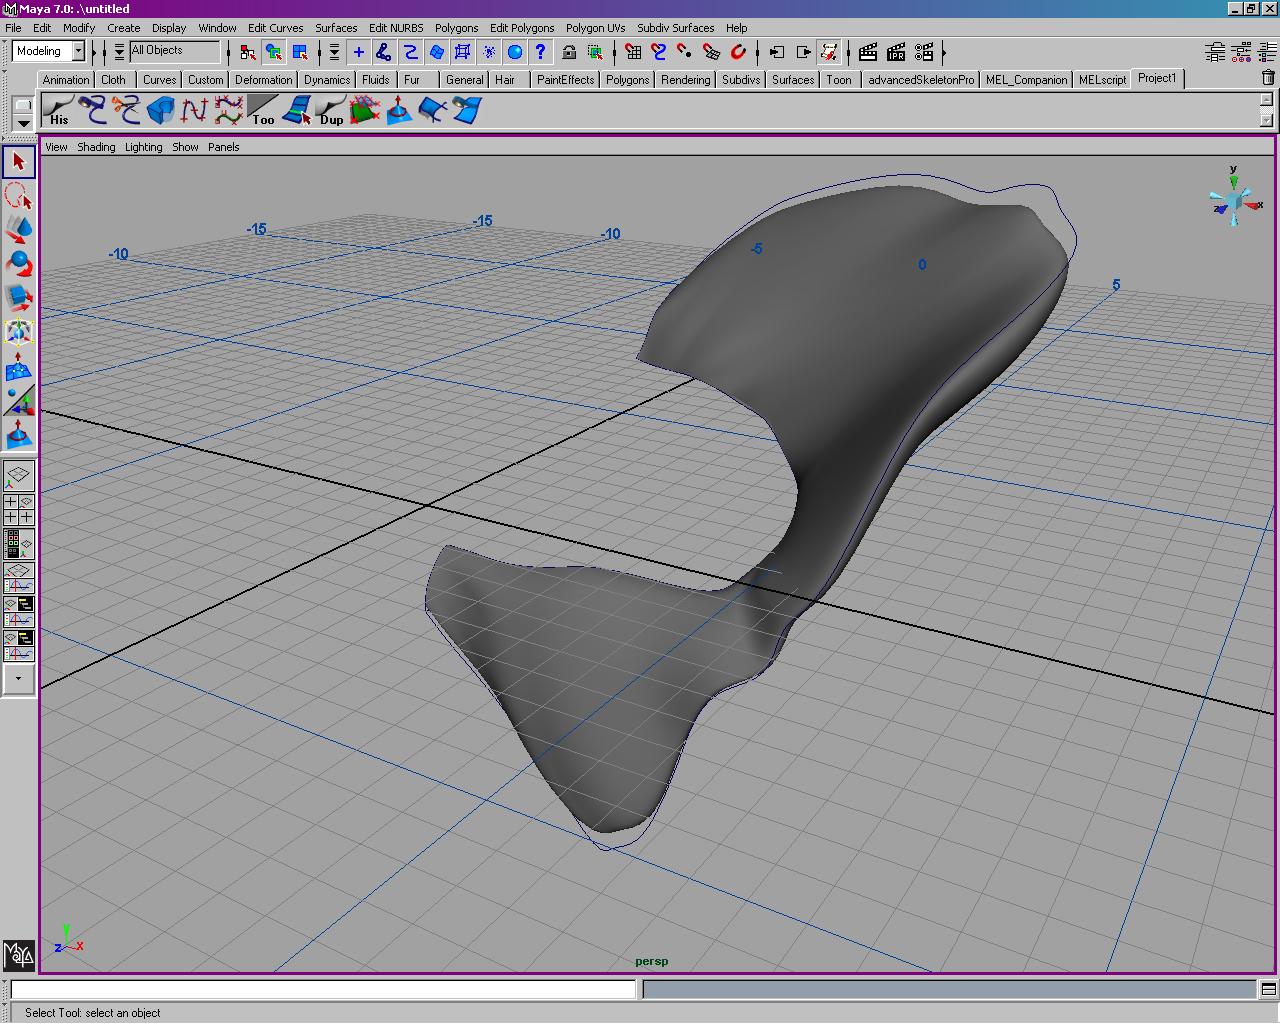
Therefore I want to consacrate this thread to the study of anatomy, mainly human but also animal. My own struggles to master anatomy have paralleled my struggles to obtain some mastery over this new medium. Early on I assumed that NURBS was the only way to model and my struggles to create the kind of complex irregular surfaces one encounters in the biological world repeatedly frustrated me. Then I discovered SubD polygonal modeling and the advent of Zbrush and I was able to make further progress. But there again the difficulties imposed by the topology of a subD polygonal object raised all sorts of difficult barriers. Of course we have the examples of Zack Petroc over as Zbrush but I wasn't really inspired to undertake this work, the work of constructing the human form from it's individual constituent parts in all their detail and beauty until I came across 3d Coat and Leigh Bamforth's superb tutorial series on the human skull that I got the courage to try again. That's when I decided to buy 3d Coat and get into Voxel sculpting, which I feel is the way of the future.
http://vimeo.com/channels/ljbsculptingtutorials
So join me and contribute your own serious efforts at mastering this difficult and rewarding subject. I'm not going to stop this thread until I die or triumph..
In the process I hope to be sharing resources that all can use. I own a real human skelton that I purchased in 1980 and I've been gathering texture palettes that I will be posting for everyone's use here as well as models and 2d resources. I hope you too will have resources you can share with us...


-
Nice.
My advise is to export higher definition meshes + displacement as bumps. Avoid normal maps.
Why avoid Normal Maps? I thought they rendered a lot faster than Displacement Maps?
-

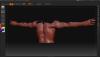
I got closer on the lighting, still some post work. I would like to capture the glow in Vue but not yet...
-
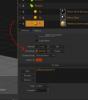
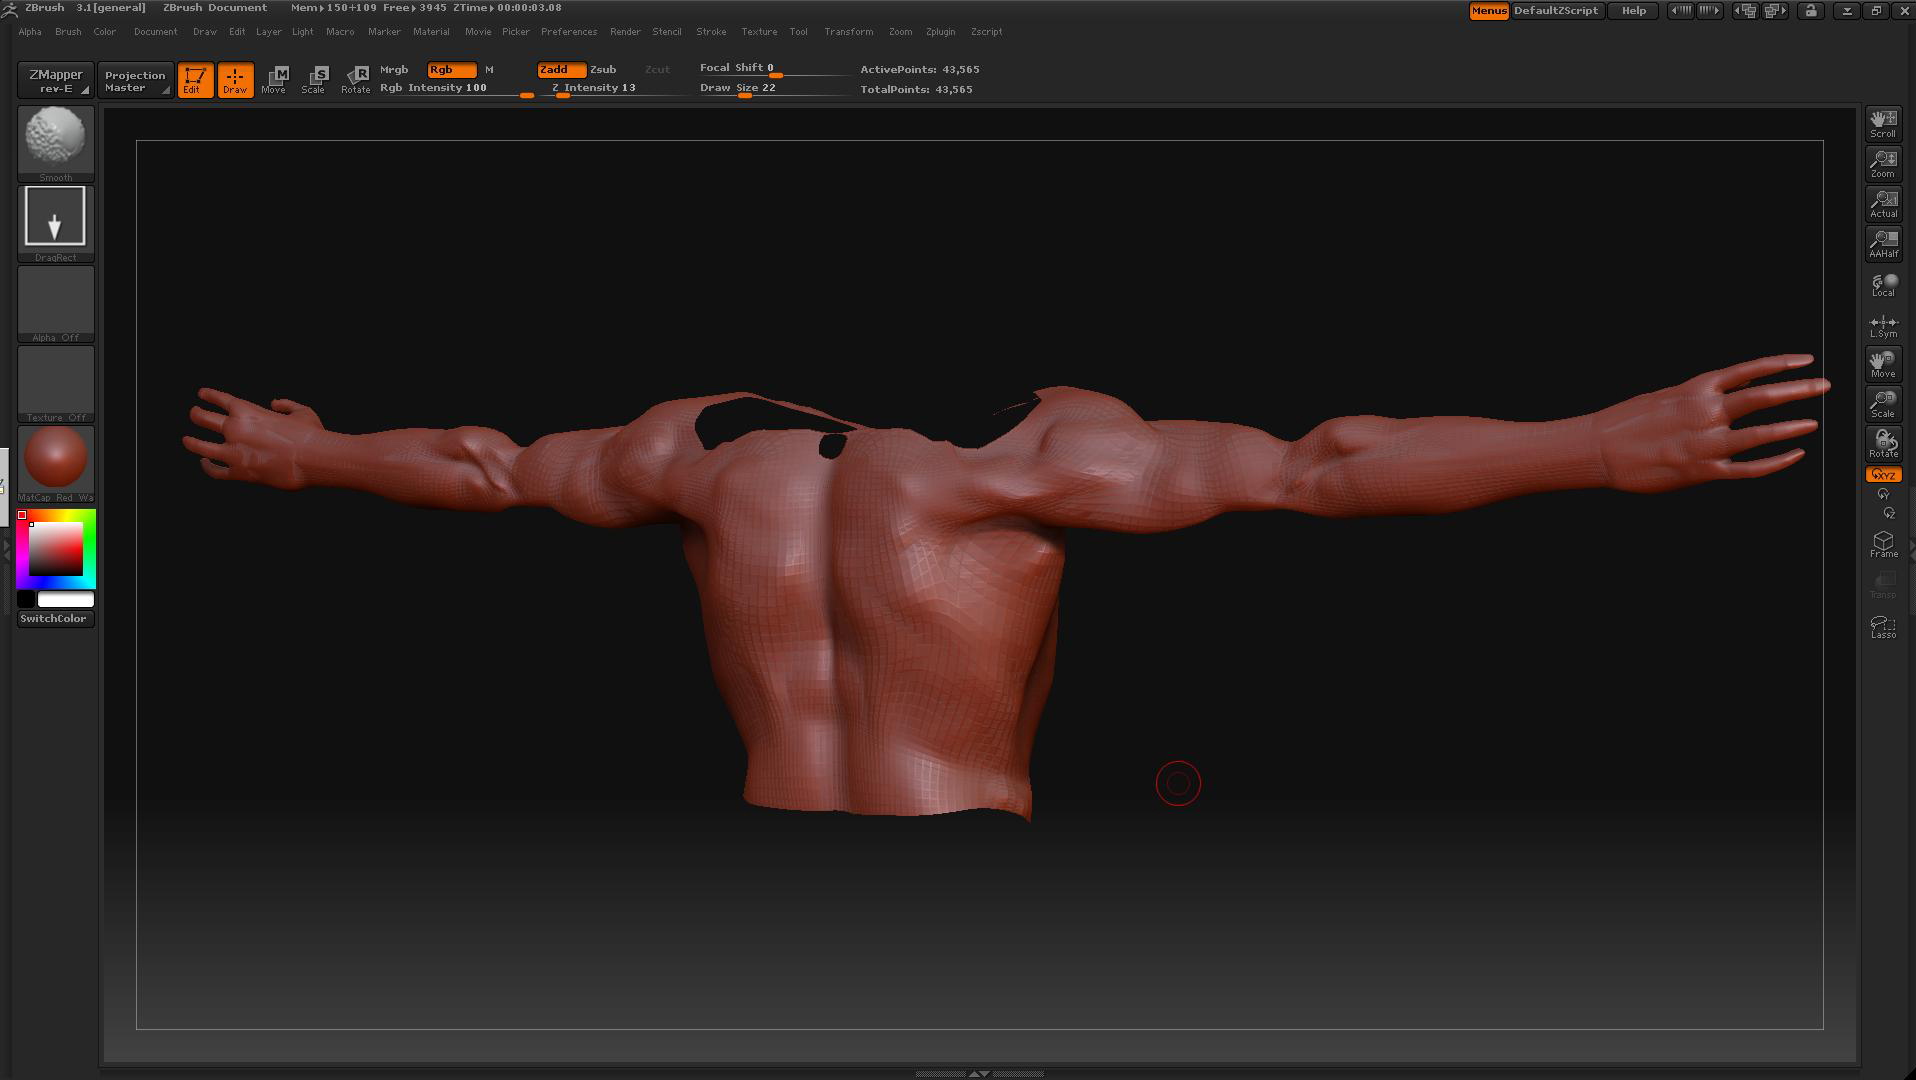
I'm finding the MOVE tool to be one of the most useful tools in the Voxel tool box
I made this maquette with almost 90% move tool work

But for certain specific uses it's a bit lacking. When i want to pull out a mass it tapers the mass out...I don't want that...I'd like the mass to pull straight out. The extrude tool just doesn't cut it for this. I would want it more like the EXTRUDE tool in maya polygons where you select polygons then just extrude them out in a mass.

What I'm proposing is a modified MOVE tool with a new name where you paint/select on the surface of your voxels then just pull the painted/selected voxel surface out the way you pull out the selected polygons in a Maya EXTRUDE. You could pull the mass out as far as you want without tapering off of the mass...it would also offer a more precise selection of the surface area you want to pull out than the present MOVE tool does..this new precision would make it much easier to say, just pull out an arm from the selected voxels of the shoulder area, then just pull out the forearm from precisely selected voxels of the elbow and have an angular bend at the elbow without any messy pulling of areas you don't want pulled as it does now..
Of course this may already exist and I don't know about it but if it doesn't I think this would be a very useful tool..
Thx.
-
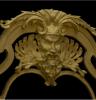
Excellent ! I love it! Lot of work, great.

Jules Verne is the inventor of Steampunk
BTW where is this great link on all Jules Verne illustrations? What a reference.
OK here
This is an excellent thread.
First the OP gave us a fantastic and technically complex picture and now Michalis gives us that great link to the Jules Verne stuff.
Thanks.
-
Excellent ! I love it! Lot of work, great.
Jules Verne is the inventor of Steampunk
BTW where is this great link on all Jules Verne illustrations? What a reference.
OK here
WOW this is an awesome thread. The OP came up with a tremendous illustration and now you add this. Magnificent.
-
-
http://3d-coat.com/forum/index.php?showtopic=6634
This is the 64bit CUDA version, latest build for windows
And grab this to check yours system to see if CUDA is running;
http://www.ozone3d.net/gpu_caps_viewer/

-
http://3d-coat.com/forum/index.php?showtopic=6634
This is the 64bit CUDA version, latest build for windows
-
Looks good
-
Thank you for the good information!
3D print should just become cheap, fast and more easily

And bigger scale output. Not tiny little toy soldier sized stuff but models that are big...3ft long...
-
OK of course I can't have any colored or image texture since it's just a physical model.
Not colored but you get what I mean.. the logo looks good.
-
I was actually thinking of maybe adding some sci-fi nurnies to it. Maybe both. The underside is actually more carved out to save sculpting material (and thus money) but I could put my logo on the top middle and nurnioes around it. I just have to be careful. It's hard to judge just how much detail I can add.
Underside:

I do have a logo already, inspired by the LOVE sculpture here in Philadelphia.

I'd skip overt nurnies but I'd put the main 4 letter logo on there without the writing underneath and I might have some mech texture, a Jim Steranko/Jack Kirby style mechanical edge on the platform for the logo.
But just on the edge..

-
3d coat IS the cheap alternative.
C'mon don't be silly, learn the pilgway workflow. do the video tutorials from the website.
It's well worth it.
-
that's pretty cool, nice design. You should devise your own simple but elegant logo for your 3d graphics business and have that embossed on both sides.
-
Great work, excellent so far!!!
hmm, at least I'm not alone on this.
You probably know about the hidden alternative smoothing tool in zb.
No where is that?
-
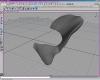
So essentially my mirror project is complete with a few small alterations. I accomplished everything I set out to do and learned a lot of stuff along the way. In hindsight I think I would have taken the five constituent pieces of the mirror frame and retopoed them individually, and I would have AUTOPOed them too. I didn't like the errors that cropped up in AUTOPO but in retrospect I would have simply deleted the handful of offending polygons and replaced them by hand to remove the errors. I didn't realize that could be done. Now I do.
I spent Monday and Tuesday worrying about the way the Normal and Displacement maps were working...they weren't smoothing out the base mesh, even though they were obviously having an effect.
Finally on Tuesday afternoon after trying endless renders I found the SMOOTHING control in the OBJECT PARAMETERS panel of Maxwell Render. What joy.
Today I just finished off hand painting all the repetitive geometrical ornament in Photoshop. Maybe I could have done it in 3d Coat but I knew how to do it in PS so that's how I did it. I feel it allowed for a lot more precision.
I didn't have much faith in the Occlusion Map either...It looked ugly in Photoshop, lying there as a 2D map and frankly it looked pretty ugly in 3d Coat Paint Room too but in the event it was invaluable. It seemed to work like a meta pinch tool making everything more slender, less toylike. In the end I made it as a separate layer with 40% to the Occlusion Map and 60% to the Gold map.
Also I want to offer thanks to digman for all the invaluable help he gave me. I honestly could not have completed this project (the most complex project I've made to date) without his generous and excellent advice. Thank you Digman.
And finally I want to say one last thing about 3d Coat. There's a tendency for people to sort of scorn it, or say they like it's retopo tools but that's all. I disagree heartily. I've worked with Mudbox and I like it. It's good. And I've worked with Zbrush and I like it too. But 3d Coat is every bit as good as they are overall, and in some areas it's even better. Definitely it's ergonomic feel is superior.


-
I got to see several 3d printer companies as Siggraph this summer but none really impressed me that much. But there is some really hopeful research going on...
-
I purchased Vue 9.5 Complete today. They were still running the sale though it is past the 3rd of October. I hope to give it a test run today sometime. 3D Landscapes with some imported 3DCoat models should make a nice combination.
299 dollars, half off price.
Slow installer... but it's installing on my other machine.

I think we have a few other 3DCoat users running Vue also.
$299??? That's dirt dirt cheap
I remember when it was like $1000-$1500 not so long ago...
Oh wait Xstream is $1495.00 for vue 9.5
-
I purchased Vue 9.5 Complete today. They were still running the sale though it is past the 3rd of October. I hope to give it a test run today sometime. 3D Landscapes with some imported 3DCoat models should make a nice combination.
299 dollars, half off price.
Slow installer... but it's installing on my other machine.
I think we have a few other 3DCoat users running Vue also.
$299??? That's dirt dirt cheap
I remember when it was like $1000-$1500 not so long ago...
Not surprising though considering that Terragen 2.3 is around $260 and it's every bit as good.
-
to chris_solo:Thank you!
to Taros:Thank you! and the camera view...yes,I thought so too. But I don't have enough Knowledge for scripts

to Garagarape:Thank you! Bushin! I like Katuya Terada's Work

I added new image.

That's excellent
Which company's 3d printer did you use for that torso propped agasint the water bottle?
-
The mind boggles..


Earbud wrap
in Finished Projects
Posted
Is that a sintered powder or a polymer extrusion technique?