
Vexod14
-
Posts
243 -
Joined
-
Last visited
Content Type
Forums
Calendar
Gallery
Posts posted by Vexod14
-
-
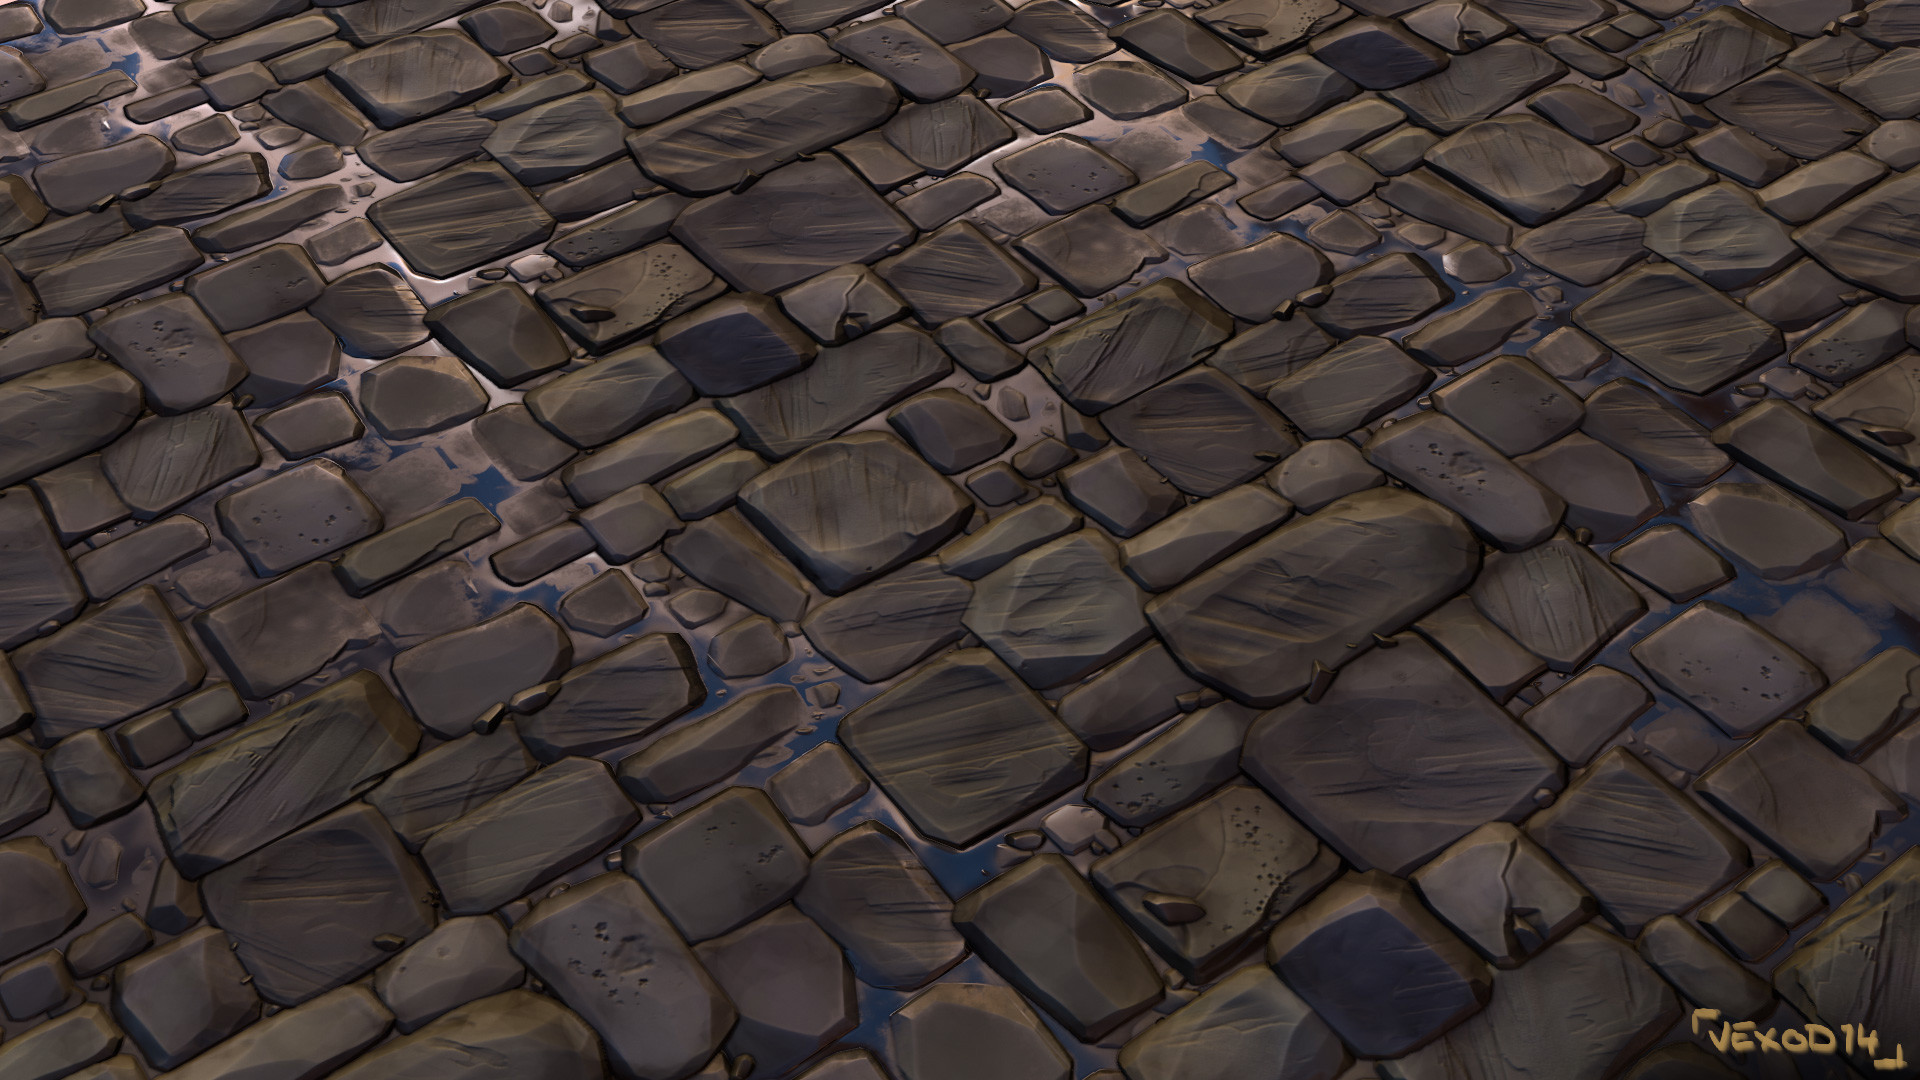
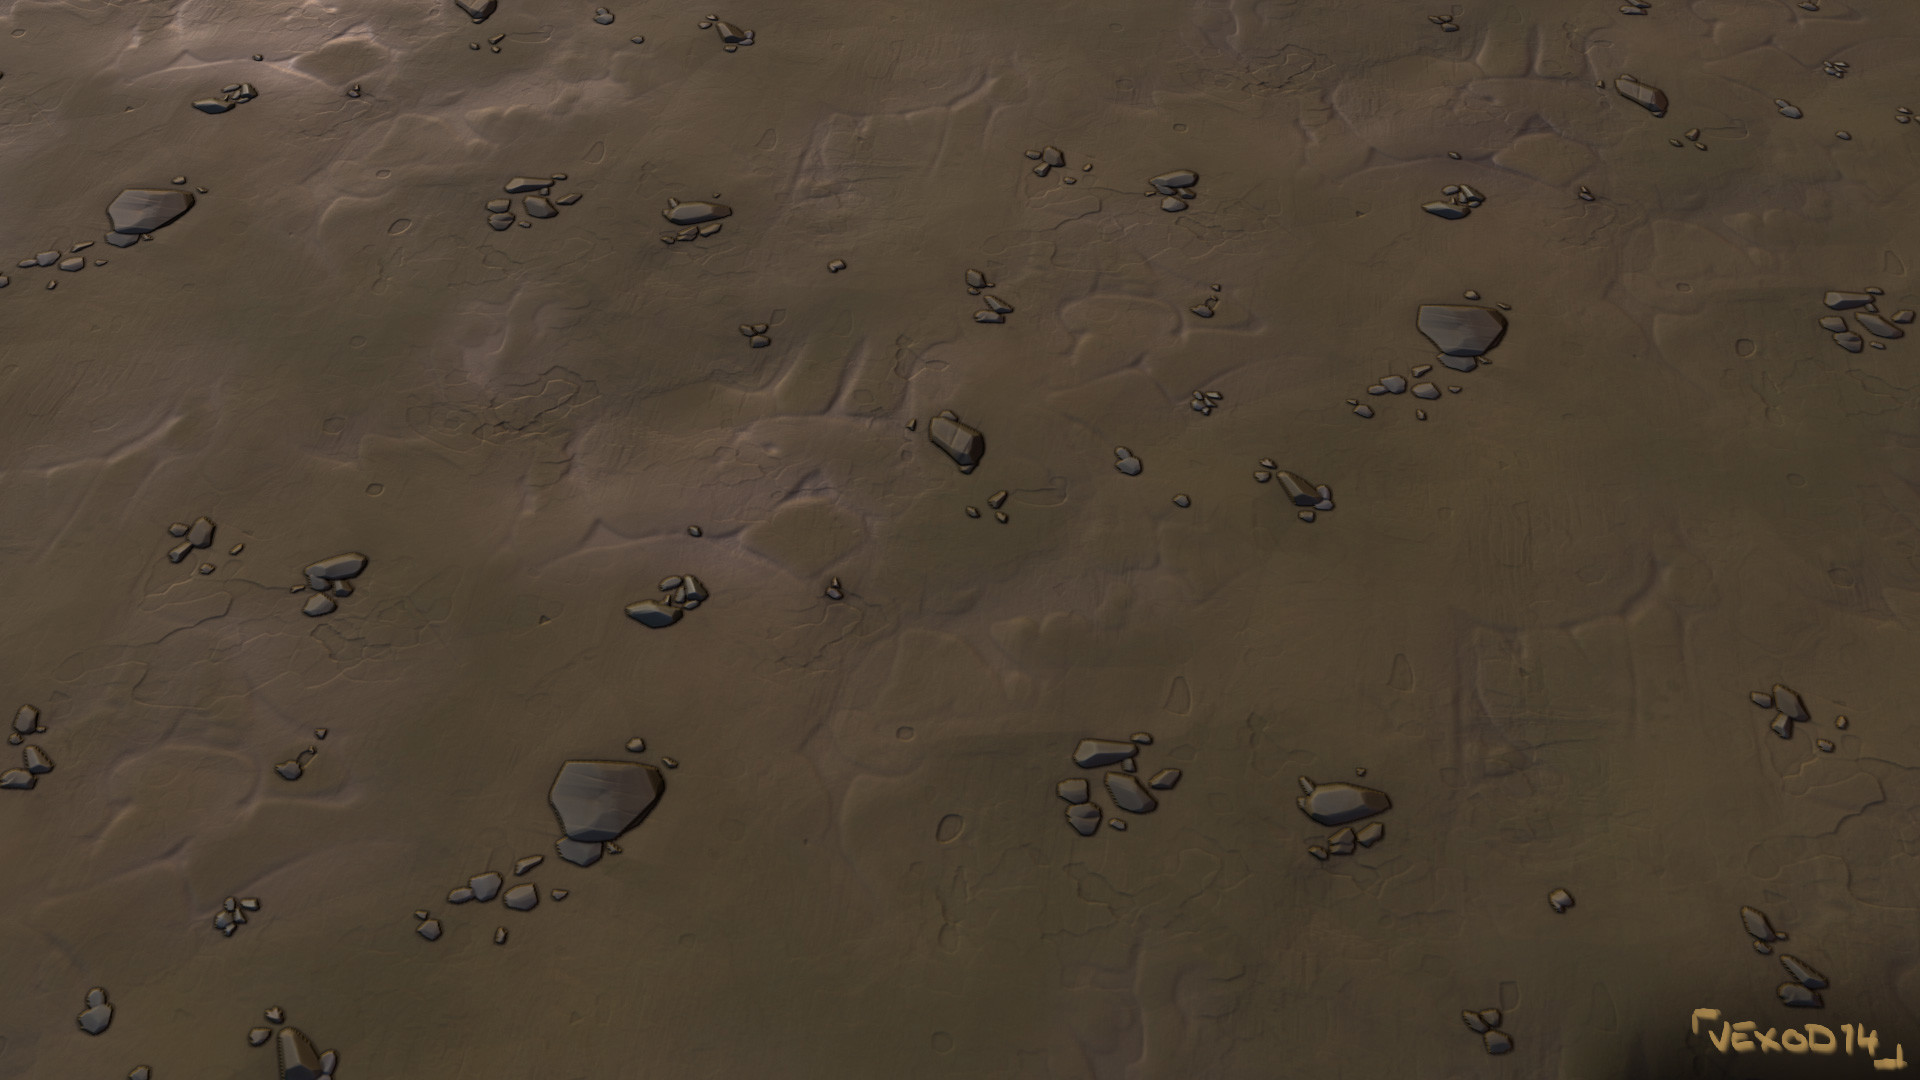
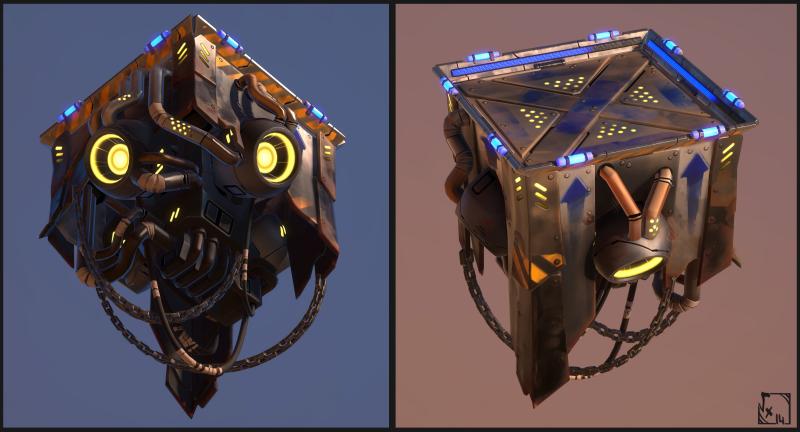
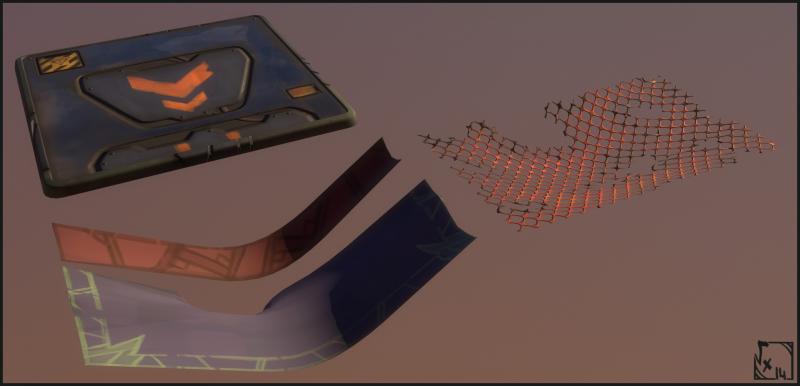
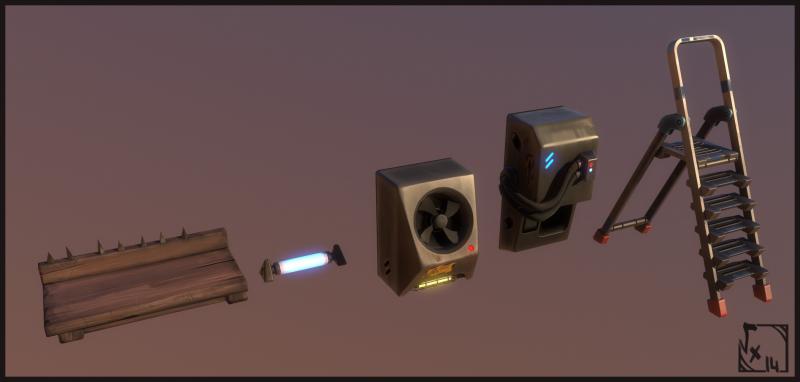
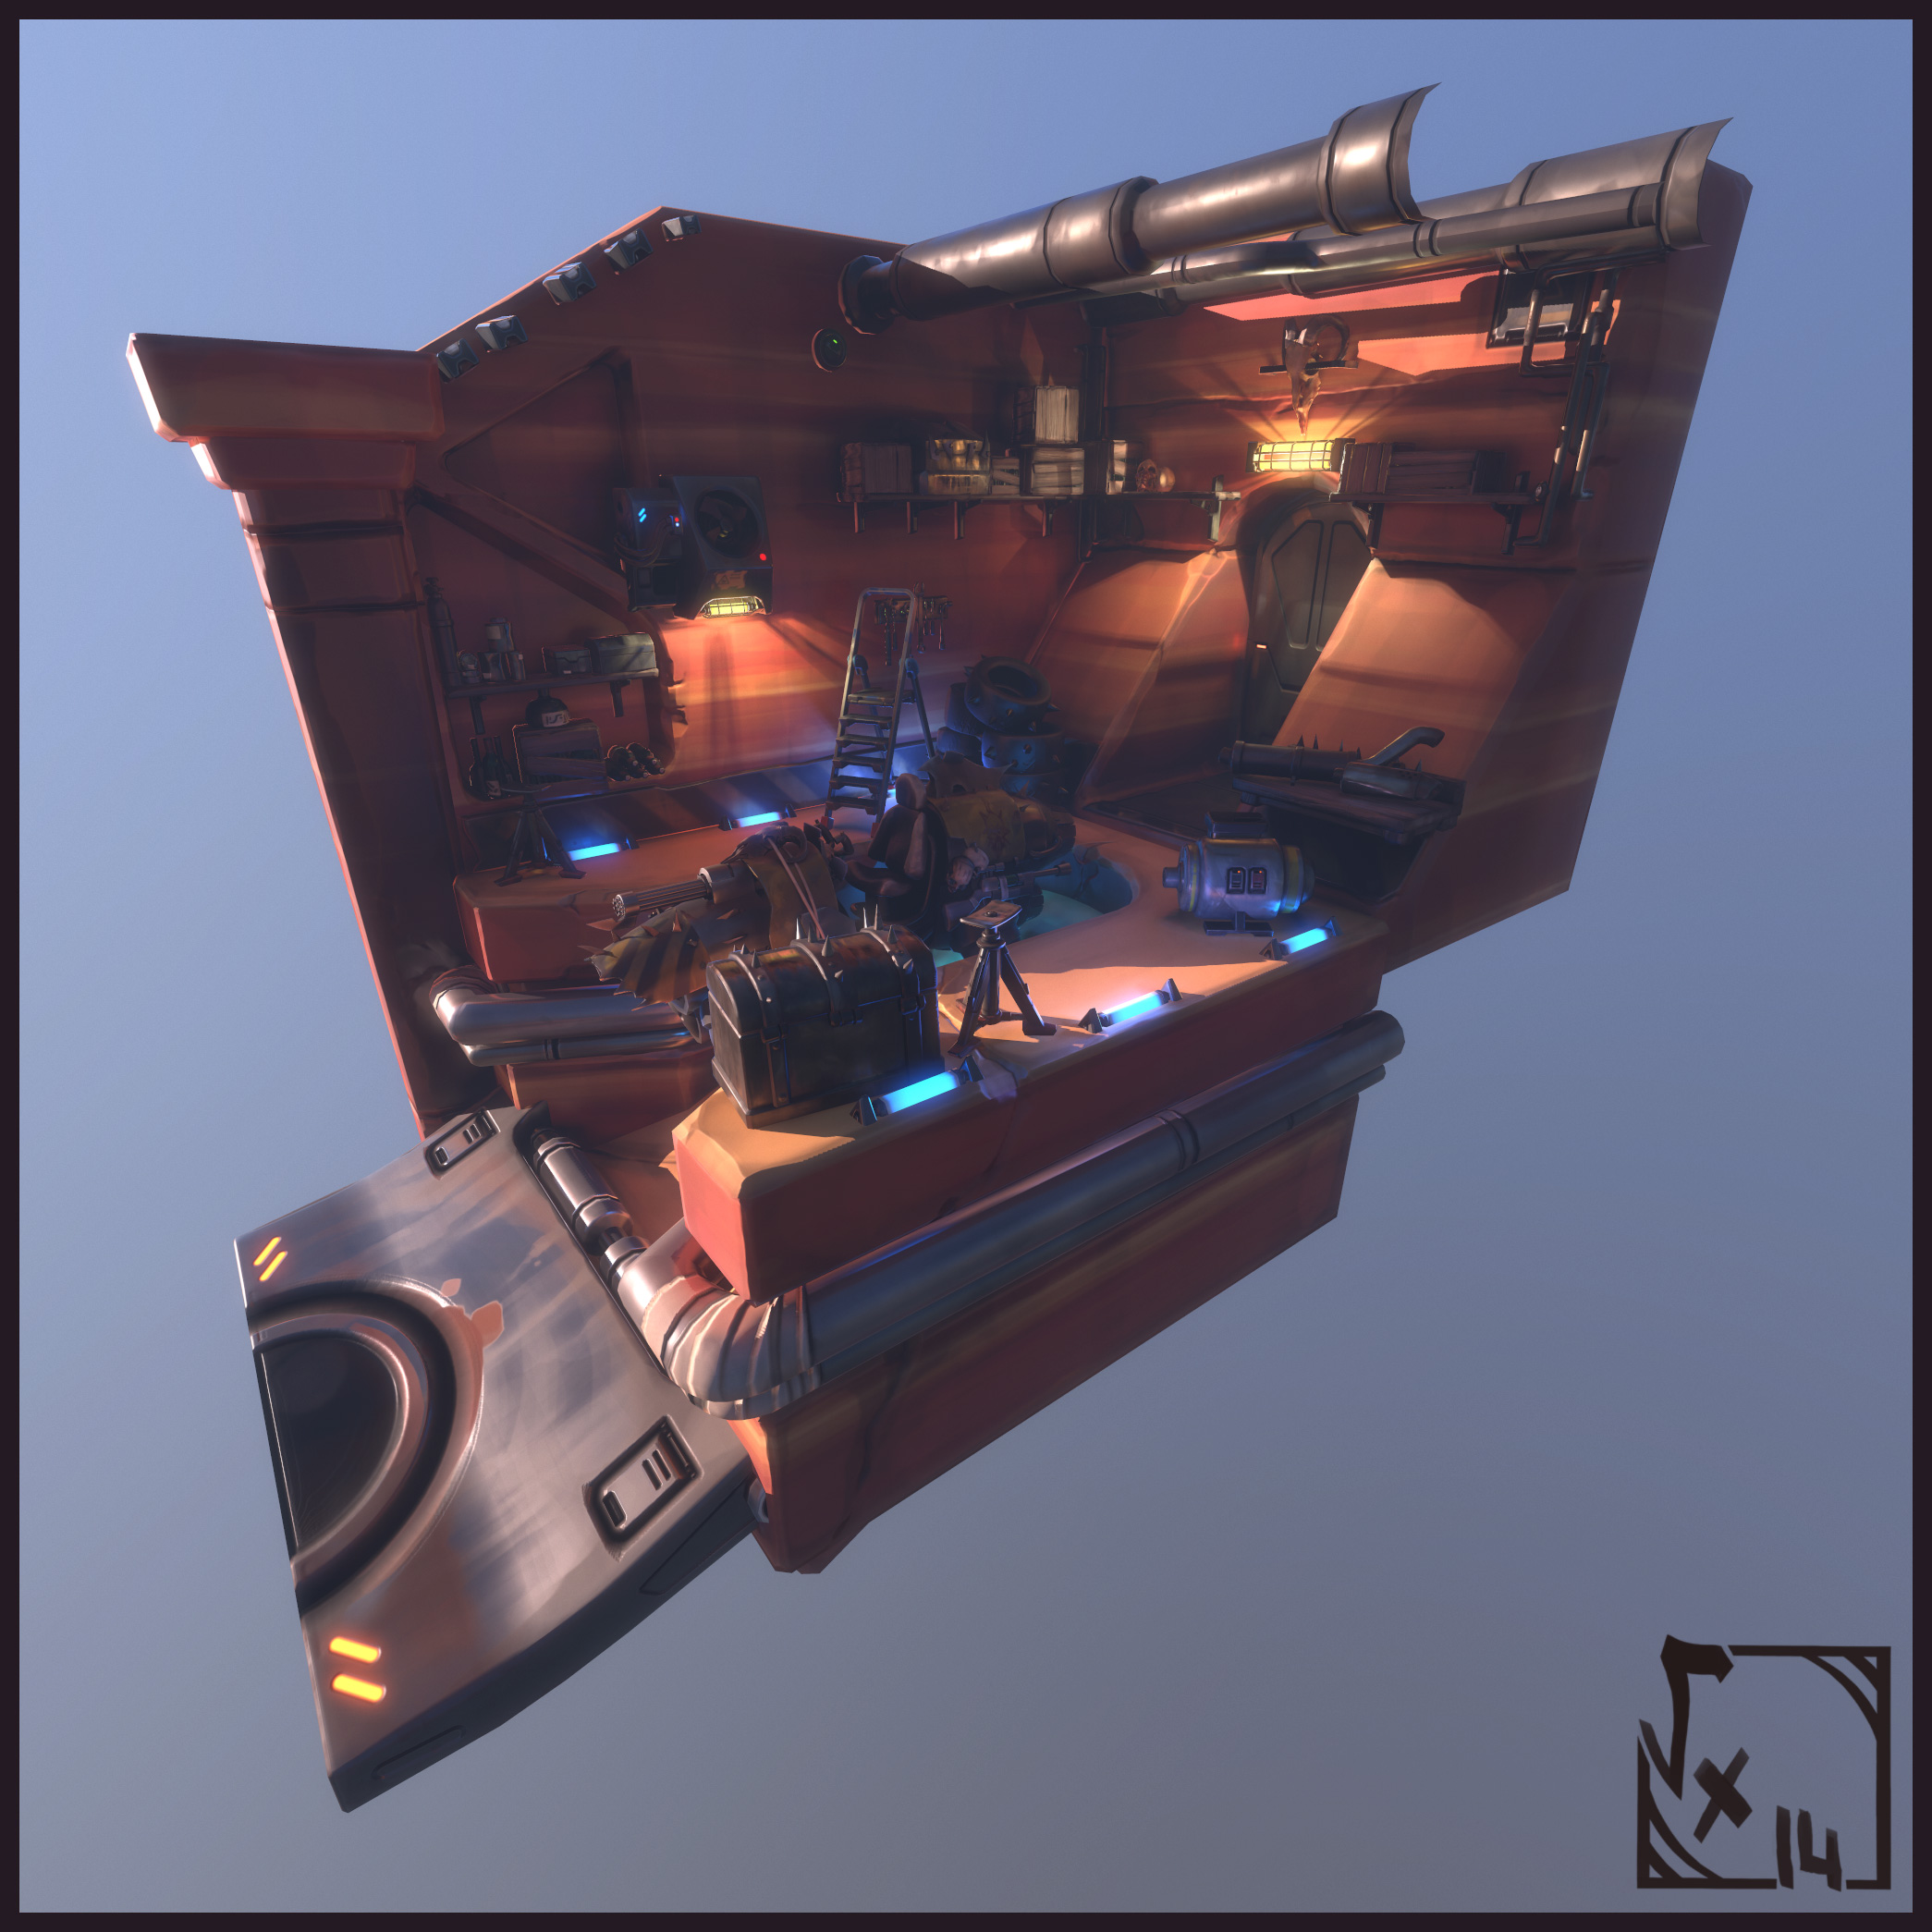
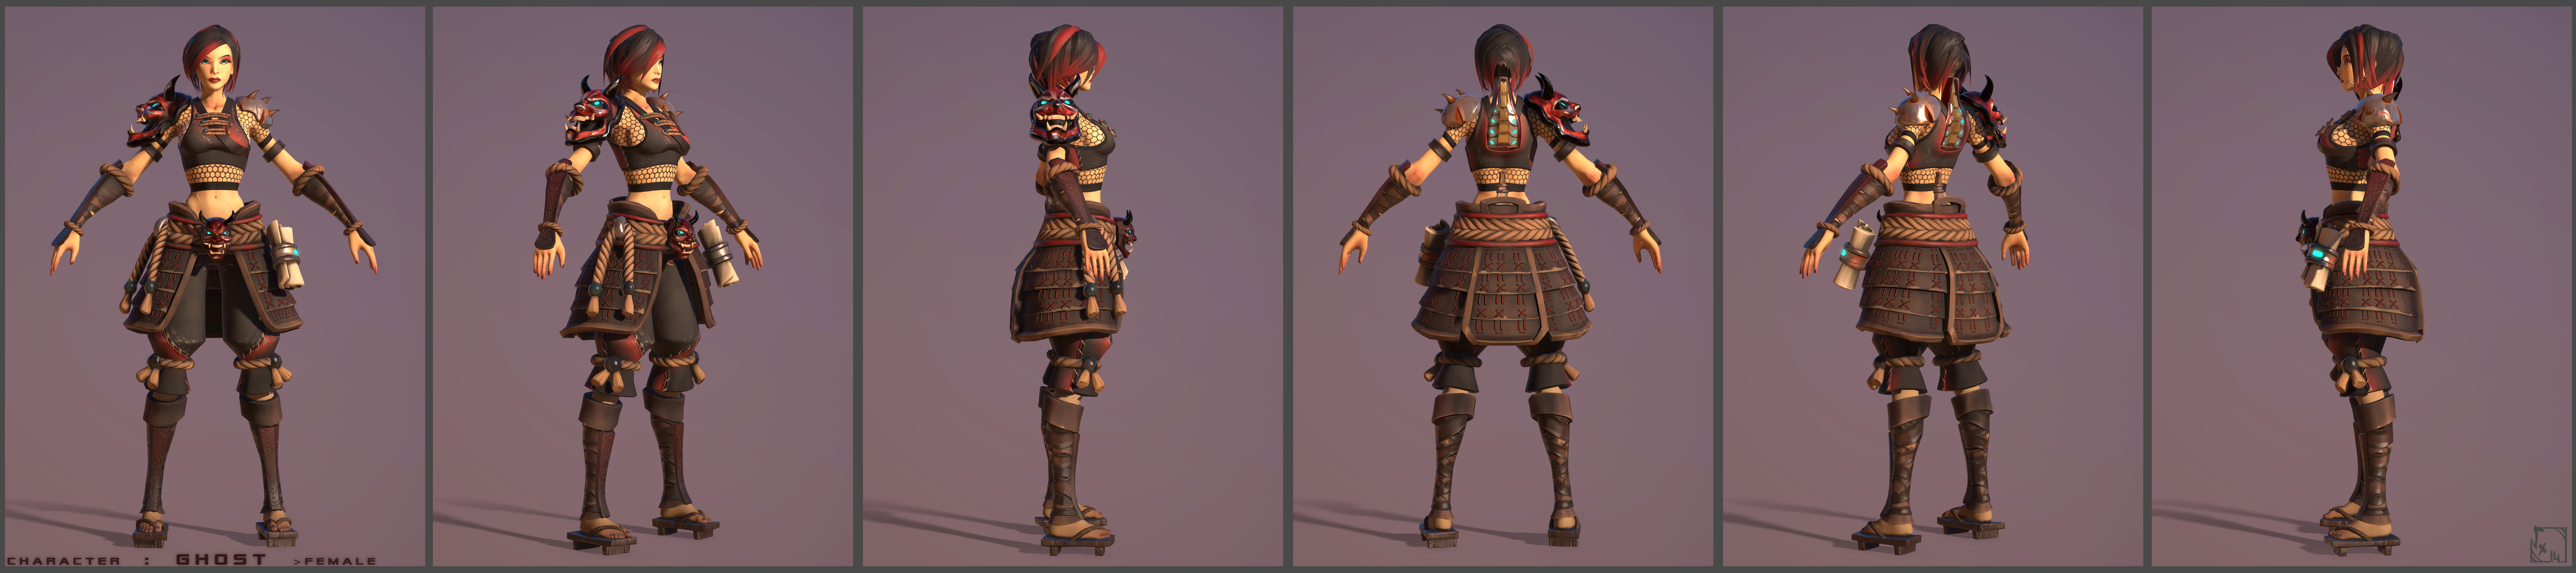
A personnal work done in two weeks, using almost only 3DCoat for texturing (+Knald for curvature generation which still have huge issues on 3DCoat when meshe's UVs overlapps + Photoshop for final texture packing and tiny minor stupid tweaks ^^" ) here's a link to the full project : https://www.artstation.com/artwork/8lWw2w
Ow and, just a suggestion guys but could it be possible to add a switcher for curvature map uses inside 3DCoat, something that allow user to load at least 2 different curvature maps and and decides wich one to use when painting with its properties ? Here I used for example the classic curvature map for all classic purposes like wornedges/cavities, etc, but also a heightmap as curvature which allow me to paint water inside pavement's holes (which looks damn coool !). But I had to reload my curvature several times...as I switched from one aspect to another =/ Please add it") And of course if you could once and for all fix the overlapp baking issue on UVs it would be awesome for making tileable maps, like REALLY awesome. I'd rather bake all my maps inside a single software instead of having to switch to another, which, in the case of Knald, doesn't take account of tileable areas of the atlas =/
And of course if you could once and for all fix the overlapp baking issue on UVs it would be awesome for making tileable maps, like REALLY awesome. I'd rather bake all my maps inside a single software instead of having to switch to another, which, in the case of Knald, doesn't take account of tileable areas of the atlas =/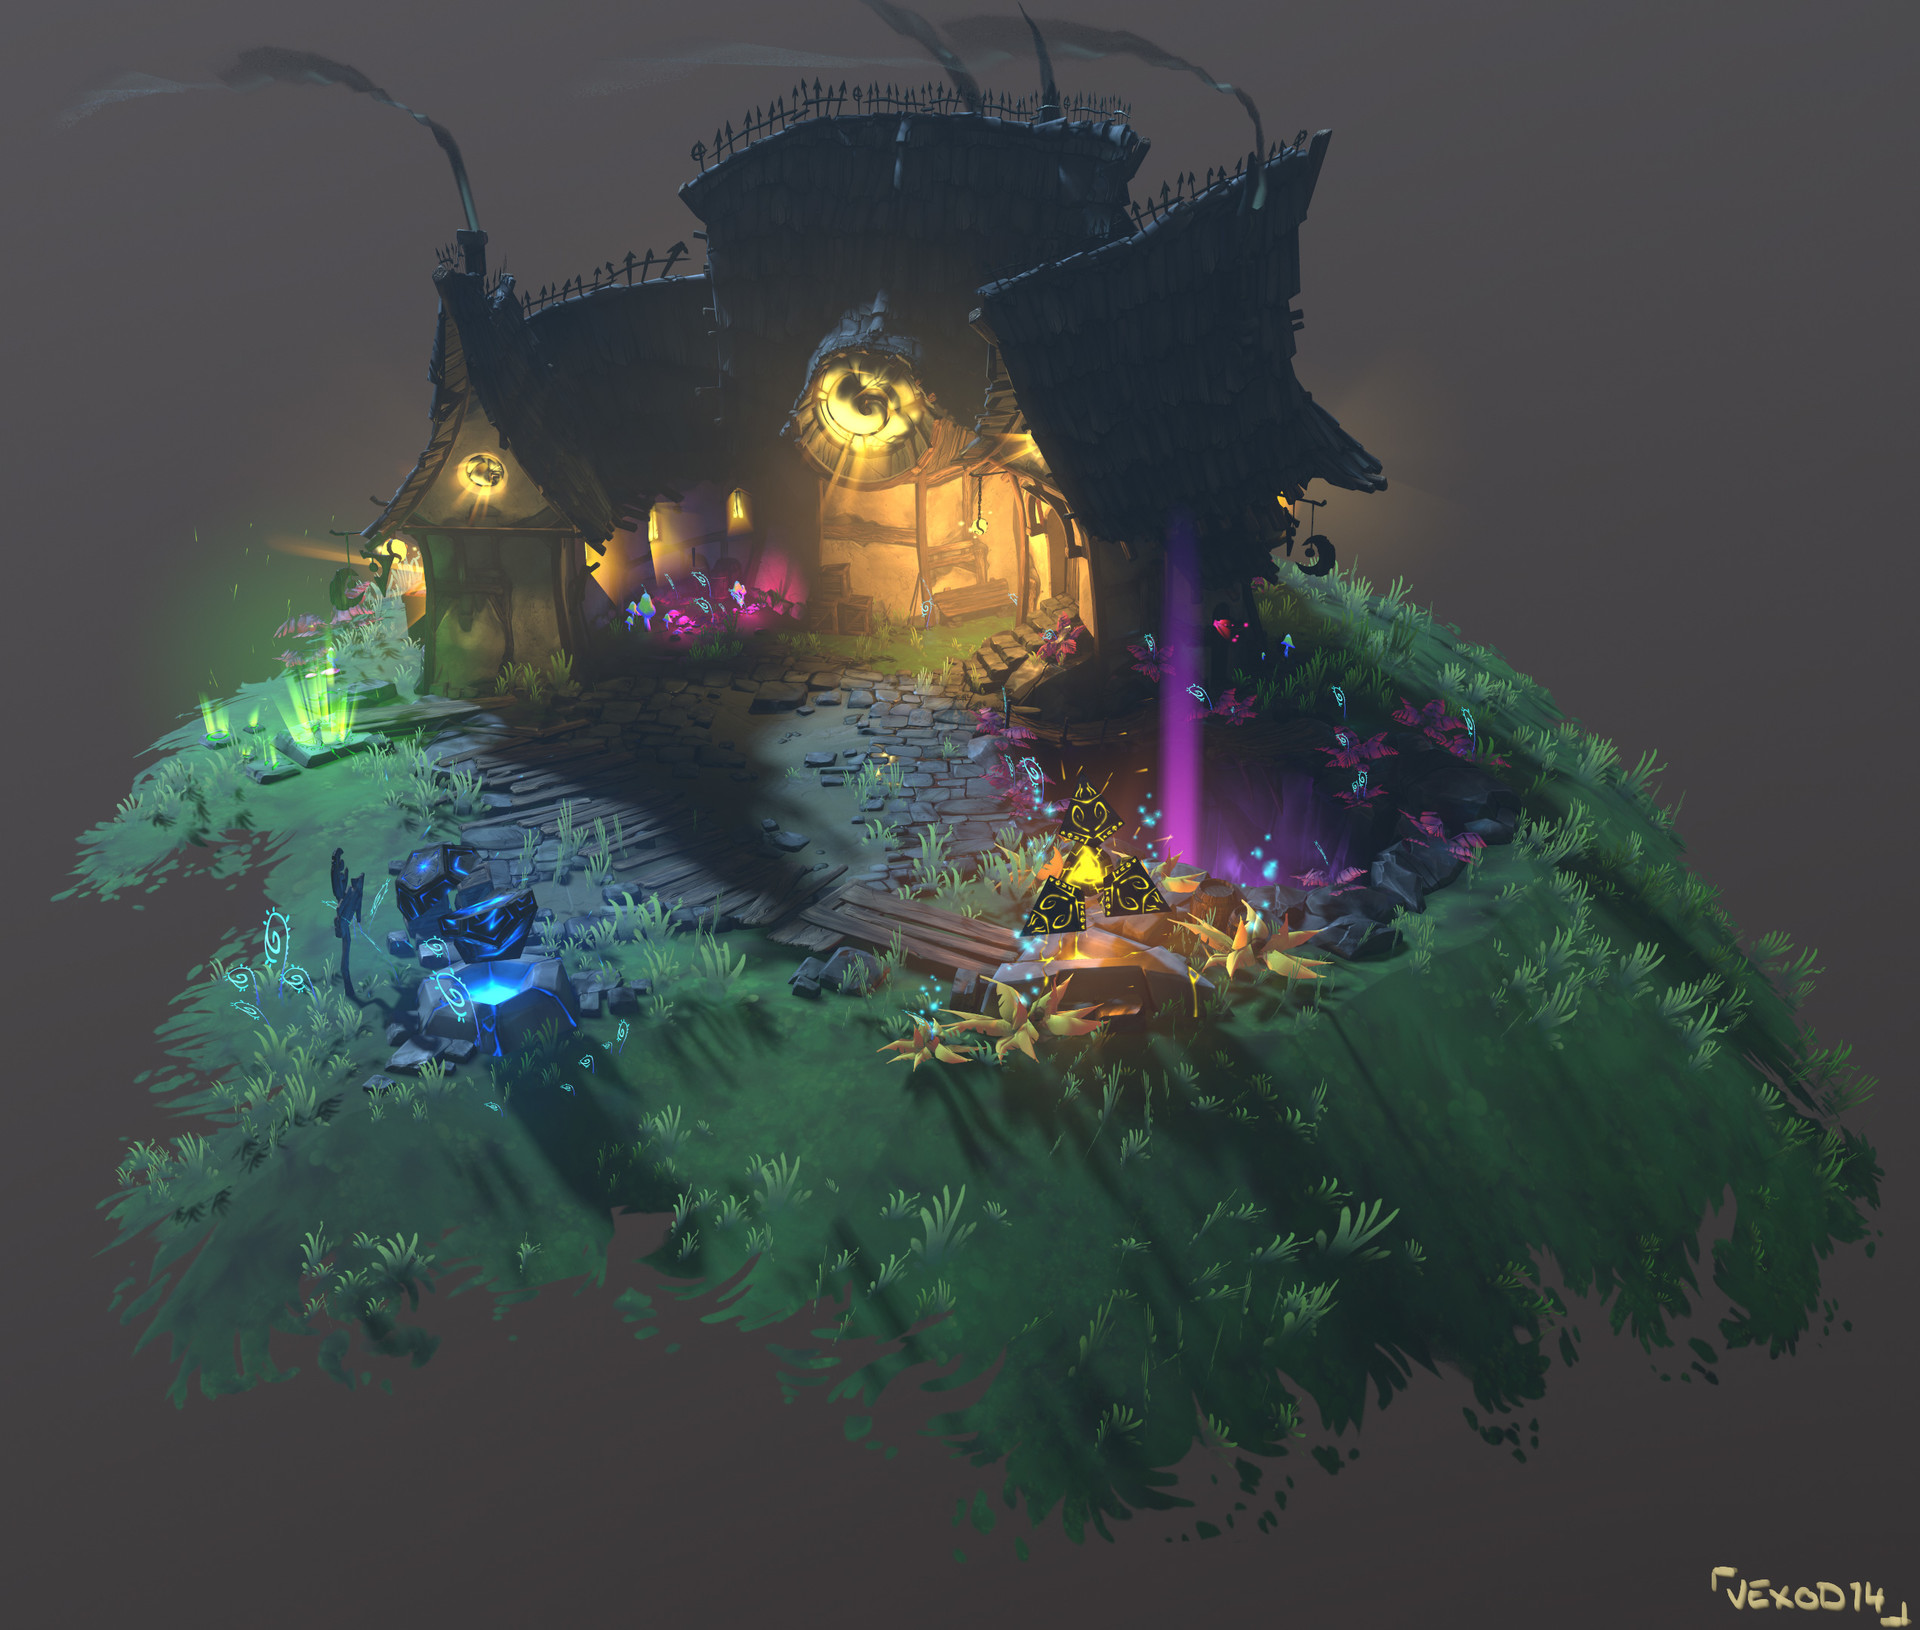


-
 7
7
-
-
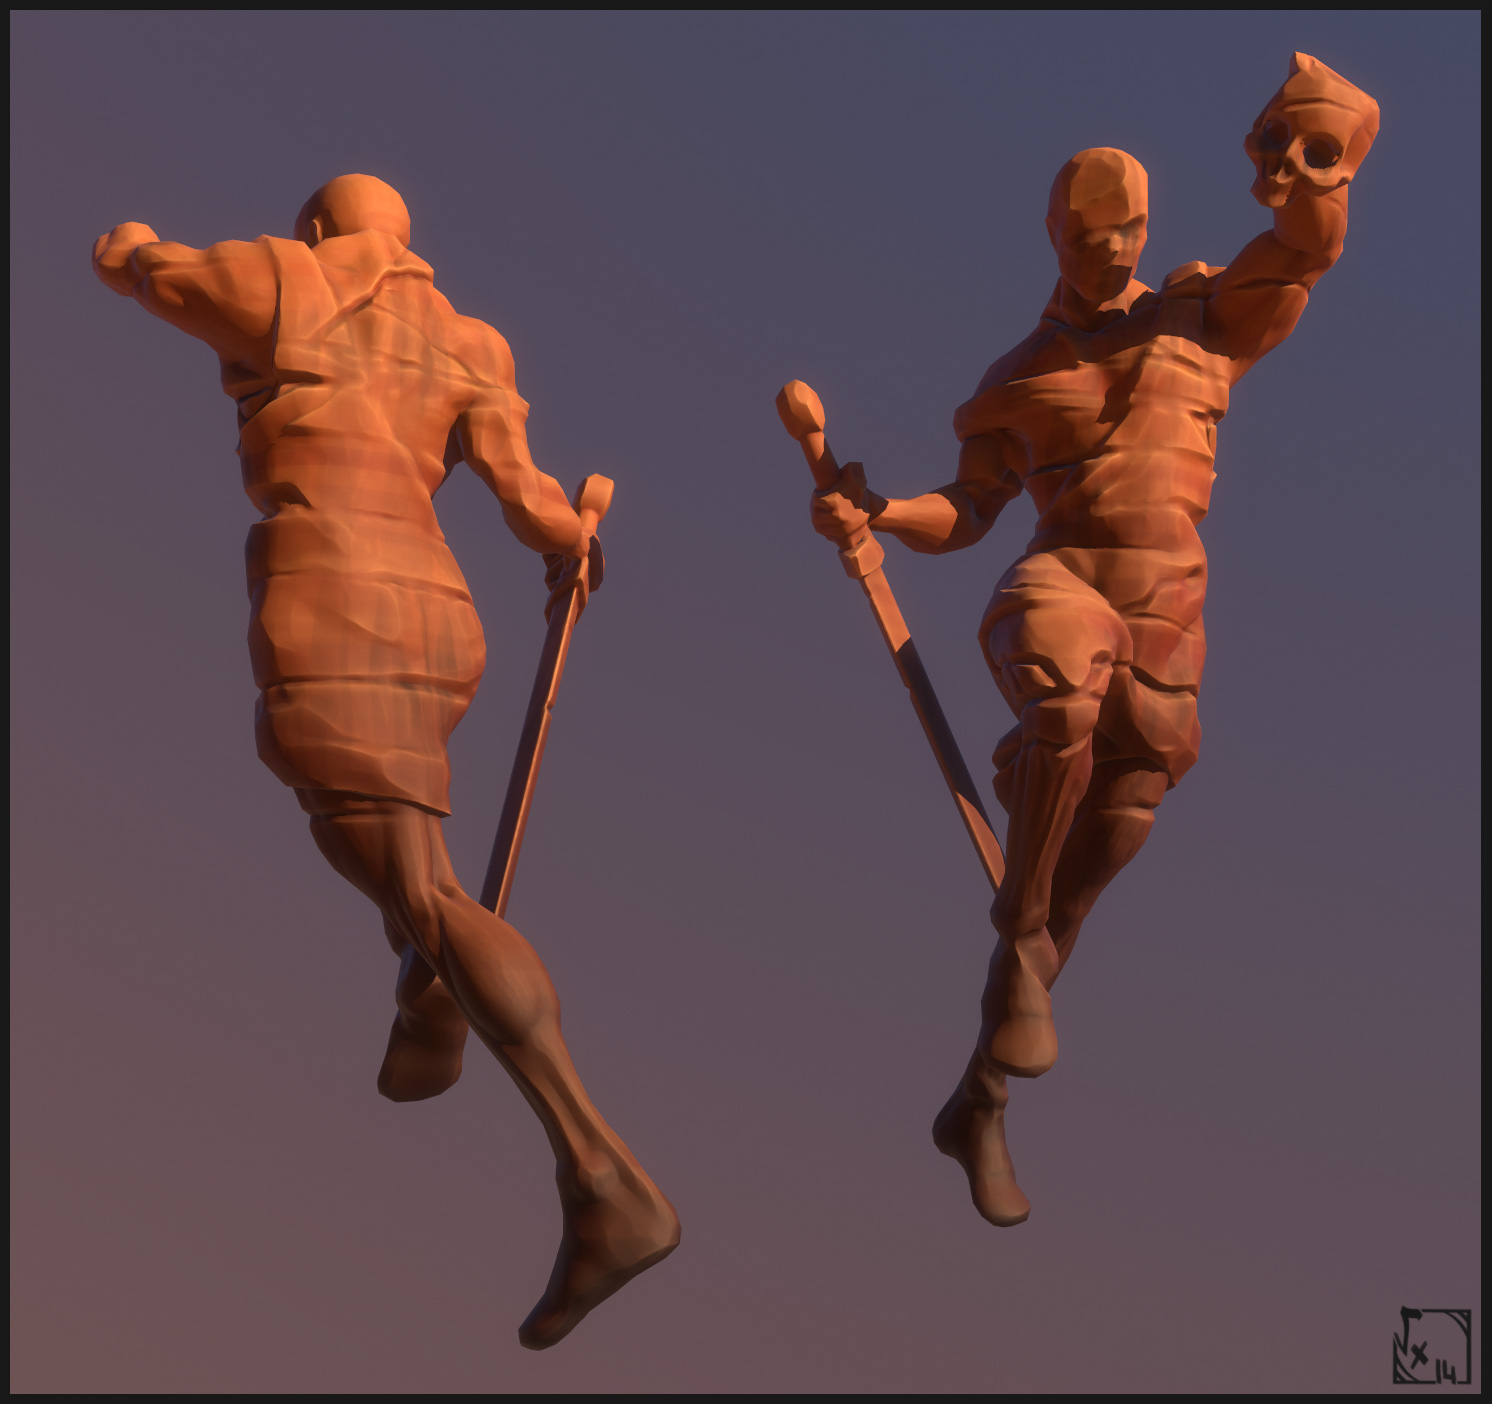
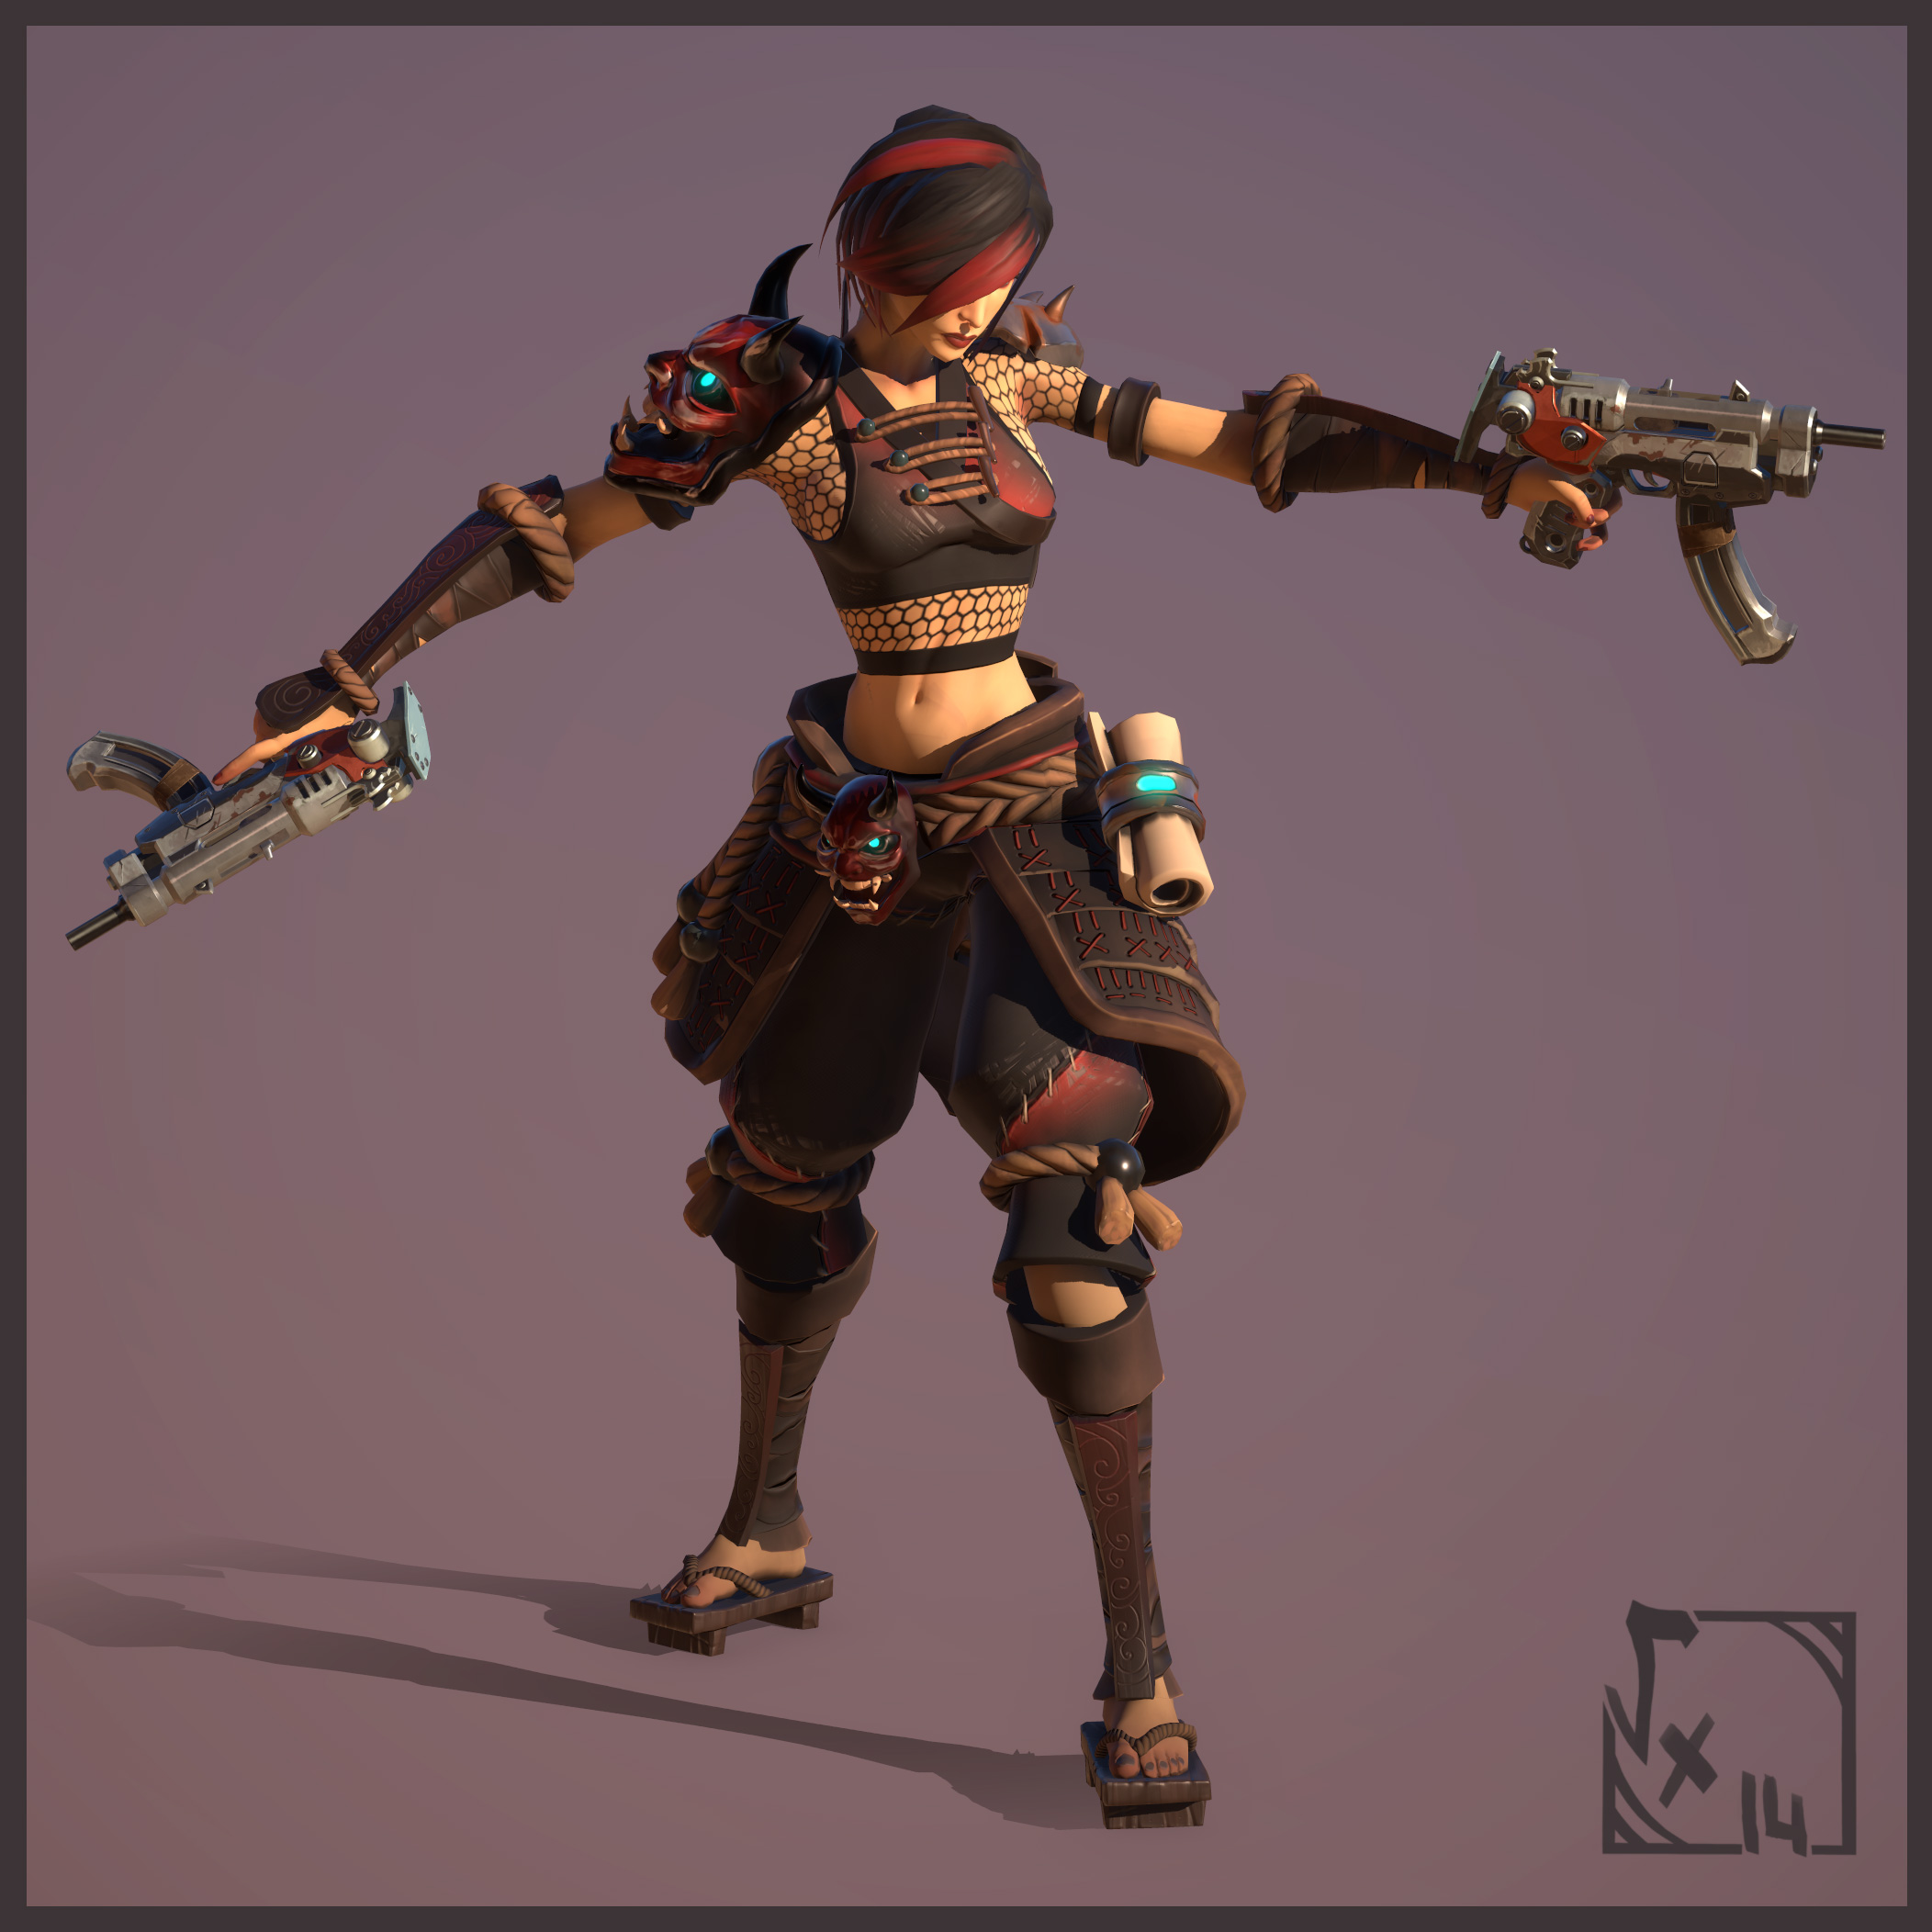
A quick pose I did this evening =)
( By the way, thanks a lot for featuring on FB guys ! ♥ )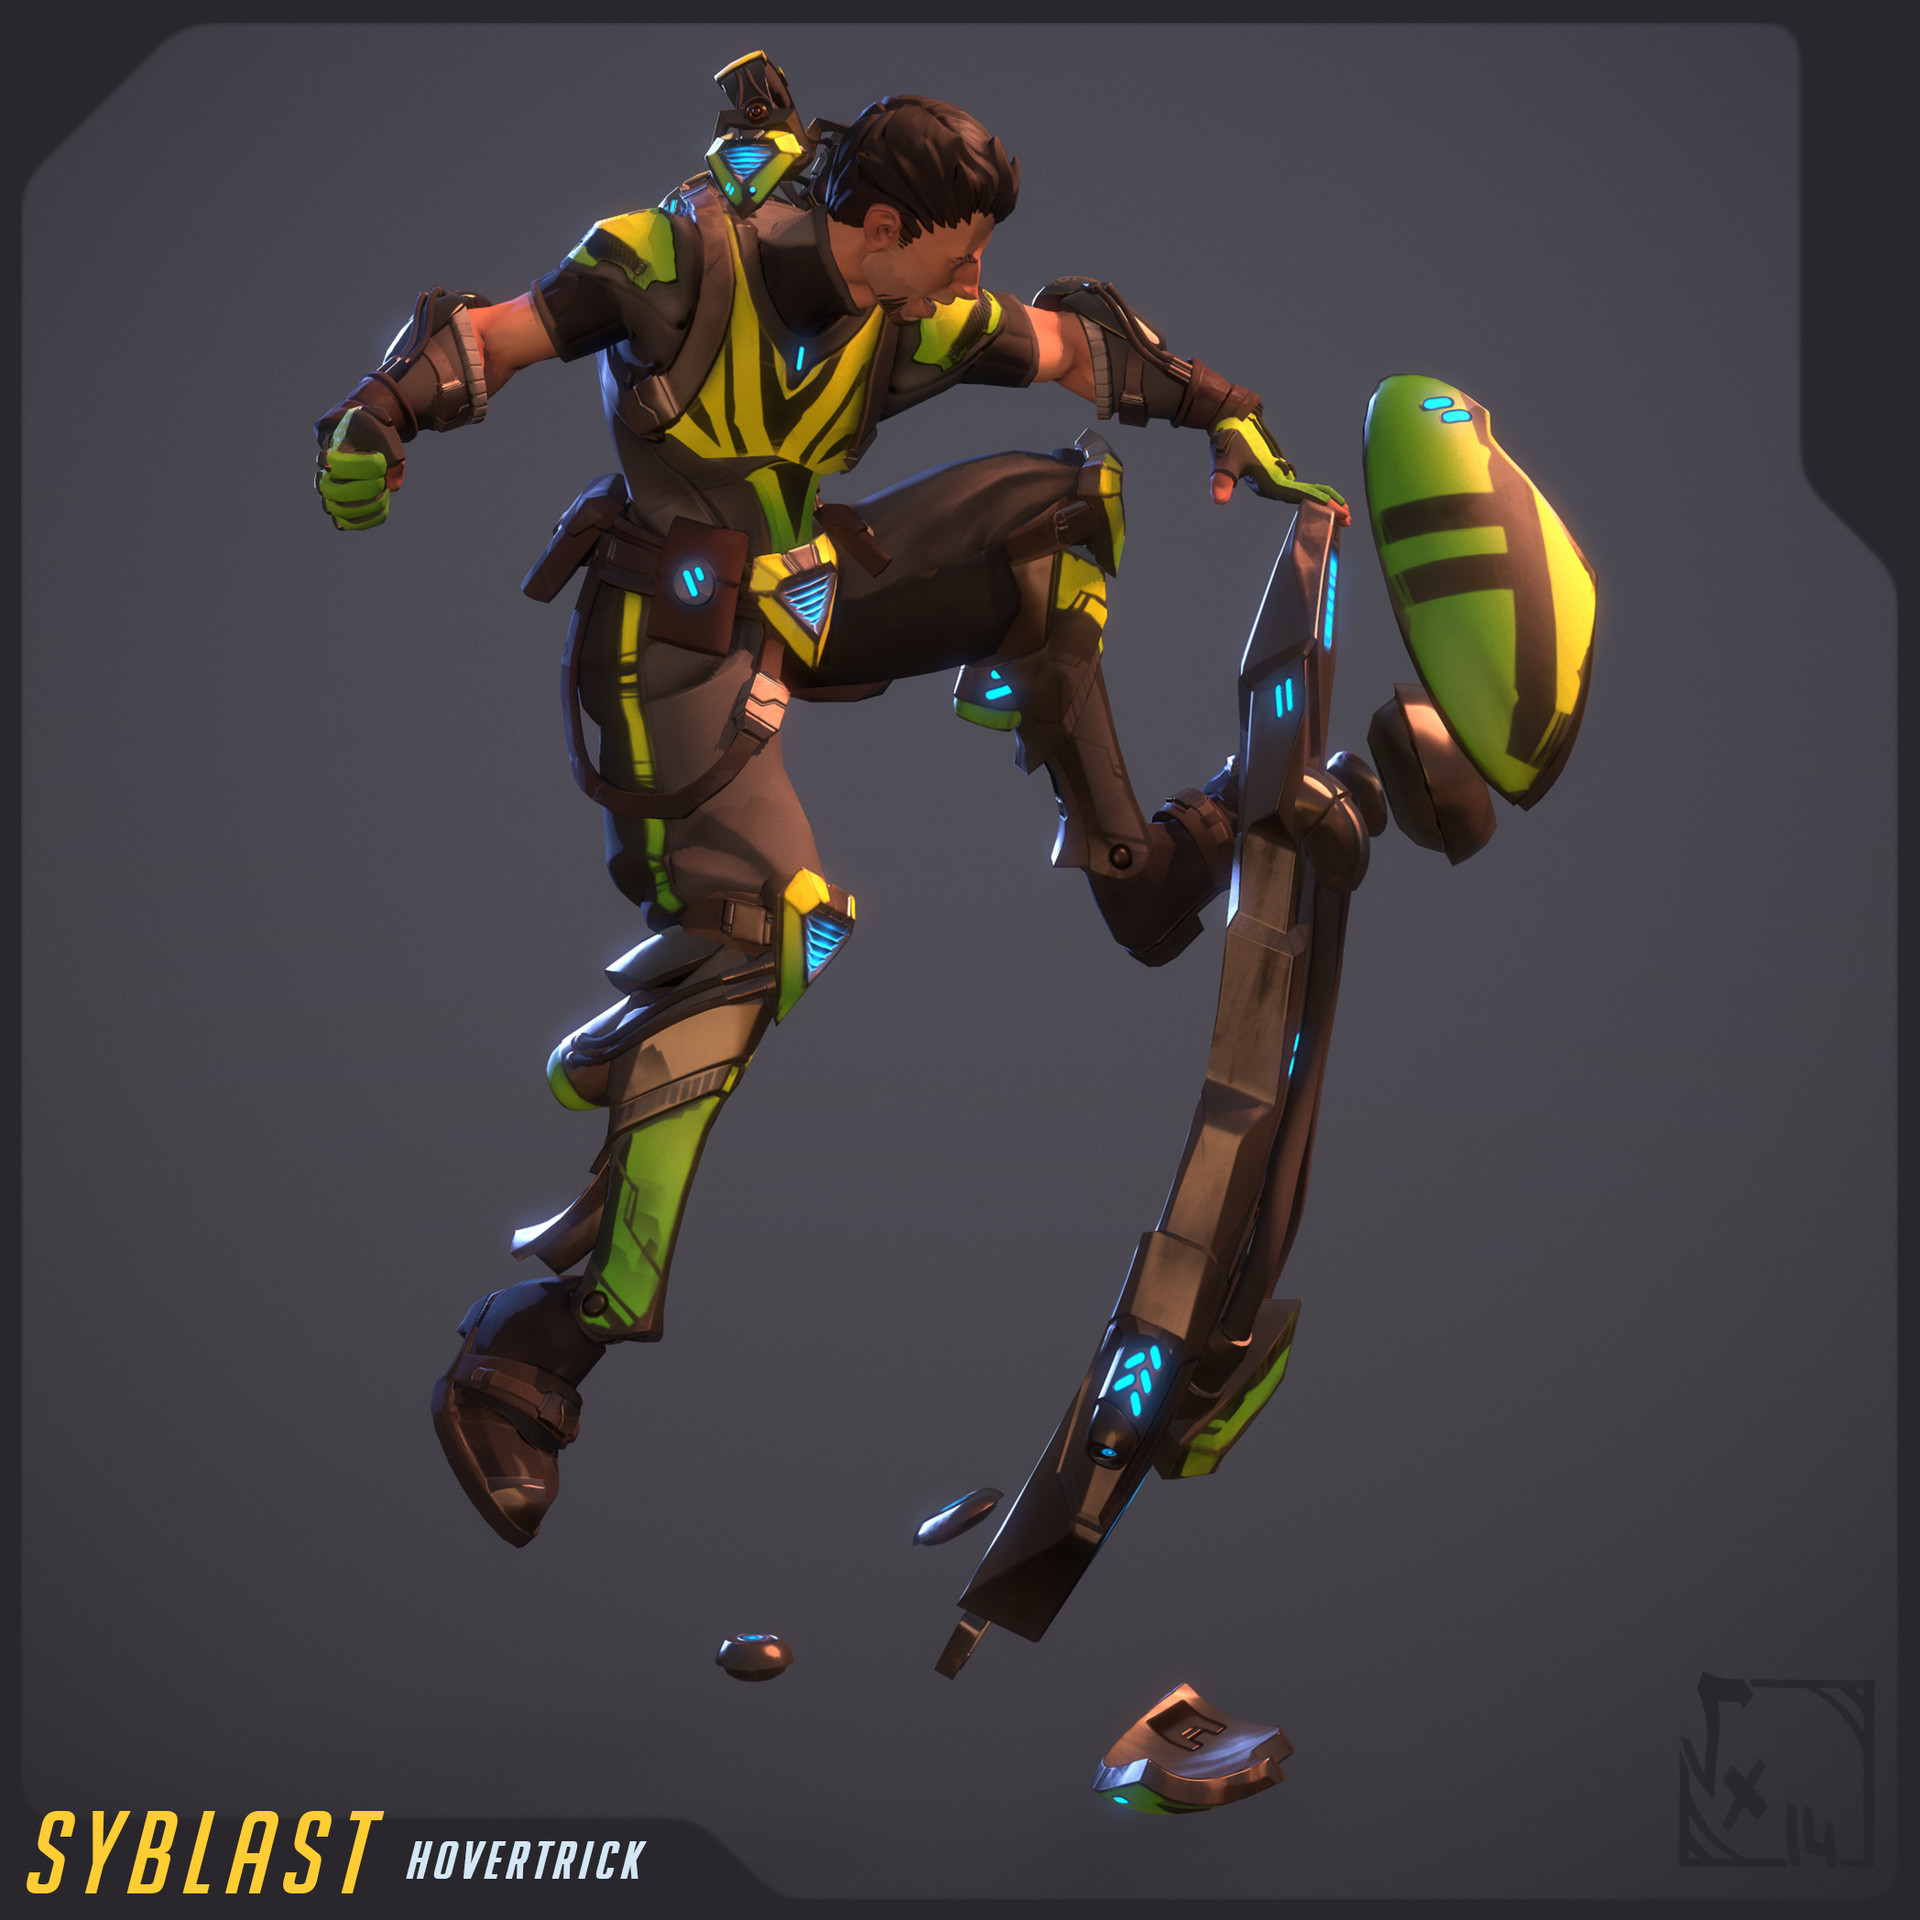
-
1
-
-
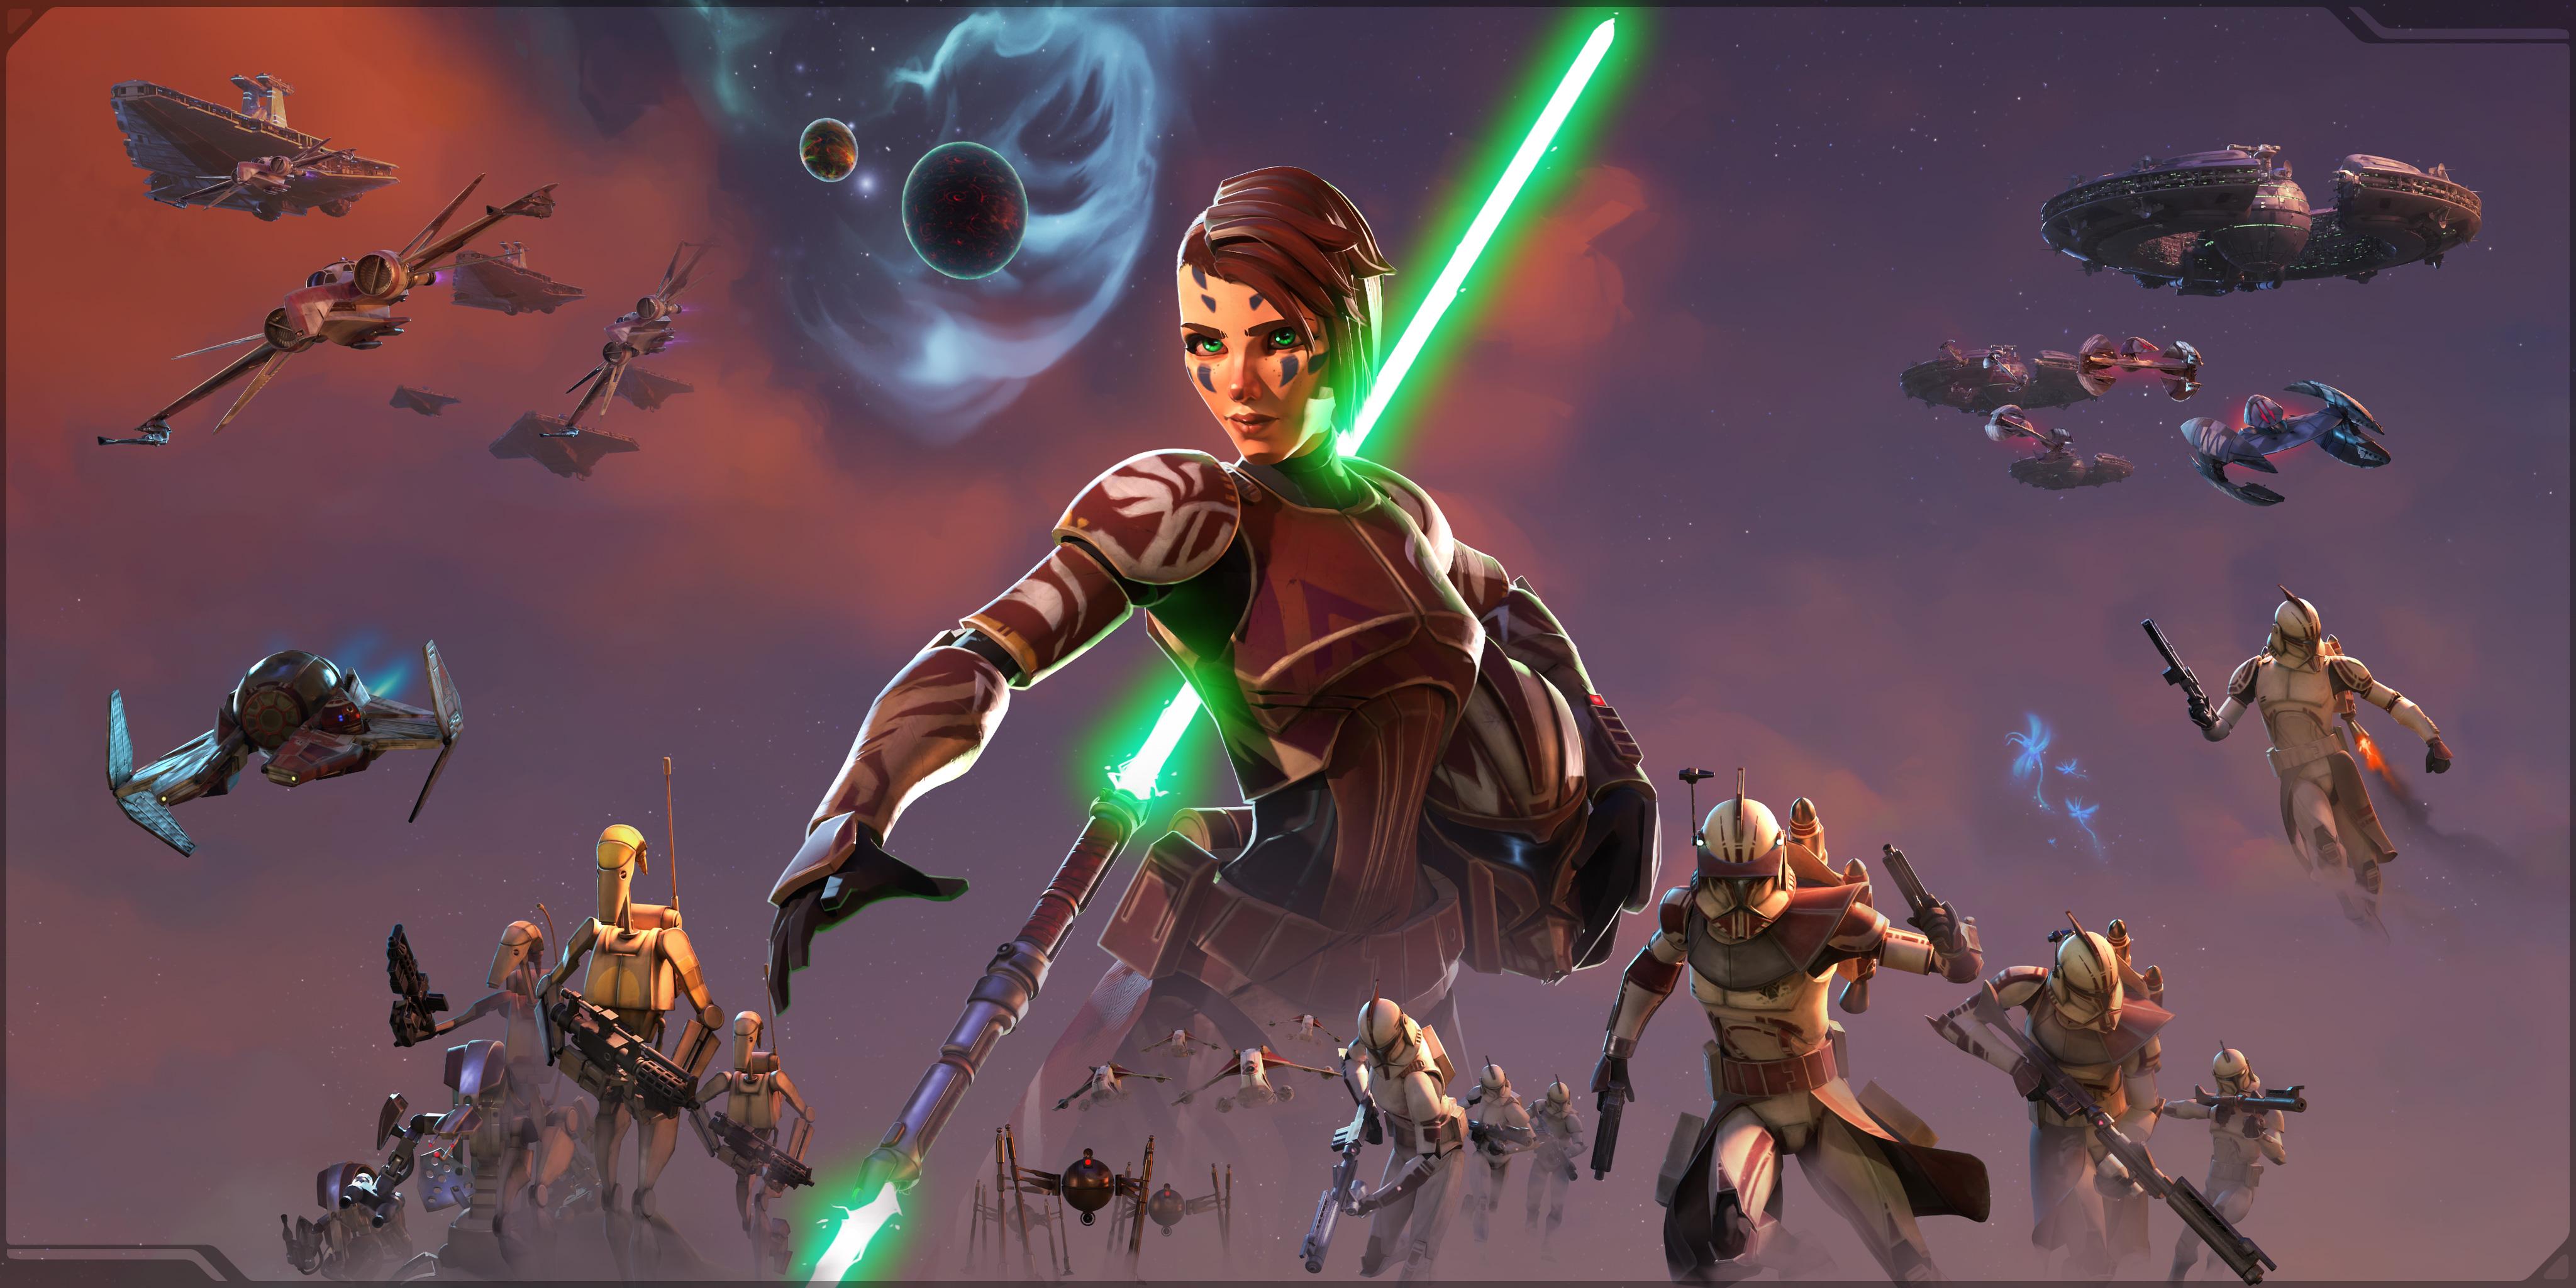
Hi everyone ! I've done some stuff since last post
First of all, the splash screen is now 99,99% made on marmoset, meaning that this...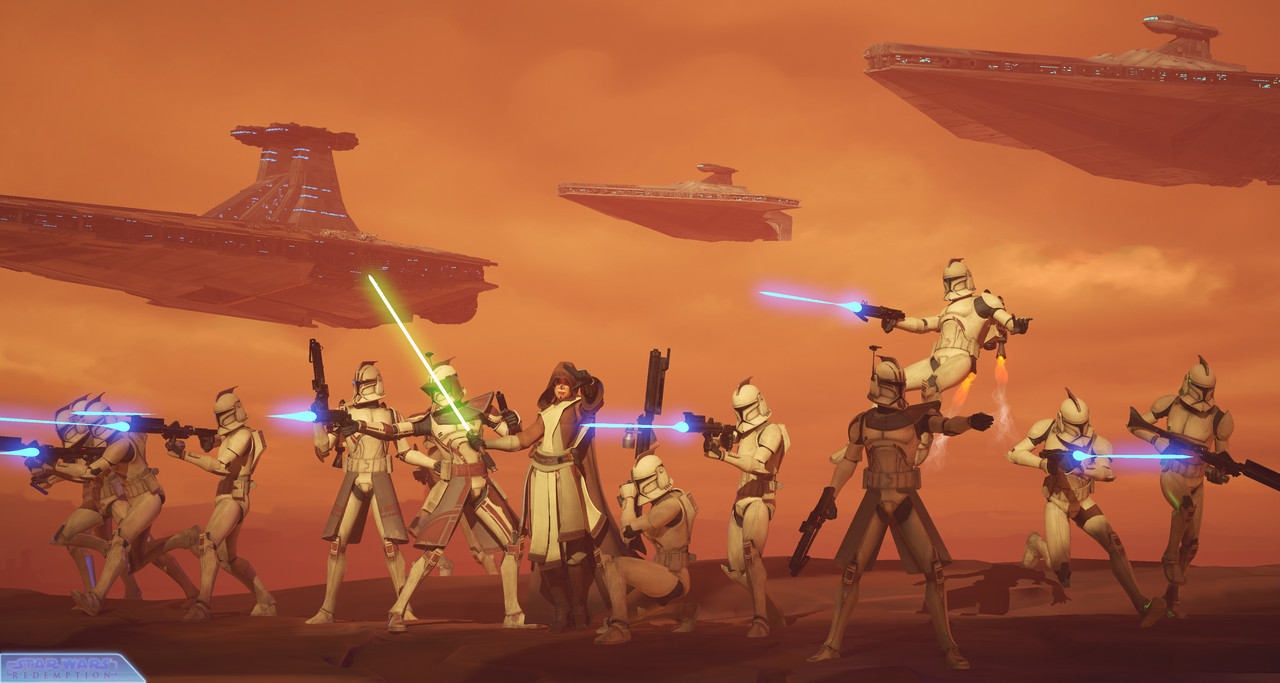
...Can easily be shot these ways :

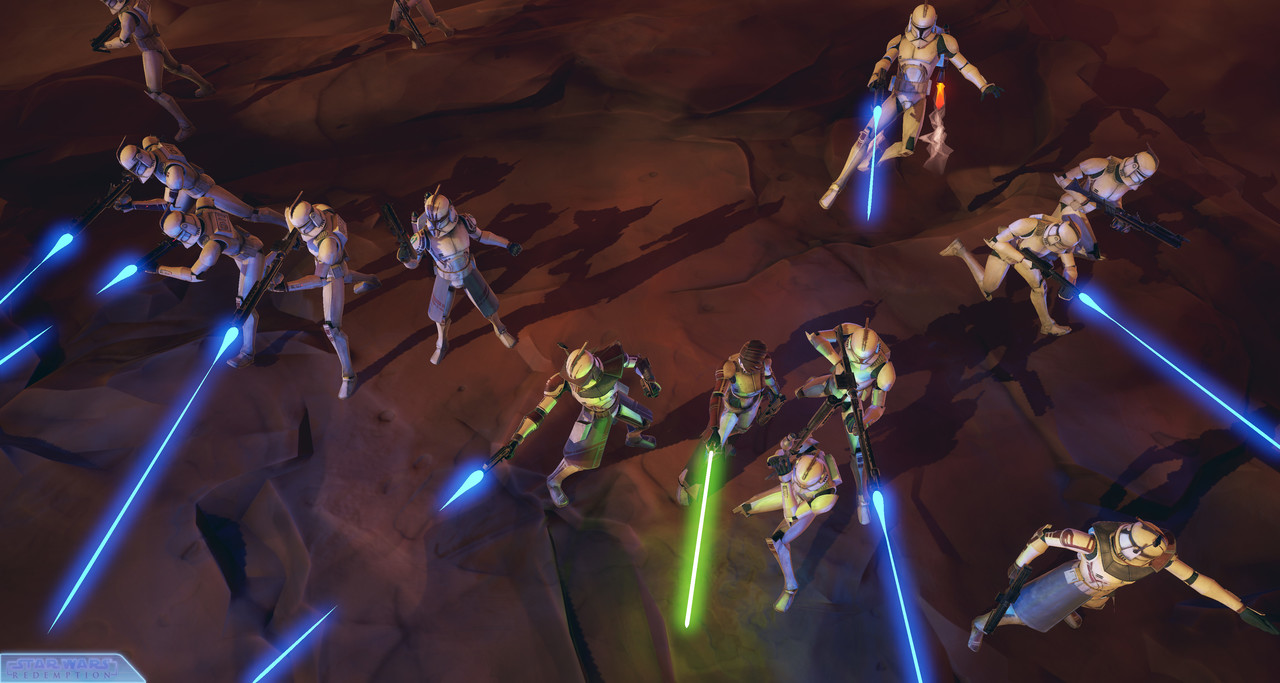
And of course textures are 100% done with 3DCoat, I also dis some retopology on character parts ( most of the time organic ones such as body and head ) and UV packing ( your algo are a blast, I love them ! )
I also improved Jetpack VFX by using simple displacement over a simple mesh ( same used for the musleflash ^^ ). Once it's UV animated in unreal engine 4 it works damn good =D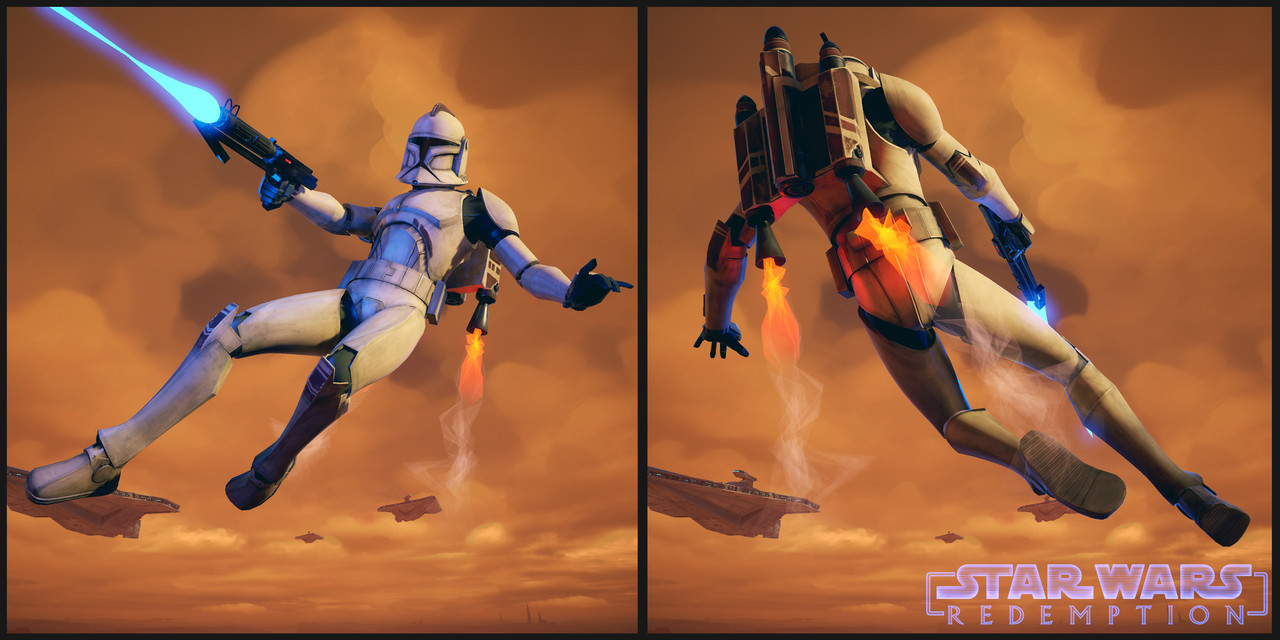
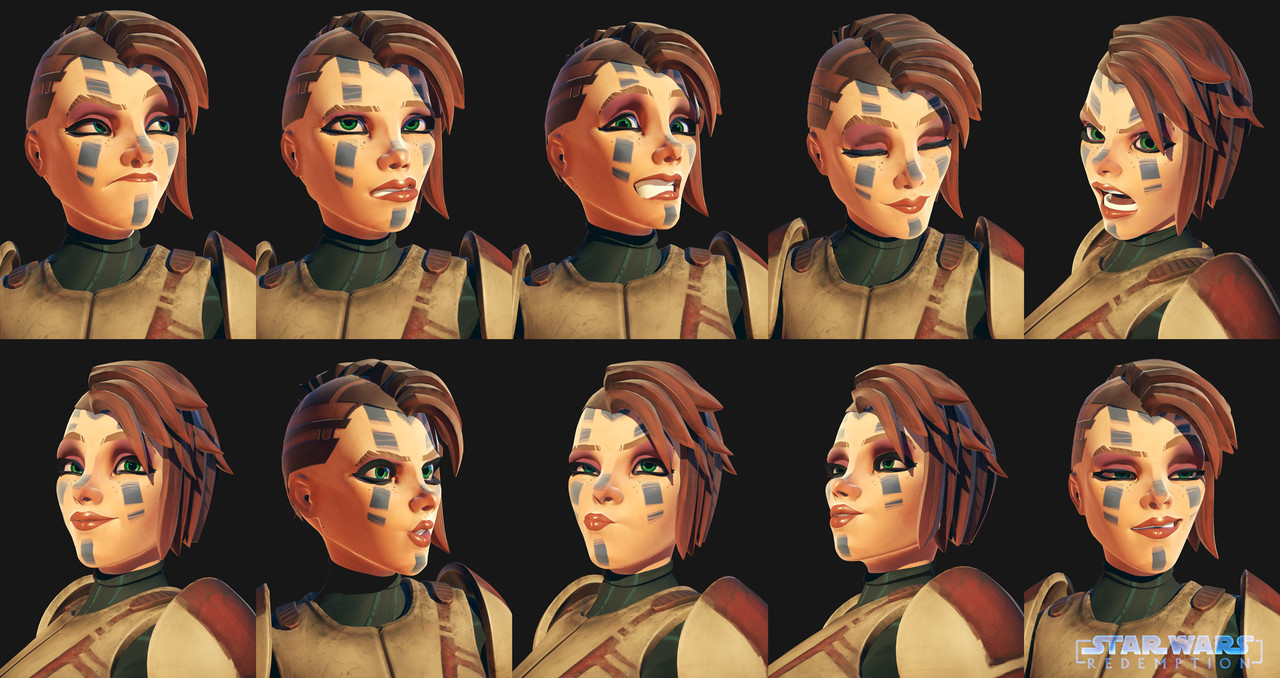
Reworked Mevenn's face topology + facial rig and her textures aswell, animating her face now is super easy ^^
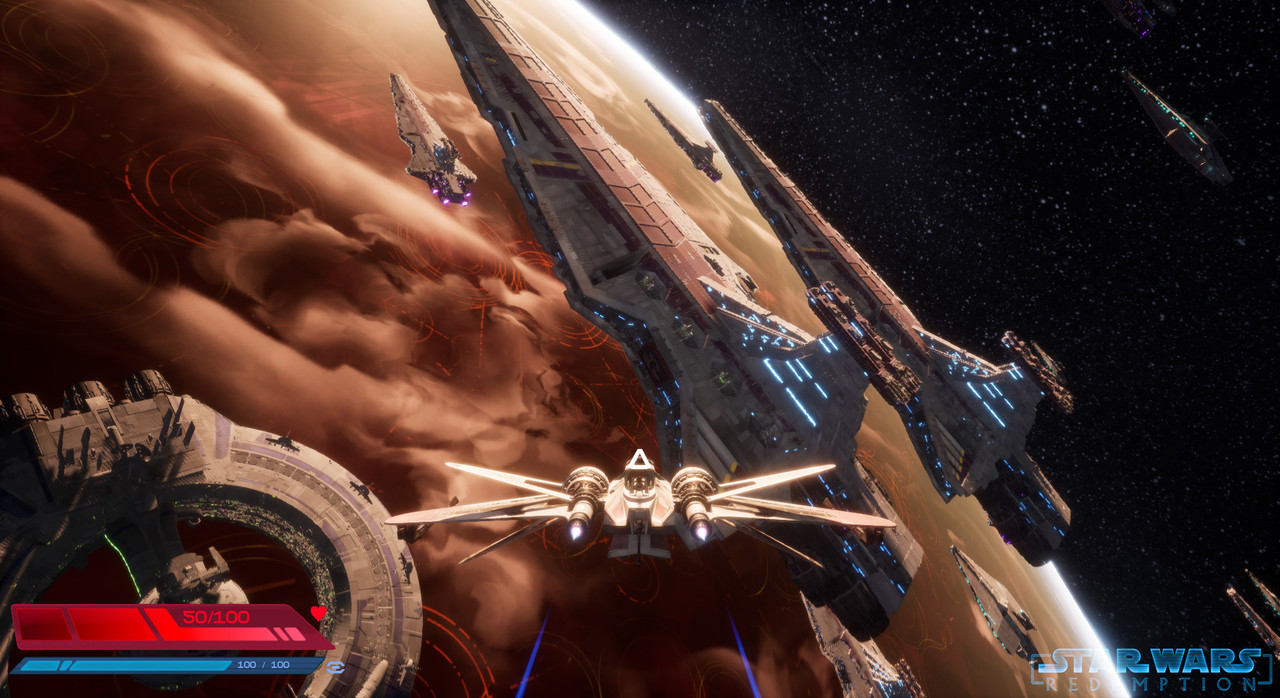
And now we can pilot the ARC-170 =D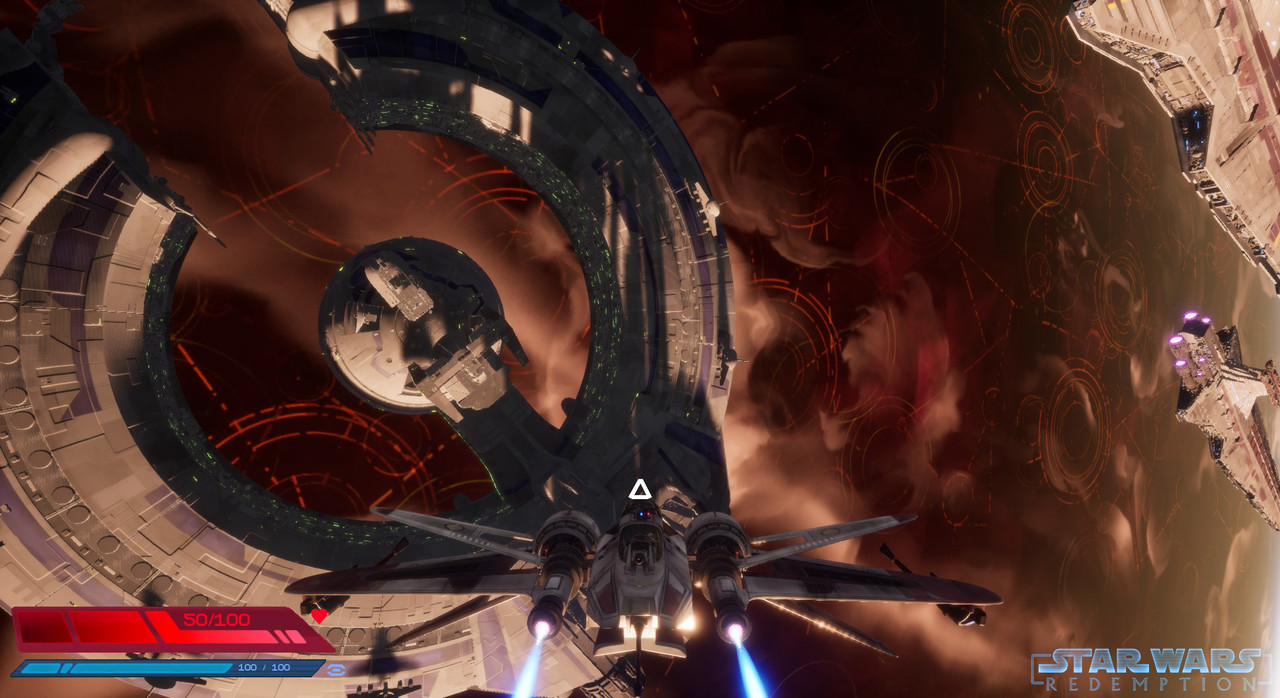
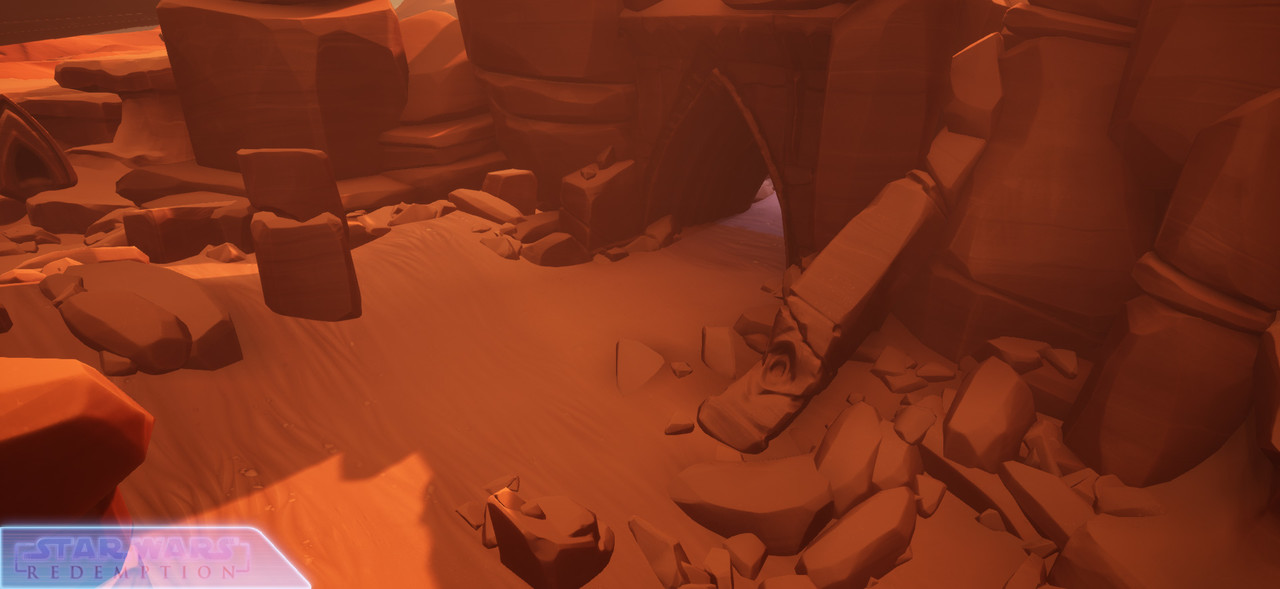
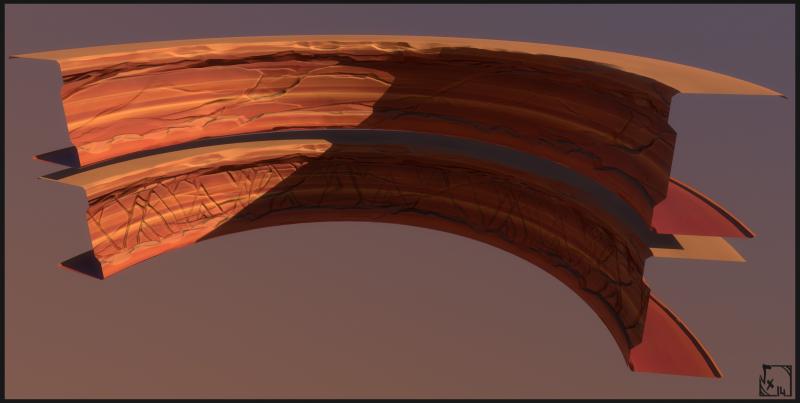
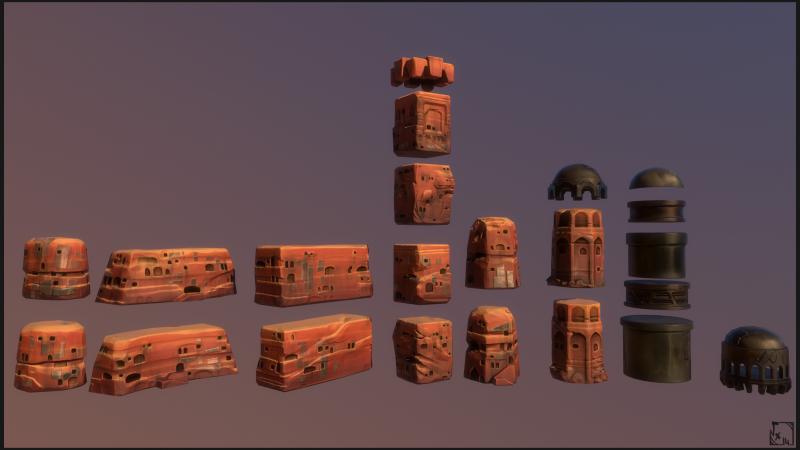
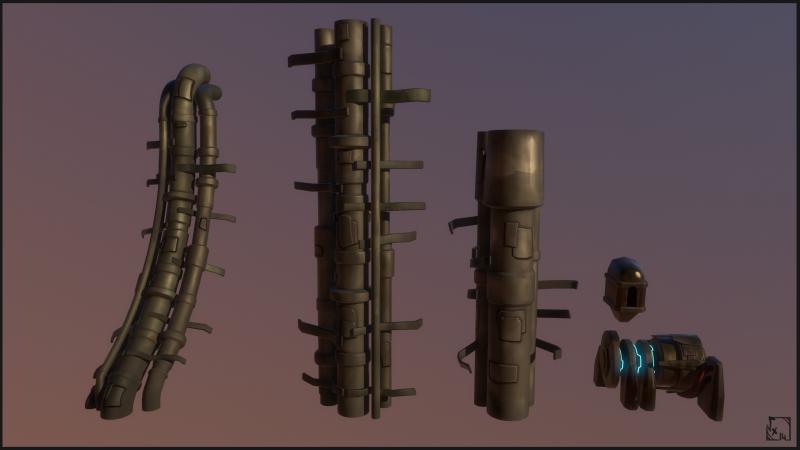
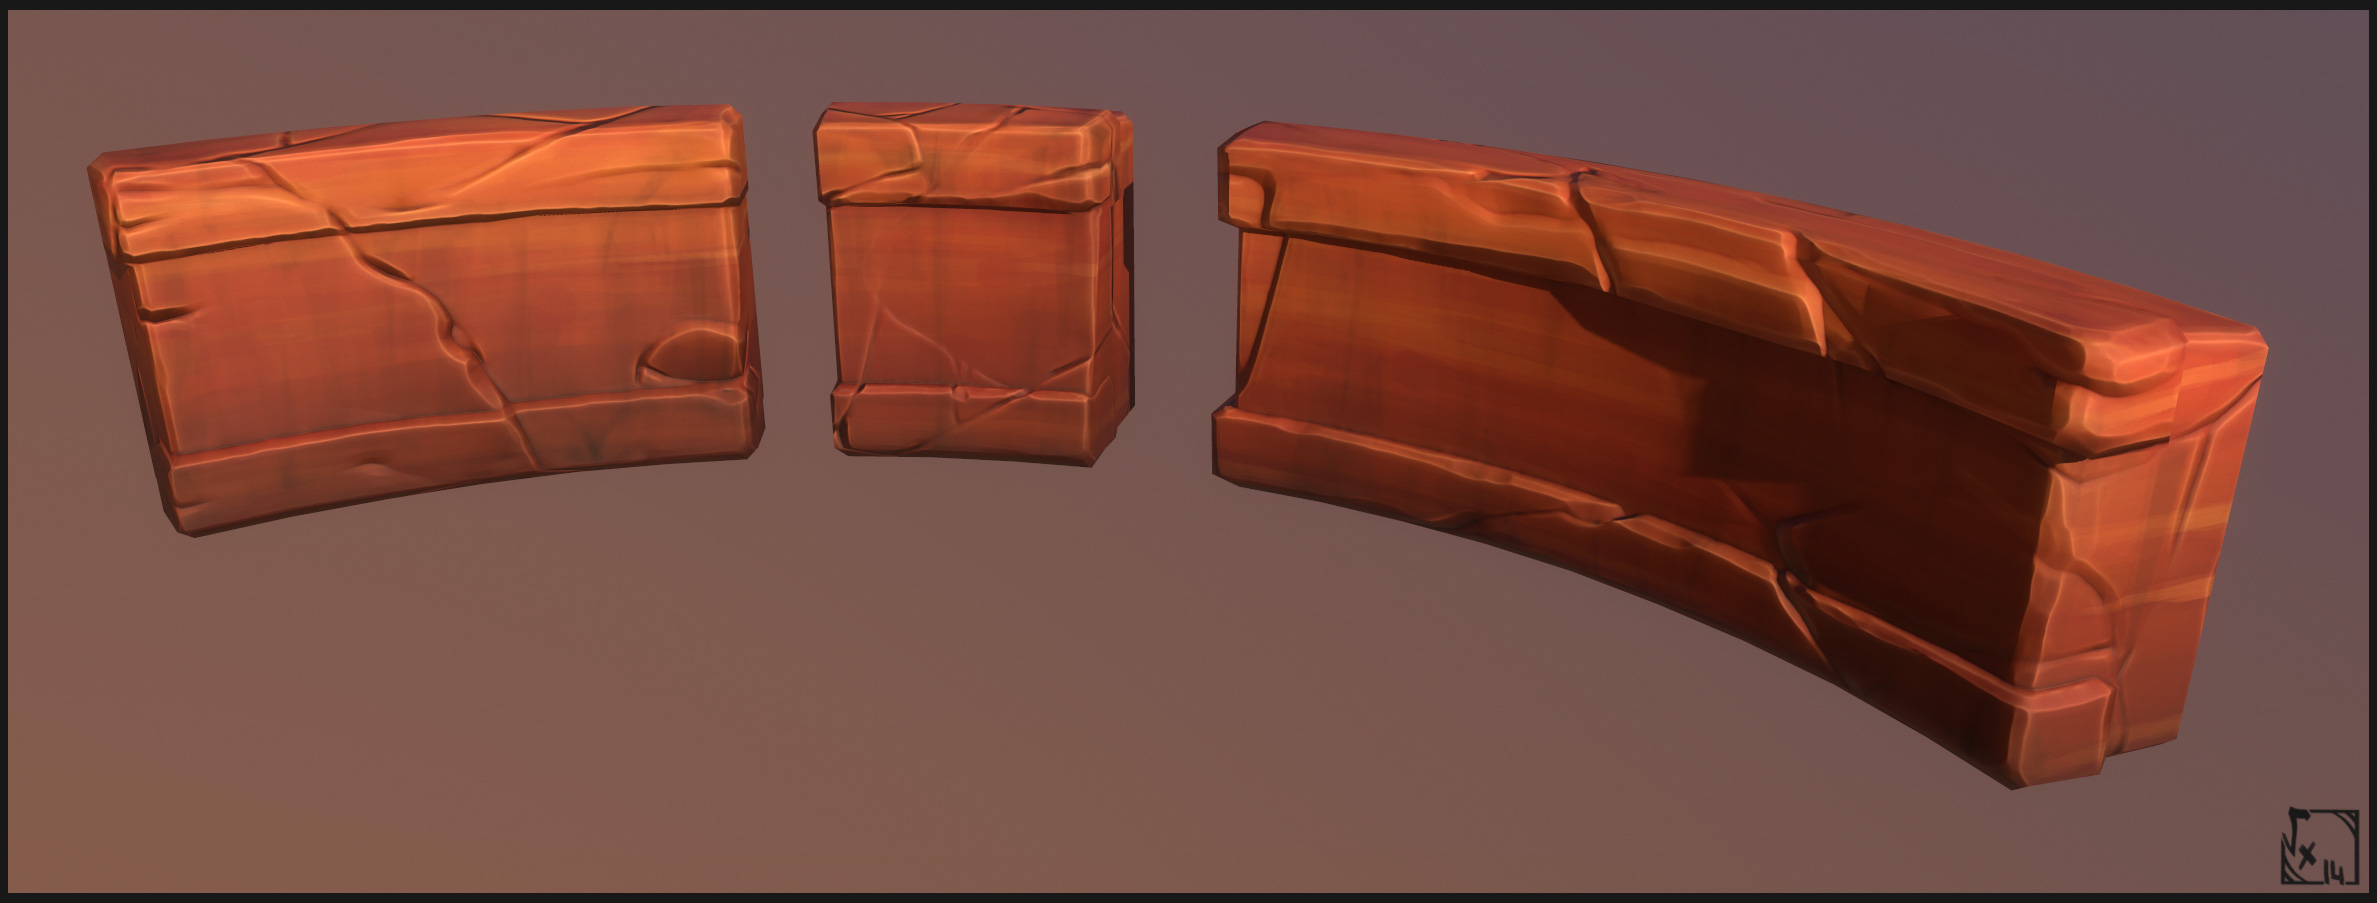
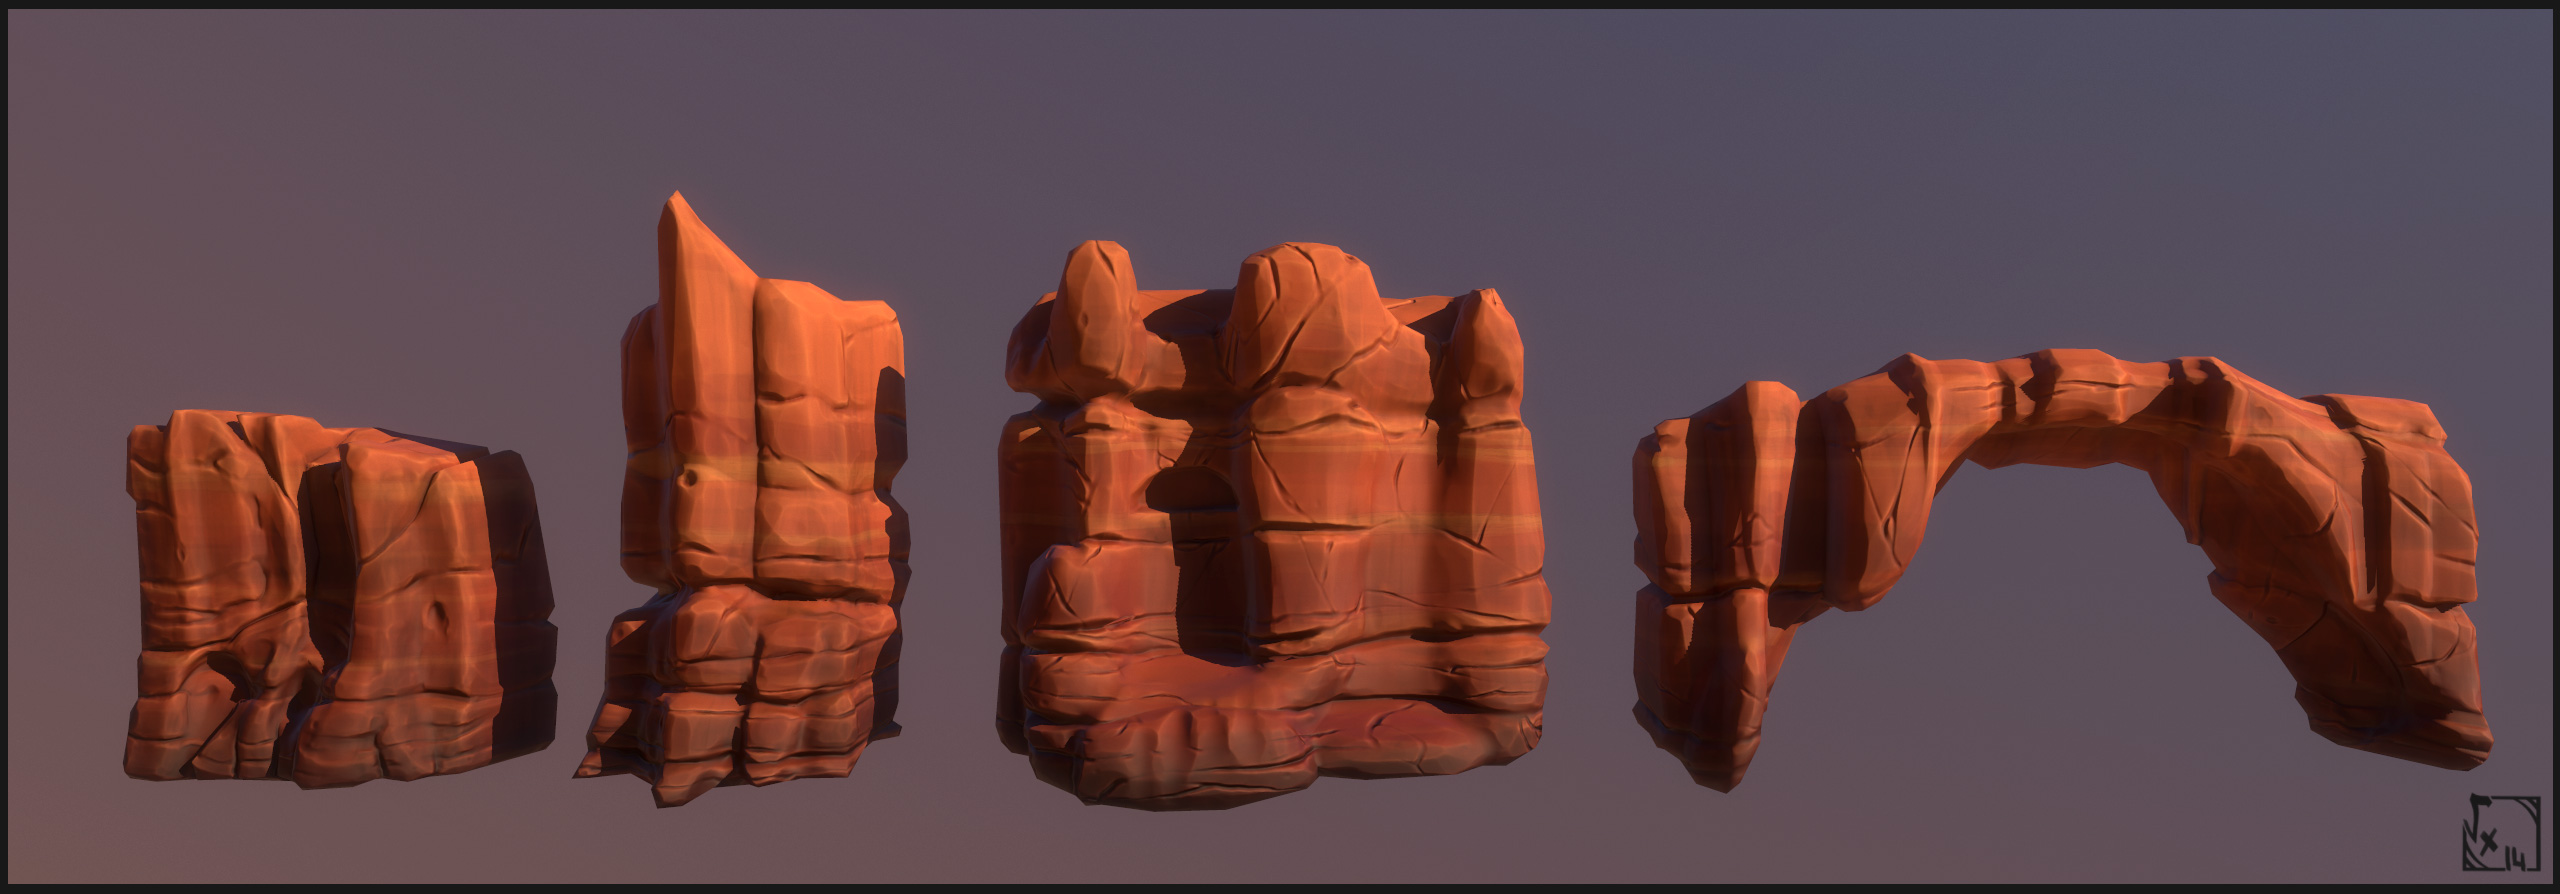
Geonosis environment is on its way =) I made some rock formations, then separated them into smaller blocks in order to build anything ( okay guys "almost" anything ^^ ). The material adds sand on the top, it's fairly simple at the moment but I may upgrade it when I'll have to work on snowy environments
")
Concept board I made before doing env stuff :
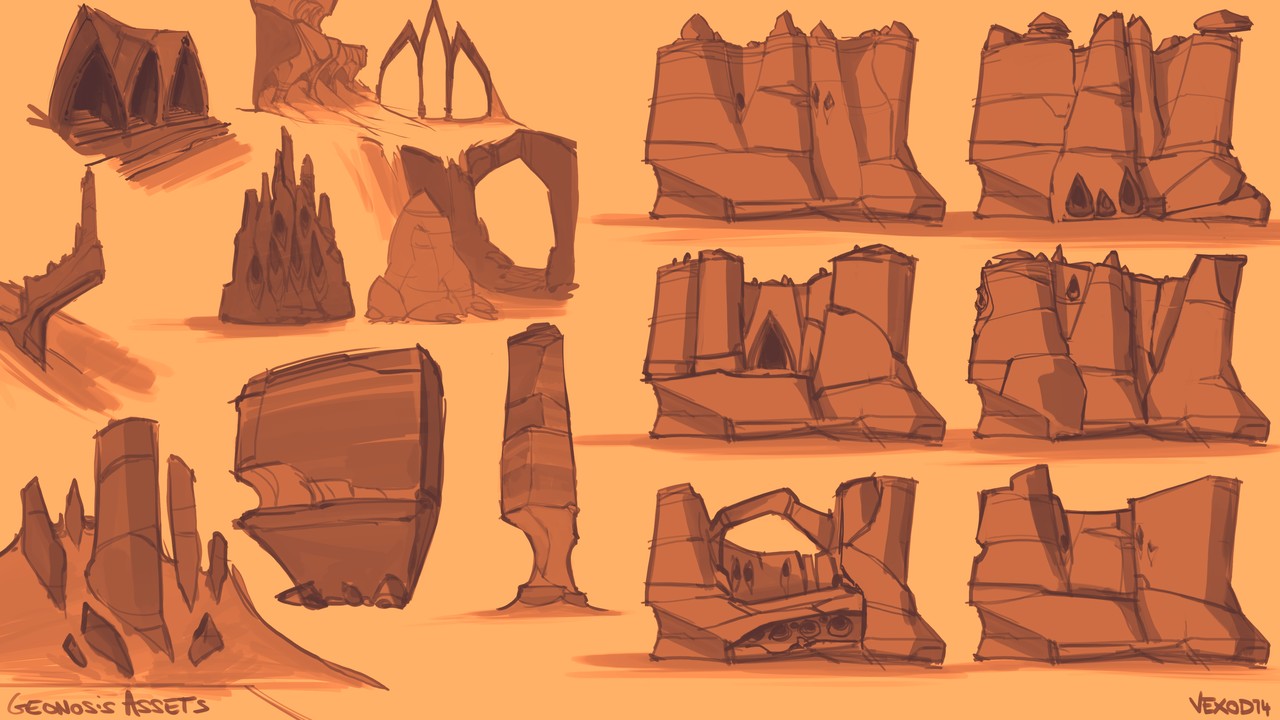
That's all atm =)-
1
-
-
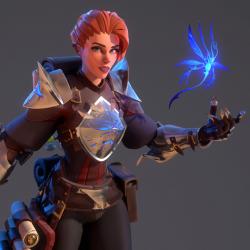
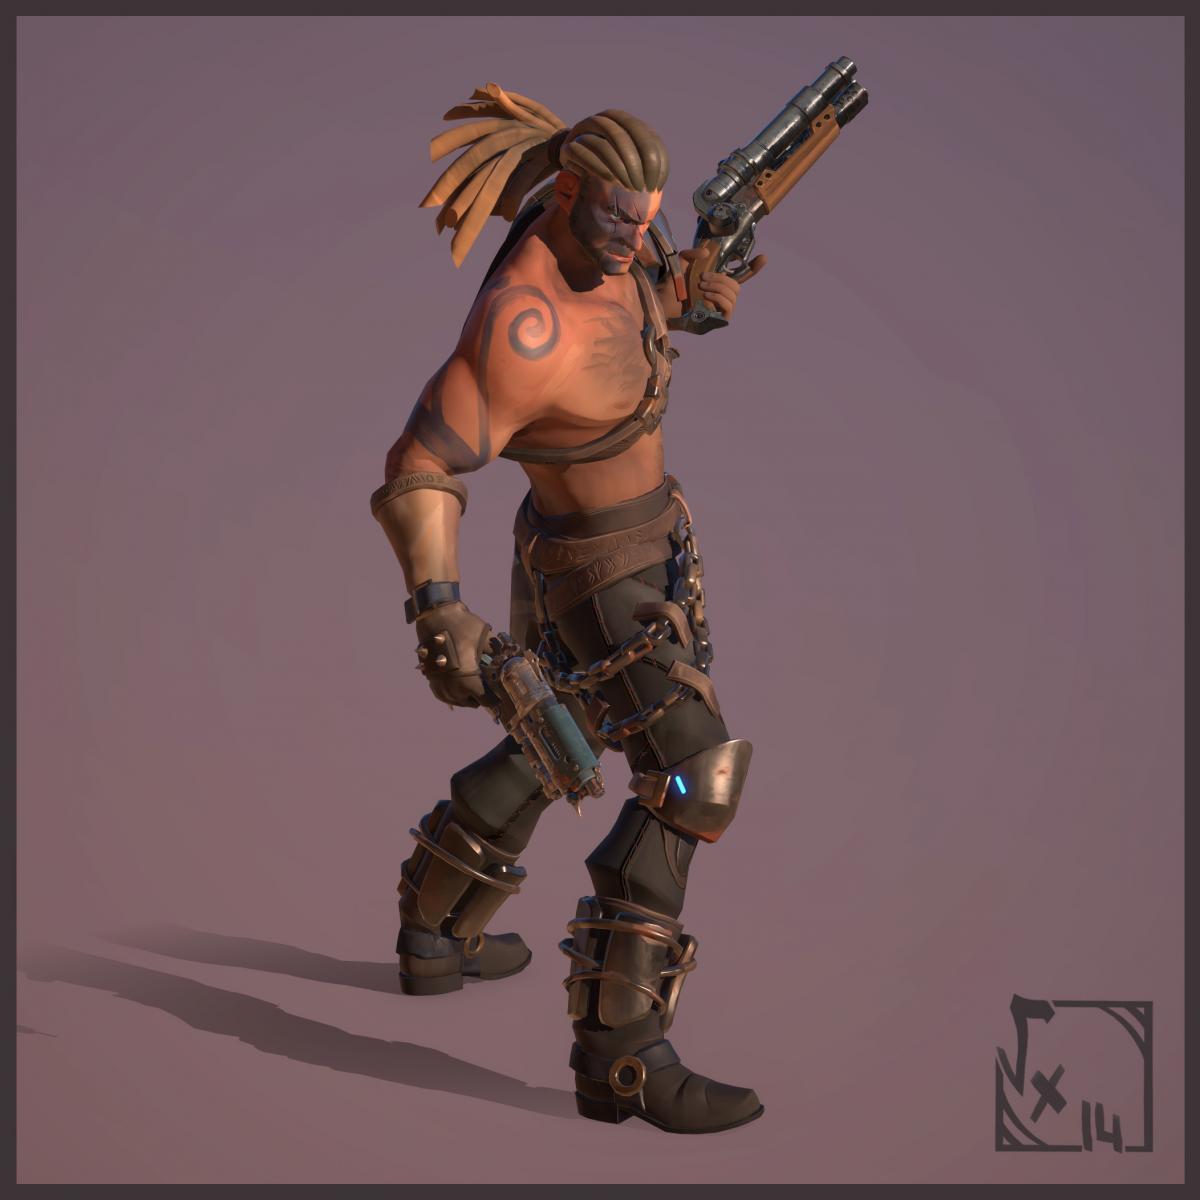
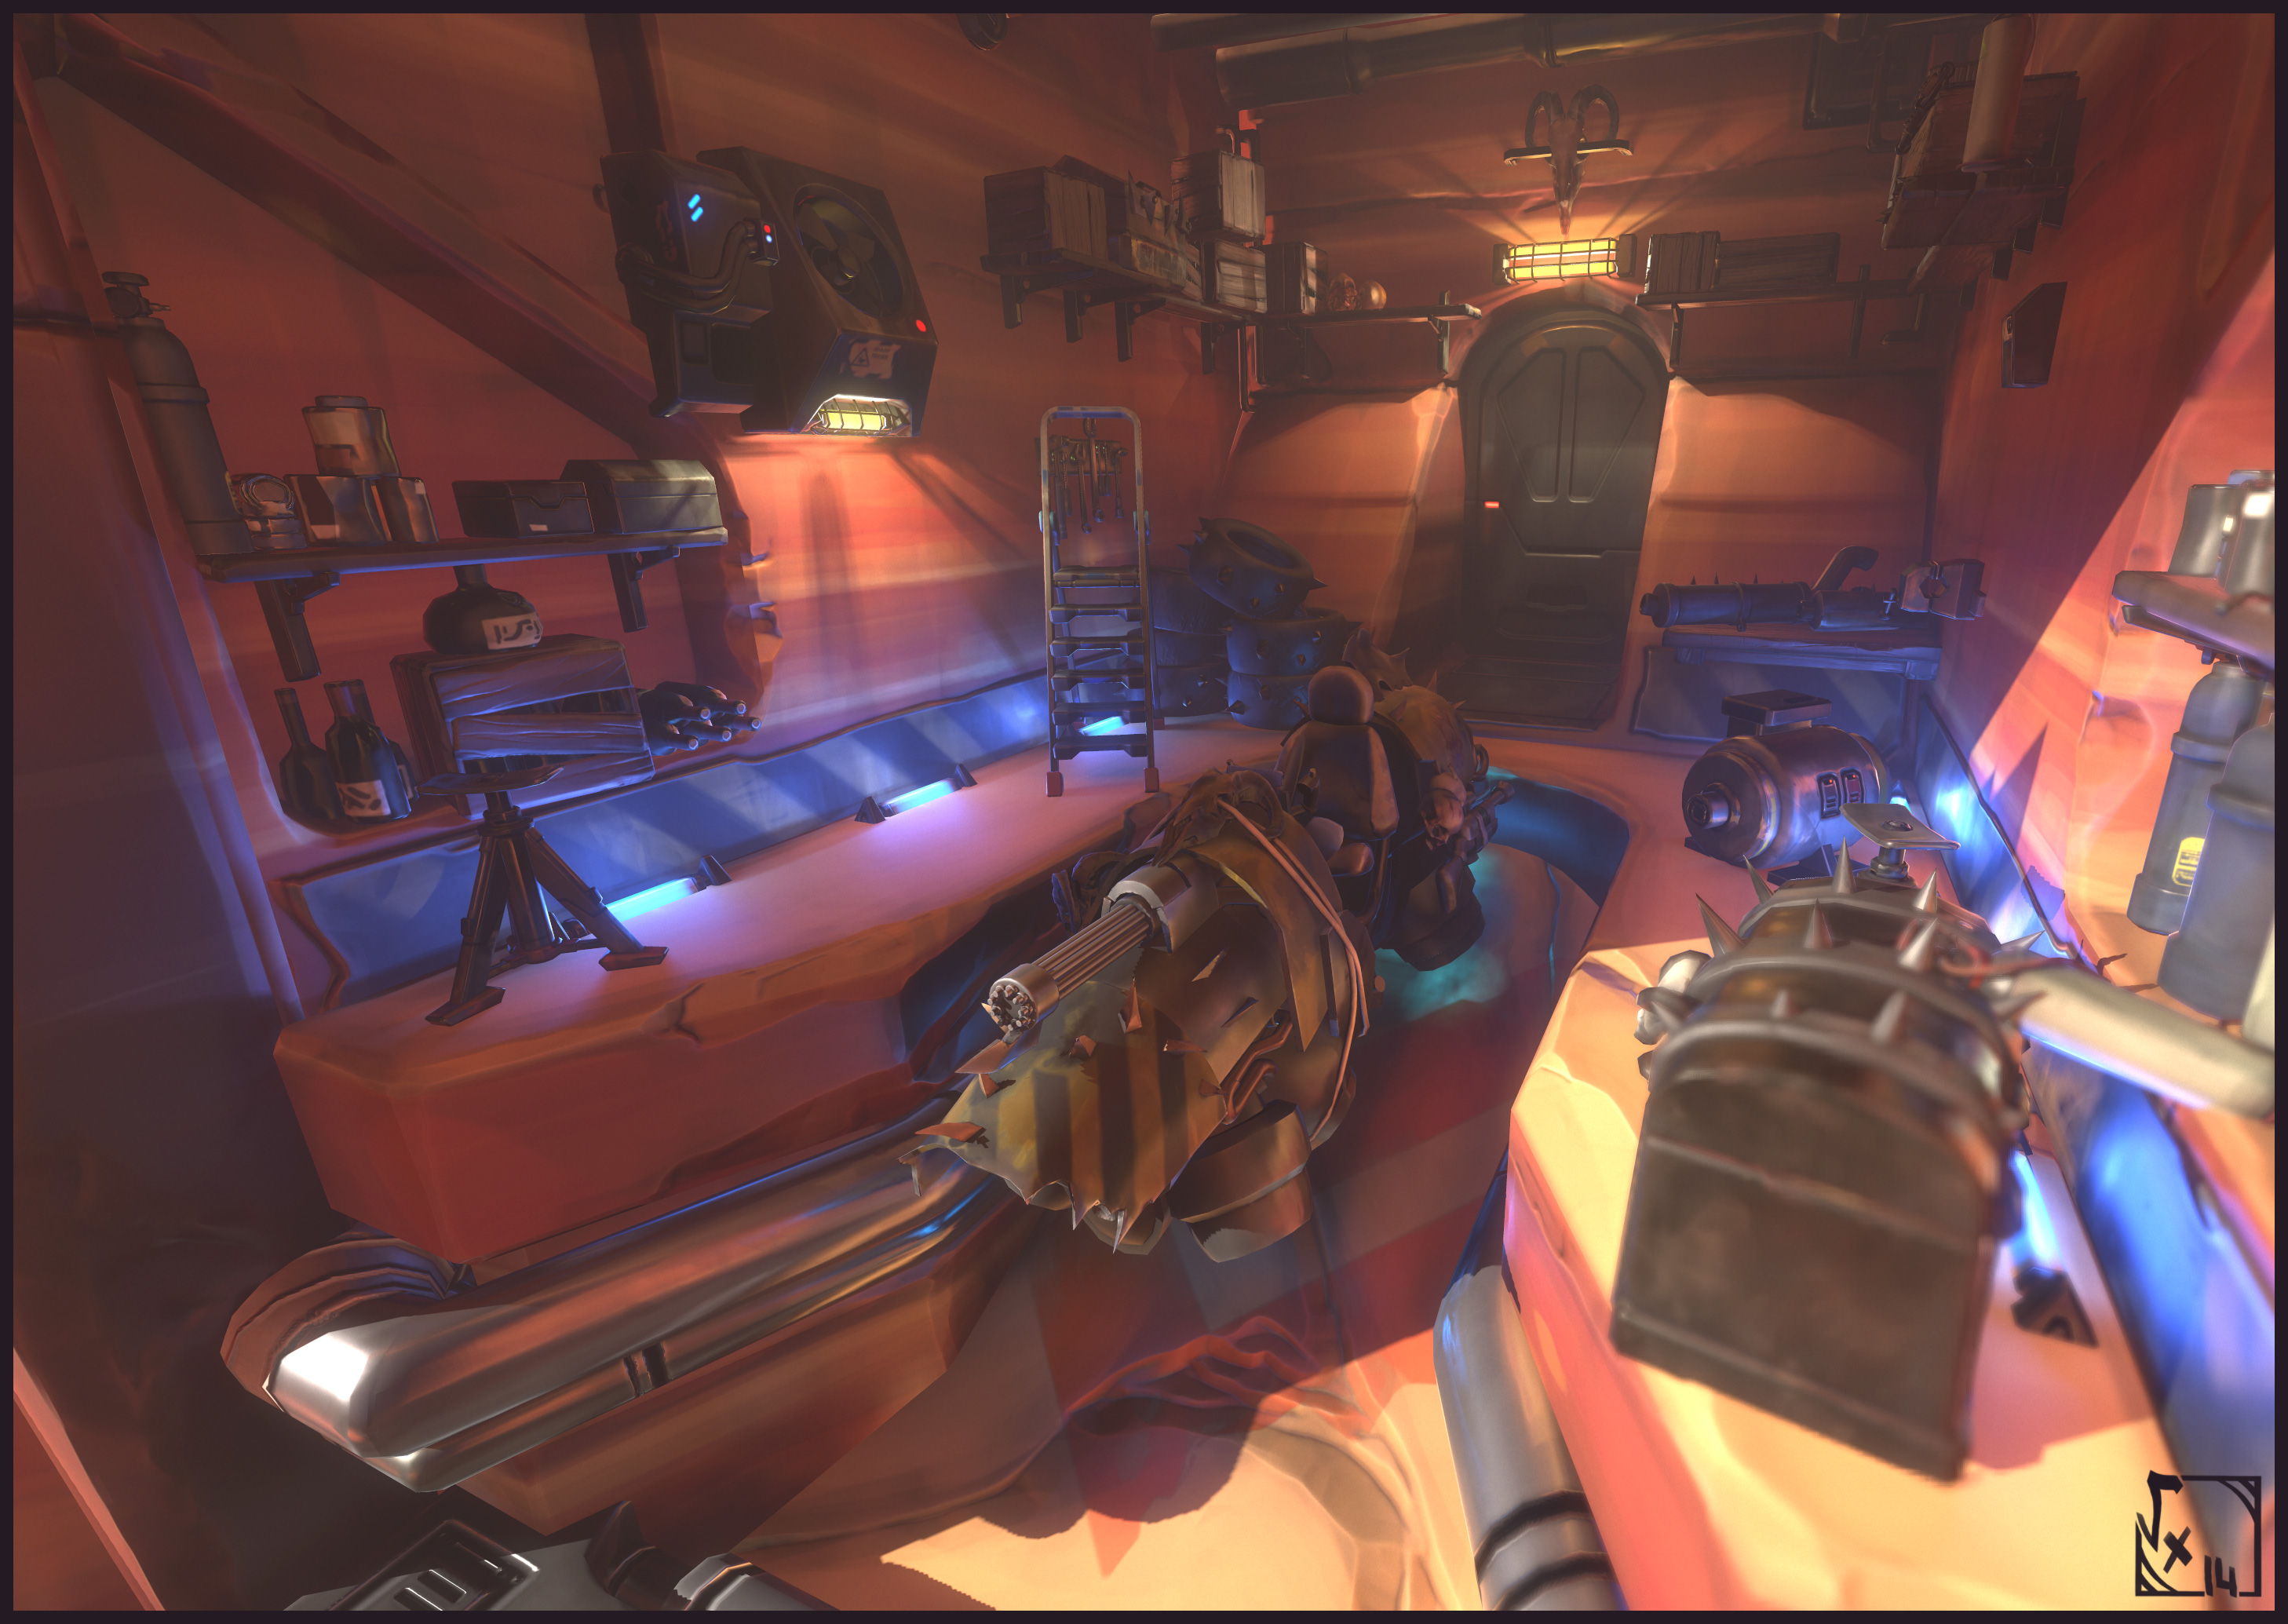
Hi everyone !
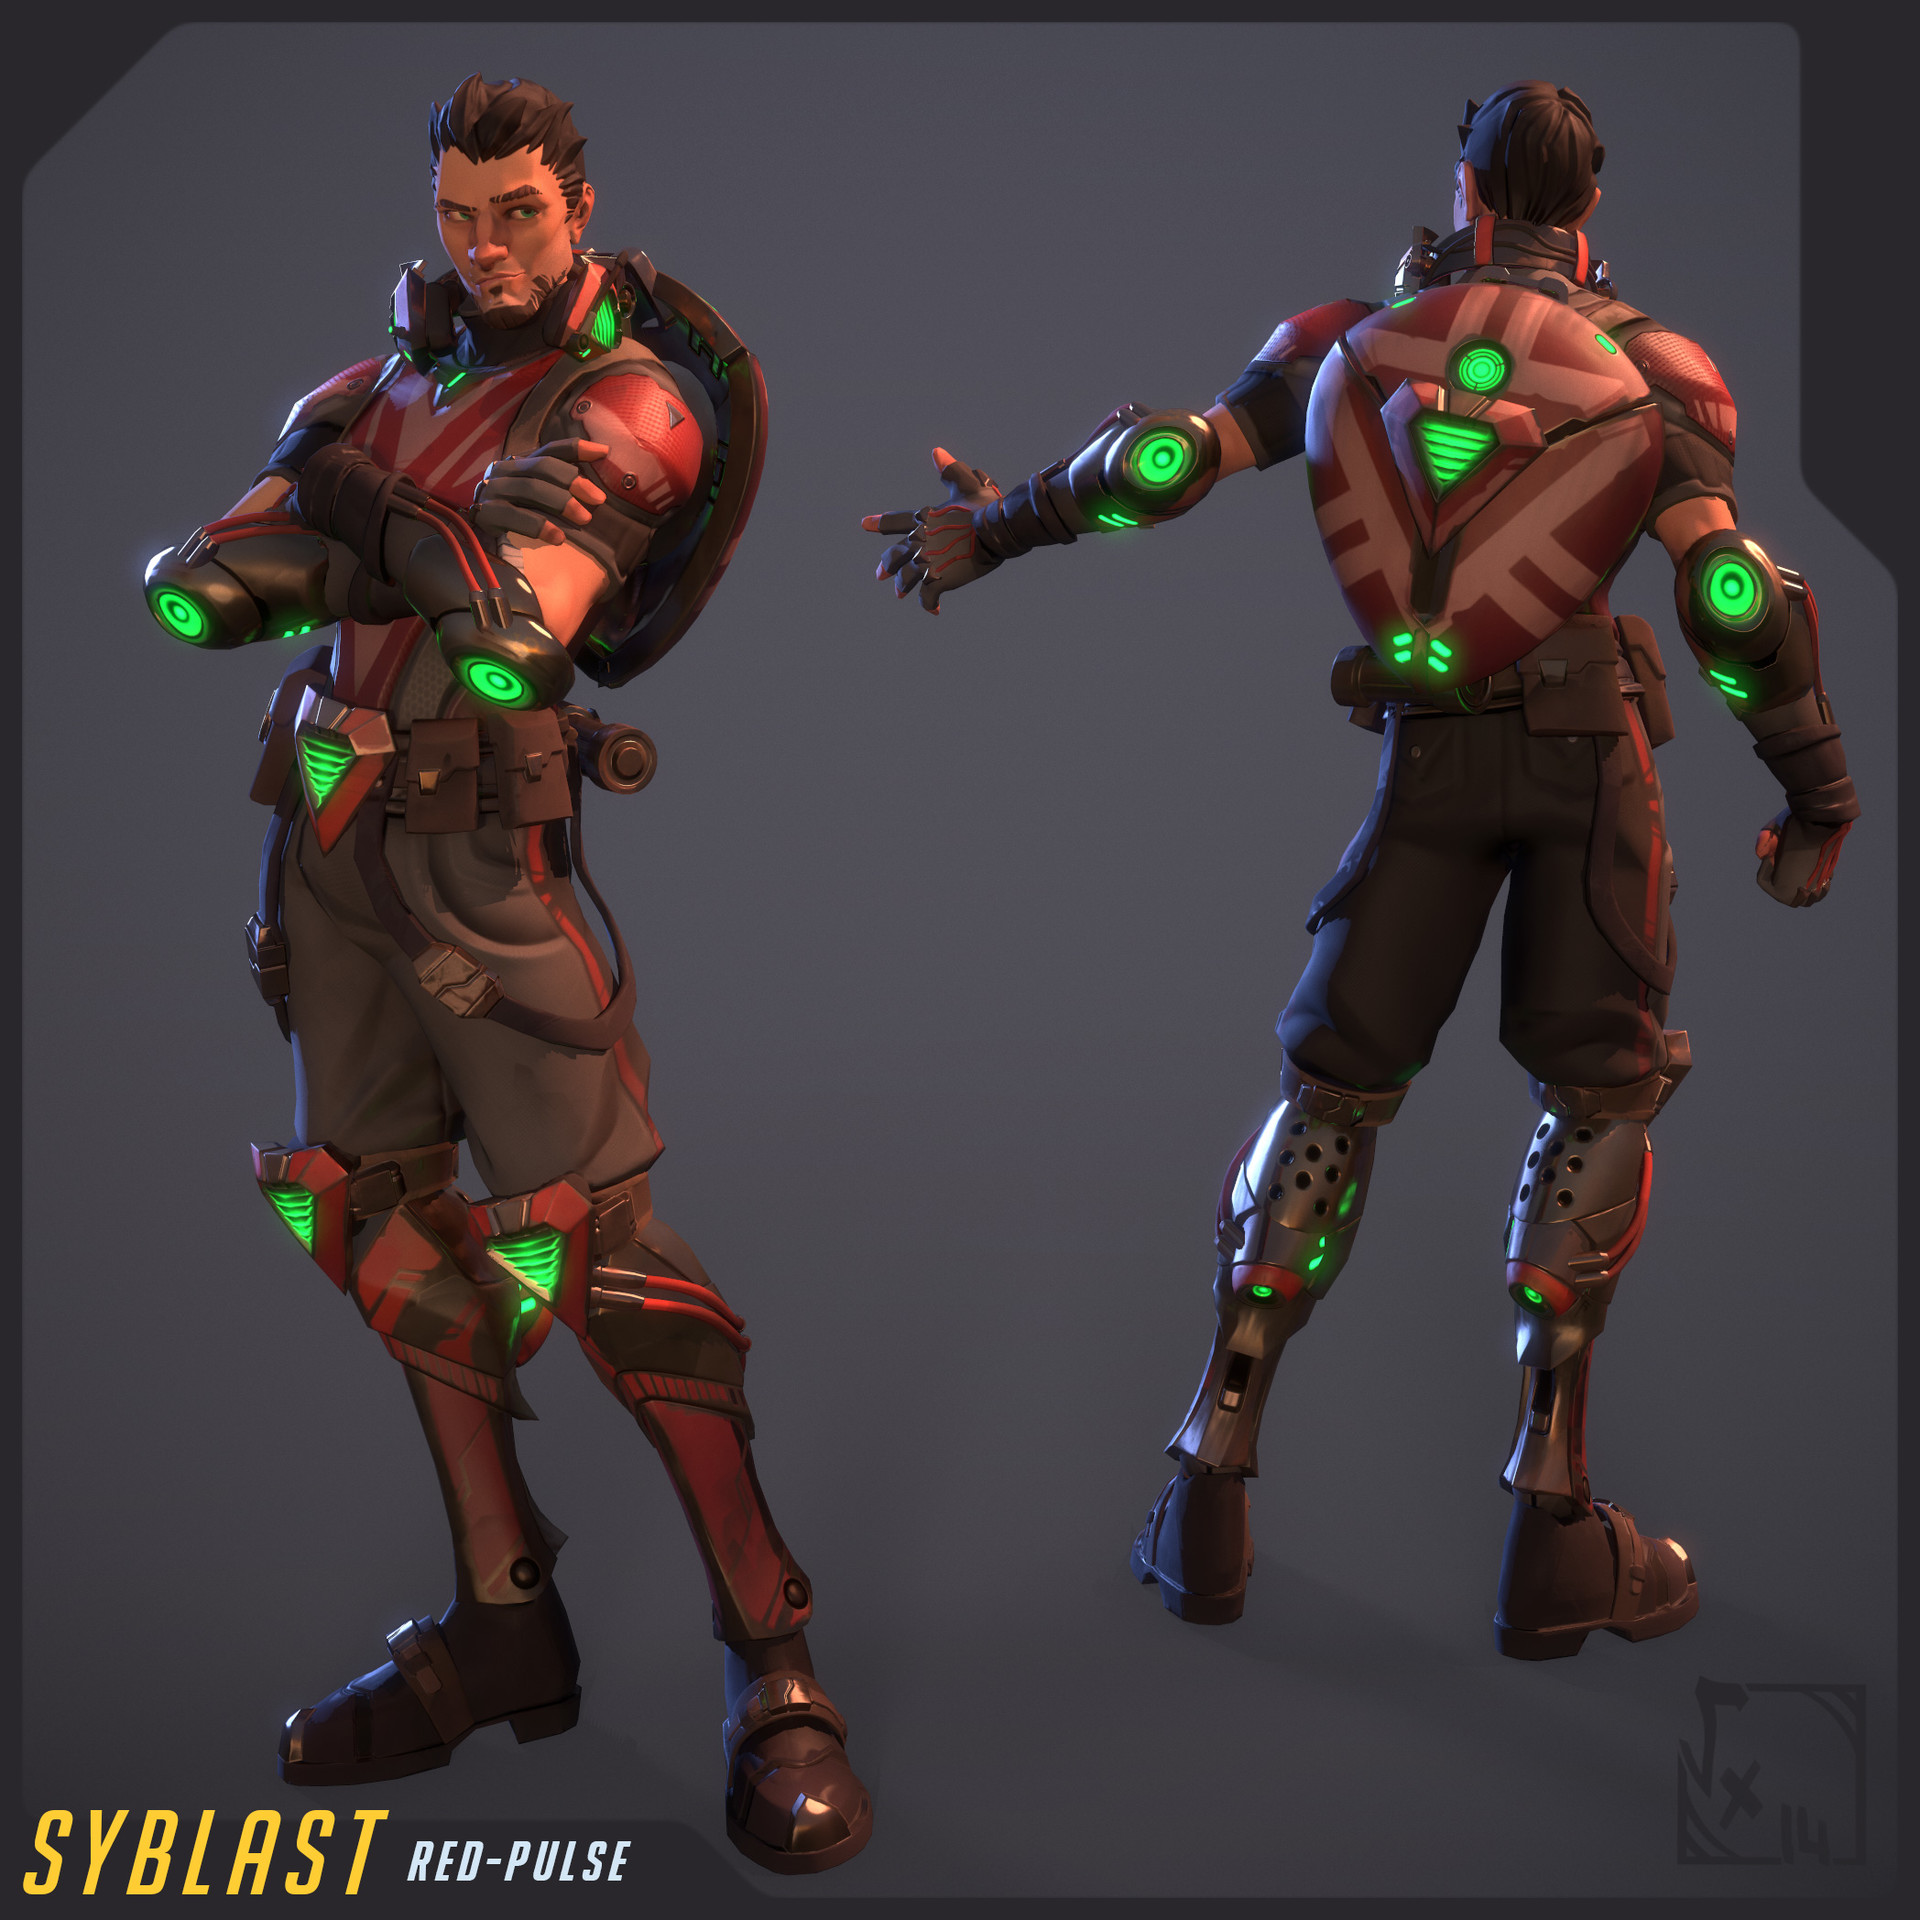
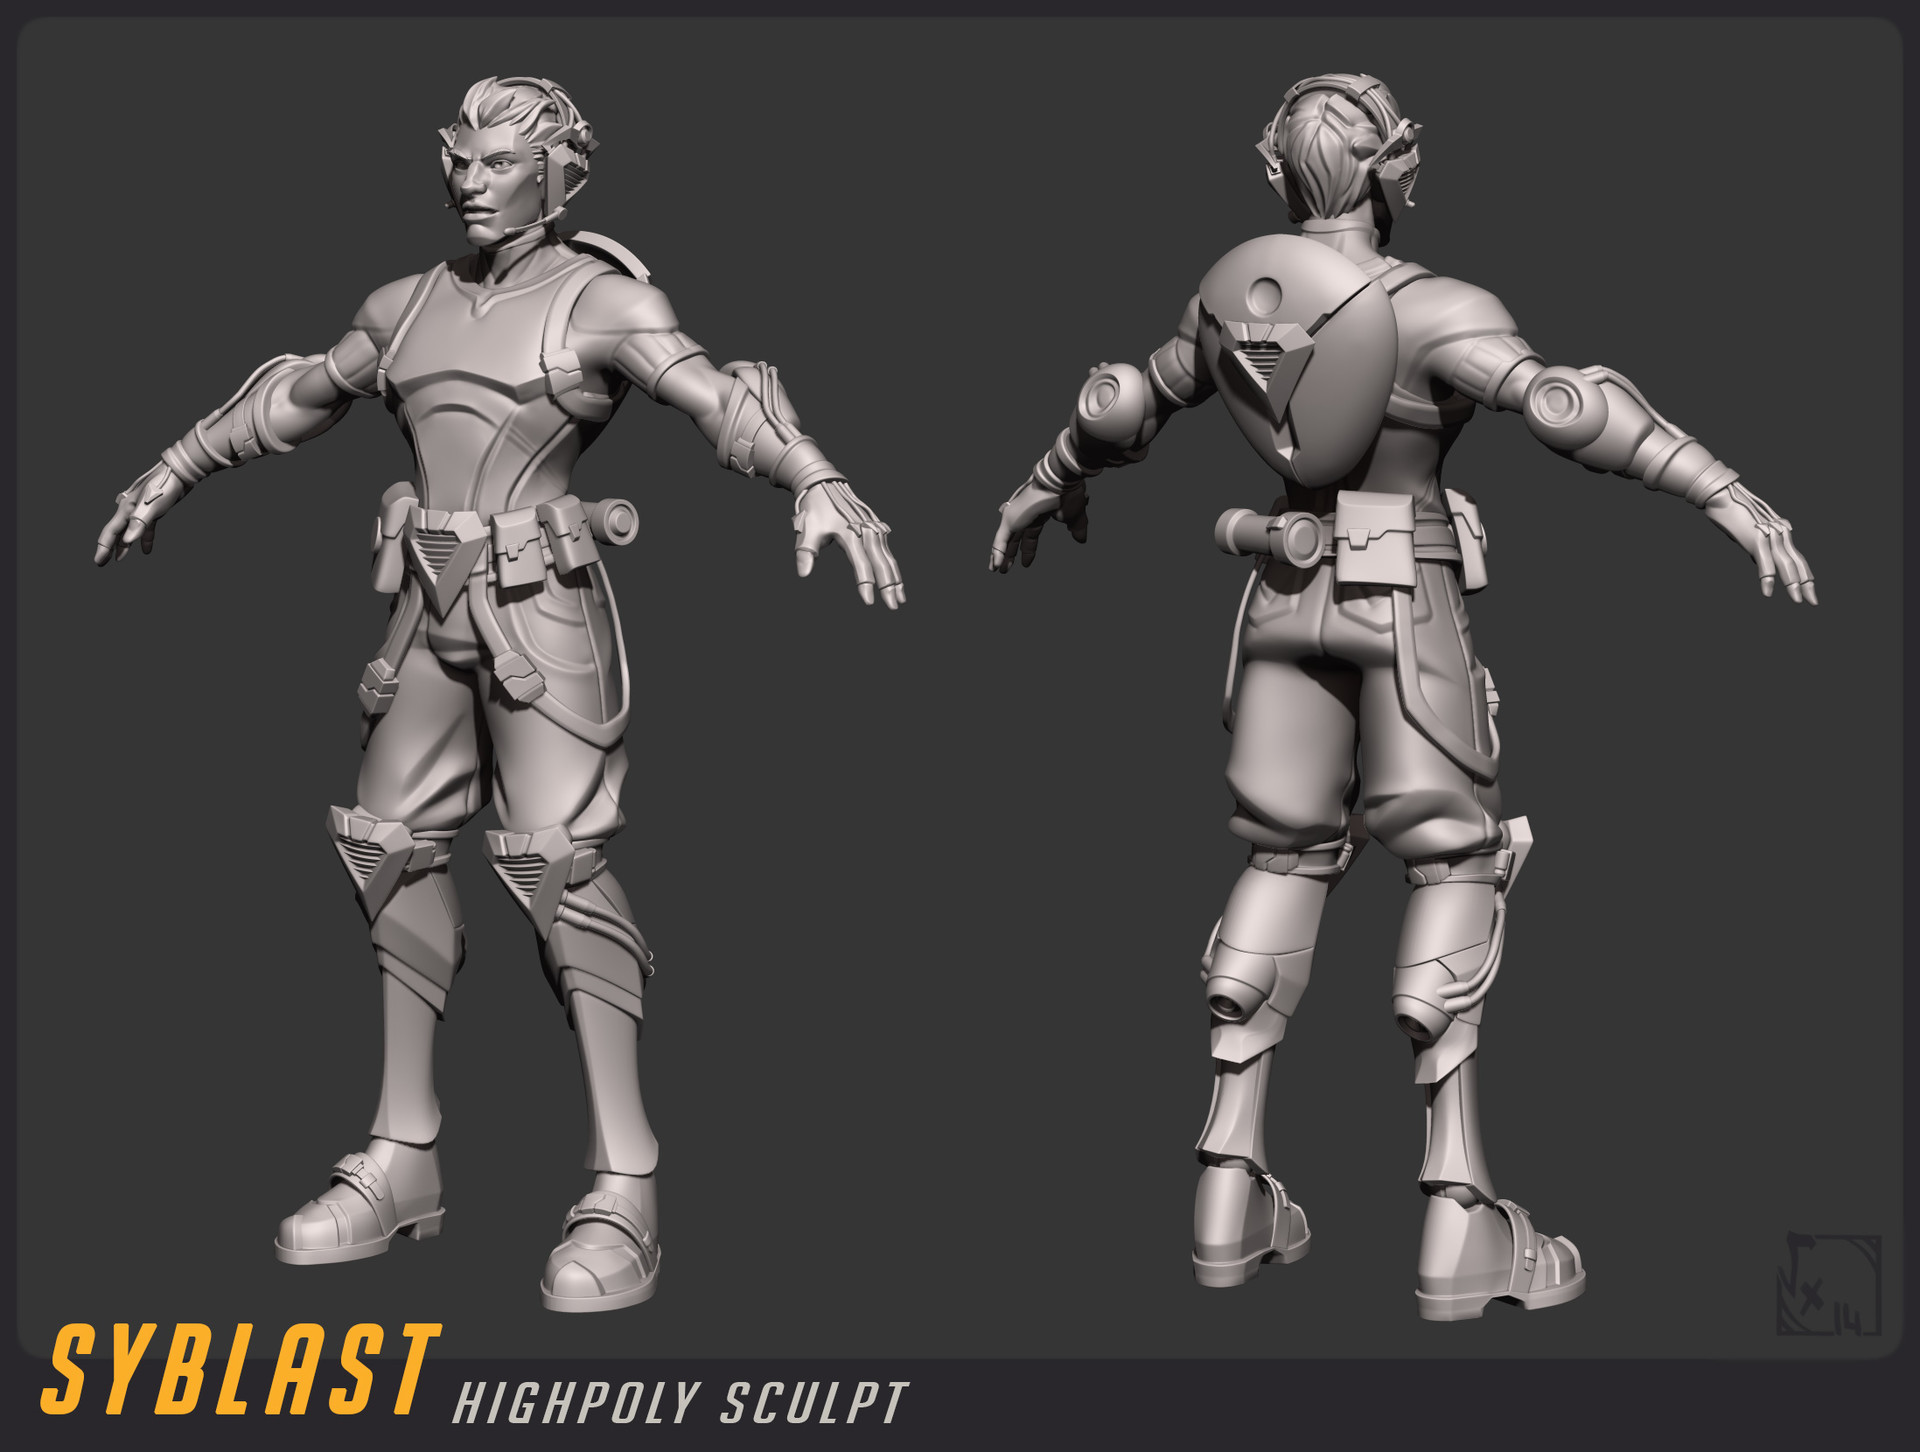
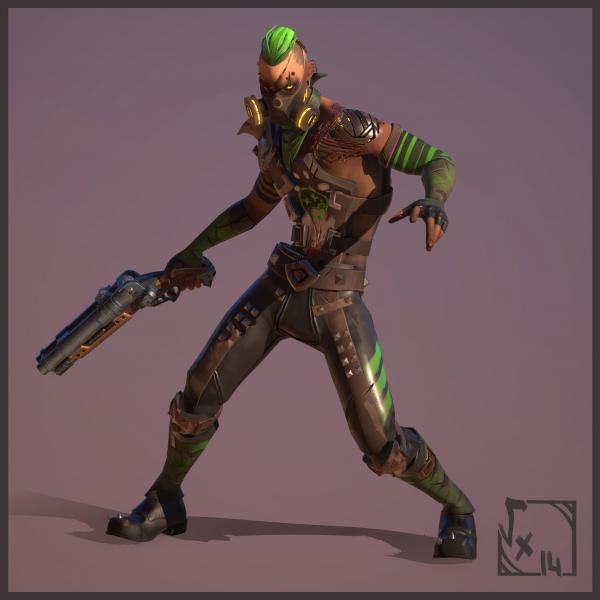
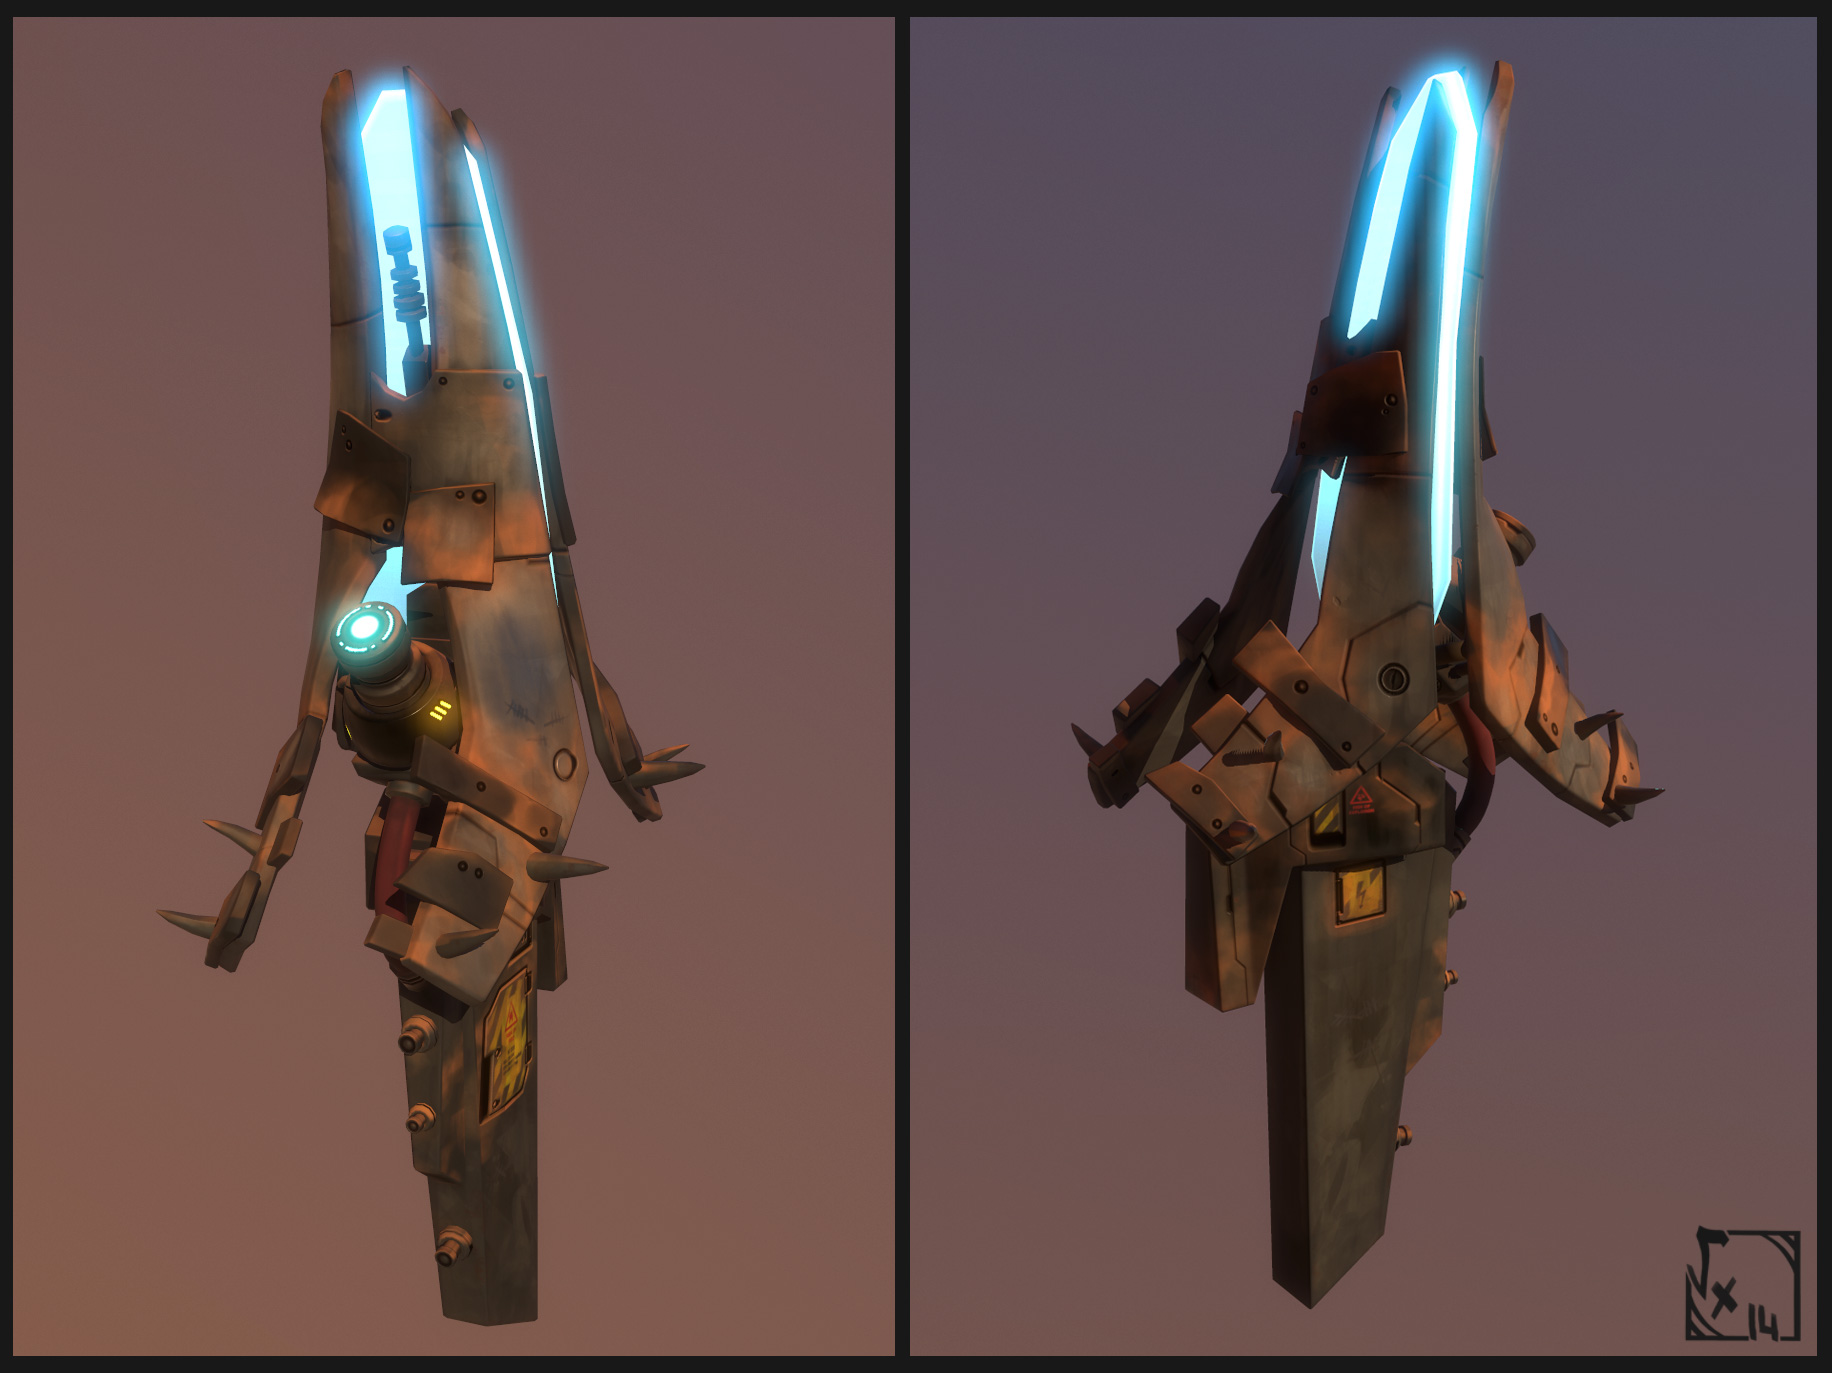
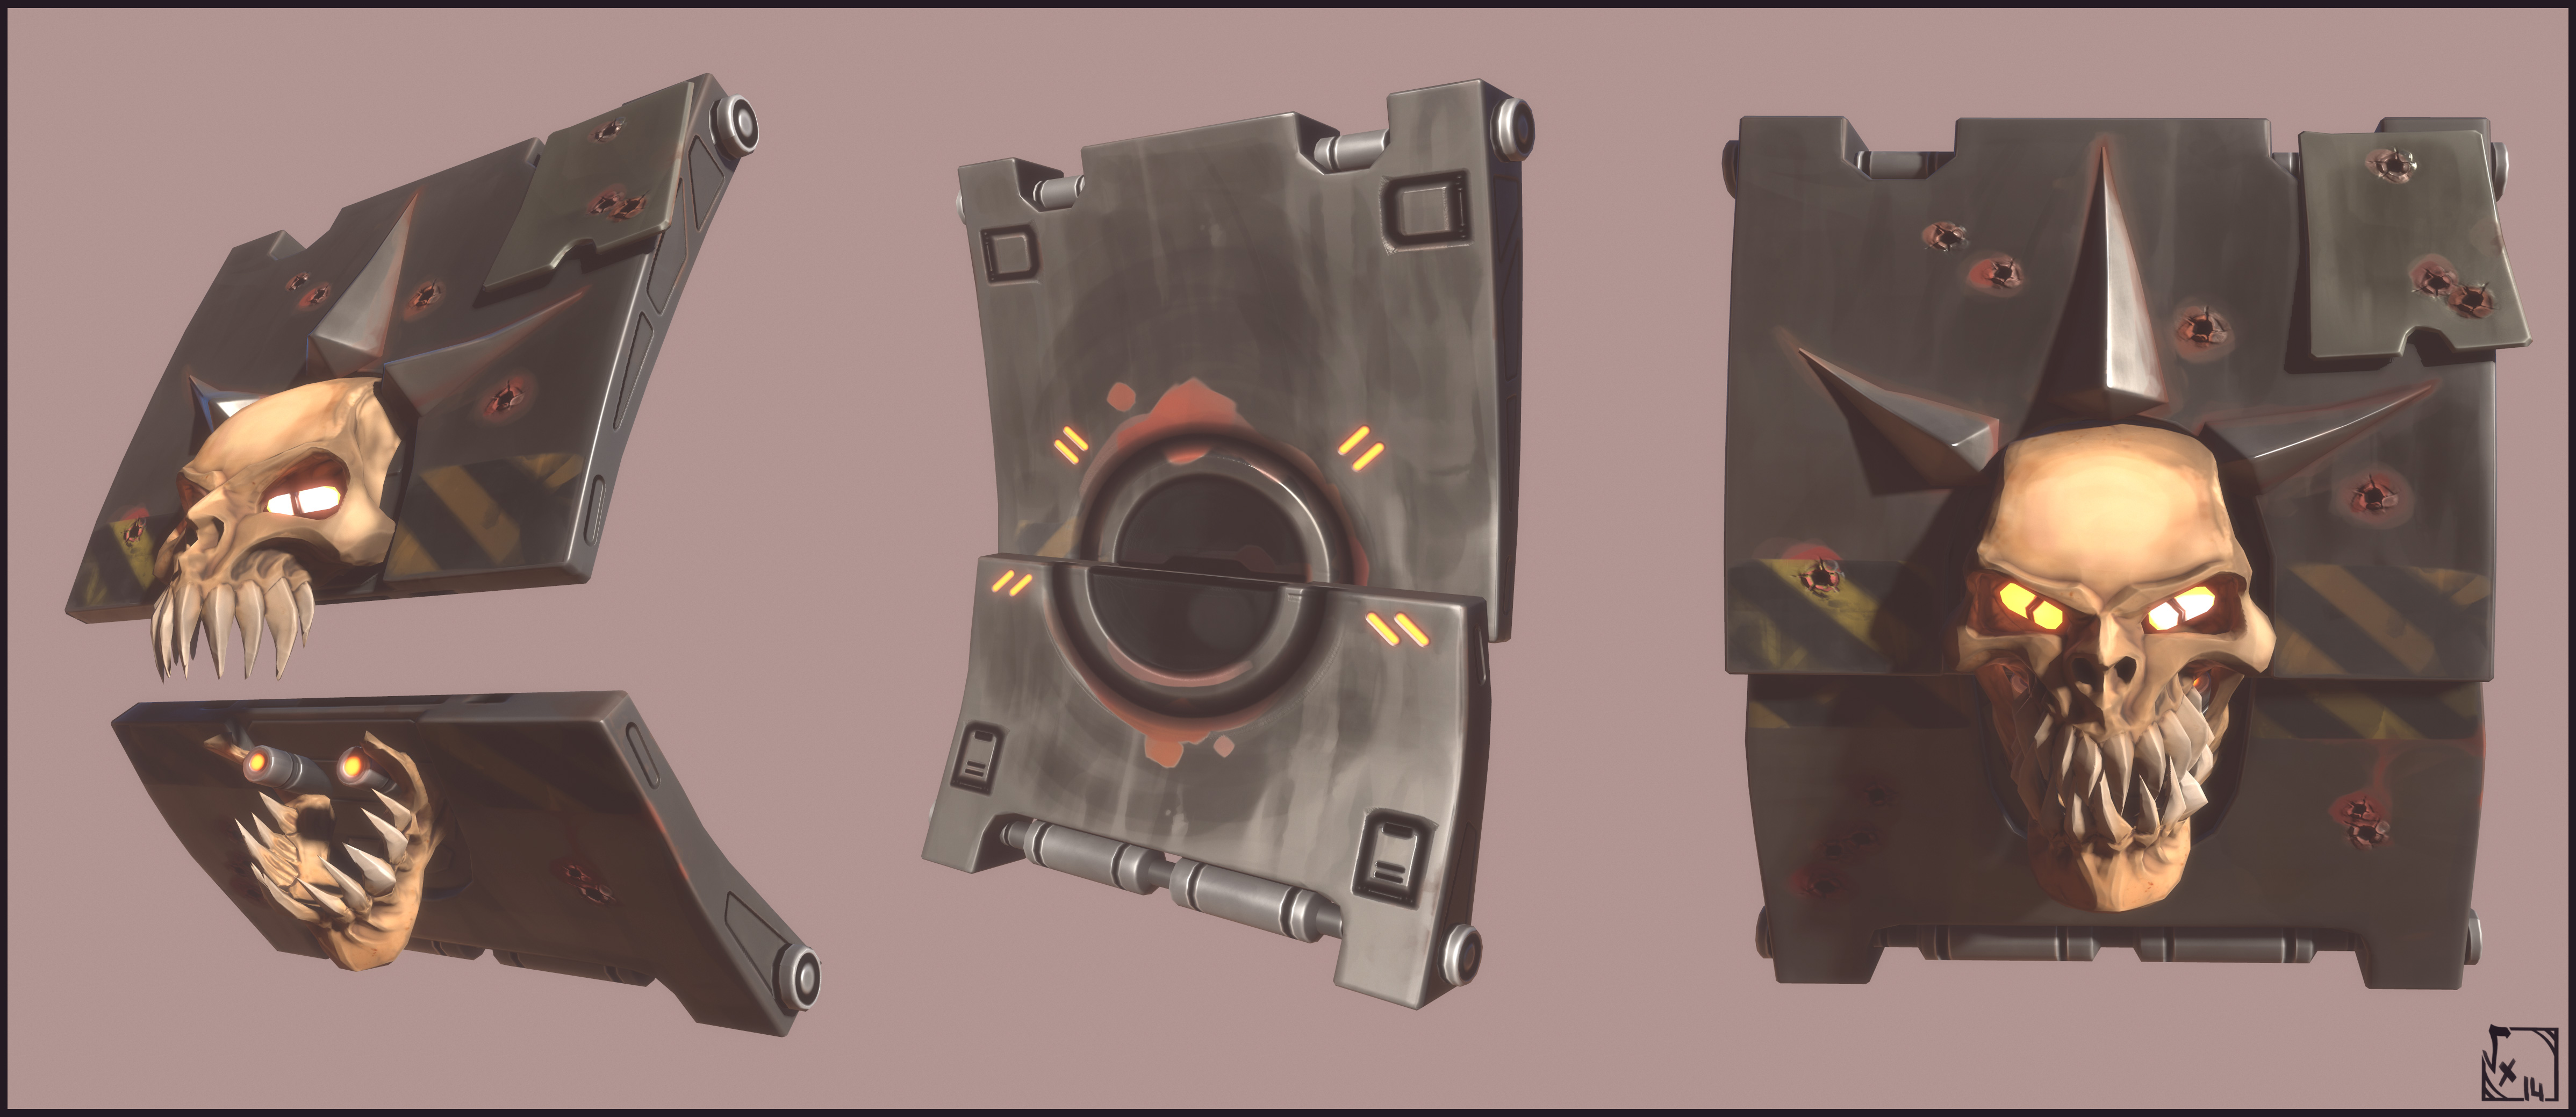
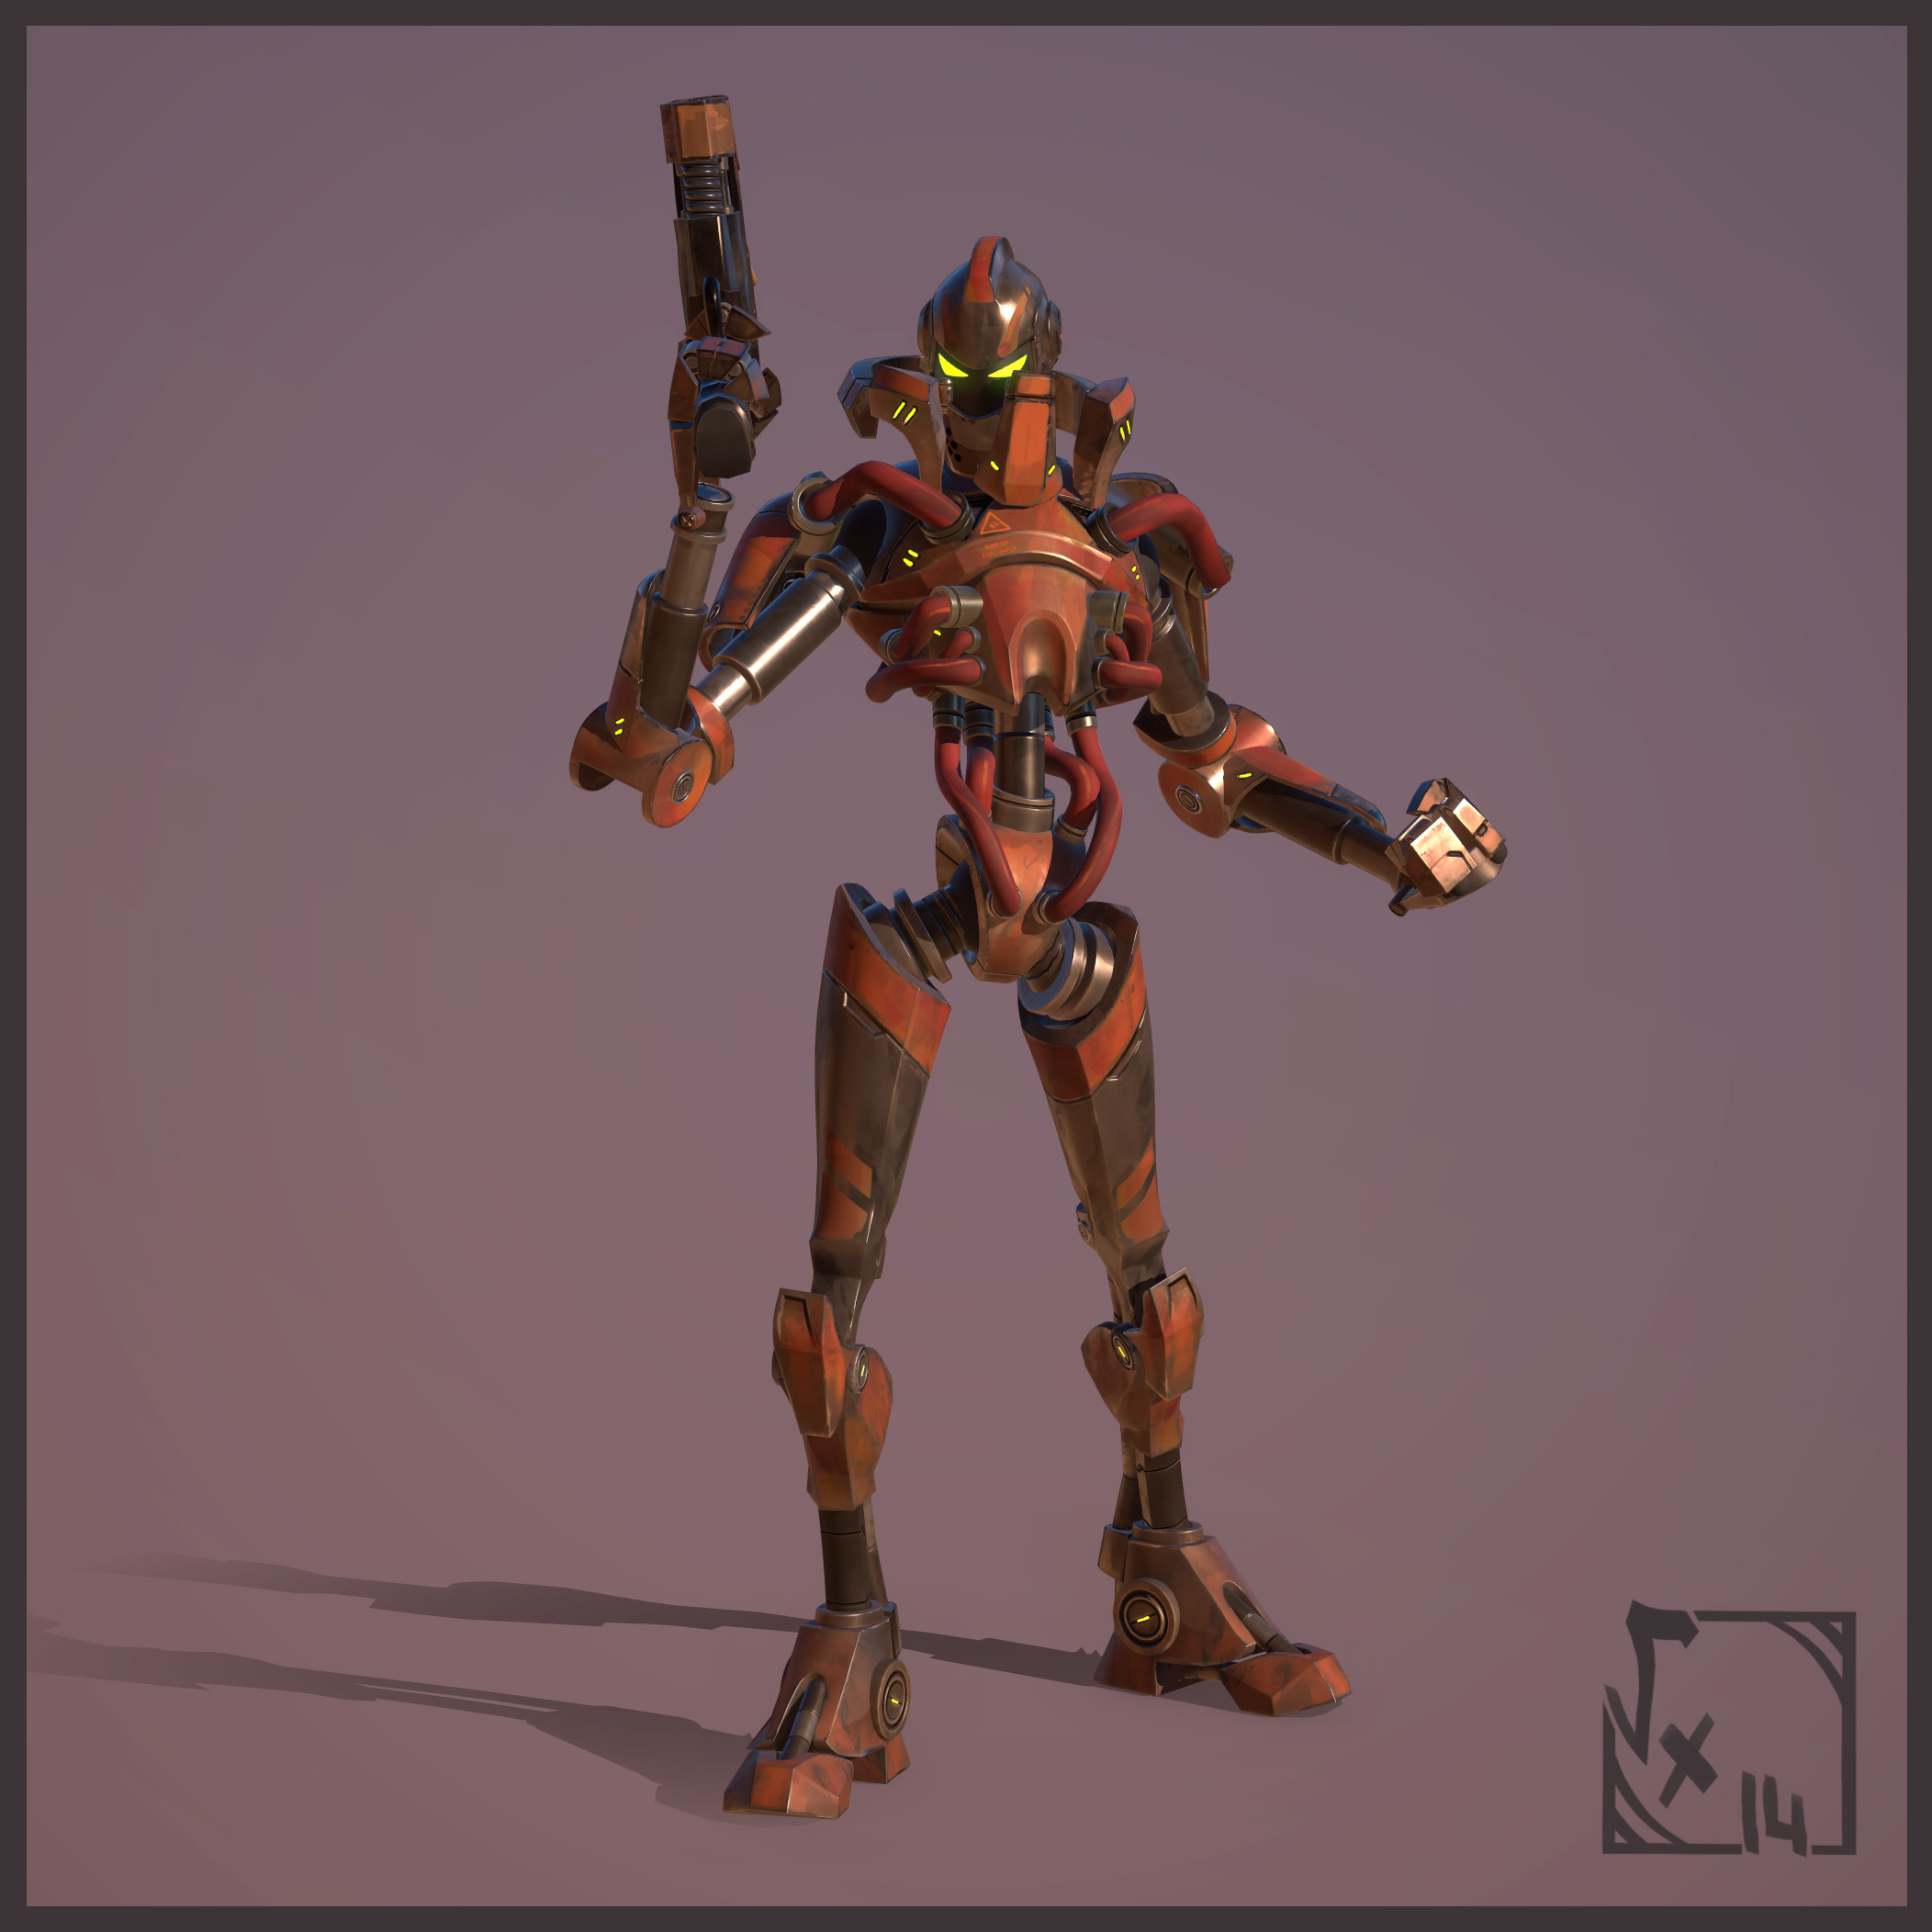
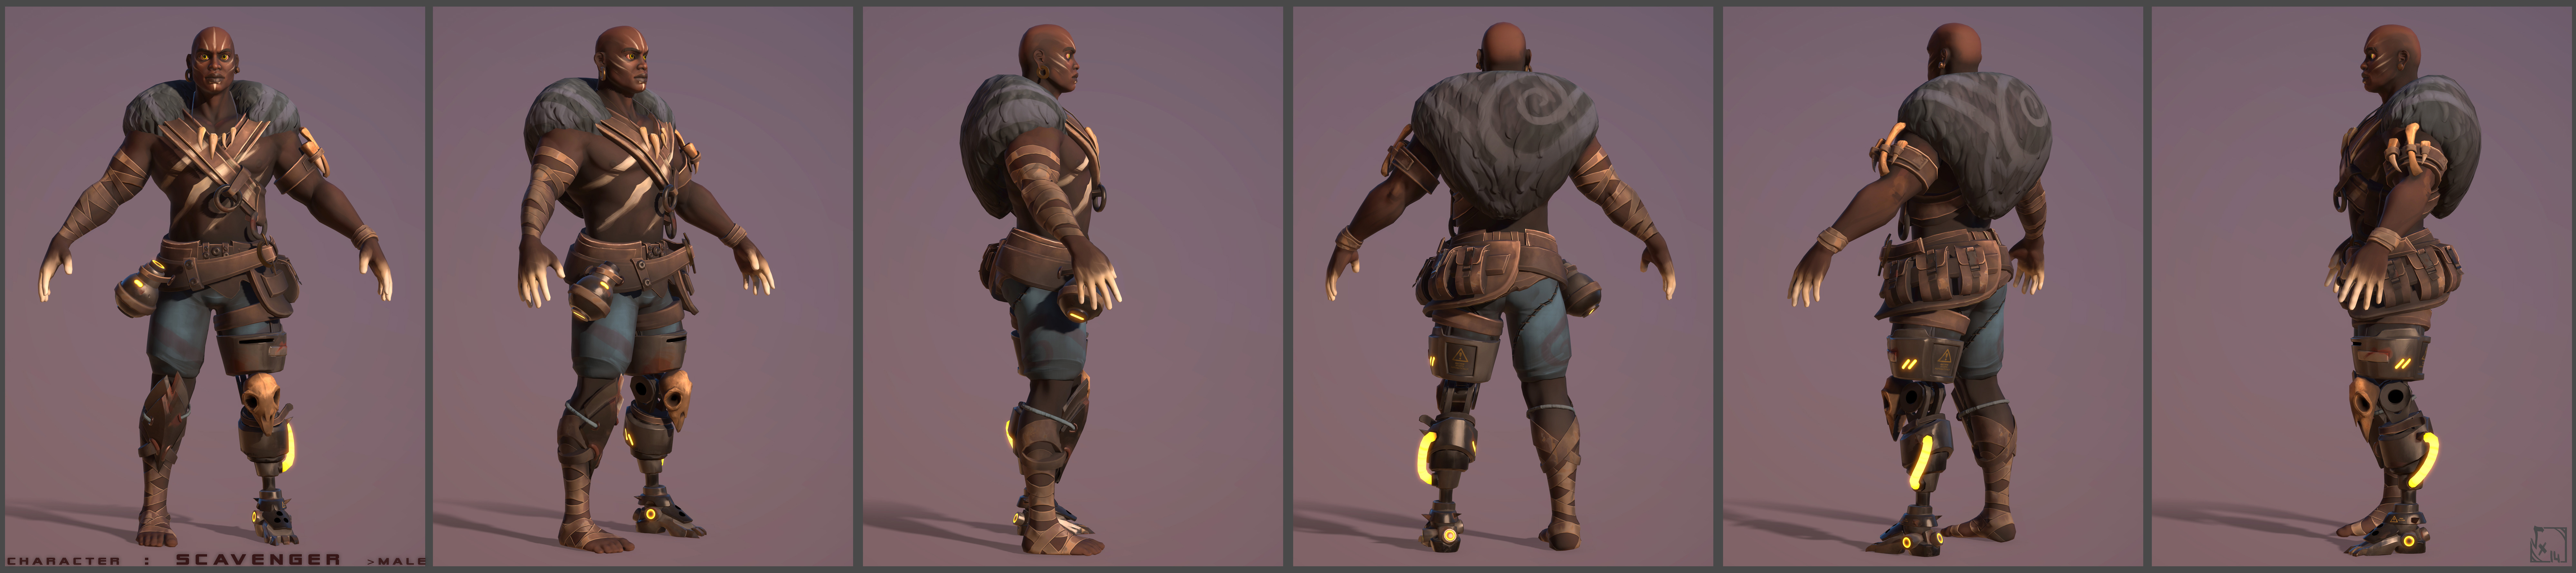
Syblast is an Overwatch themed character made from scratch, I used this project to improve my skills in stylized anatomy sculpture and I learned a lot on this one. The character was inspired by Joseph Korso from Titan A.E and more generally overwatch charadesigns. I may do other skin variations one day in order to explore how things may work on overwatch, but it's a fanart, and I know nothing I guess ^^"
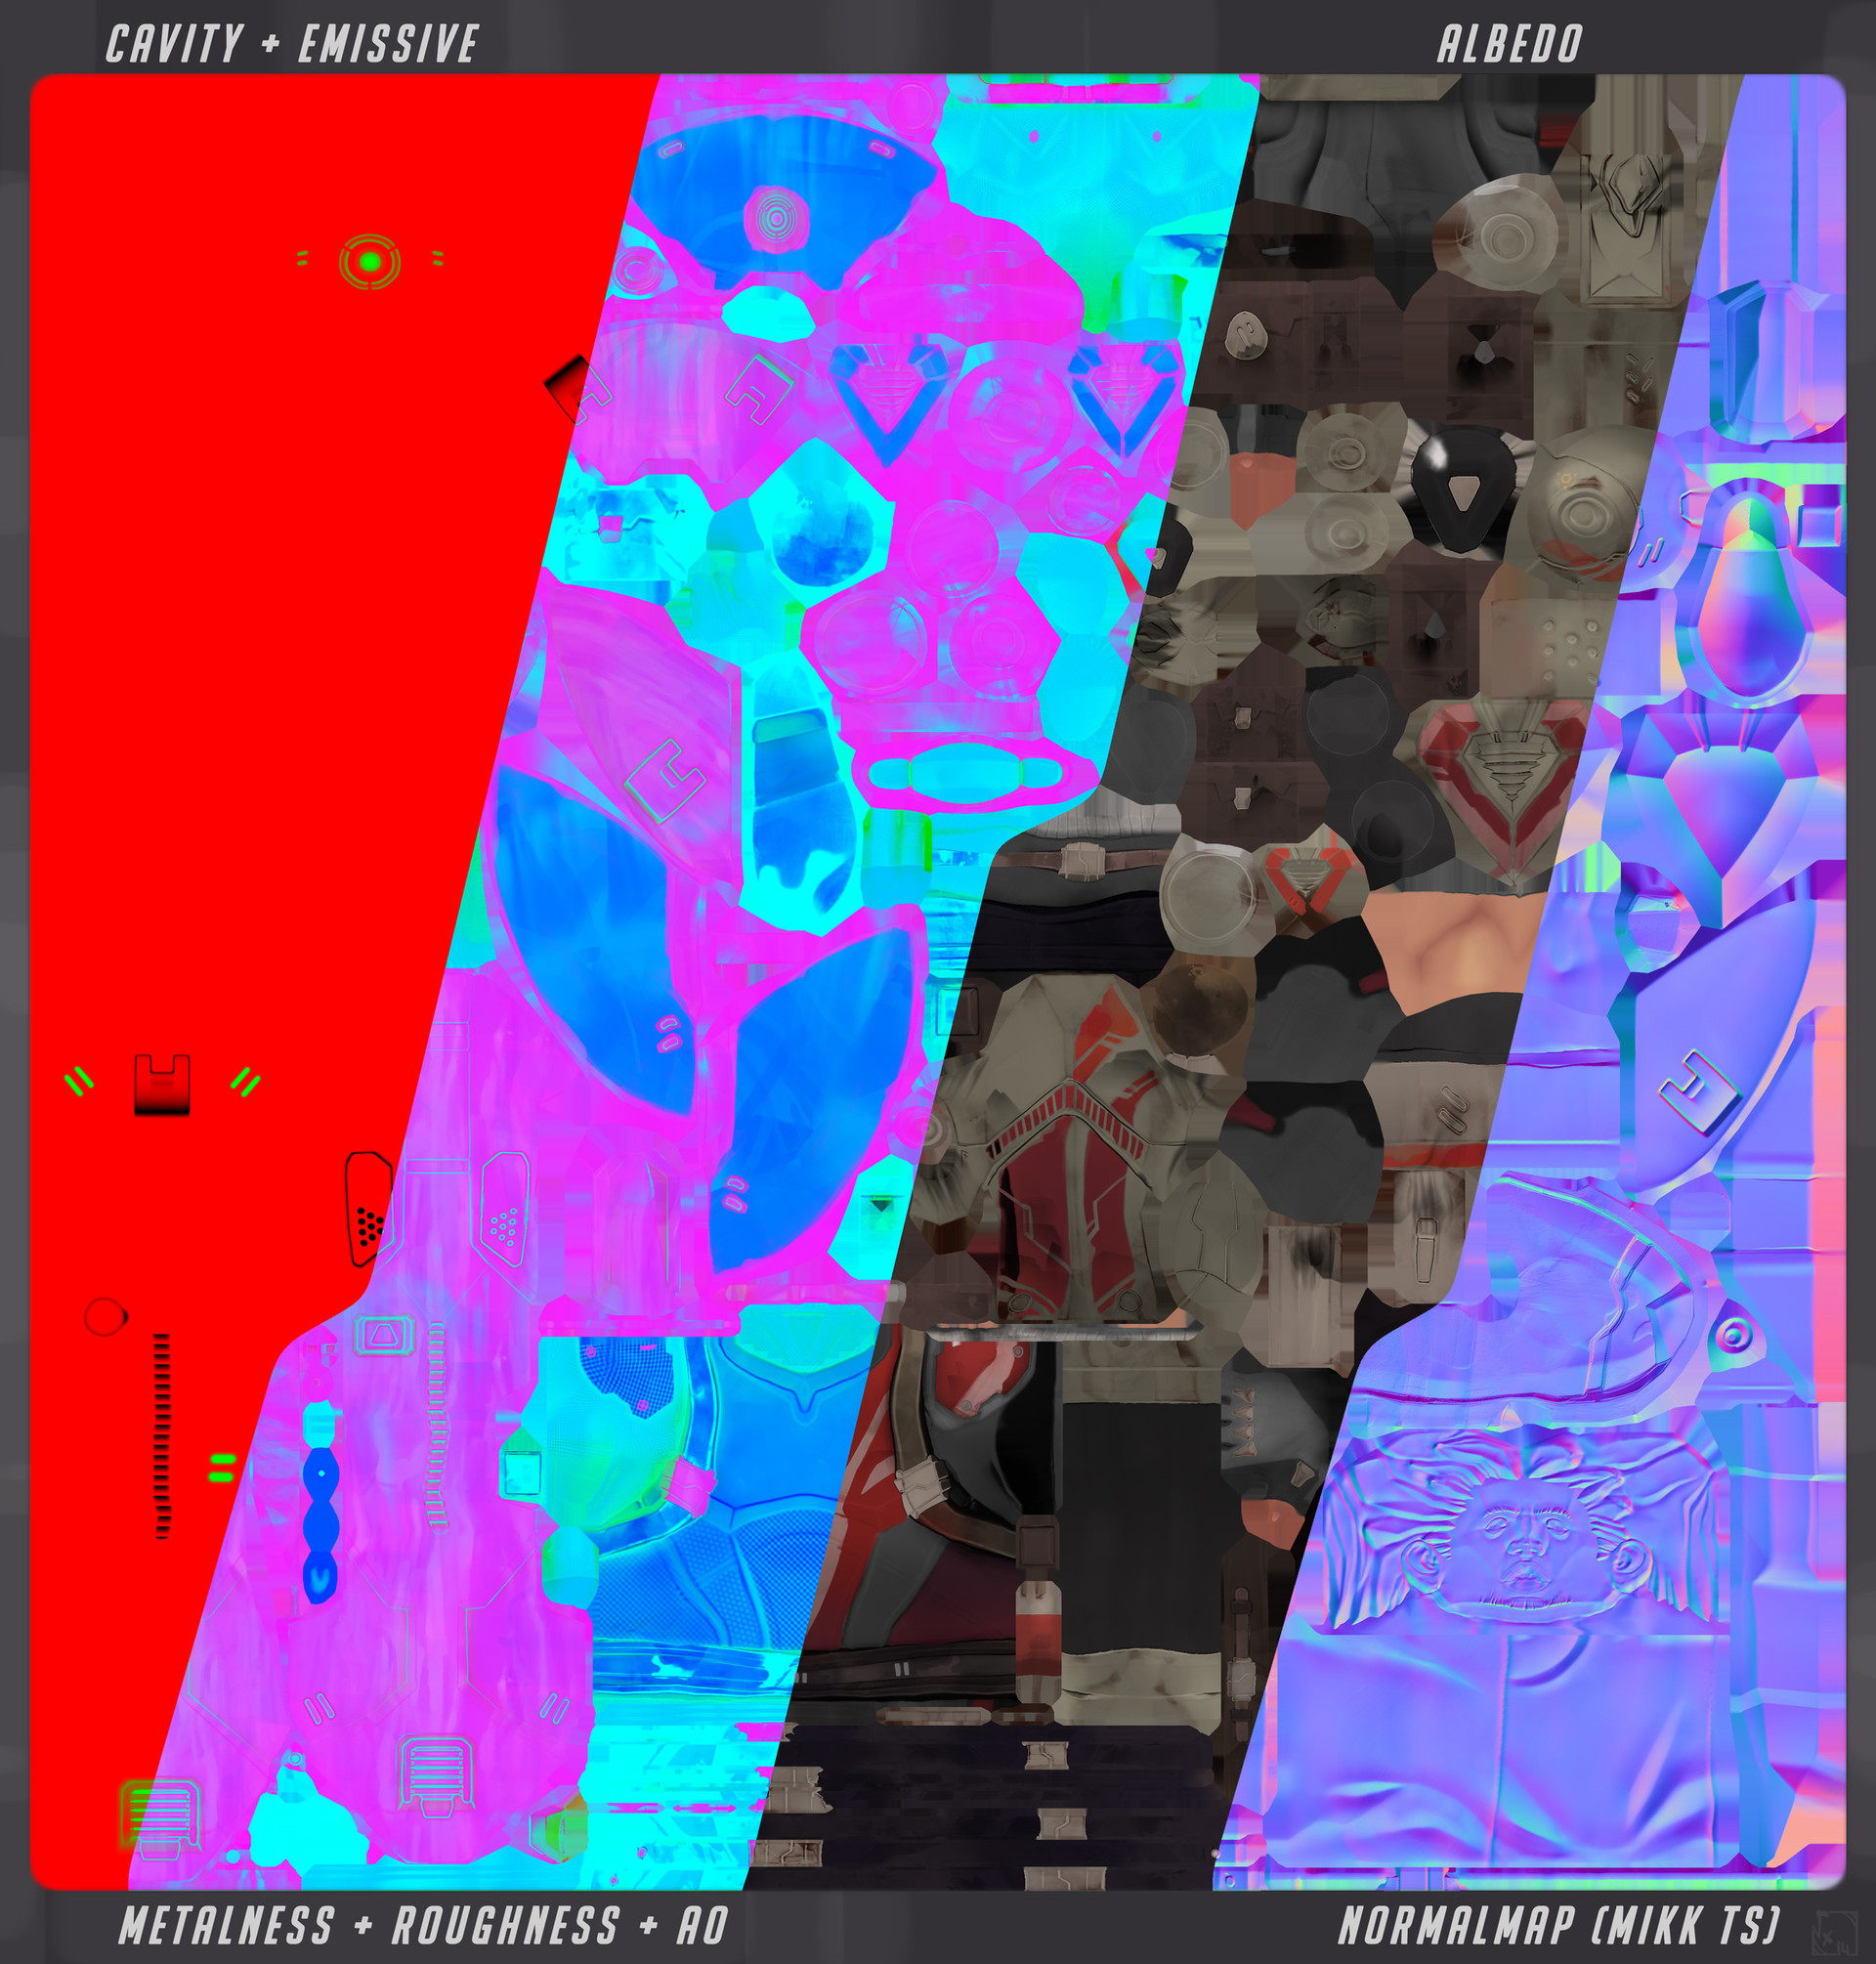
I made this guy using :
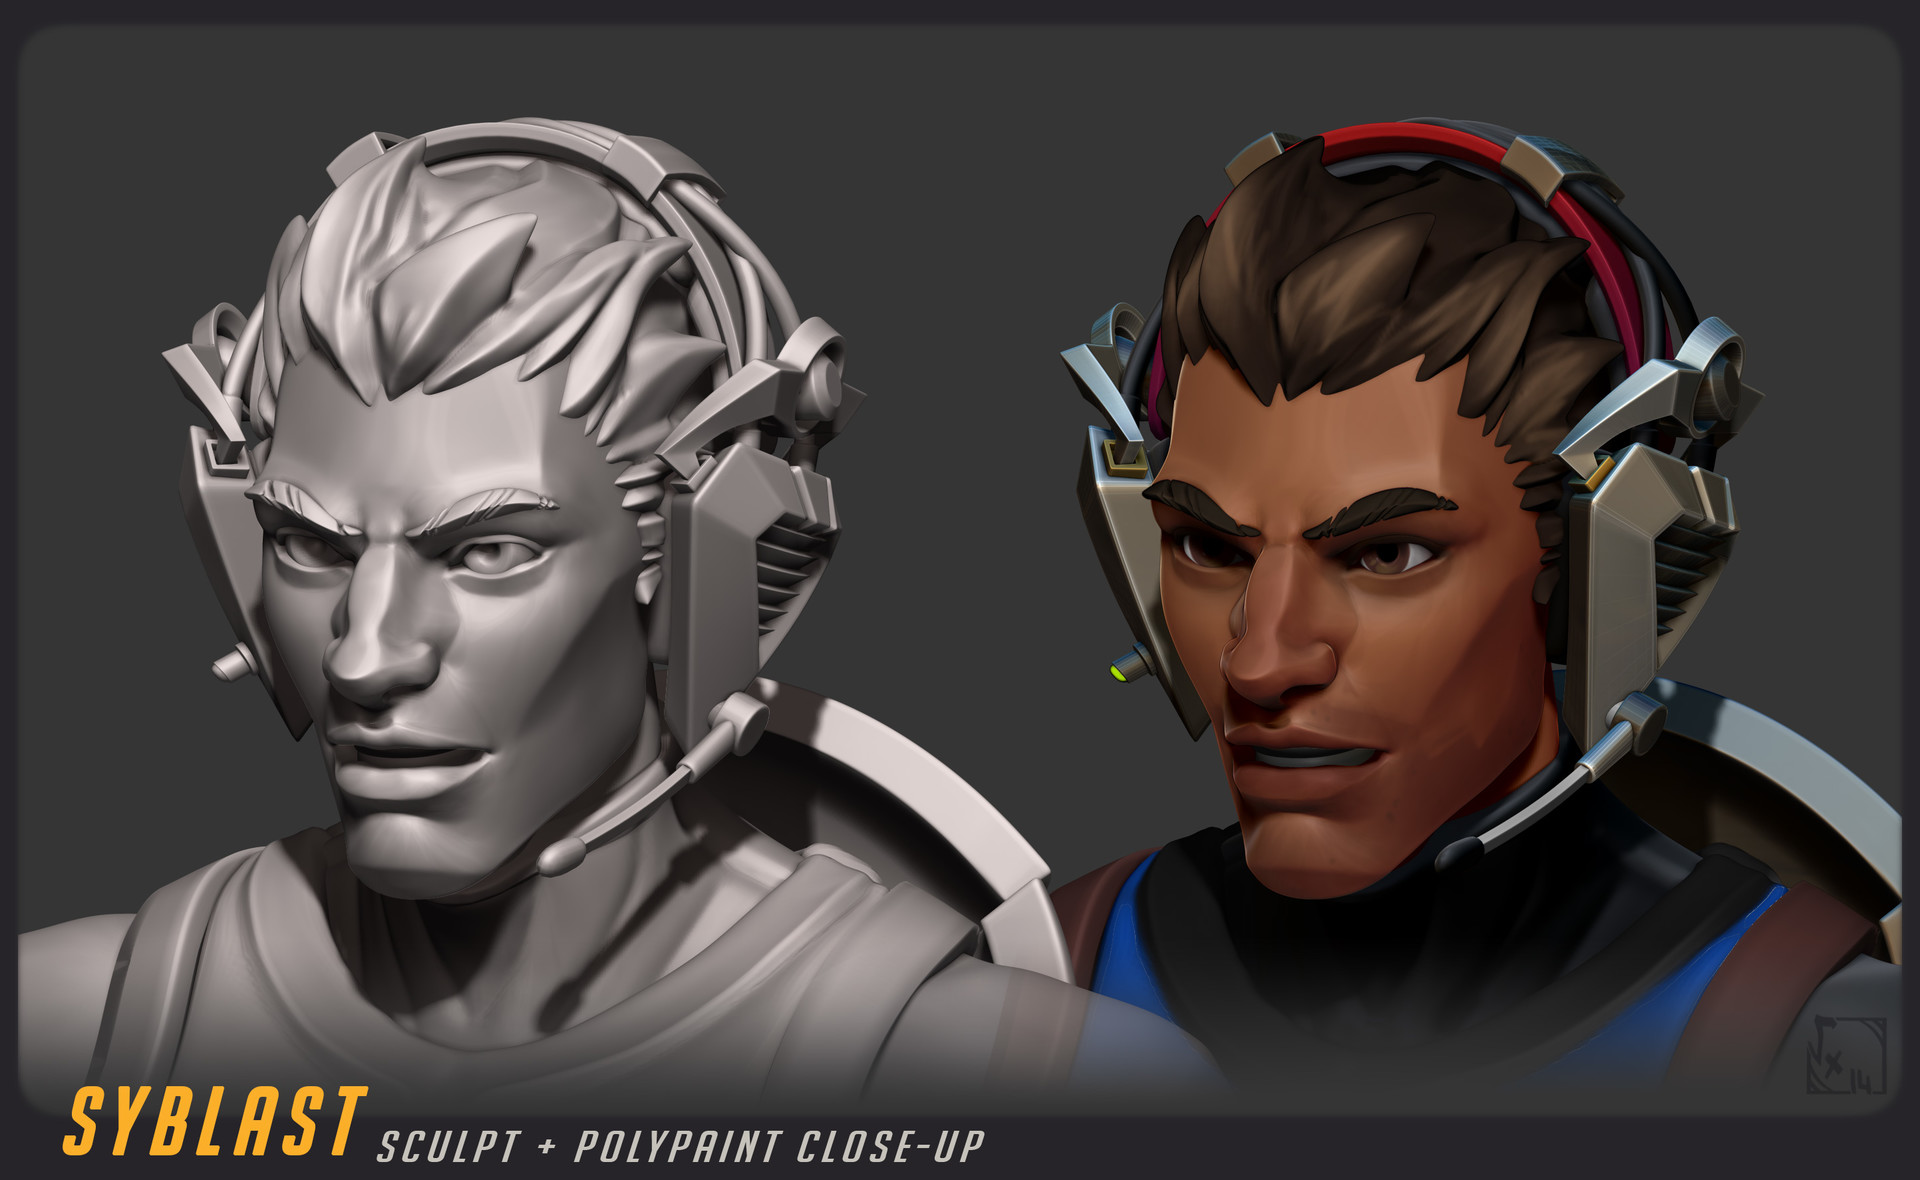
- ZBrush ; Sculpt & polypaint (IDMap)
- 3dsMax ; Hardsurface elements except the Curveboard, then retopo + UVW
- 3DCoat ; Texturing (using StarWars-Redemption's smartmaterials)
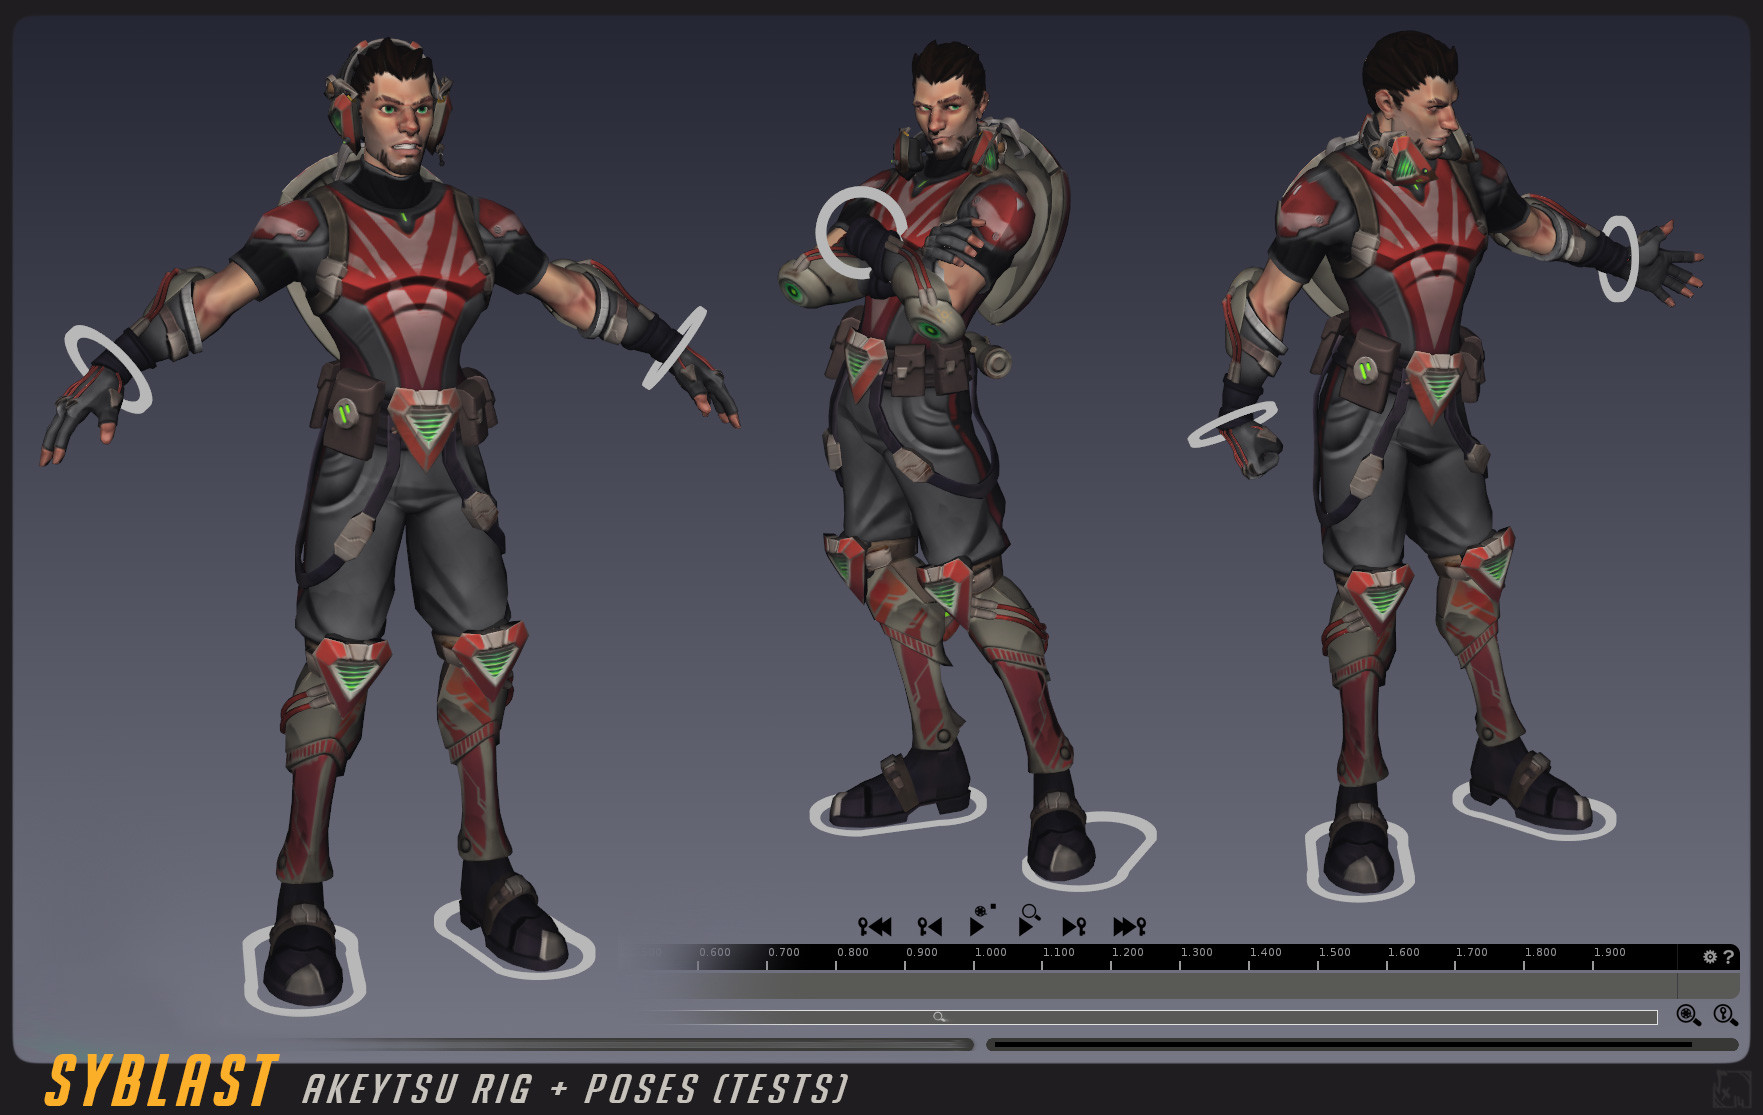
- Akeytsu : Rigging/Skinning/Posing
- Marmoset 3 ; normalmap/IDMap baking & lighting/rendering
Full project's link : https://www.artstation.com/artwork/veJvO
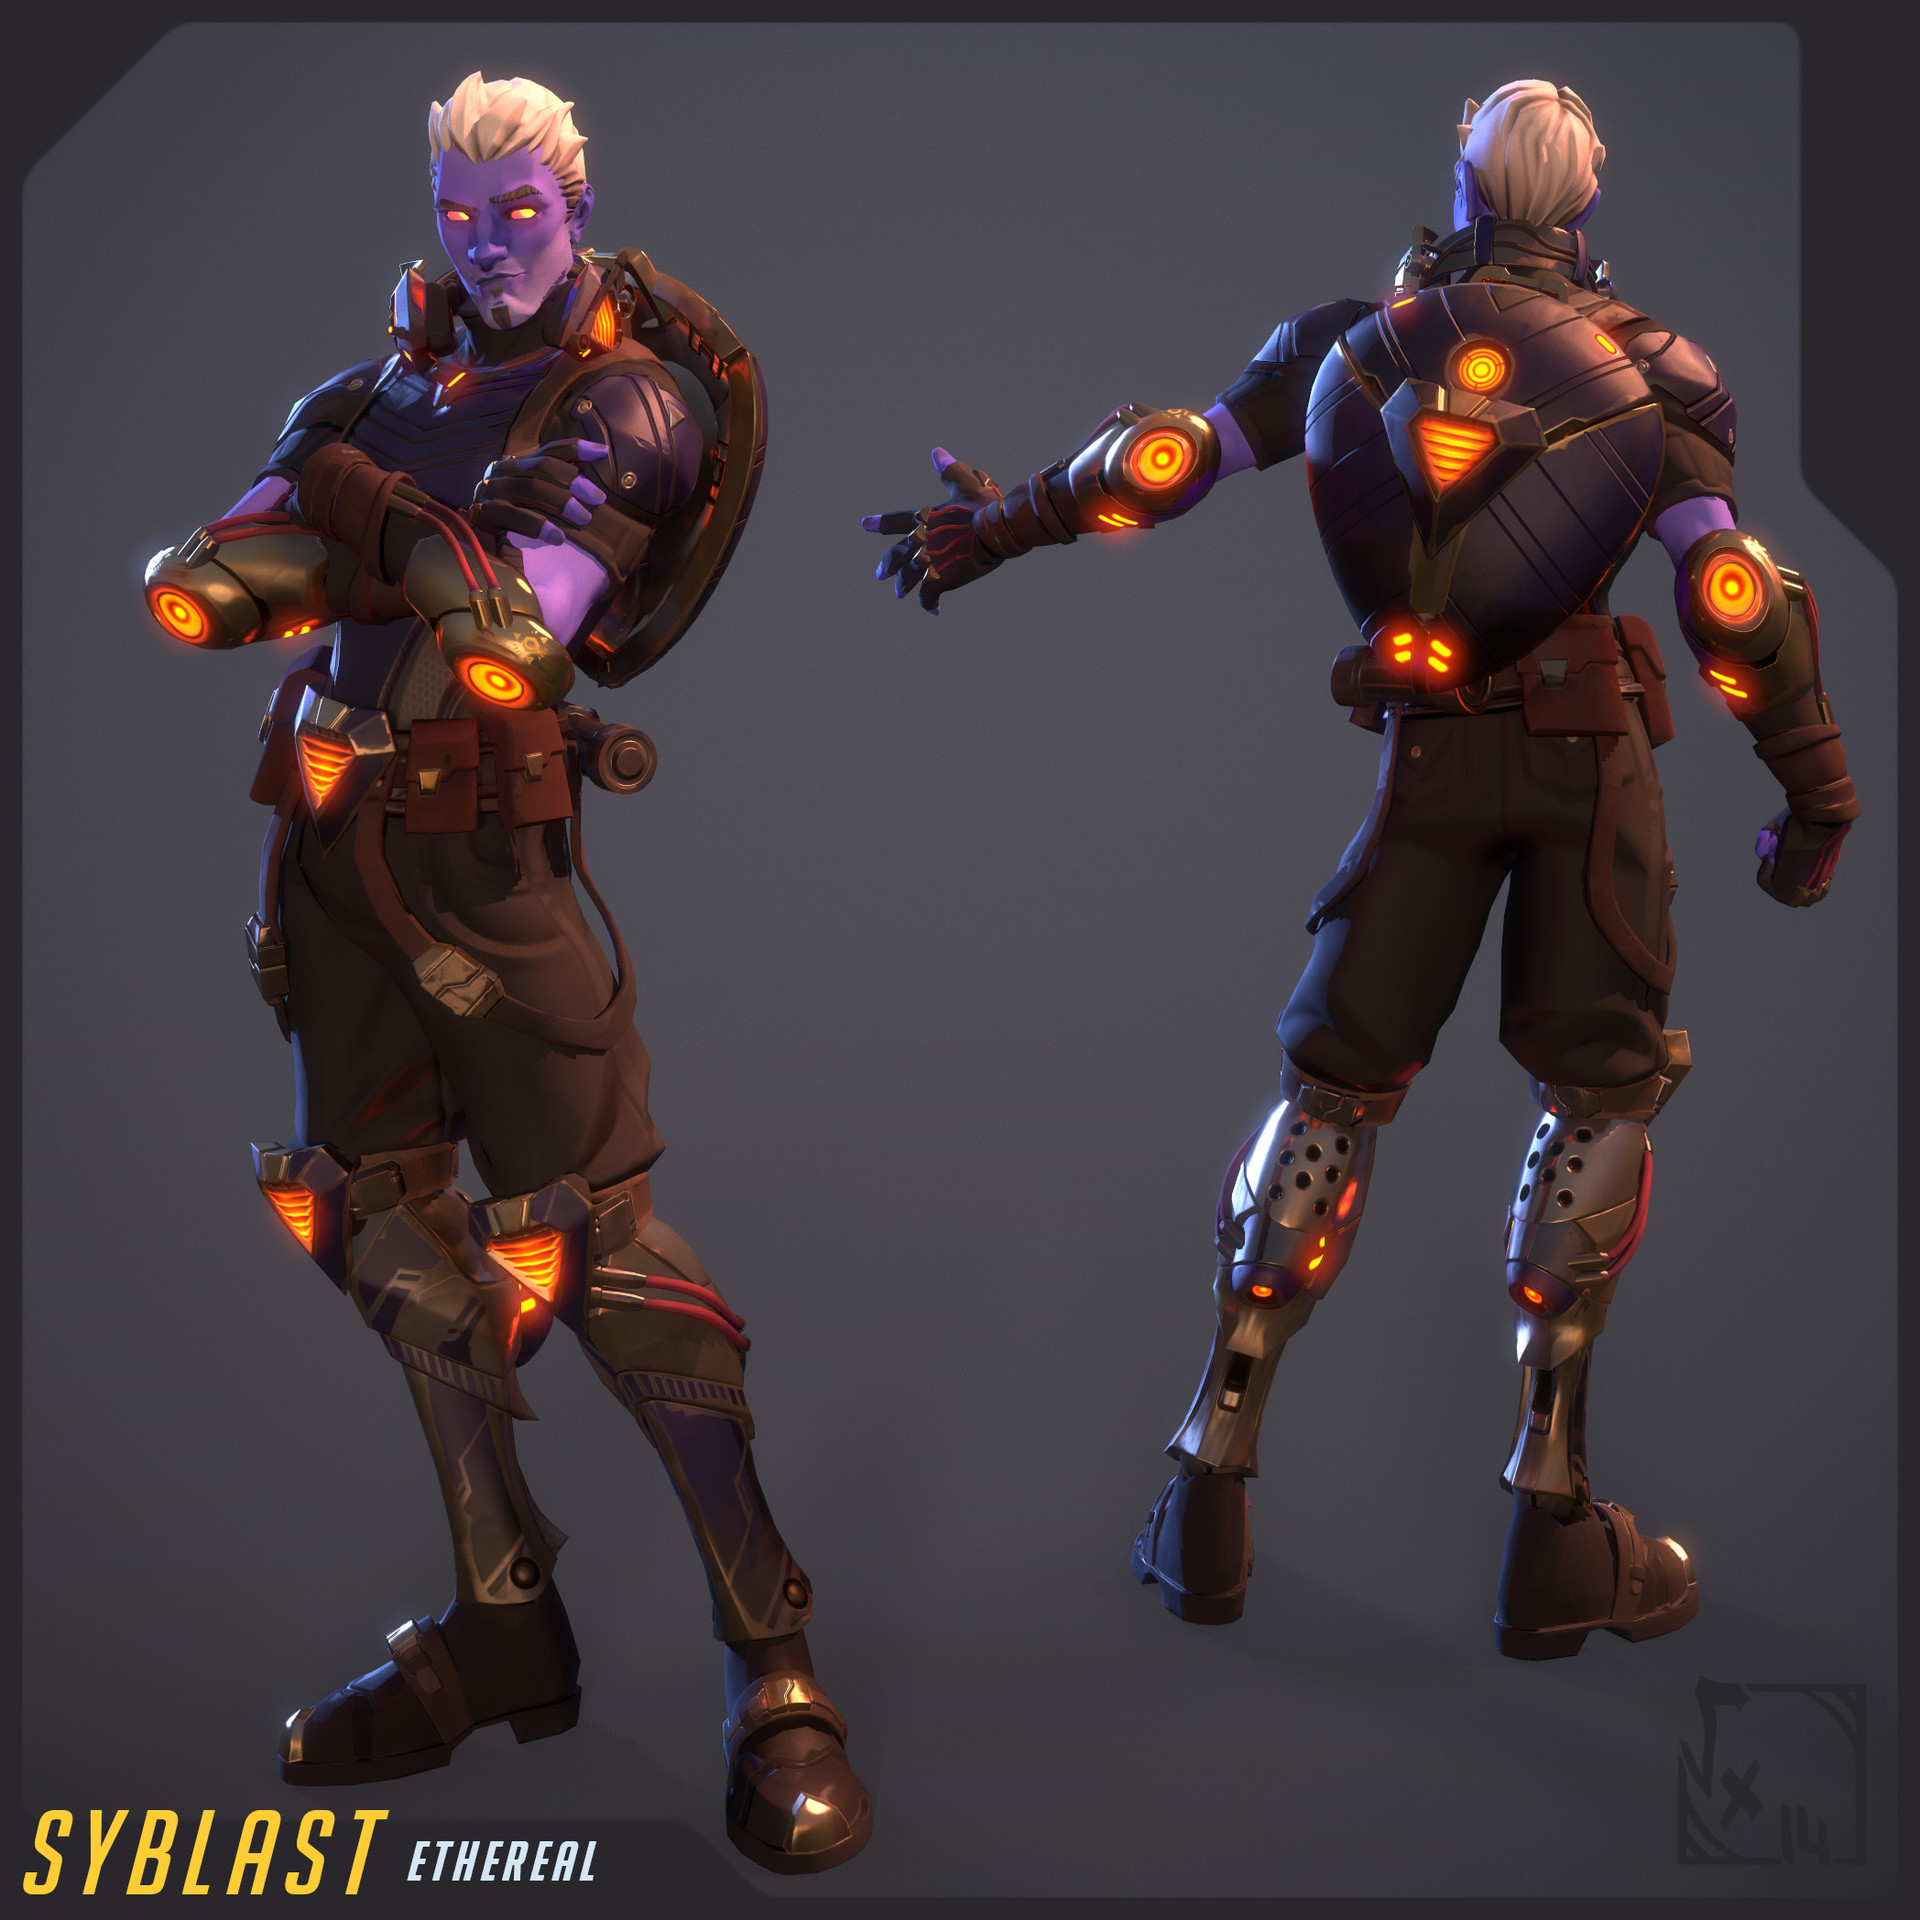
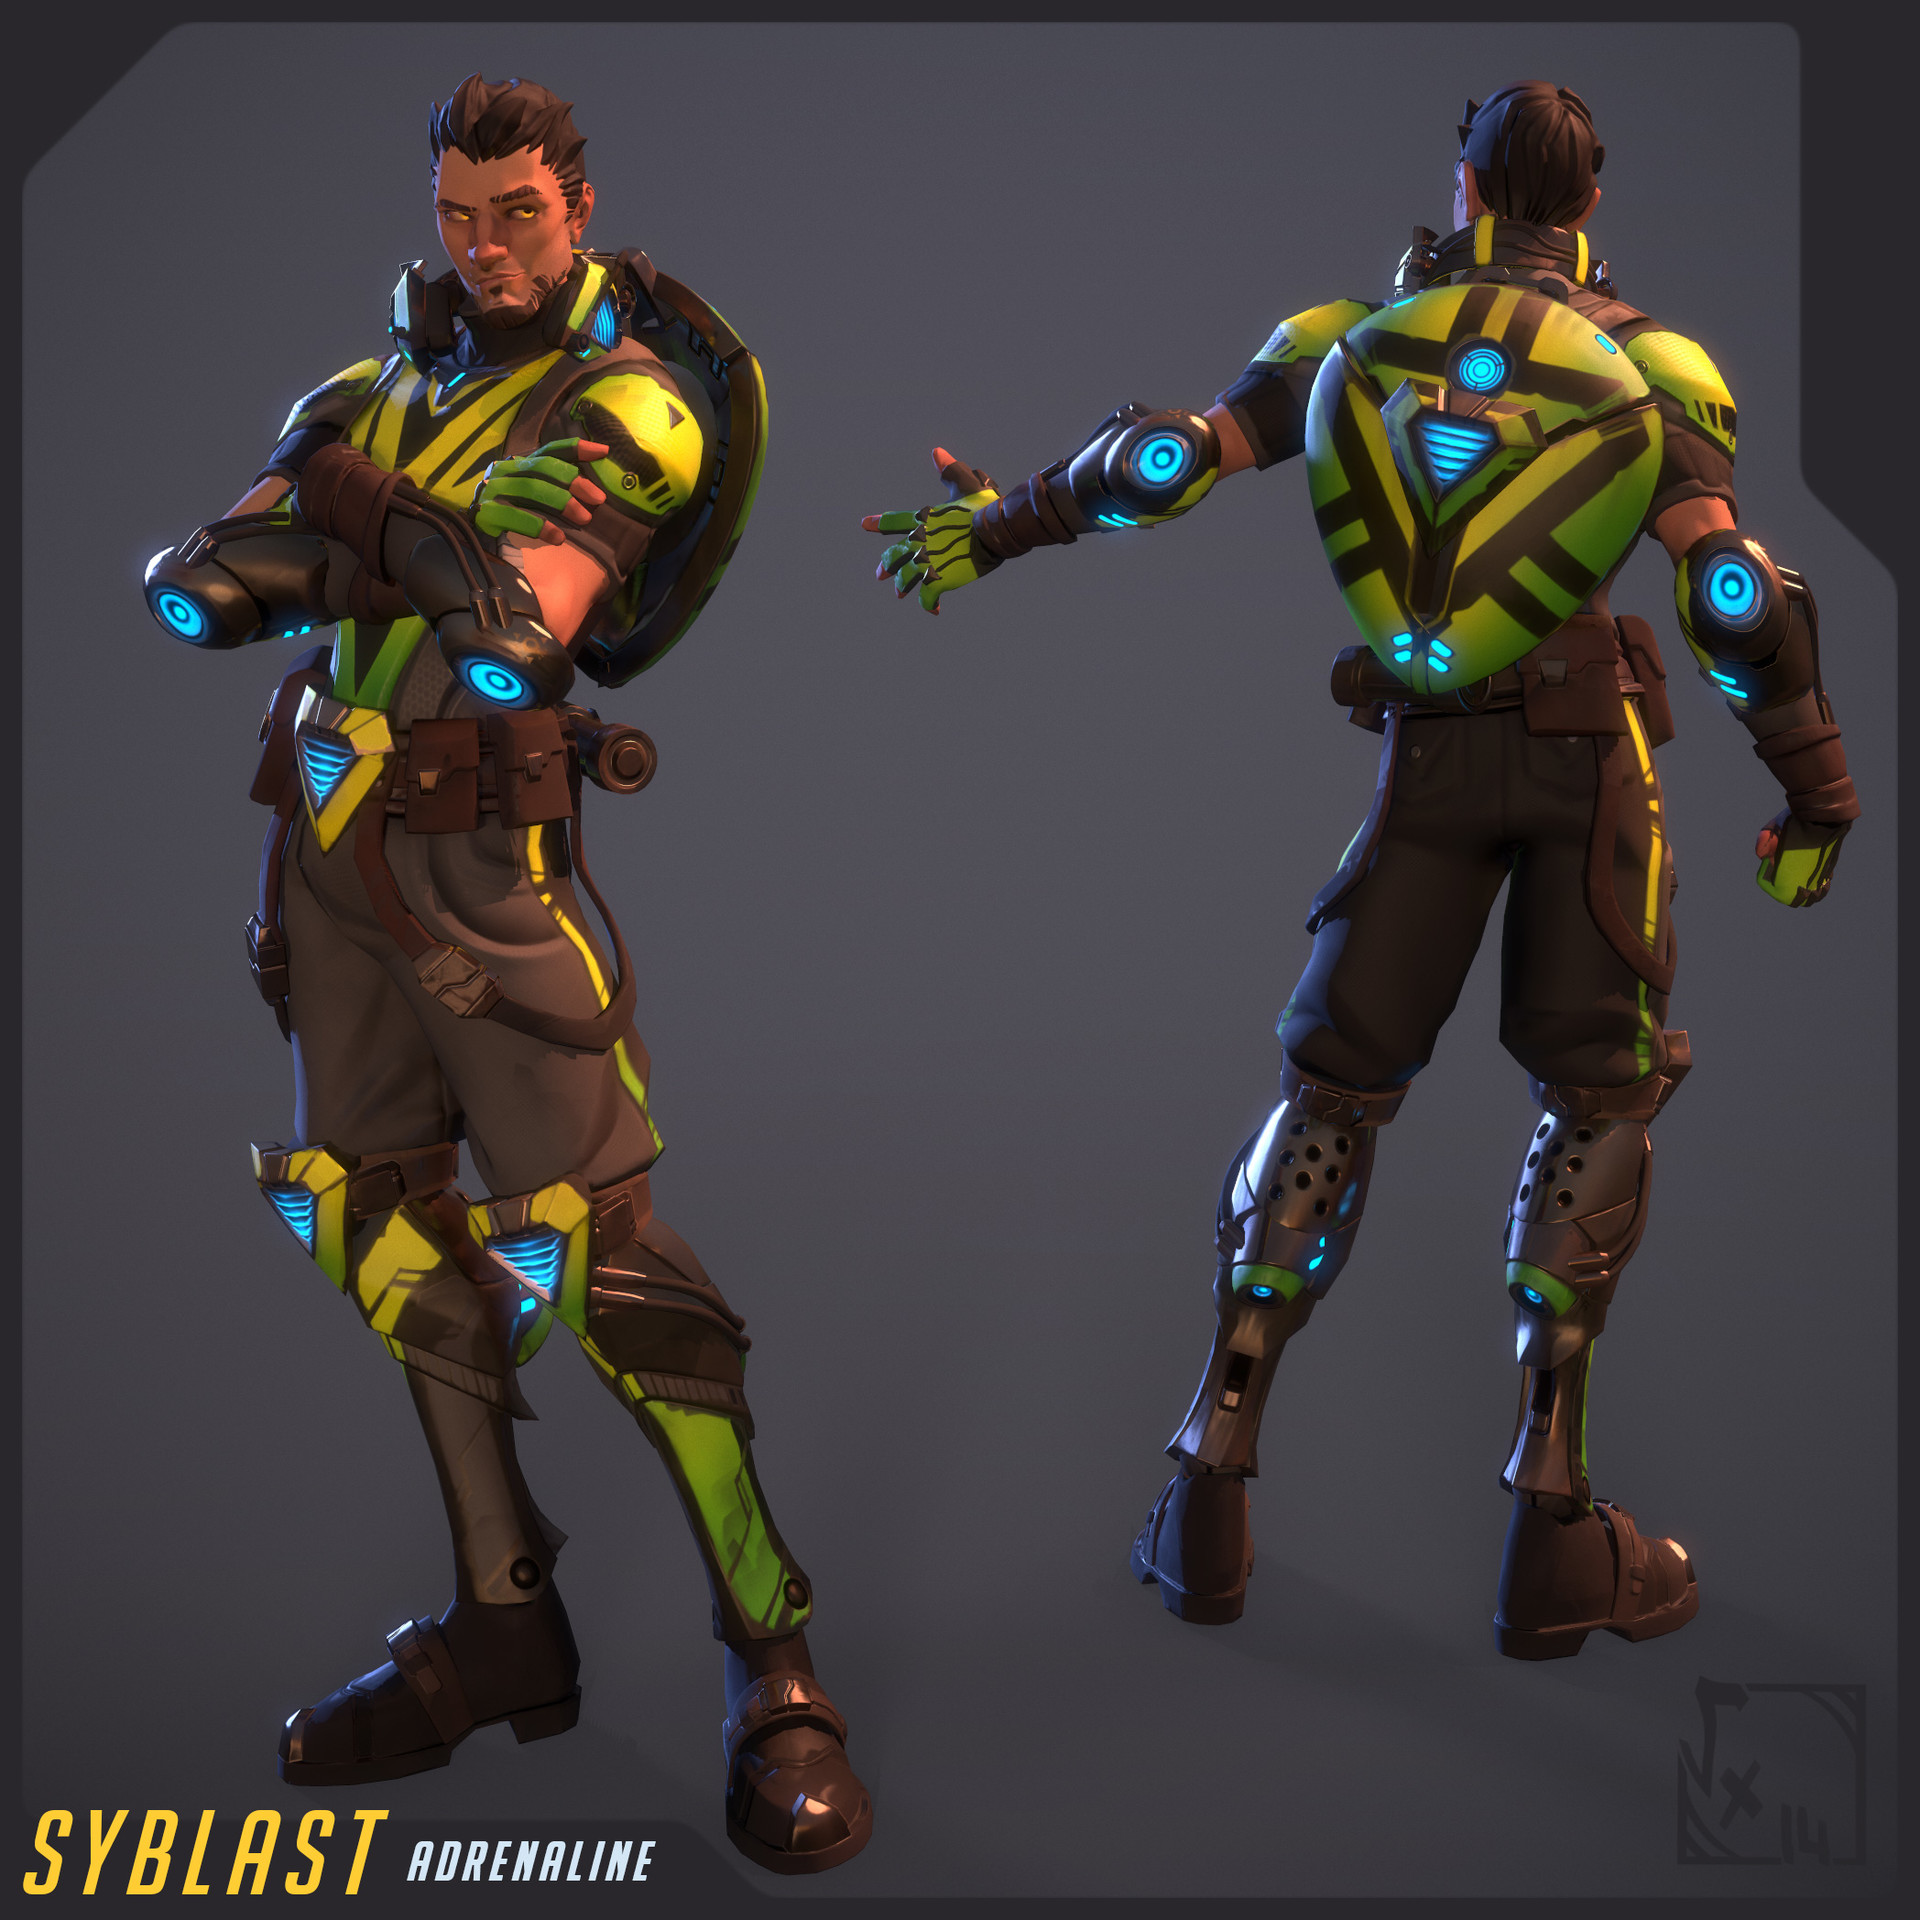
Like always, I rigged/posed him into my beloved Akeytsu, if you didn't already tried you should, even if you don't like animating props or characters, cause it takes rig/skin and animating tasks on a clever way than you could find on any other software. Akeytsu was just built for animation, no more, no less. Btw rigging Syblast took me something like an evening, you got facial features and mechanical moving parts where you could expect it of course
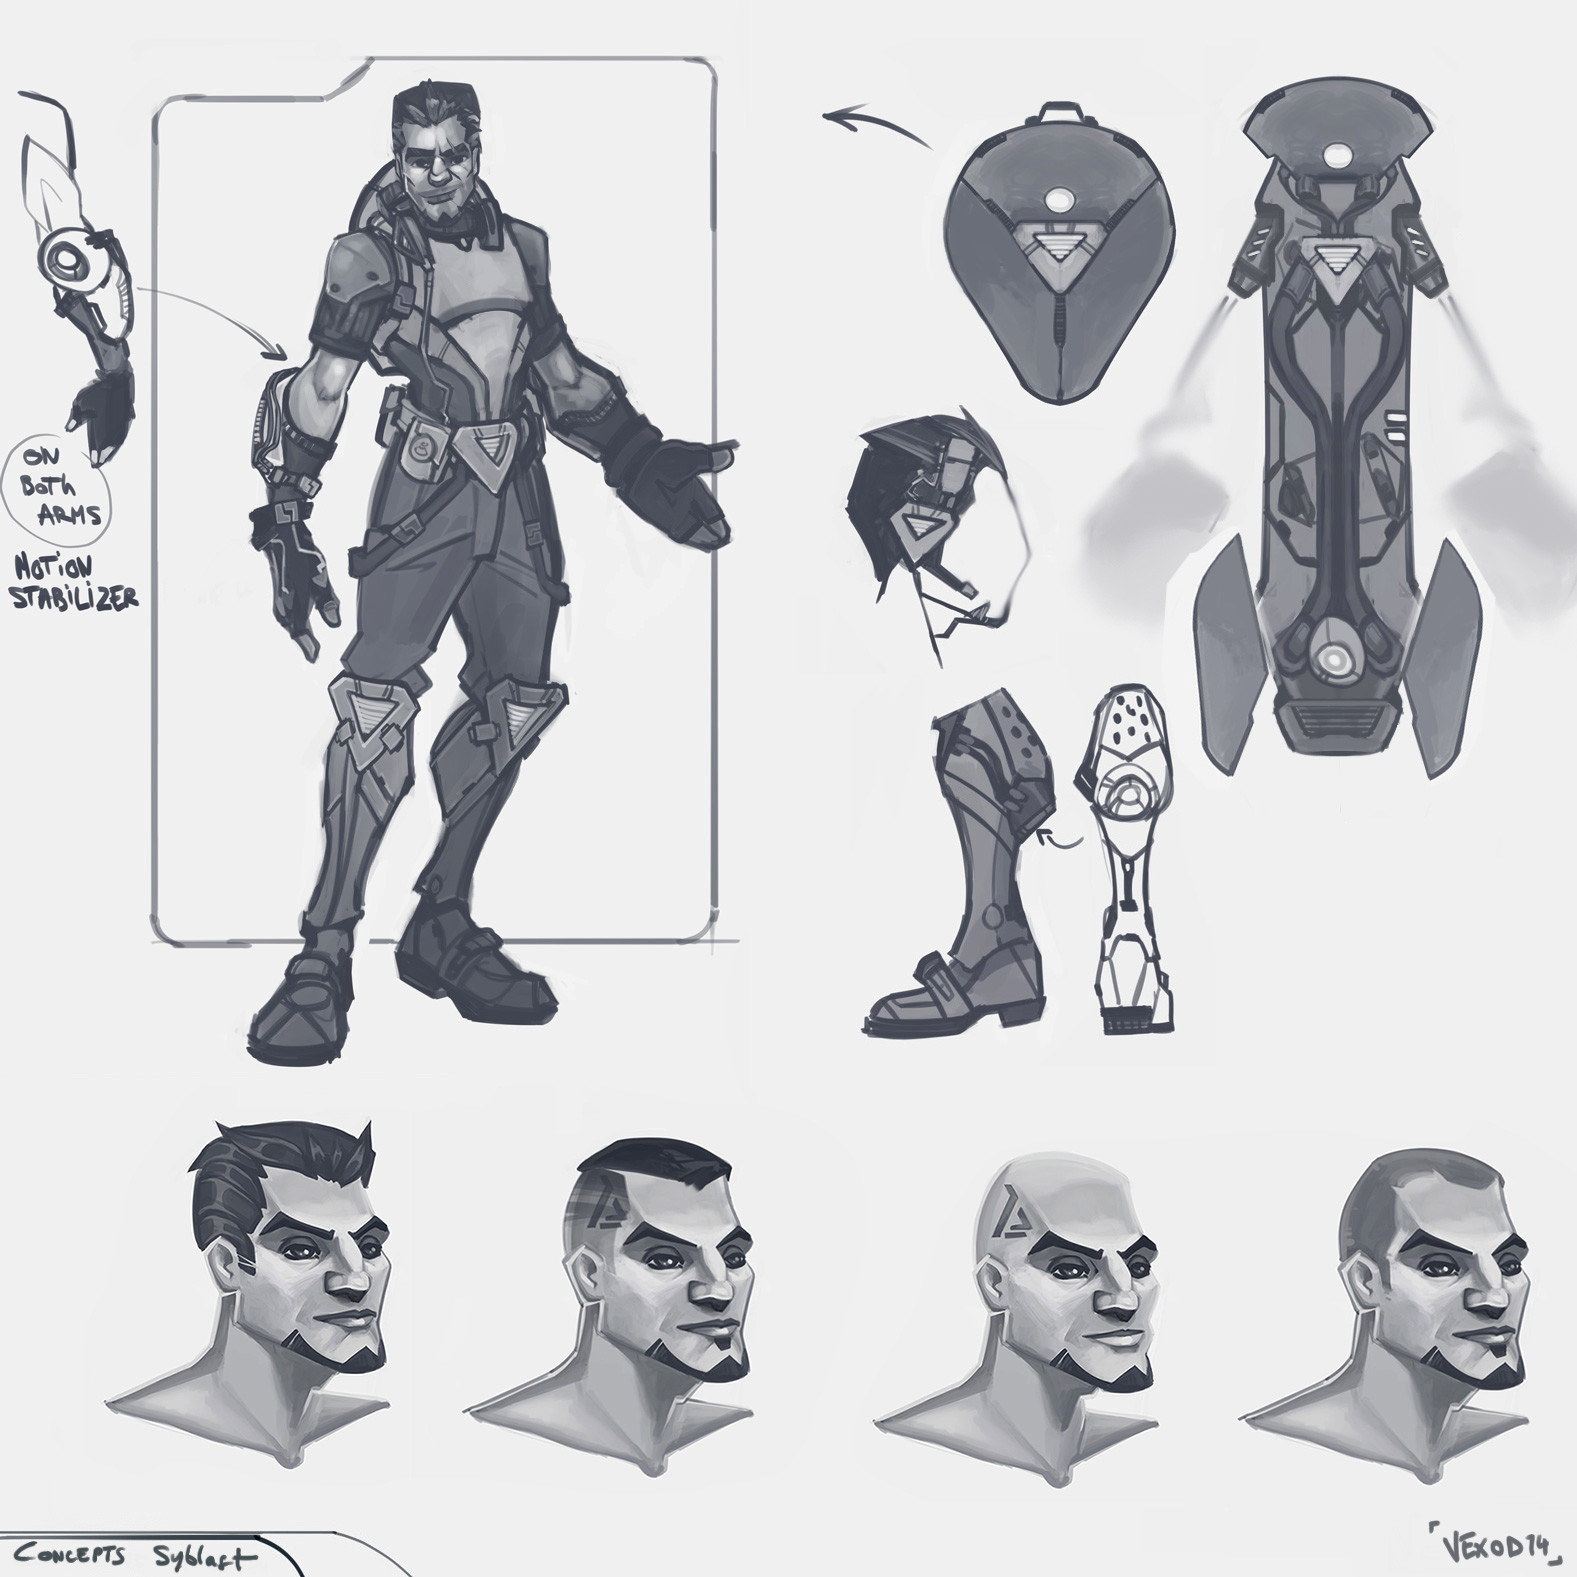
And here is the conceptArt I did in order to imagine what this character could be, as I'm not that good in this I only focused on strong shapes that may belong to this character and only him, I found triangle generators were a good thing with some kind of "vents/radiator" on it, these generators are just big cells which helps having energy throughout the armor parts ( like IronMan micro ARK reactors ^^ Yeah, I'm a fanboy of stark's metal suits =D )
And for those who are interested about the sculpt...;)
-
2
-
-
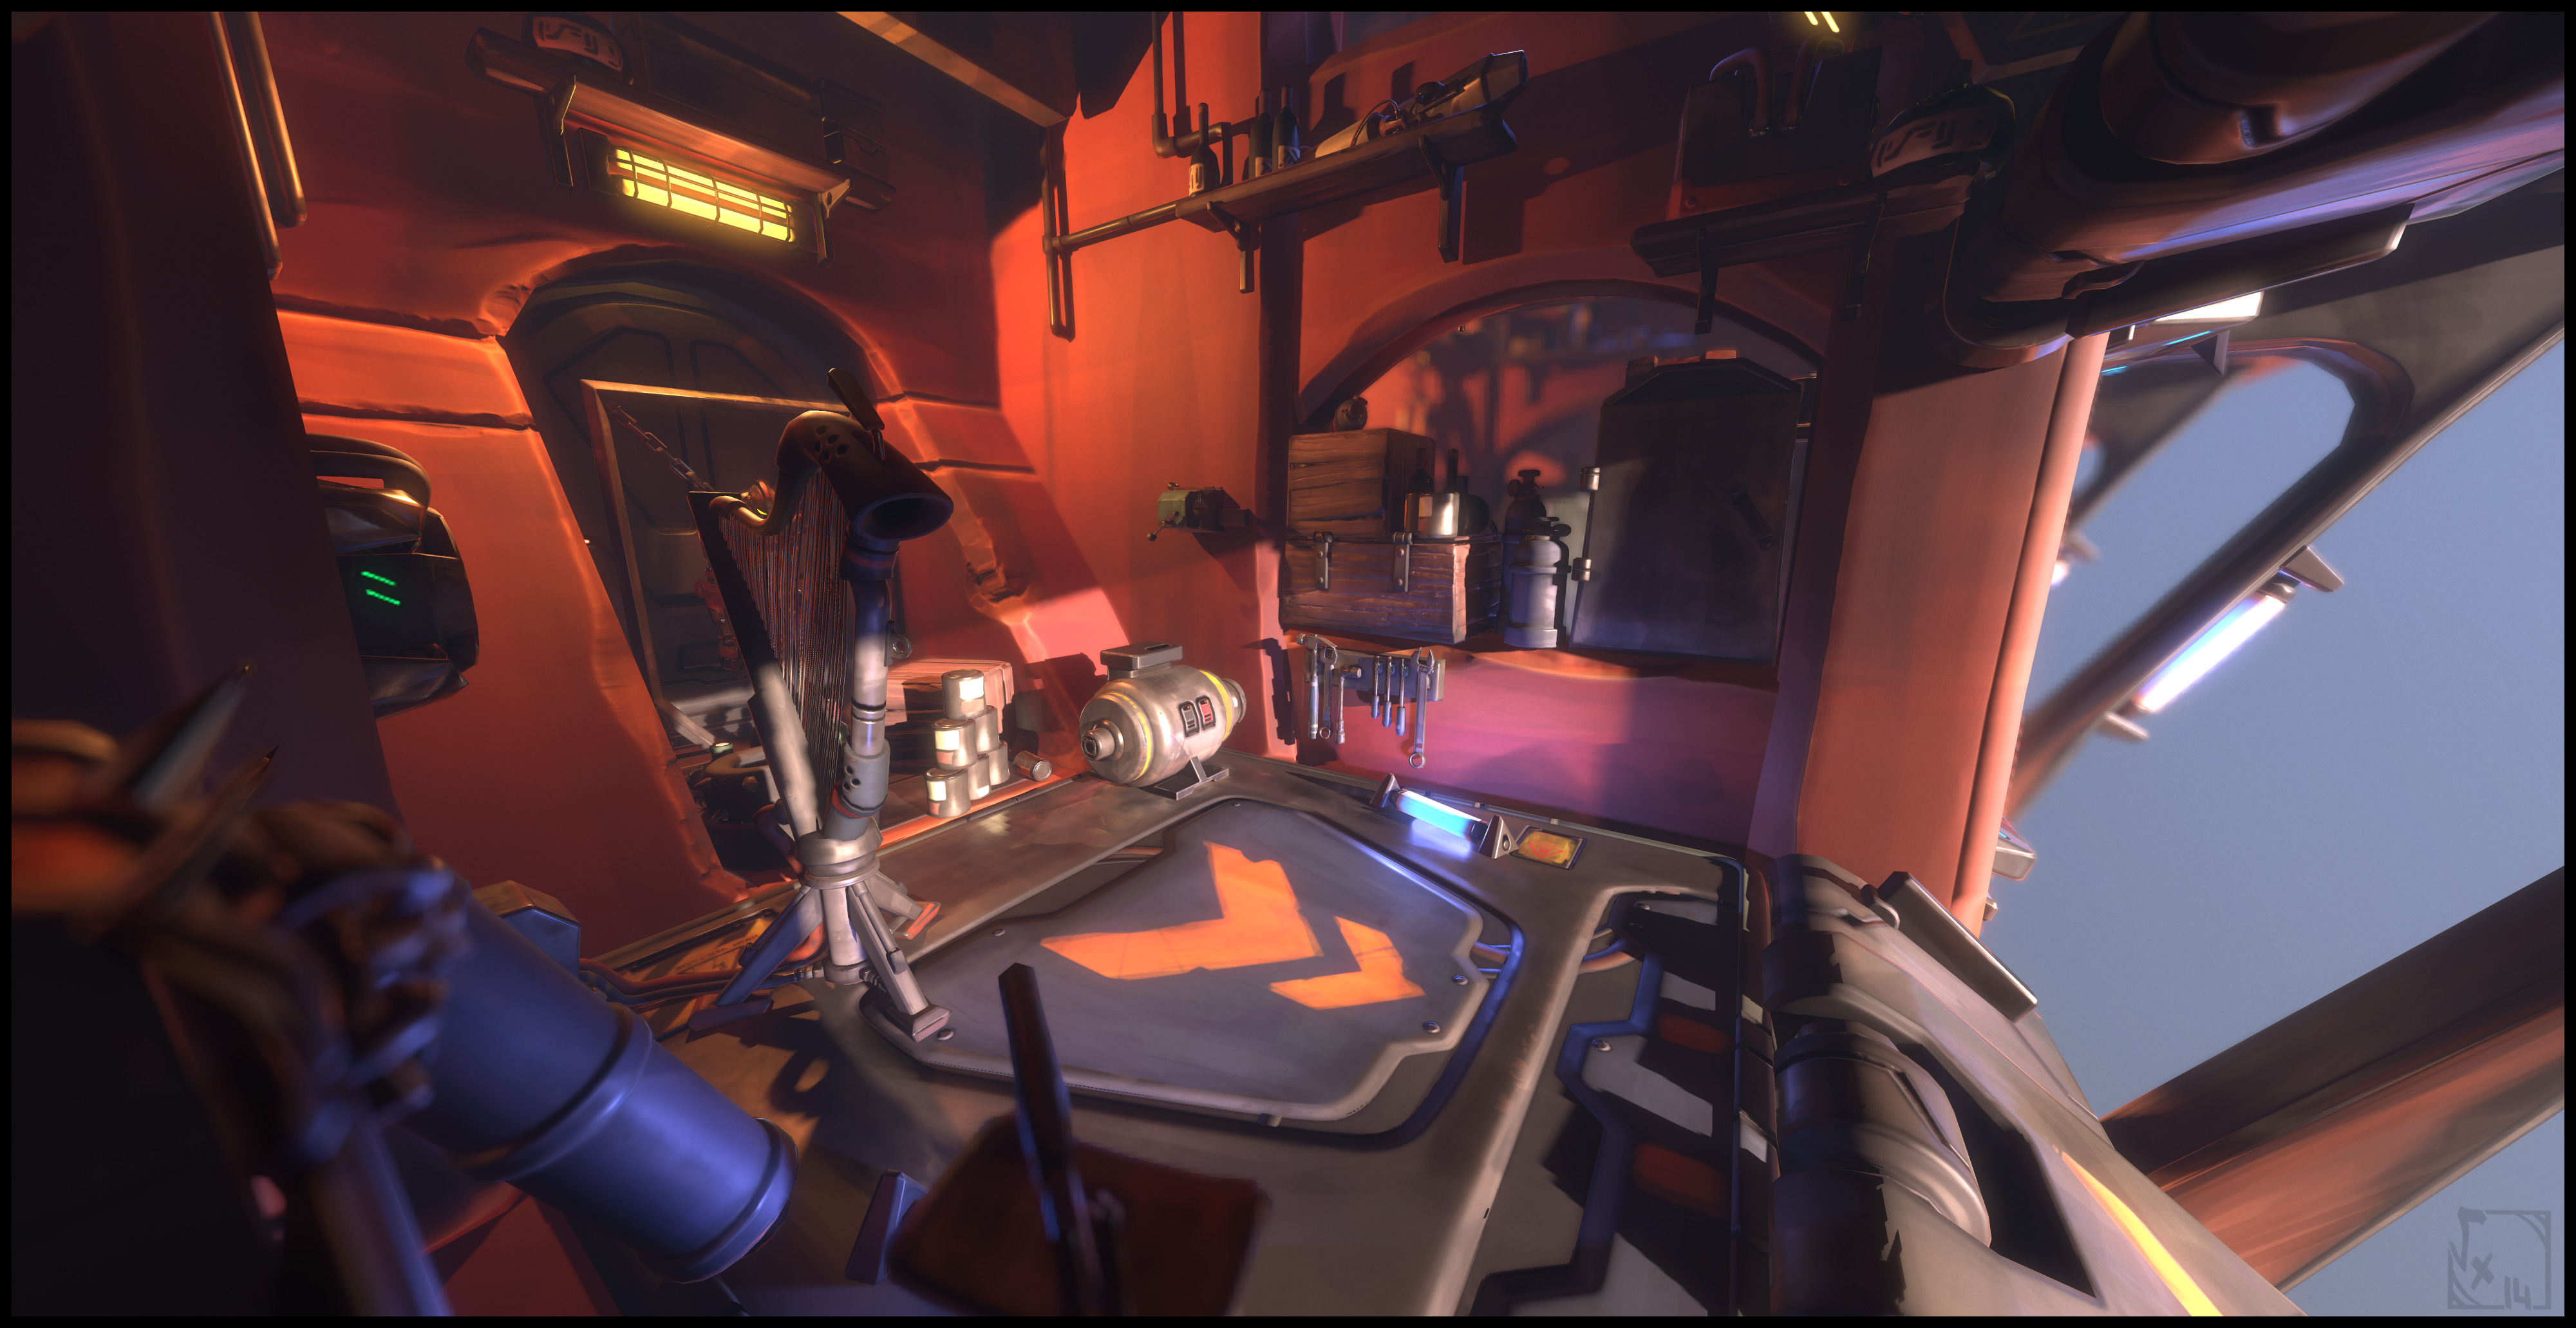
Just finished an overwatch themed character +D I'm still using only 3DCoat for all texturing process, it's sooo goood !
Full project here : https://www.artstation.com/artwork/veJvO

-
2
-
-
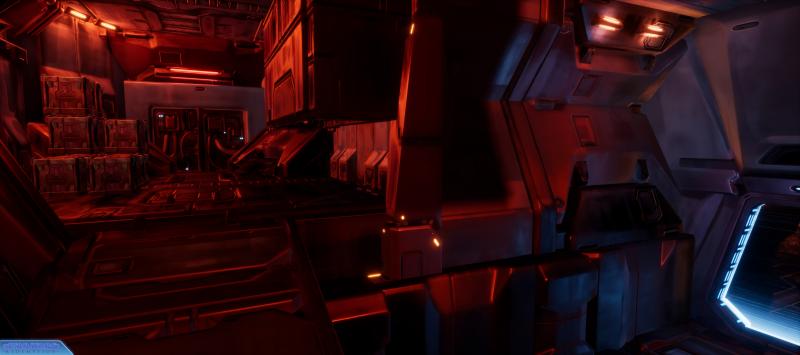
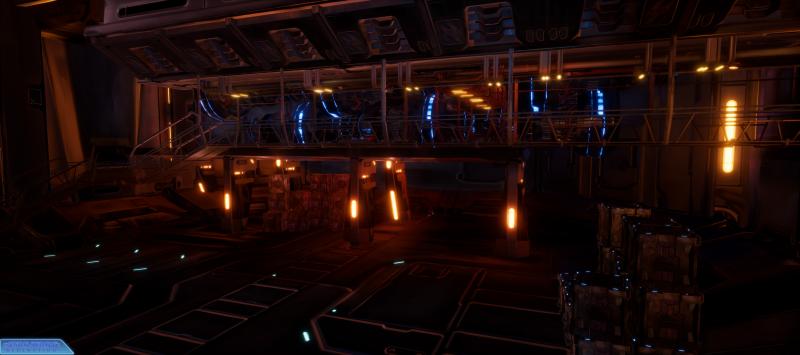
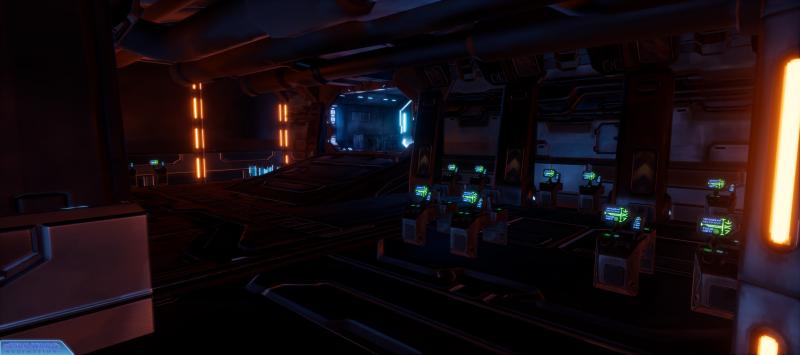
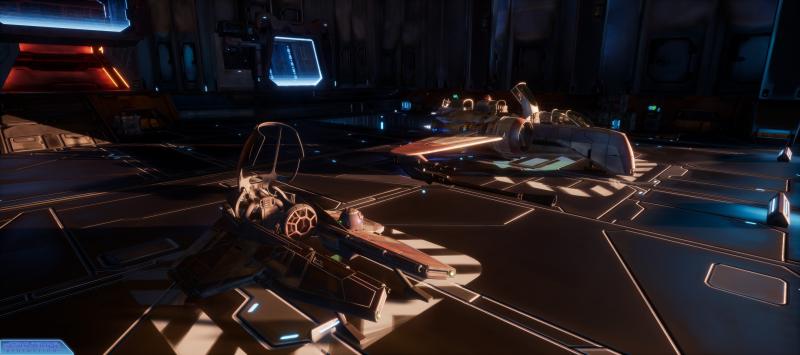
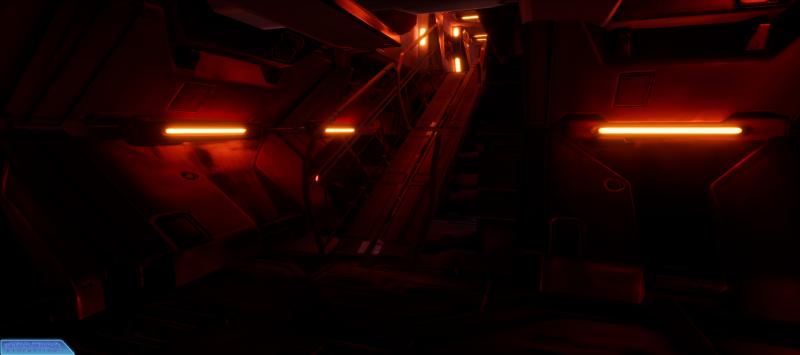
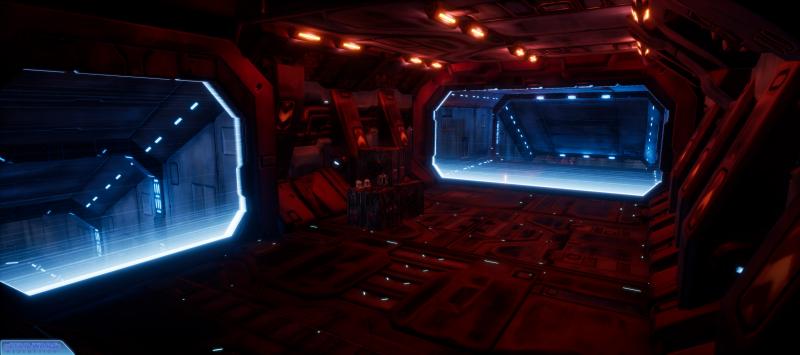
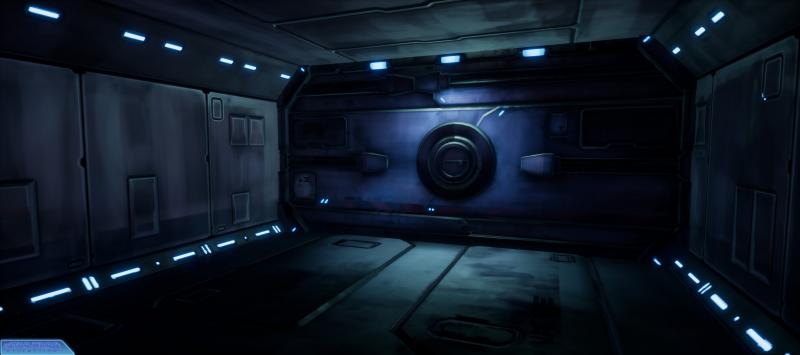
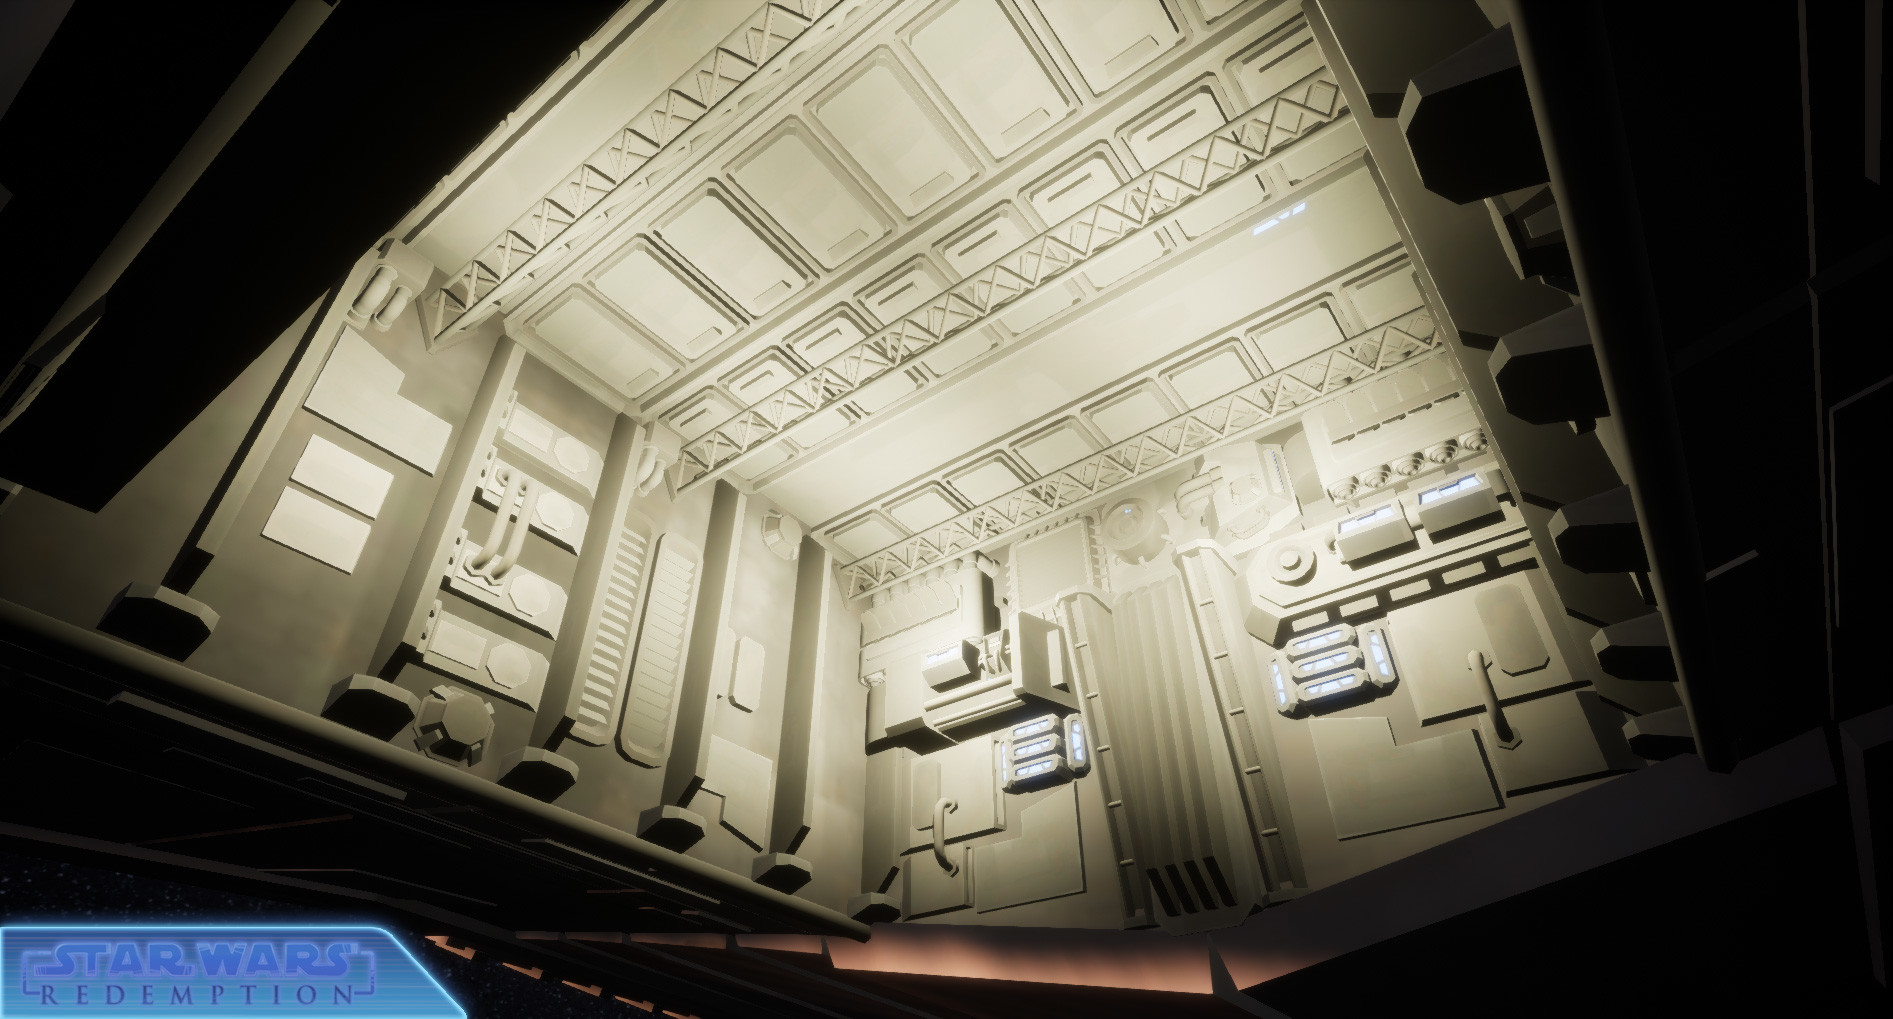
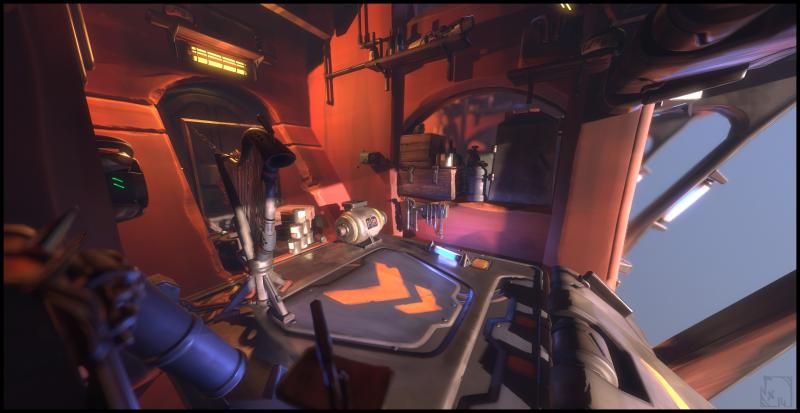
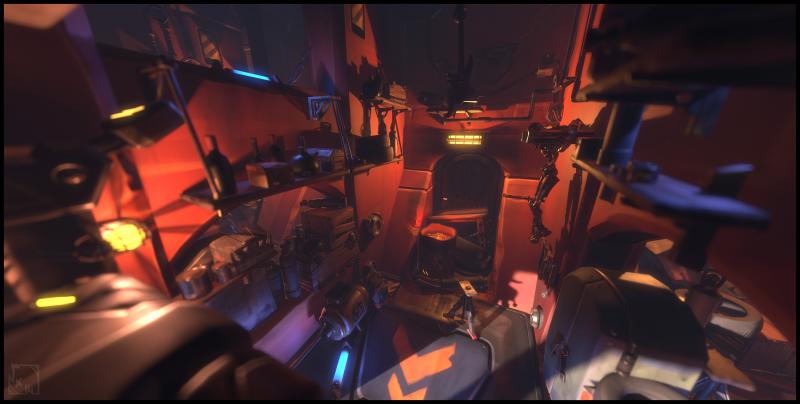
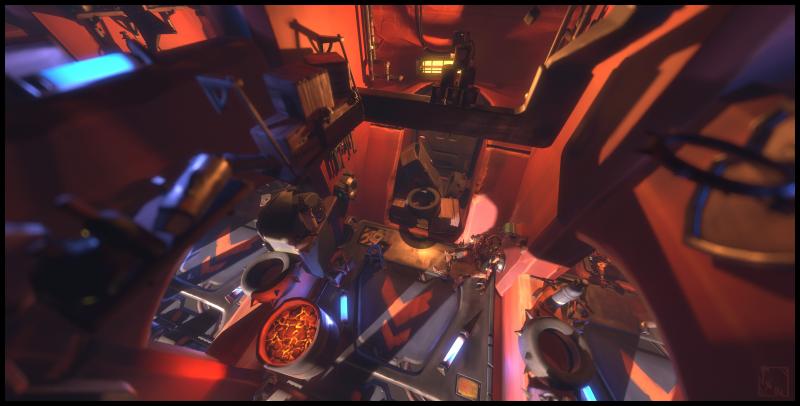
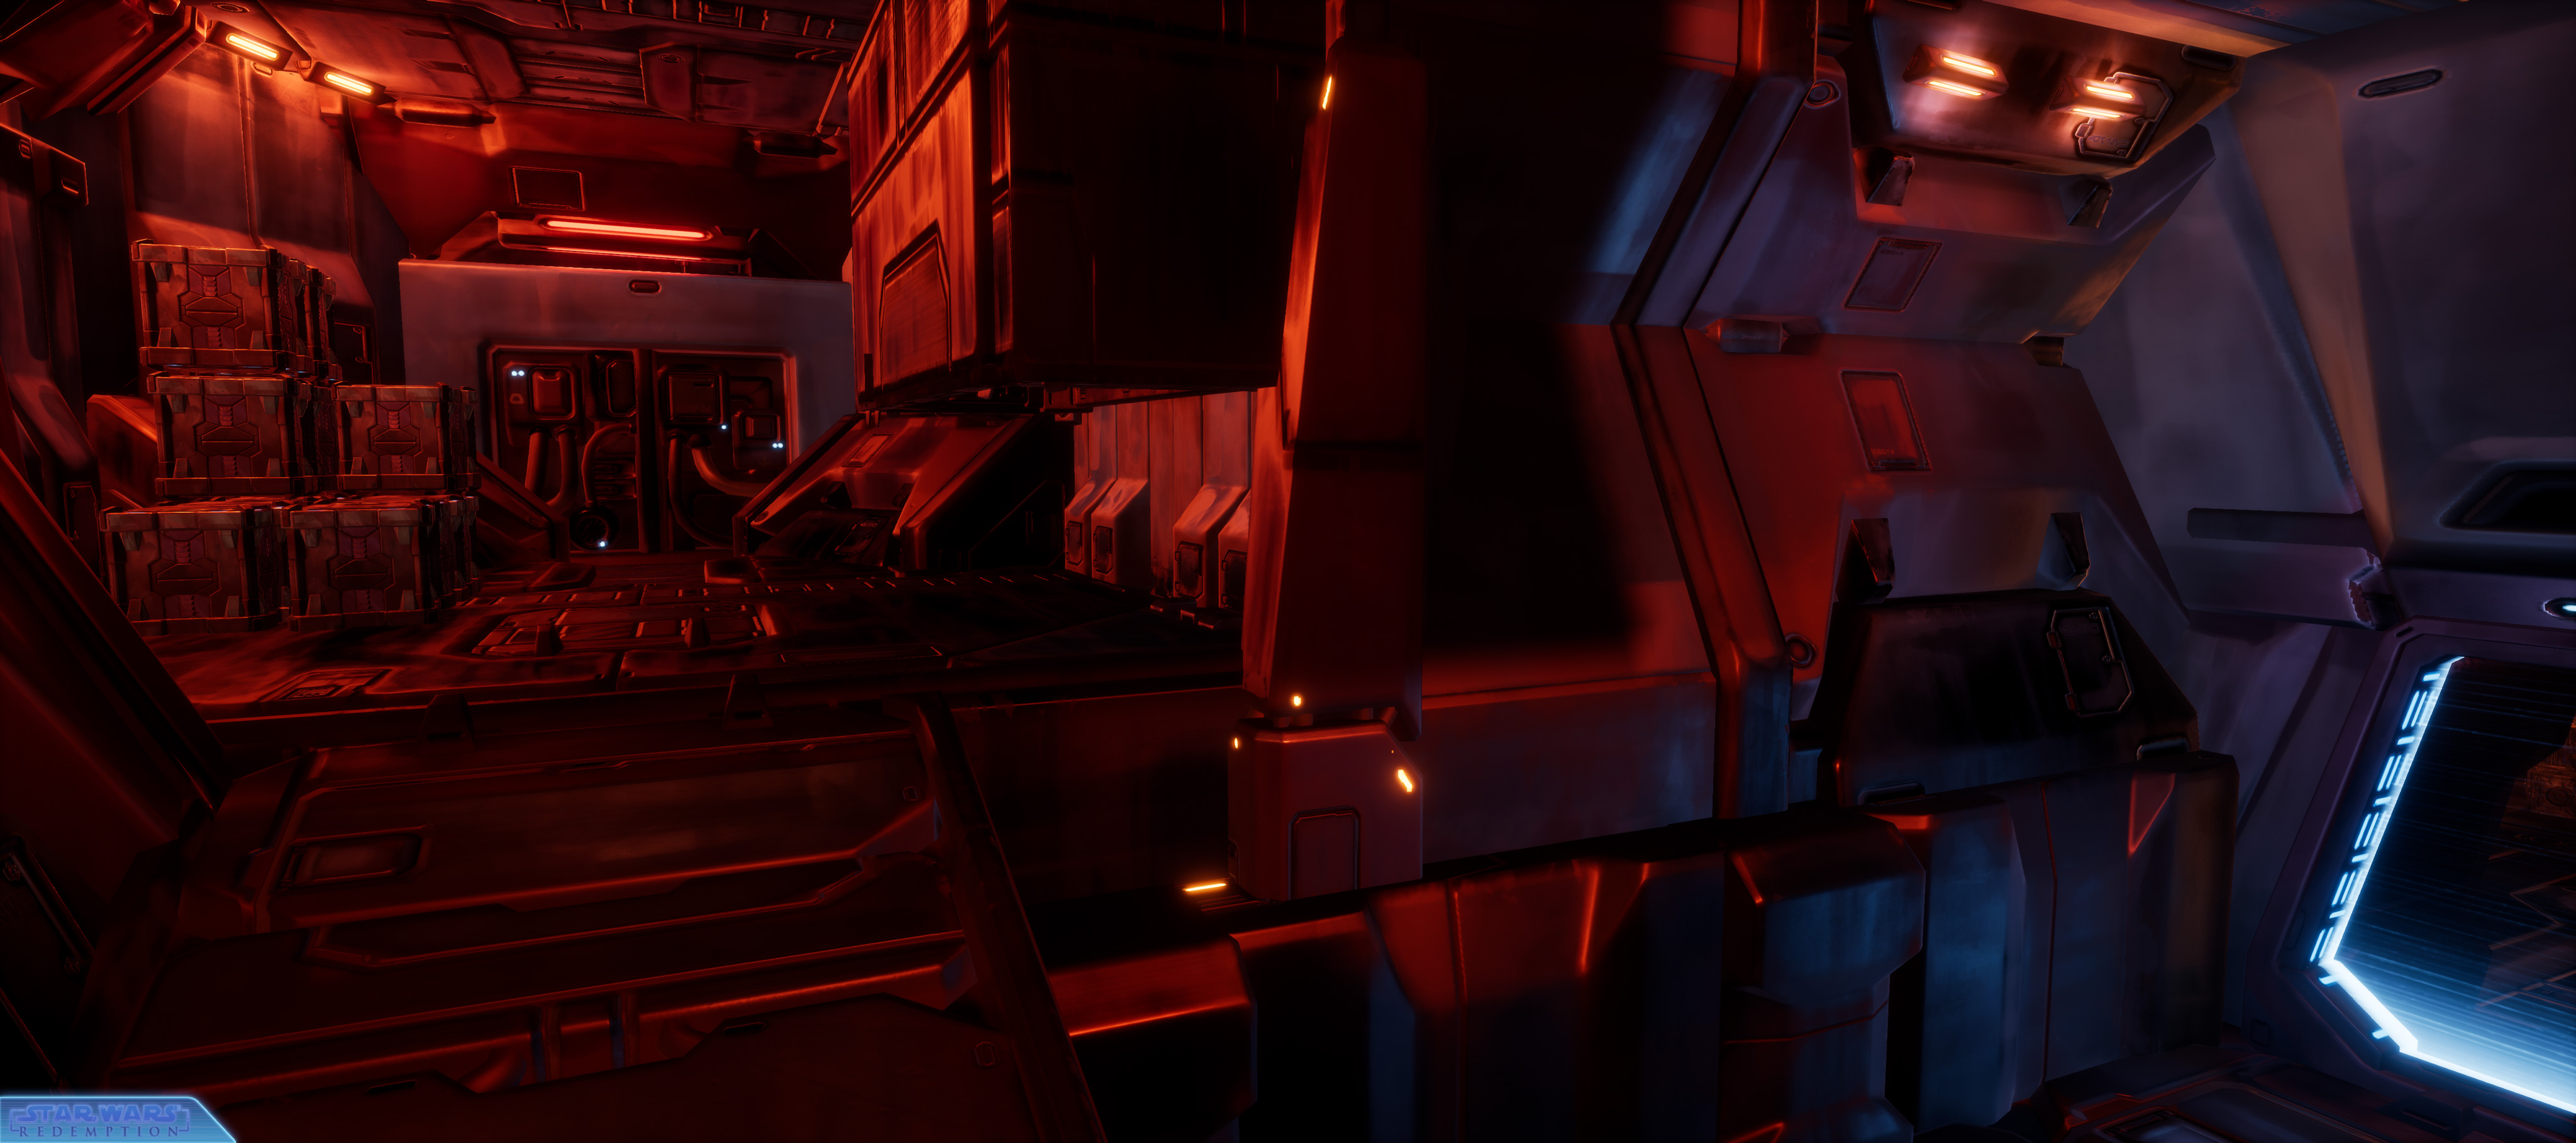
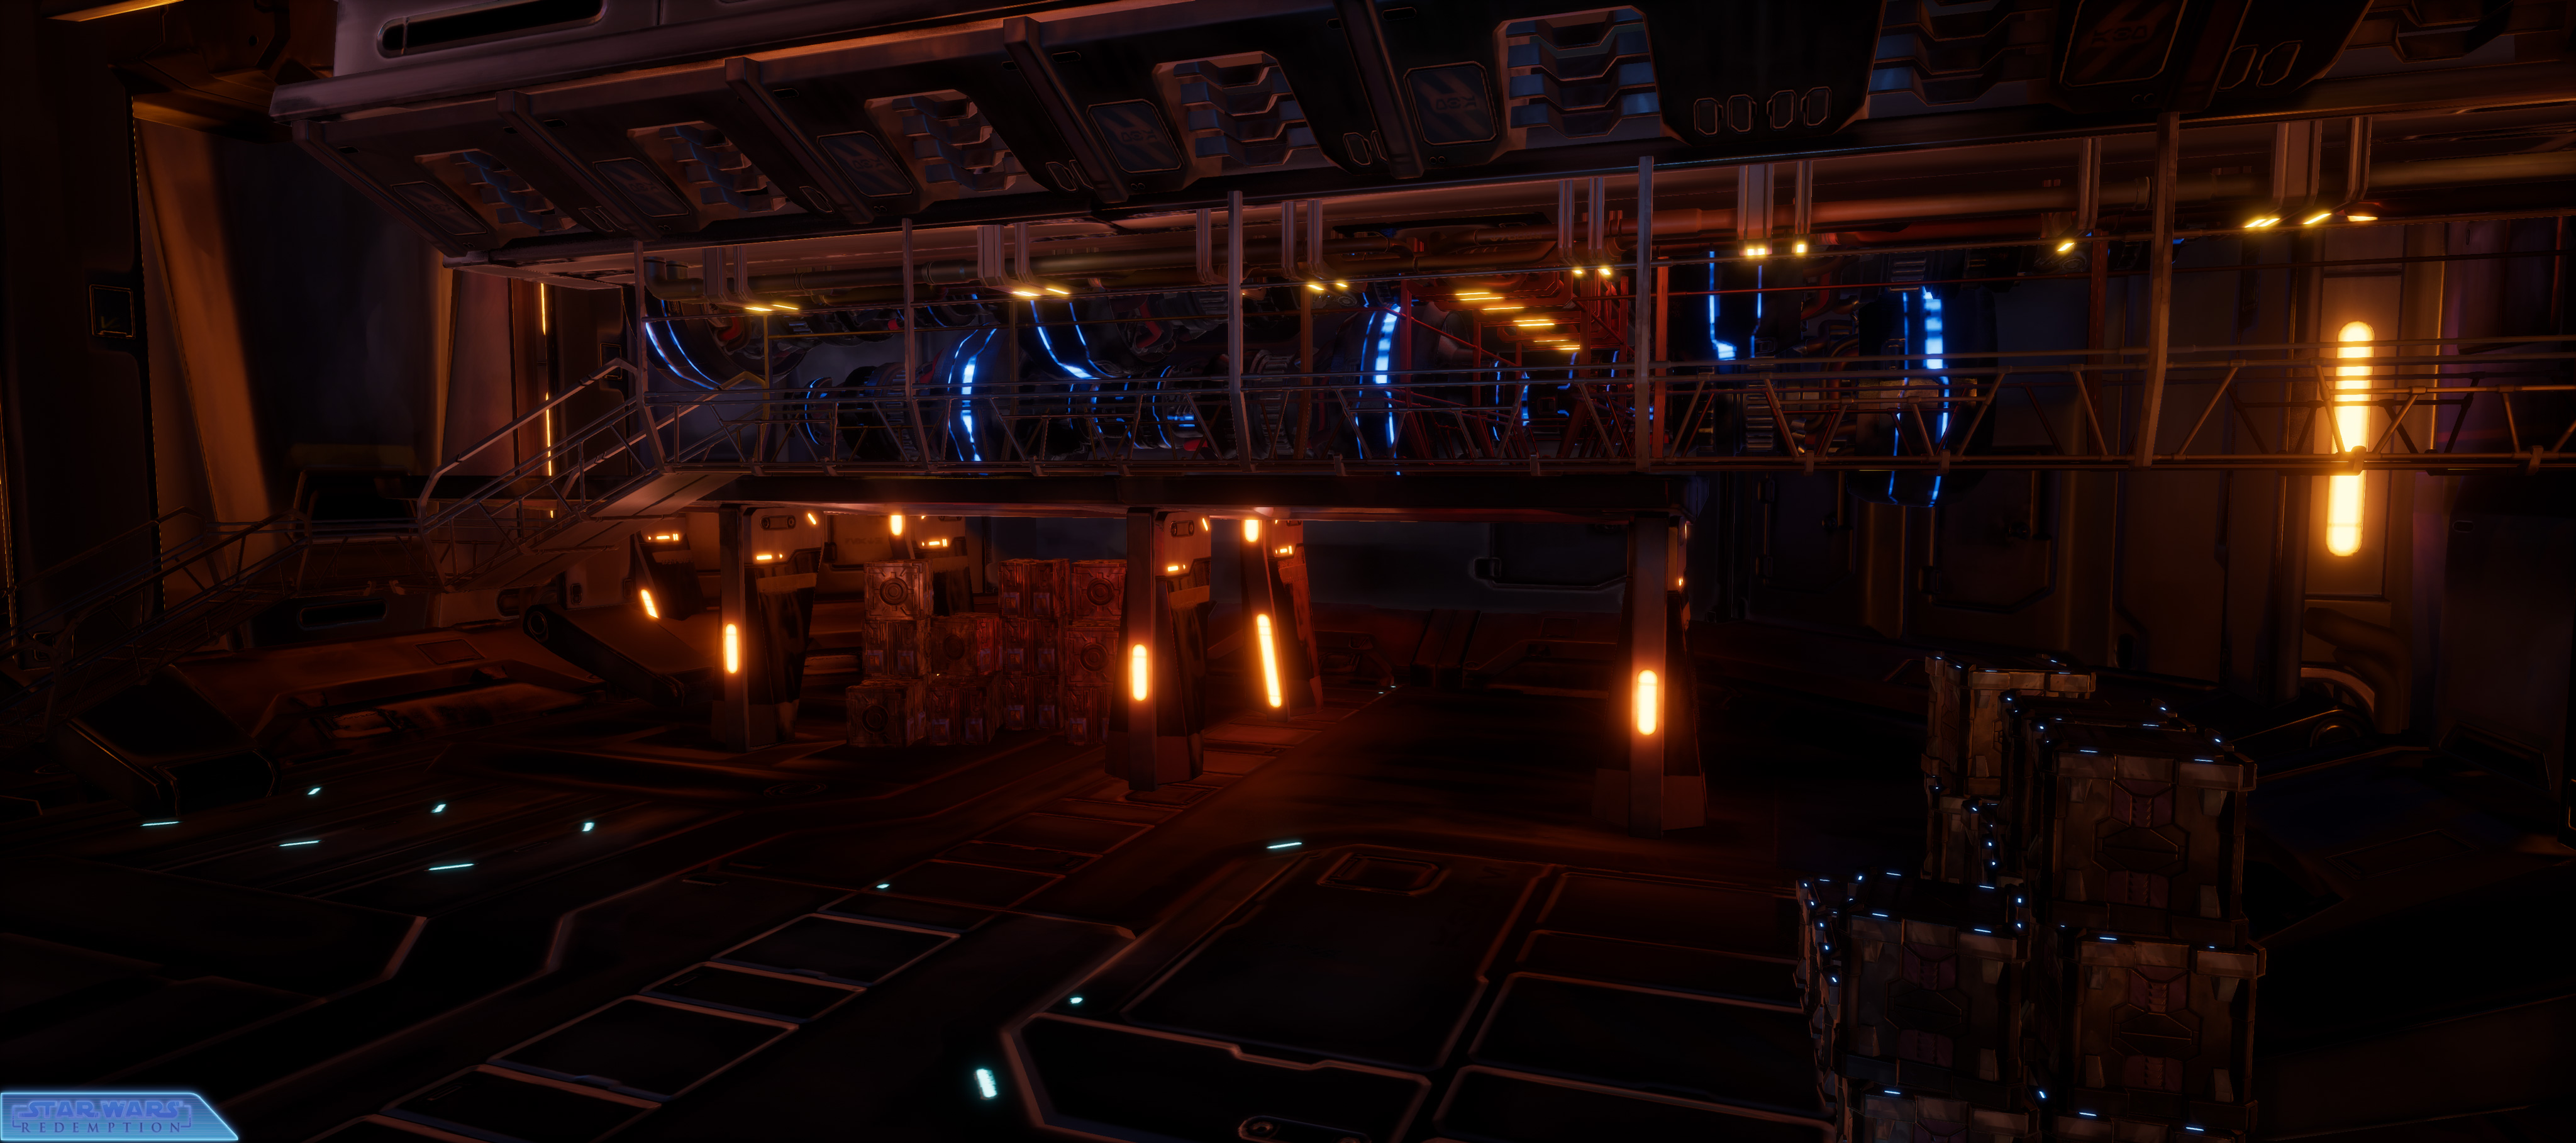
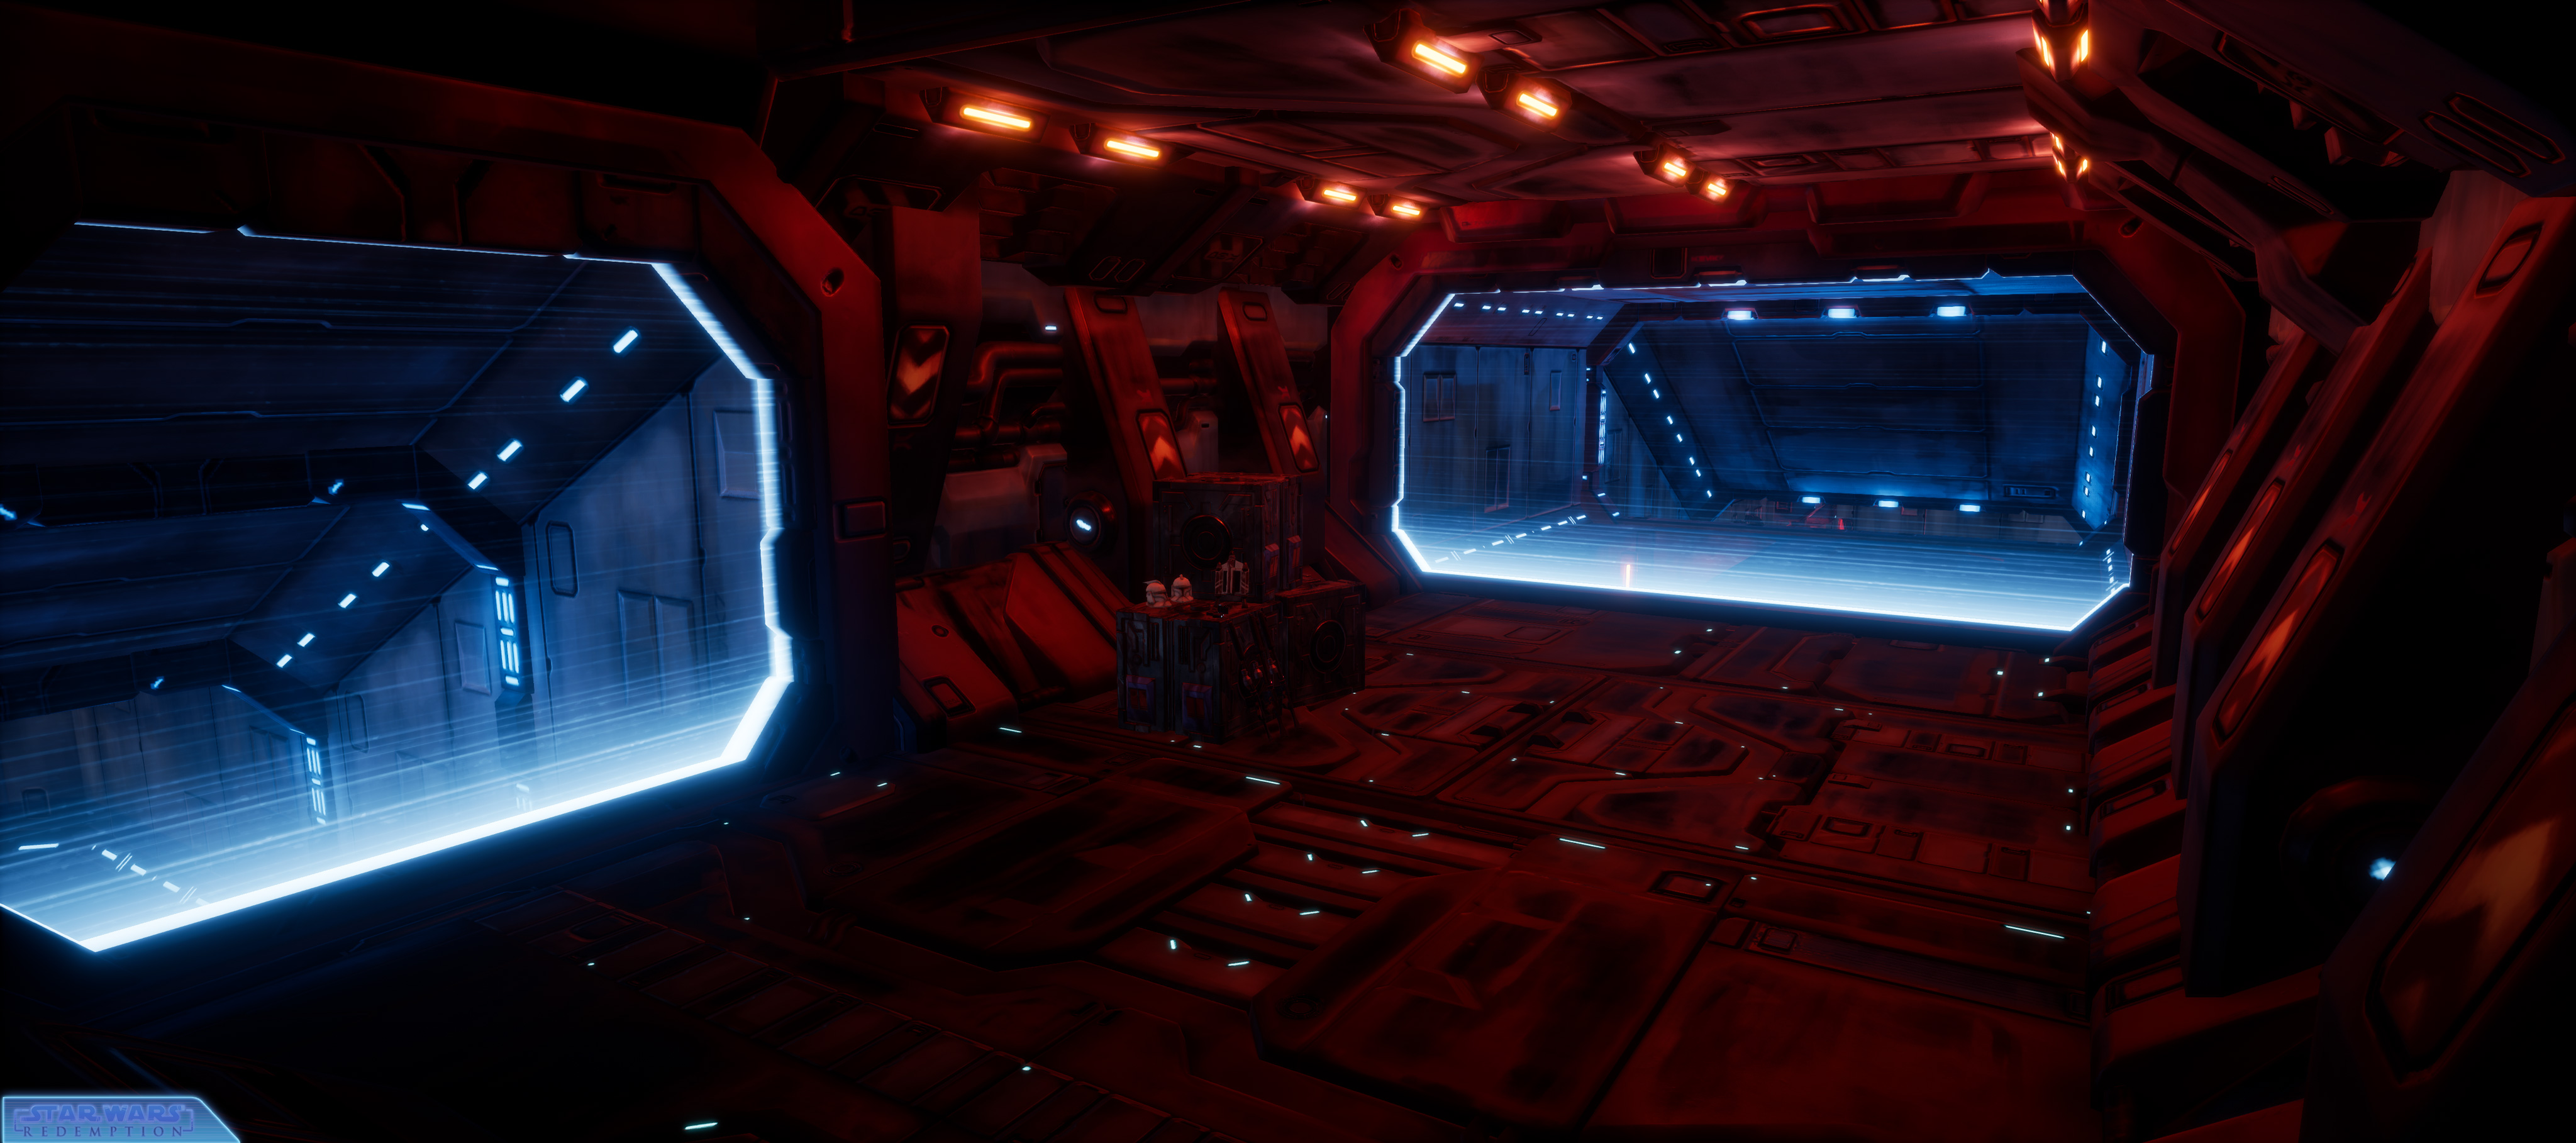
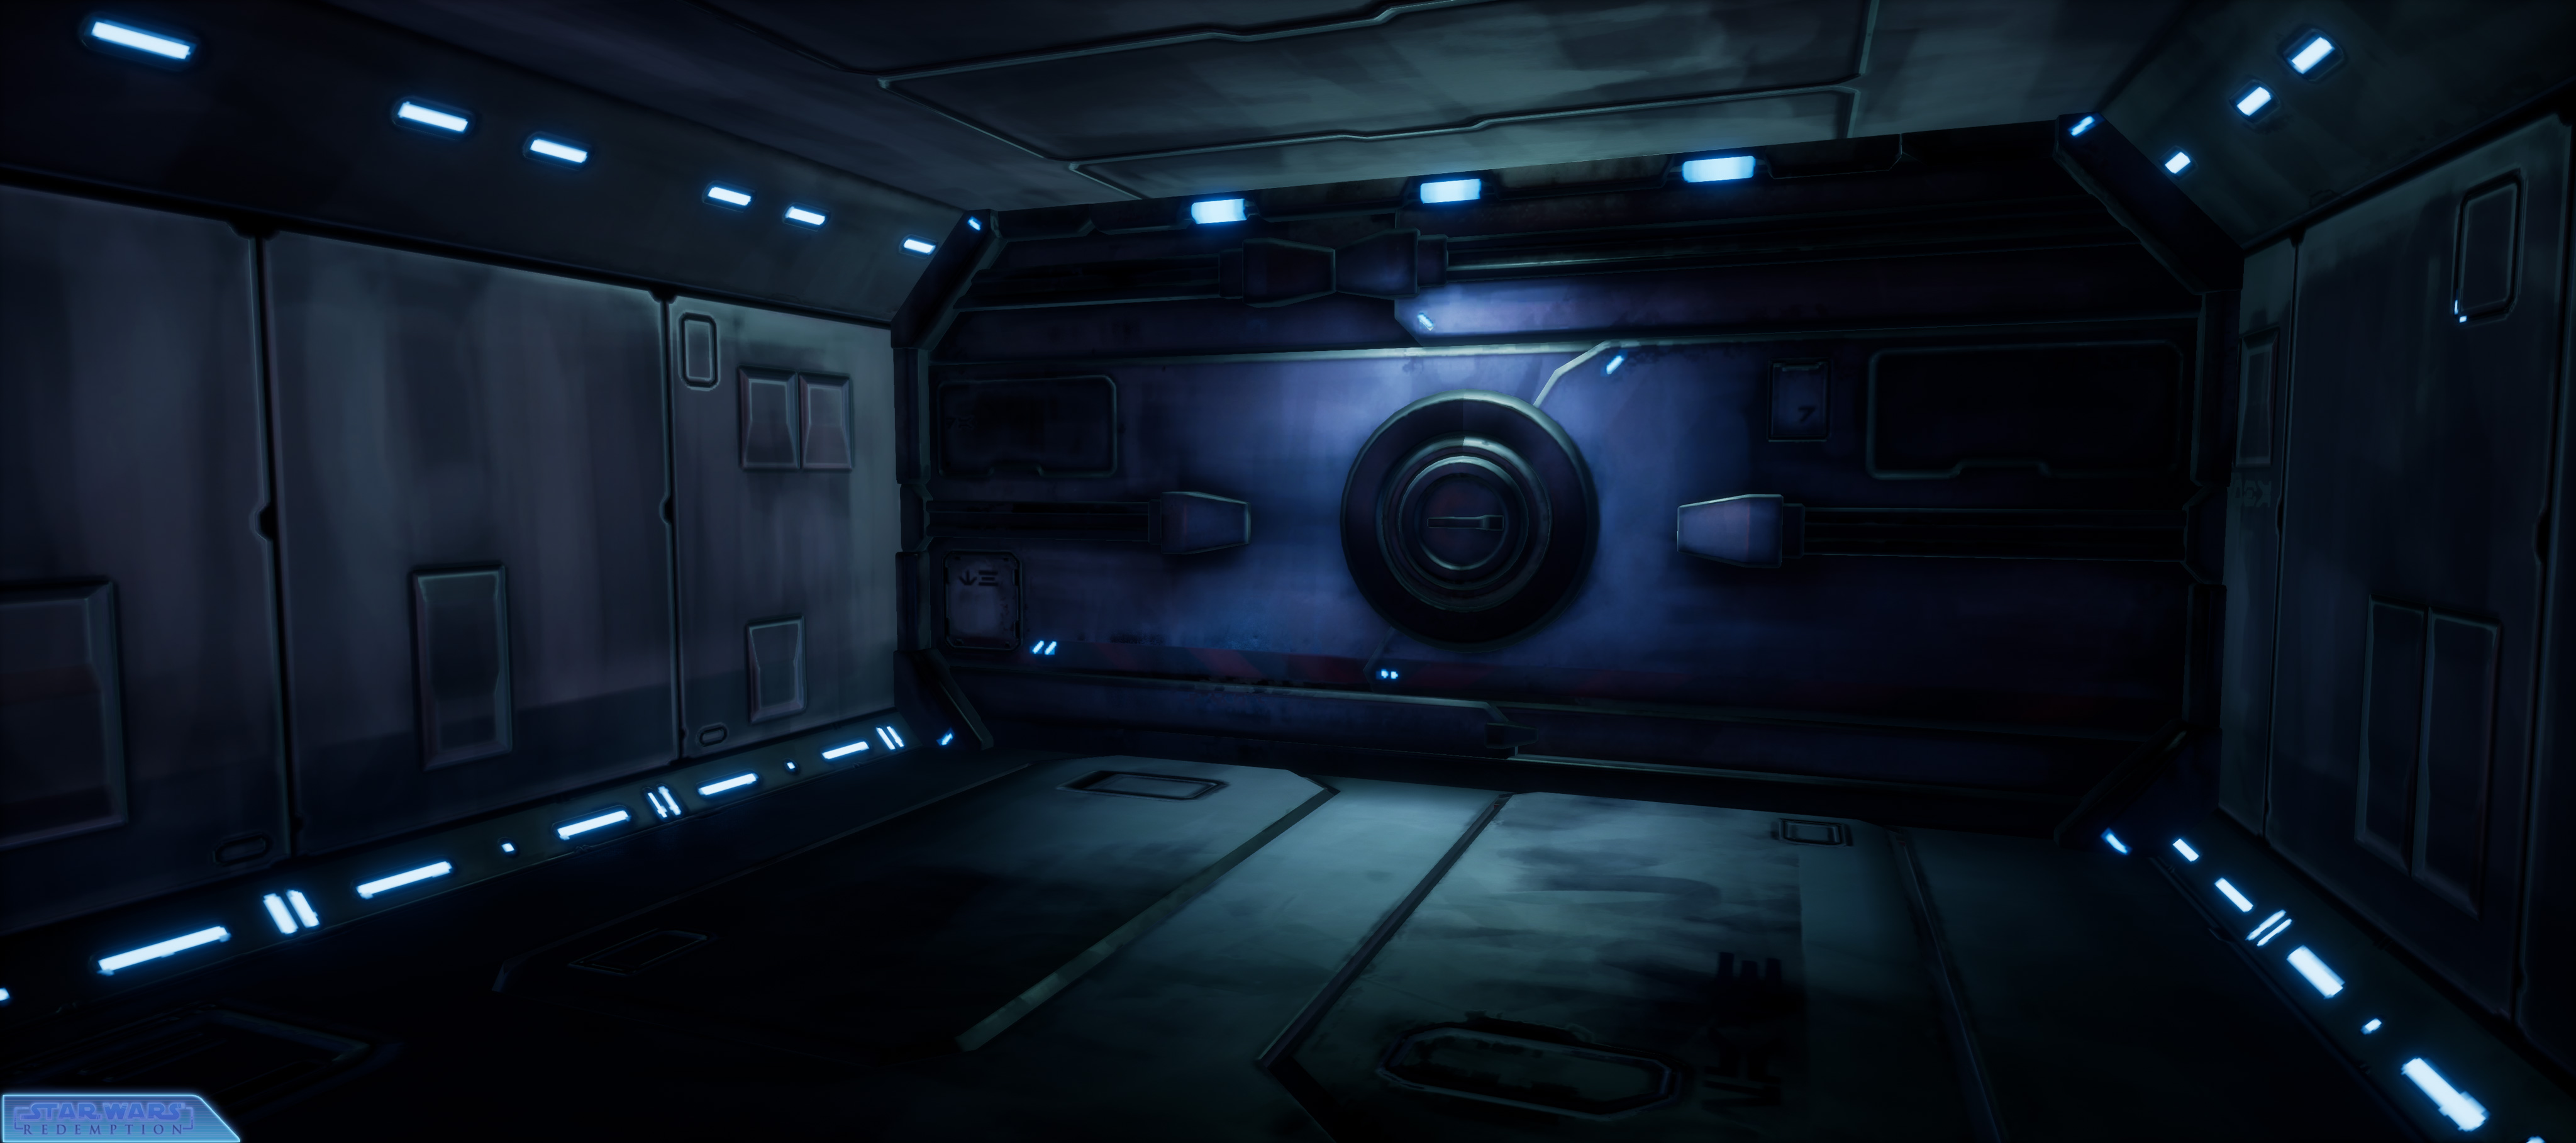
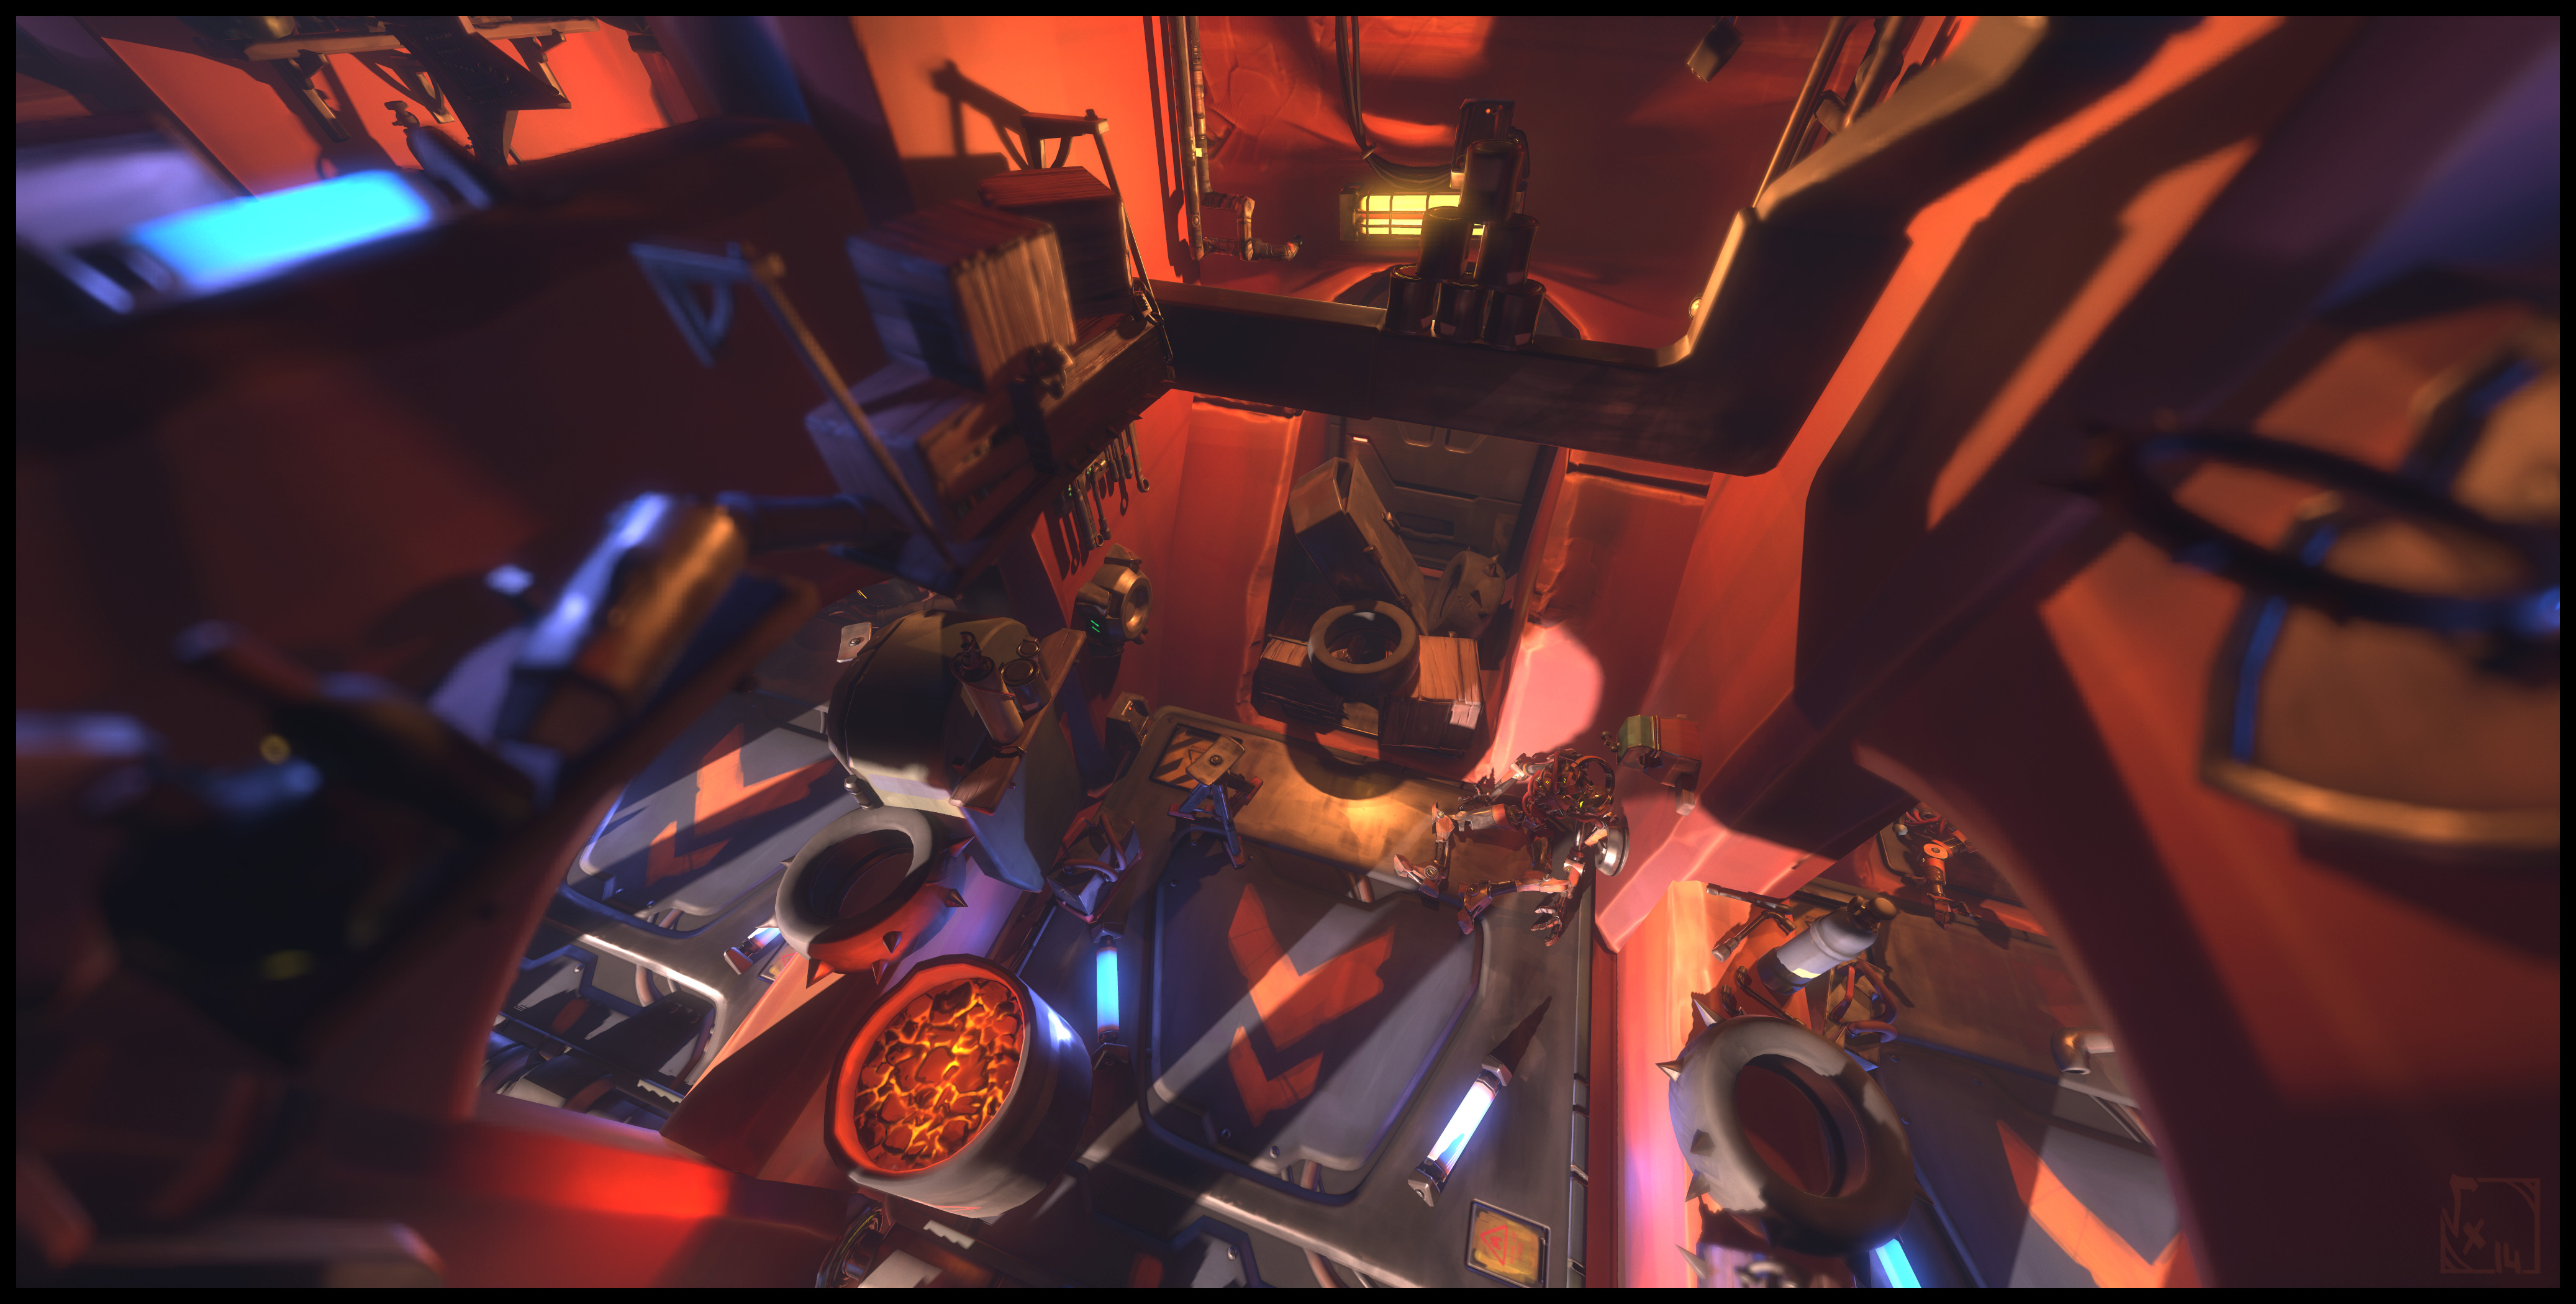
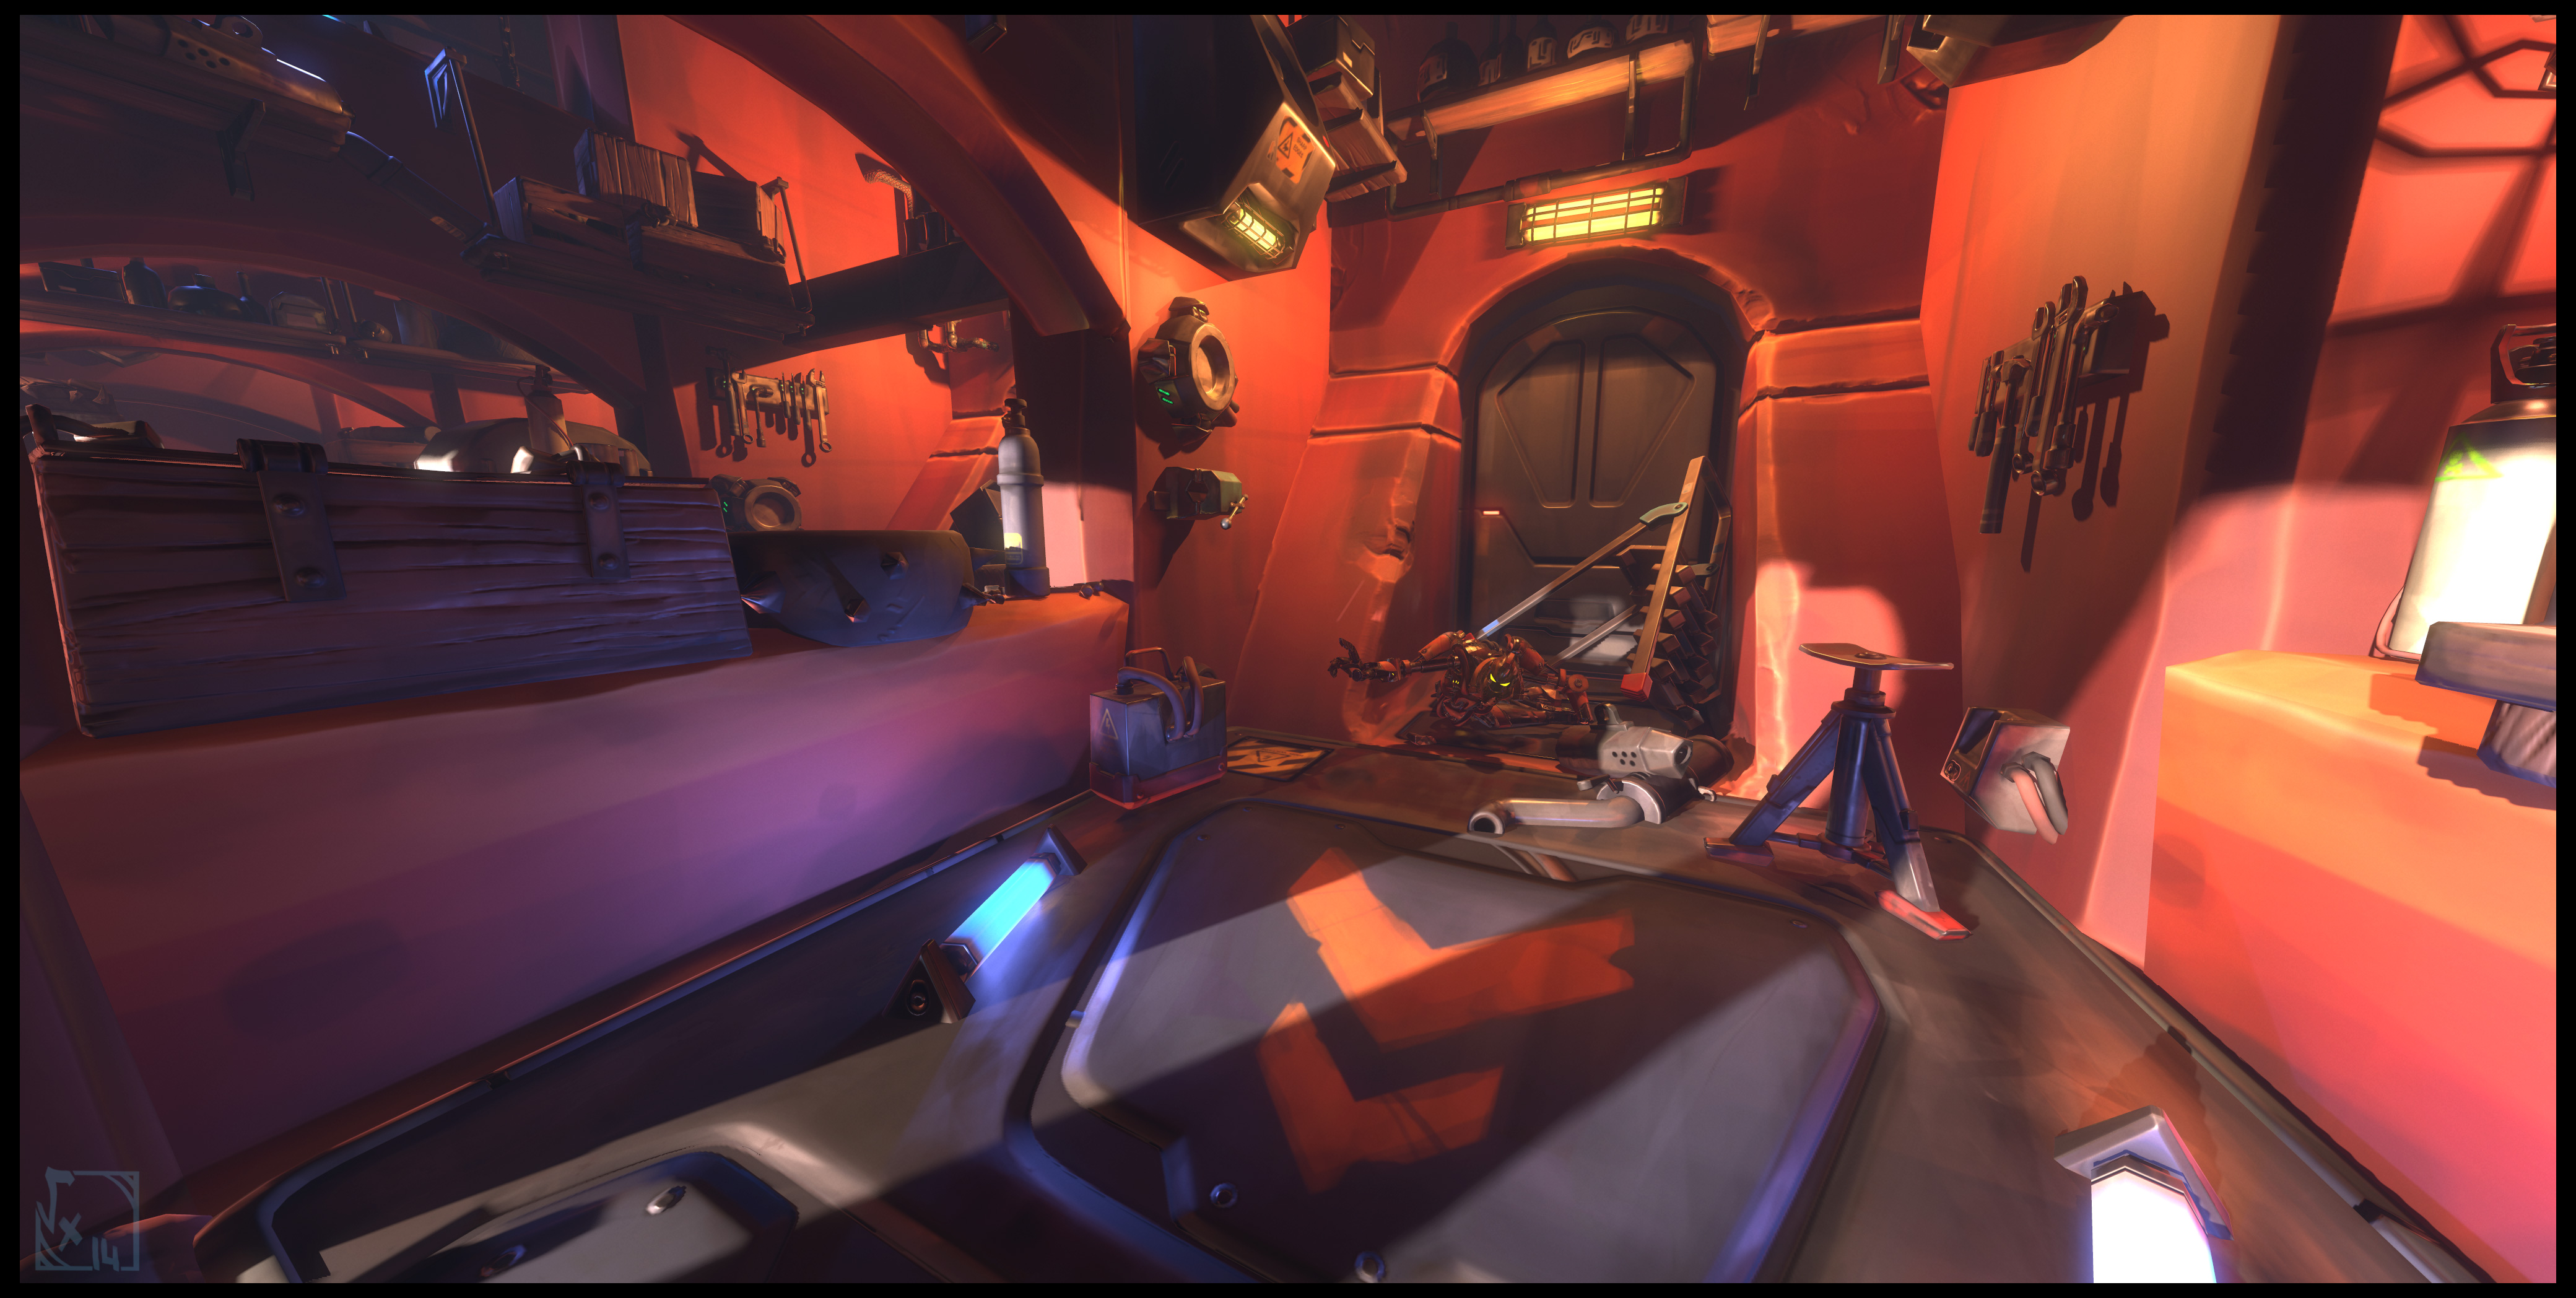
Some WIP level's screenshots =) Every texture was made with 100 % 3DCoat !

-
2
-
 1
1
-
-
I really like how the Max/Blend height works, but unfortunately if does only "mask" stroke's height, not color/roughness/metalness, which could be super useful ! Plus having this option on layer blending's clip mask could be great =)
I personally use it a lot when I use 3DCoat, as I use it mostly for texturing. Especially on tile plane which is excellent for making handpainted/stylized tiling maps. -
Thanks =)
-
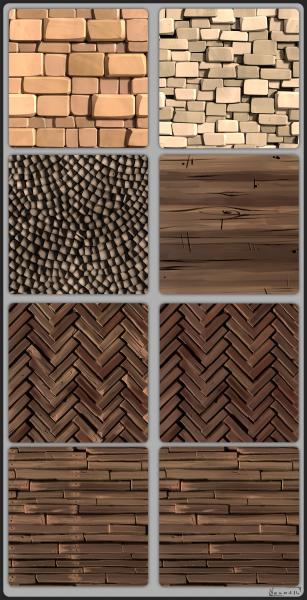
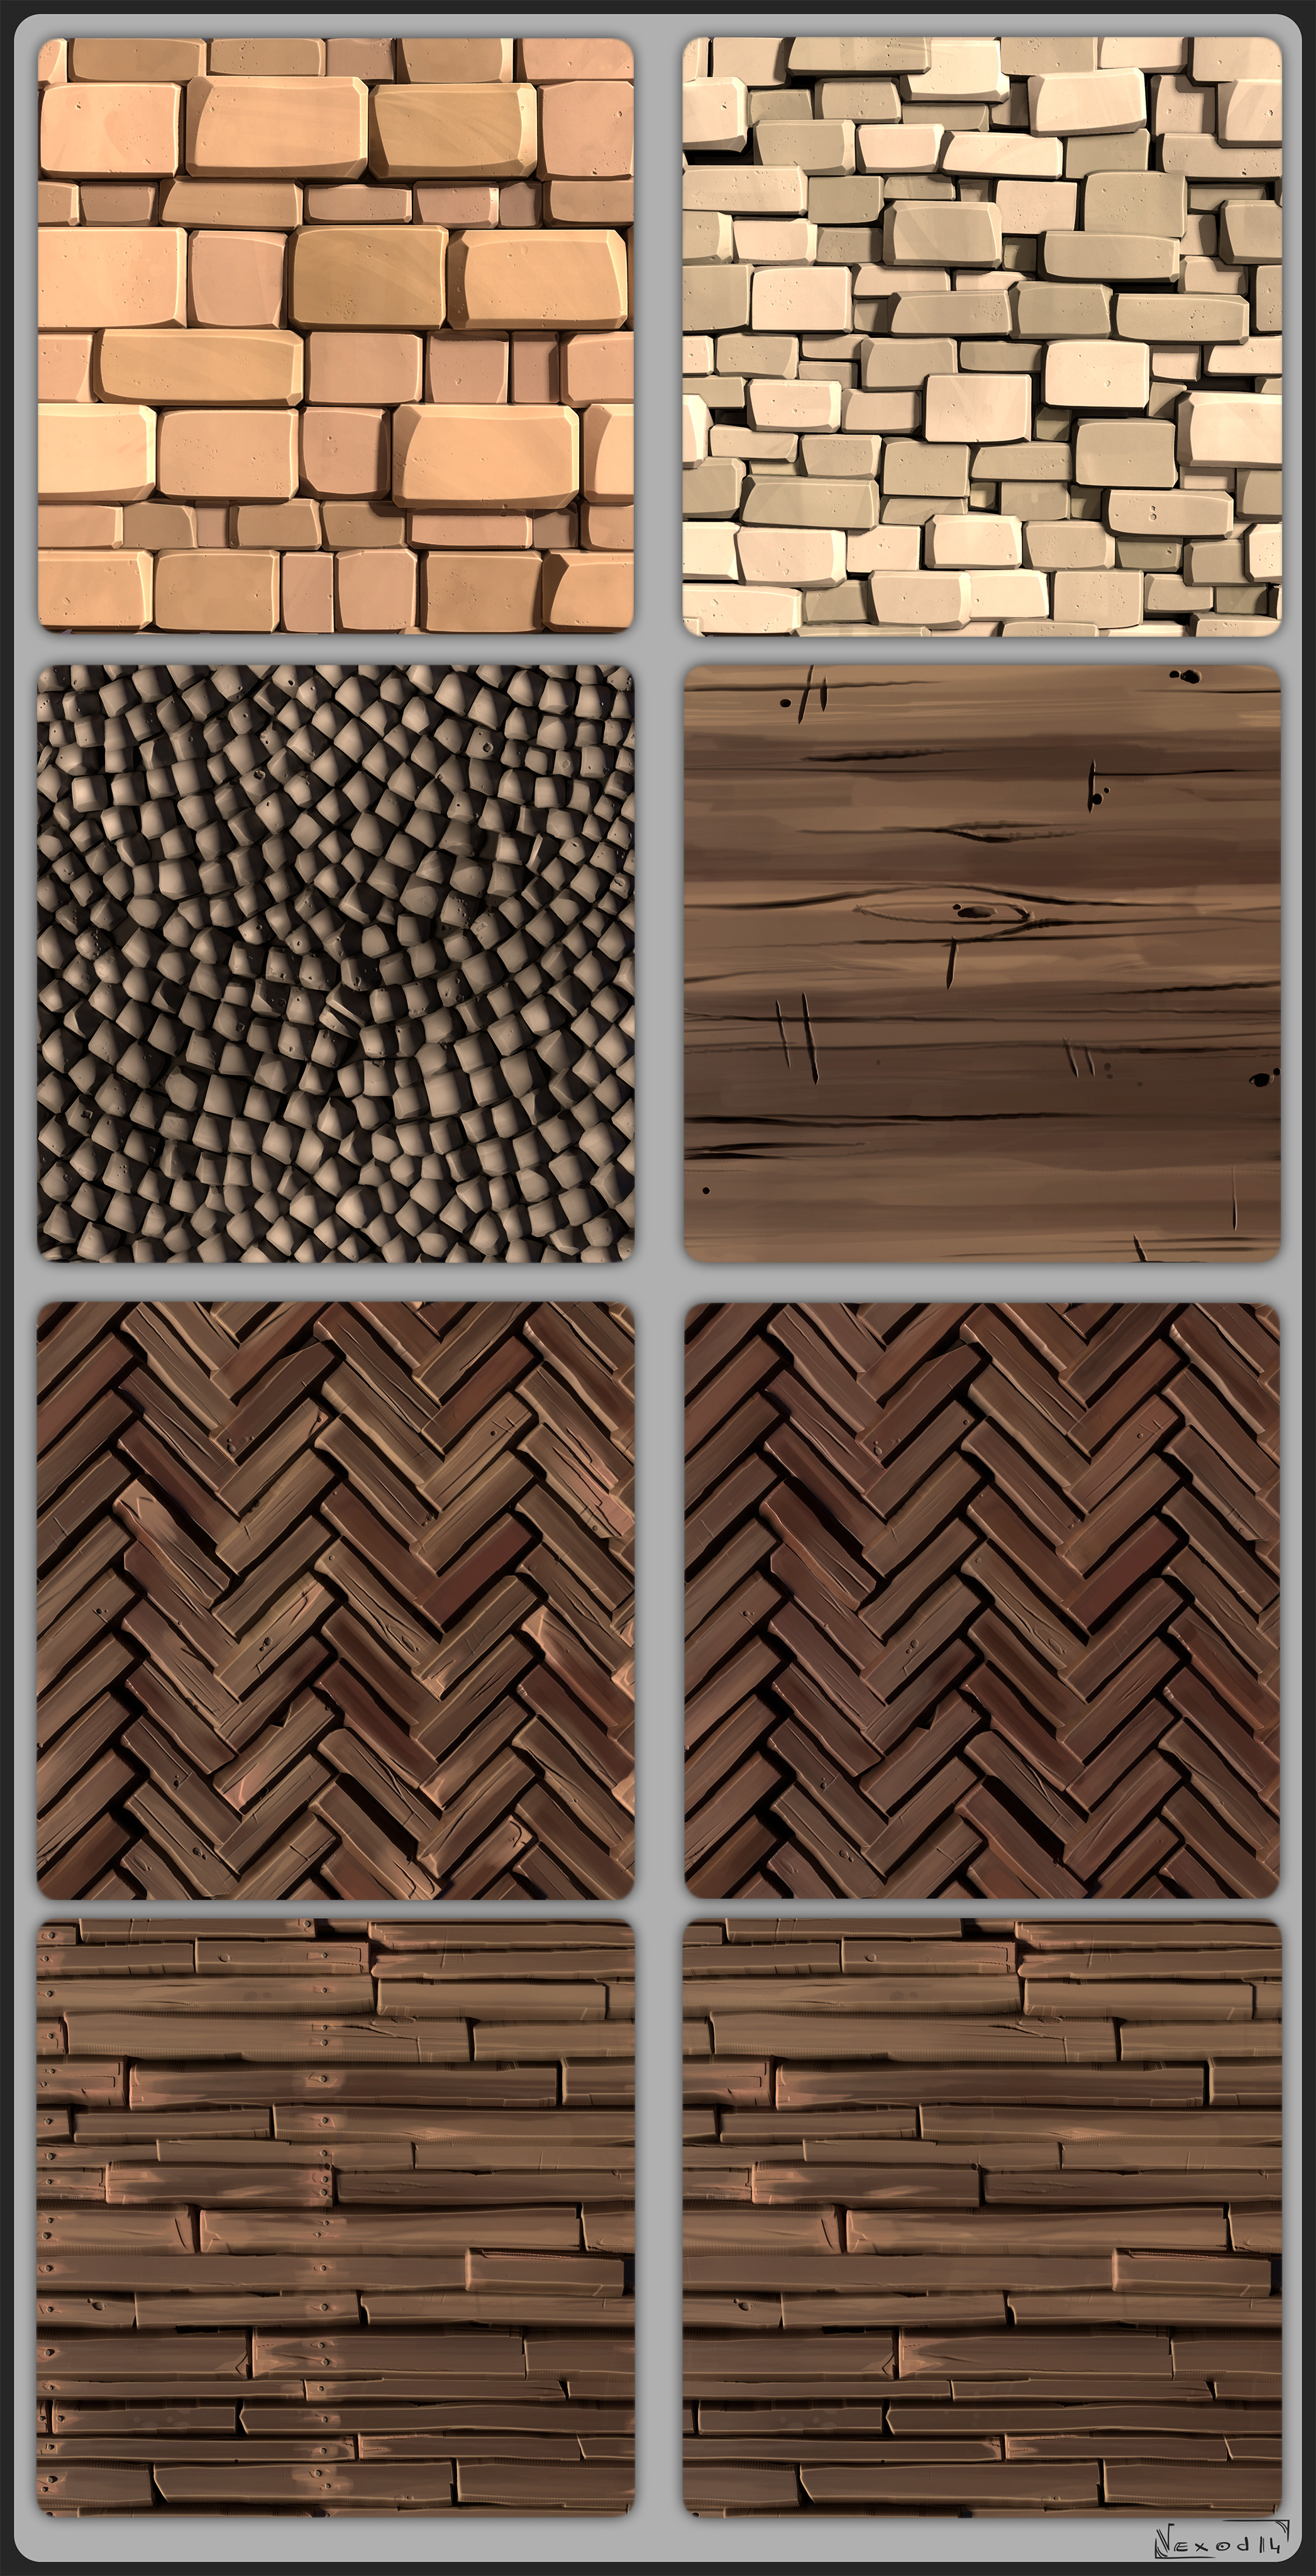
Some test I made using 100% 3D-Coat, well, except for one brick's sculpt (ZBrush) but the wall itself was done on 3DCoat. The Tile Plane is an excellent tool, I love it but I'd love that the issue with curvature/AO bake could be fixed one day, I can manually edit both maps on photoshop but a stable bake could save hours of painful editing and unleash our creativity =)
-
4
-
-
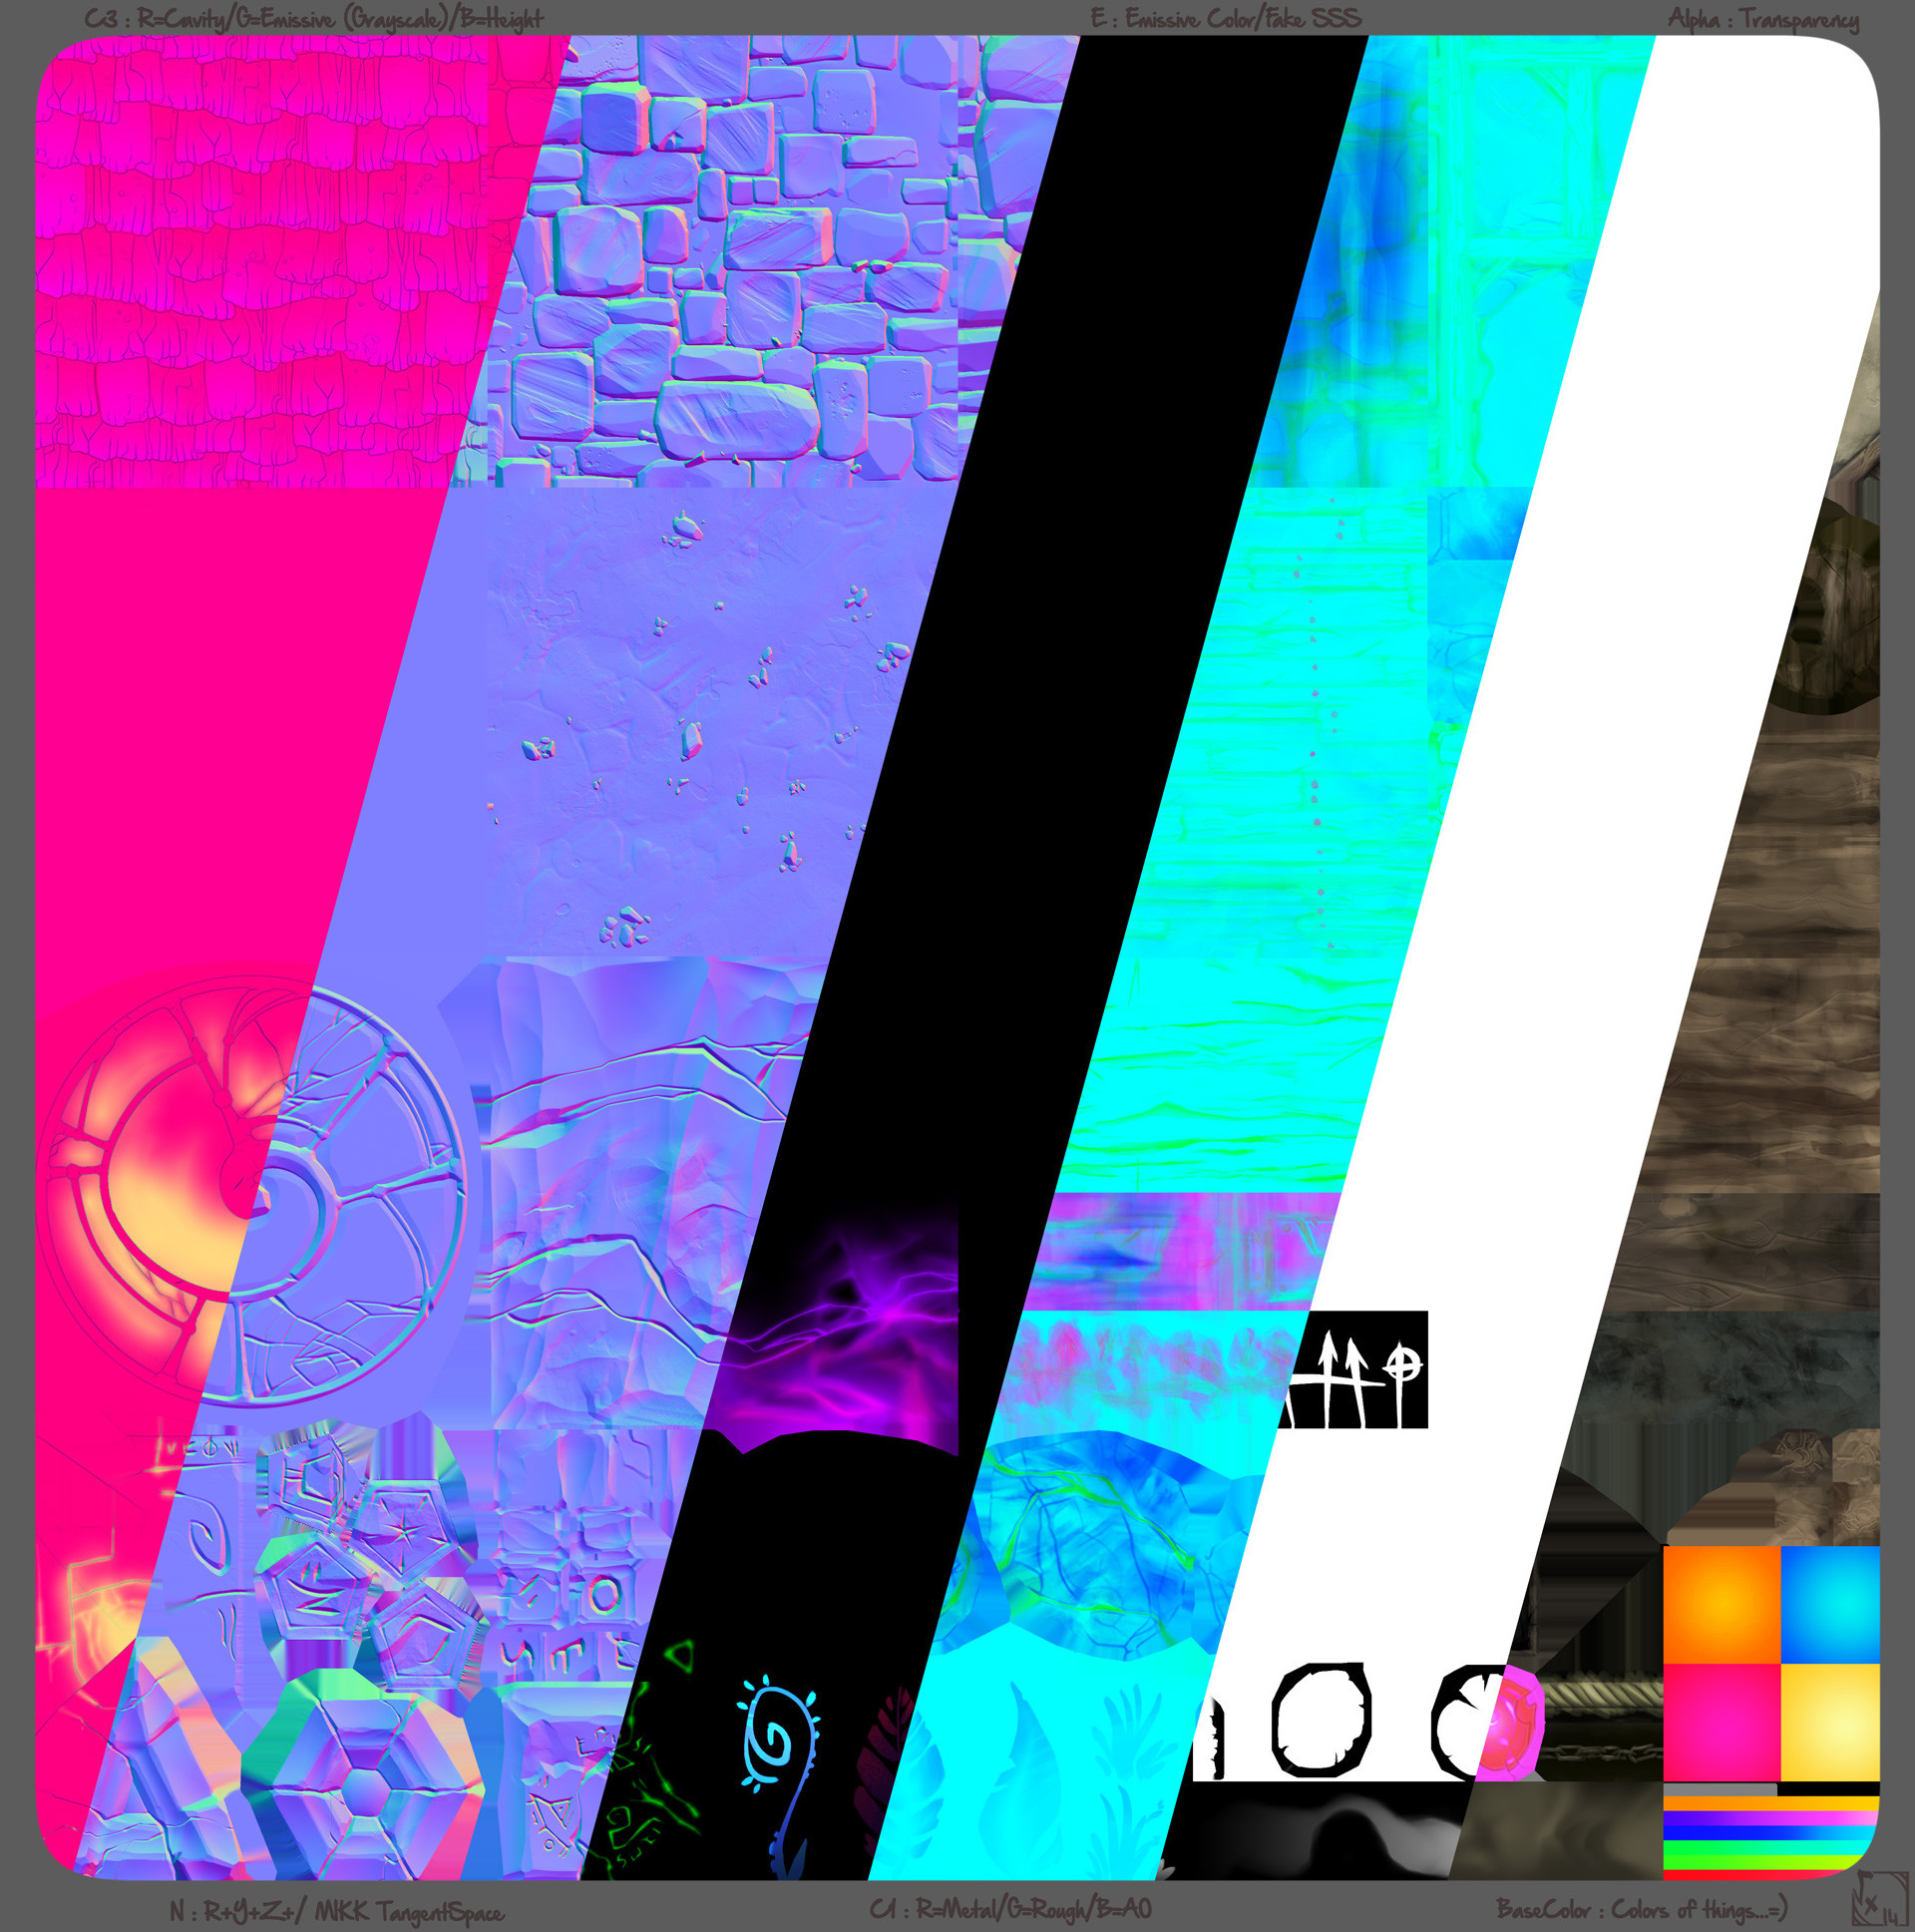
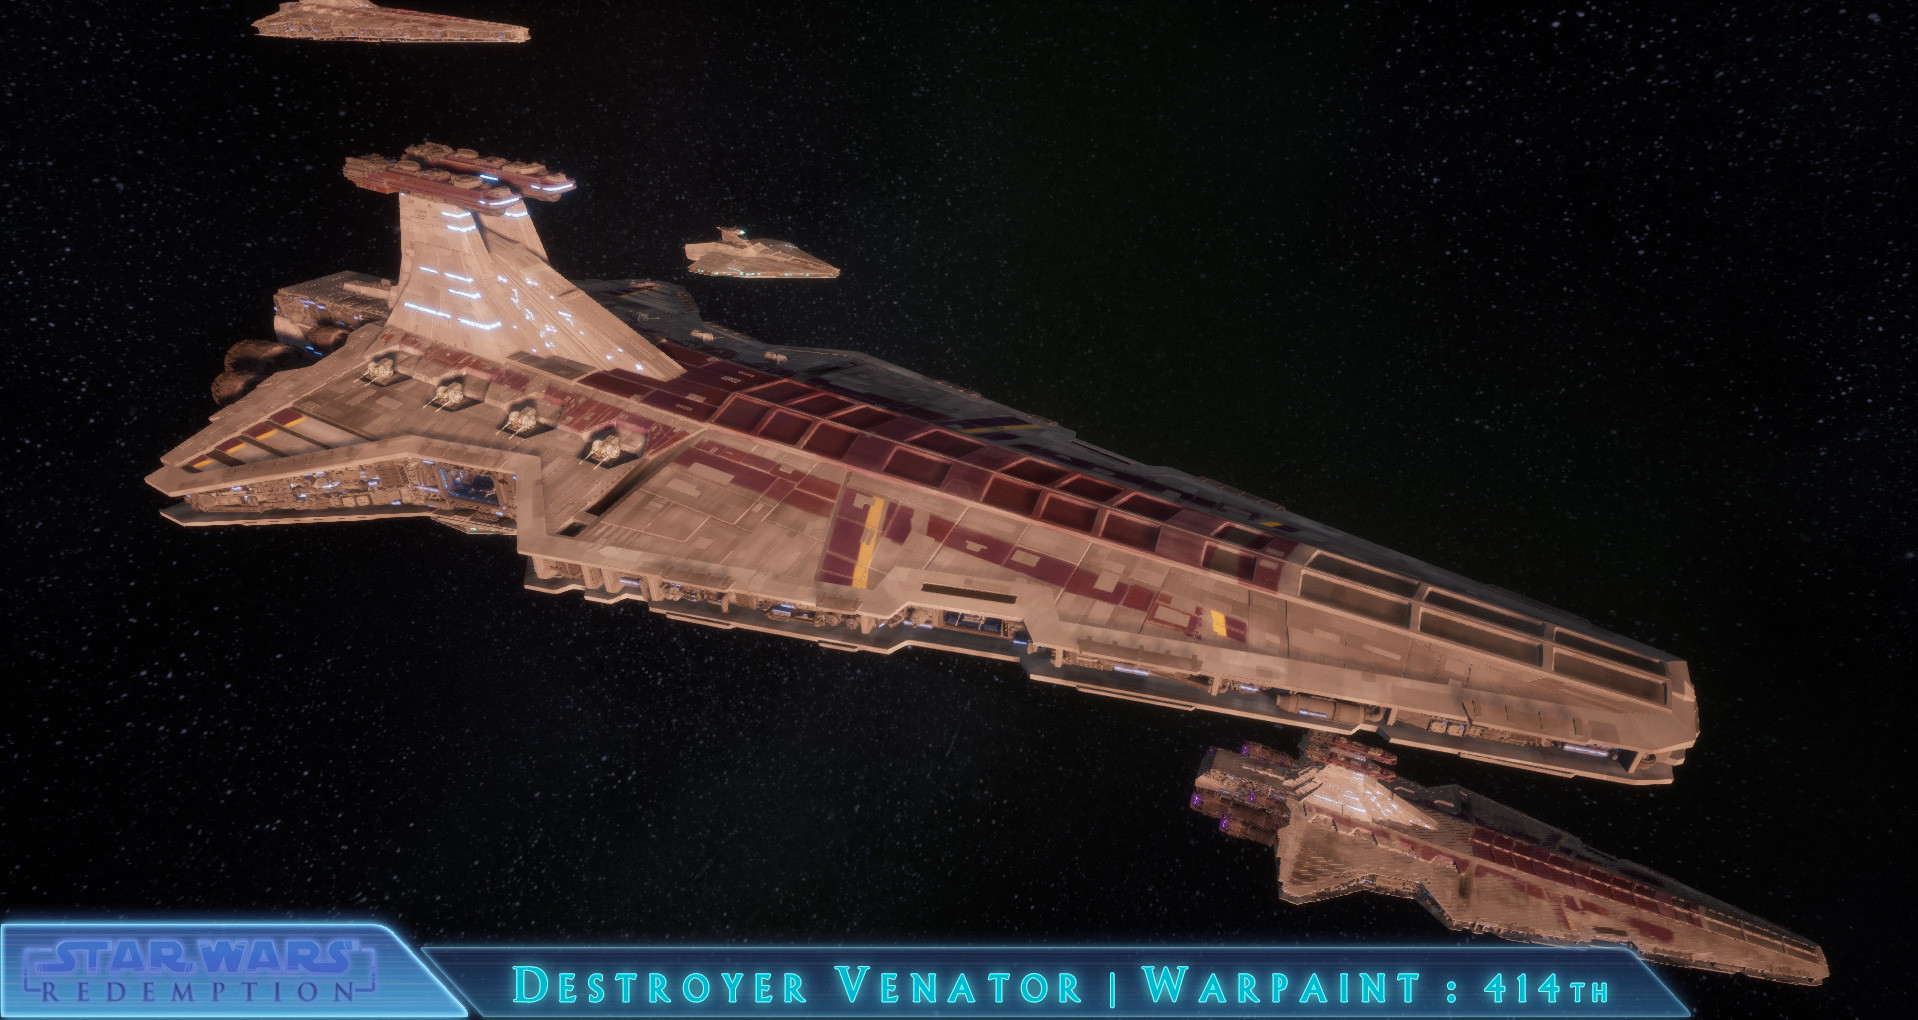
Star wars - Redemption | SmartMaterials (Overview)
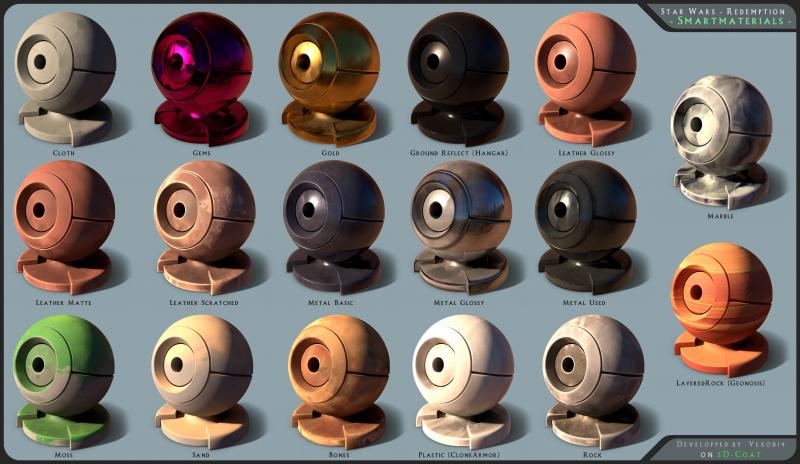
These materials are 100% handpainted and made on 3DCoat from A to Z (not all are rendered here btw).
I first draw several tileable "noise" I decided to call "Variators", but by hand so it's fully custom and fits to my art style, then I play with them in order to create these materials.
I used them on all stuff I had to texture during the last 2 years on several productions (not only StarWarsRedemption but TheBurningDescent VR too for example).
Would you be interested to buy them ?
-
2
-
-
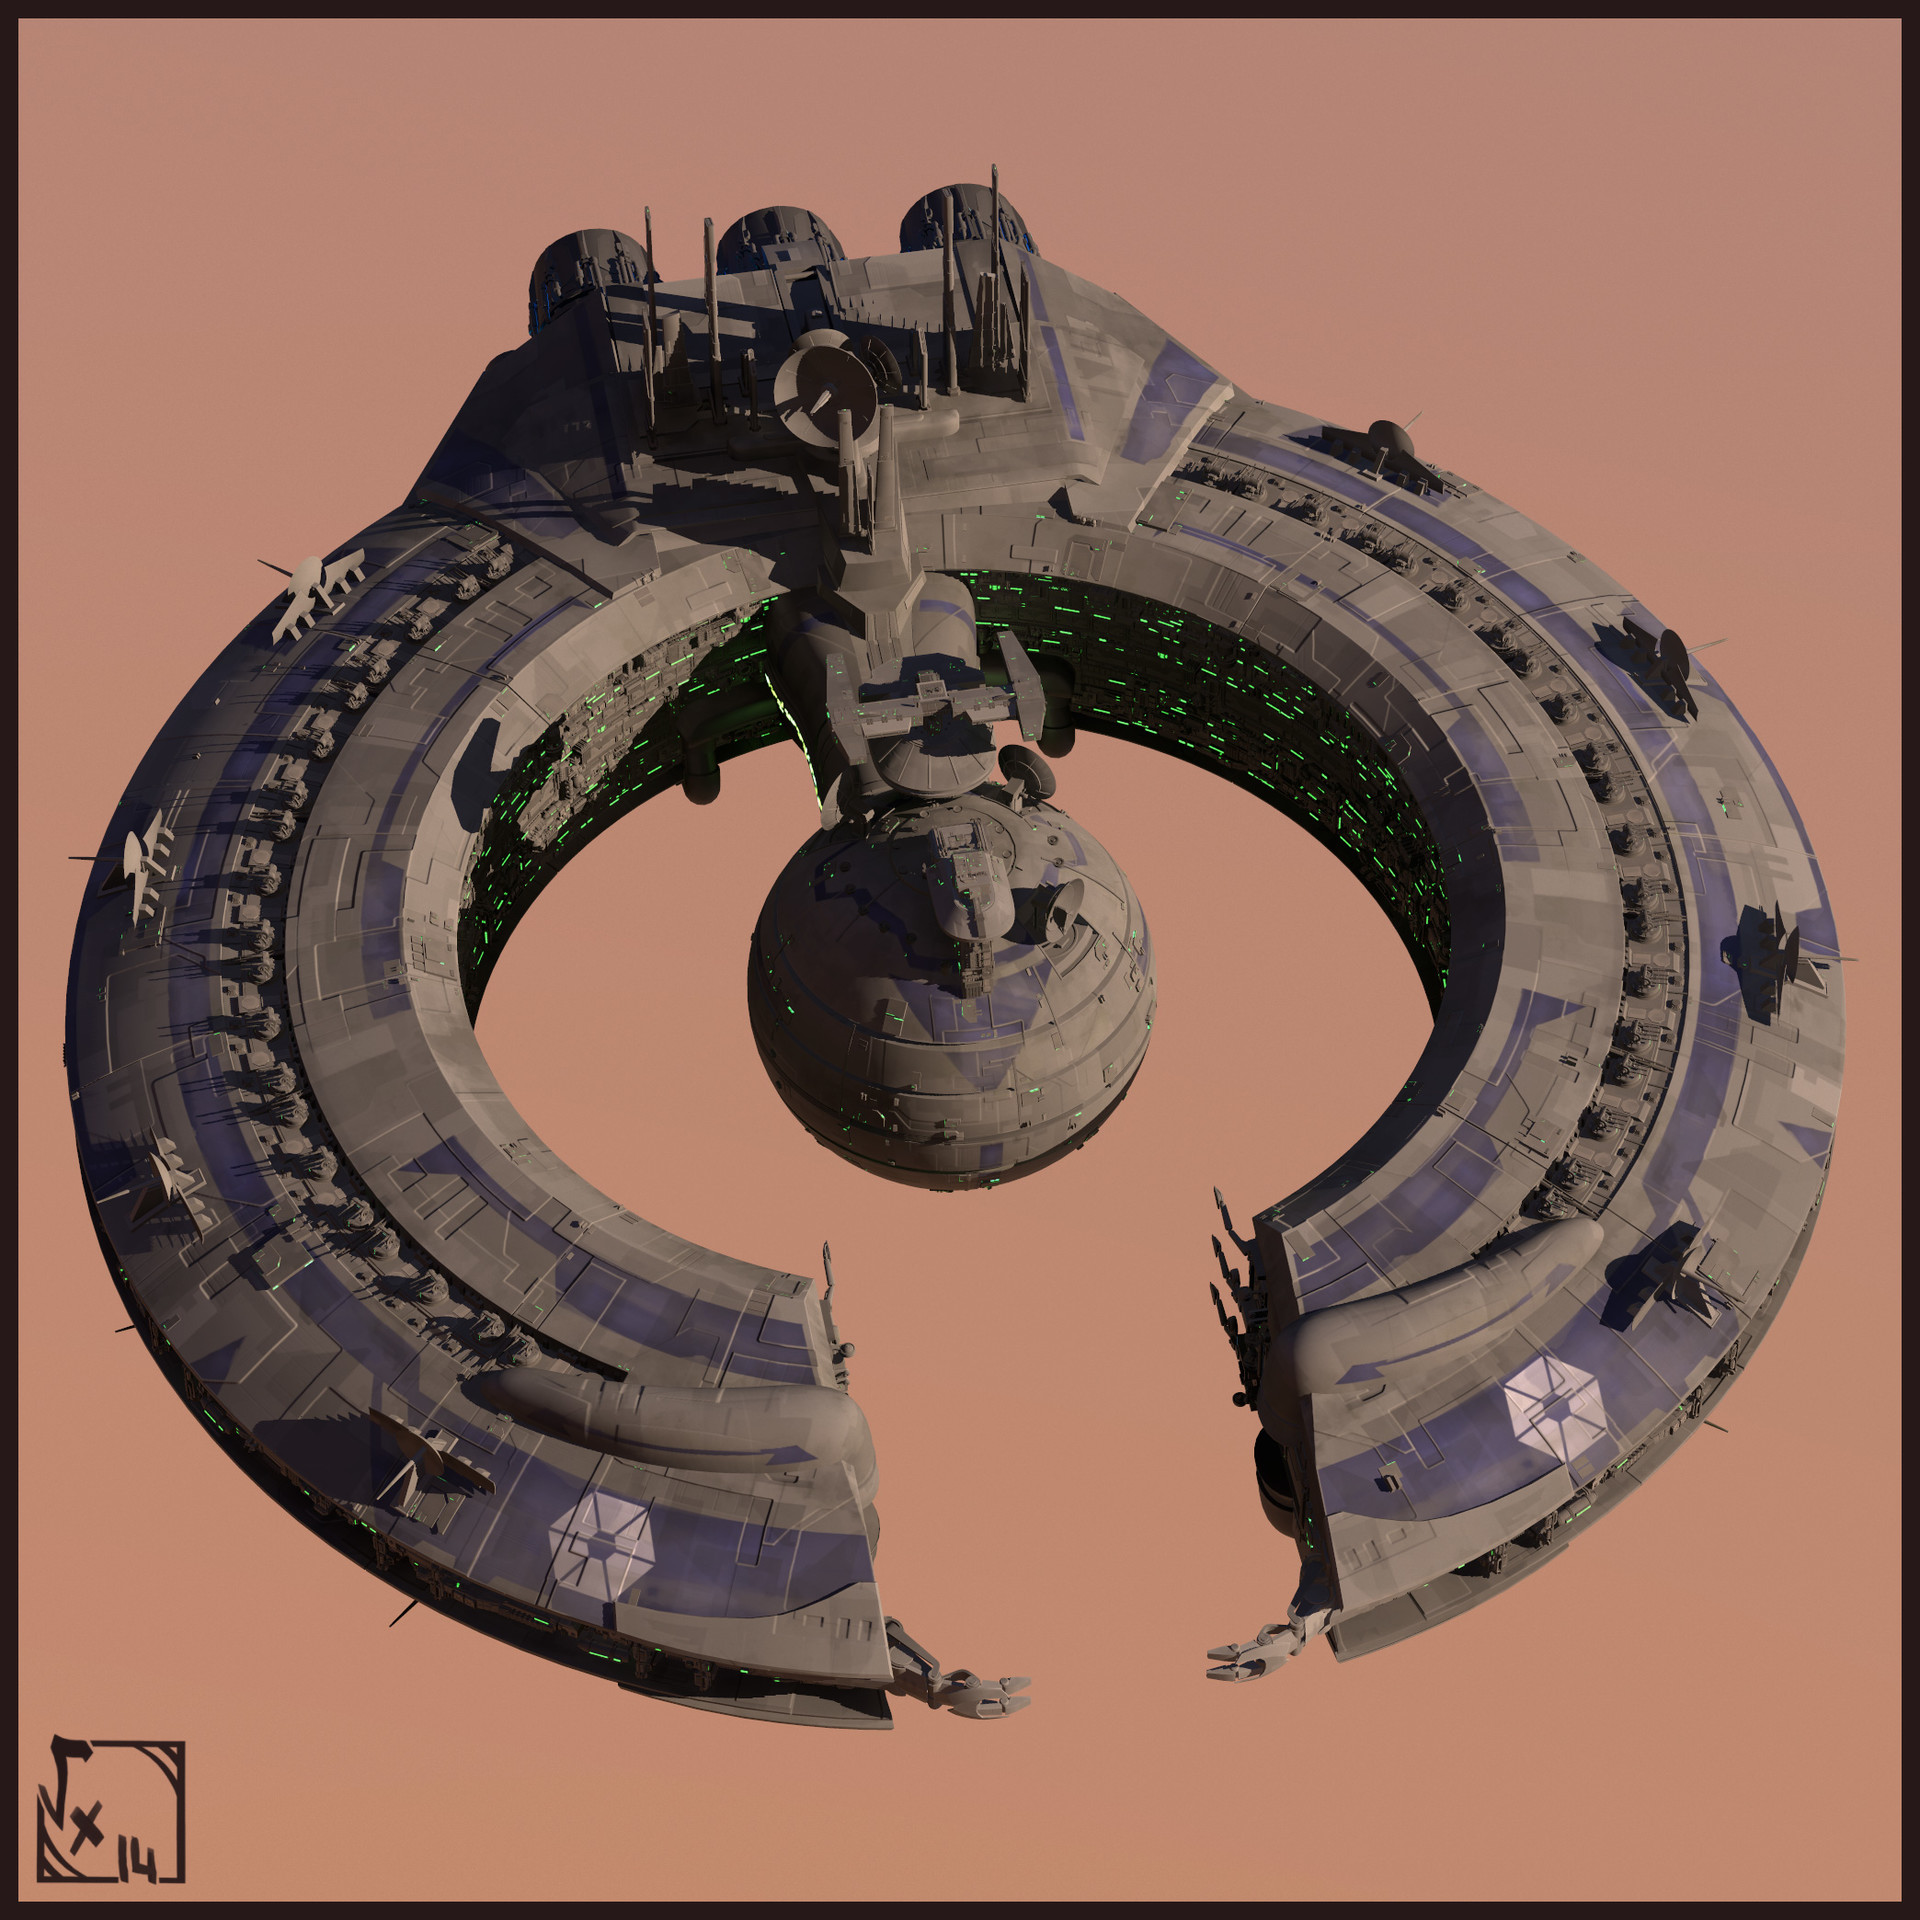
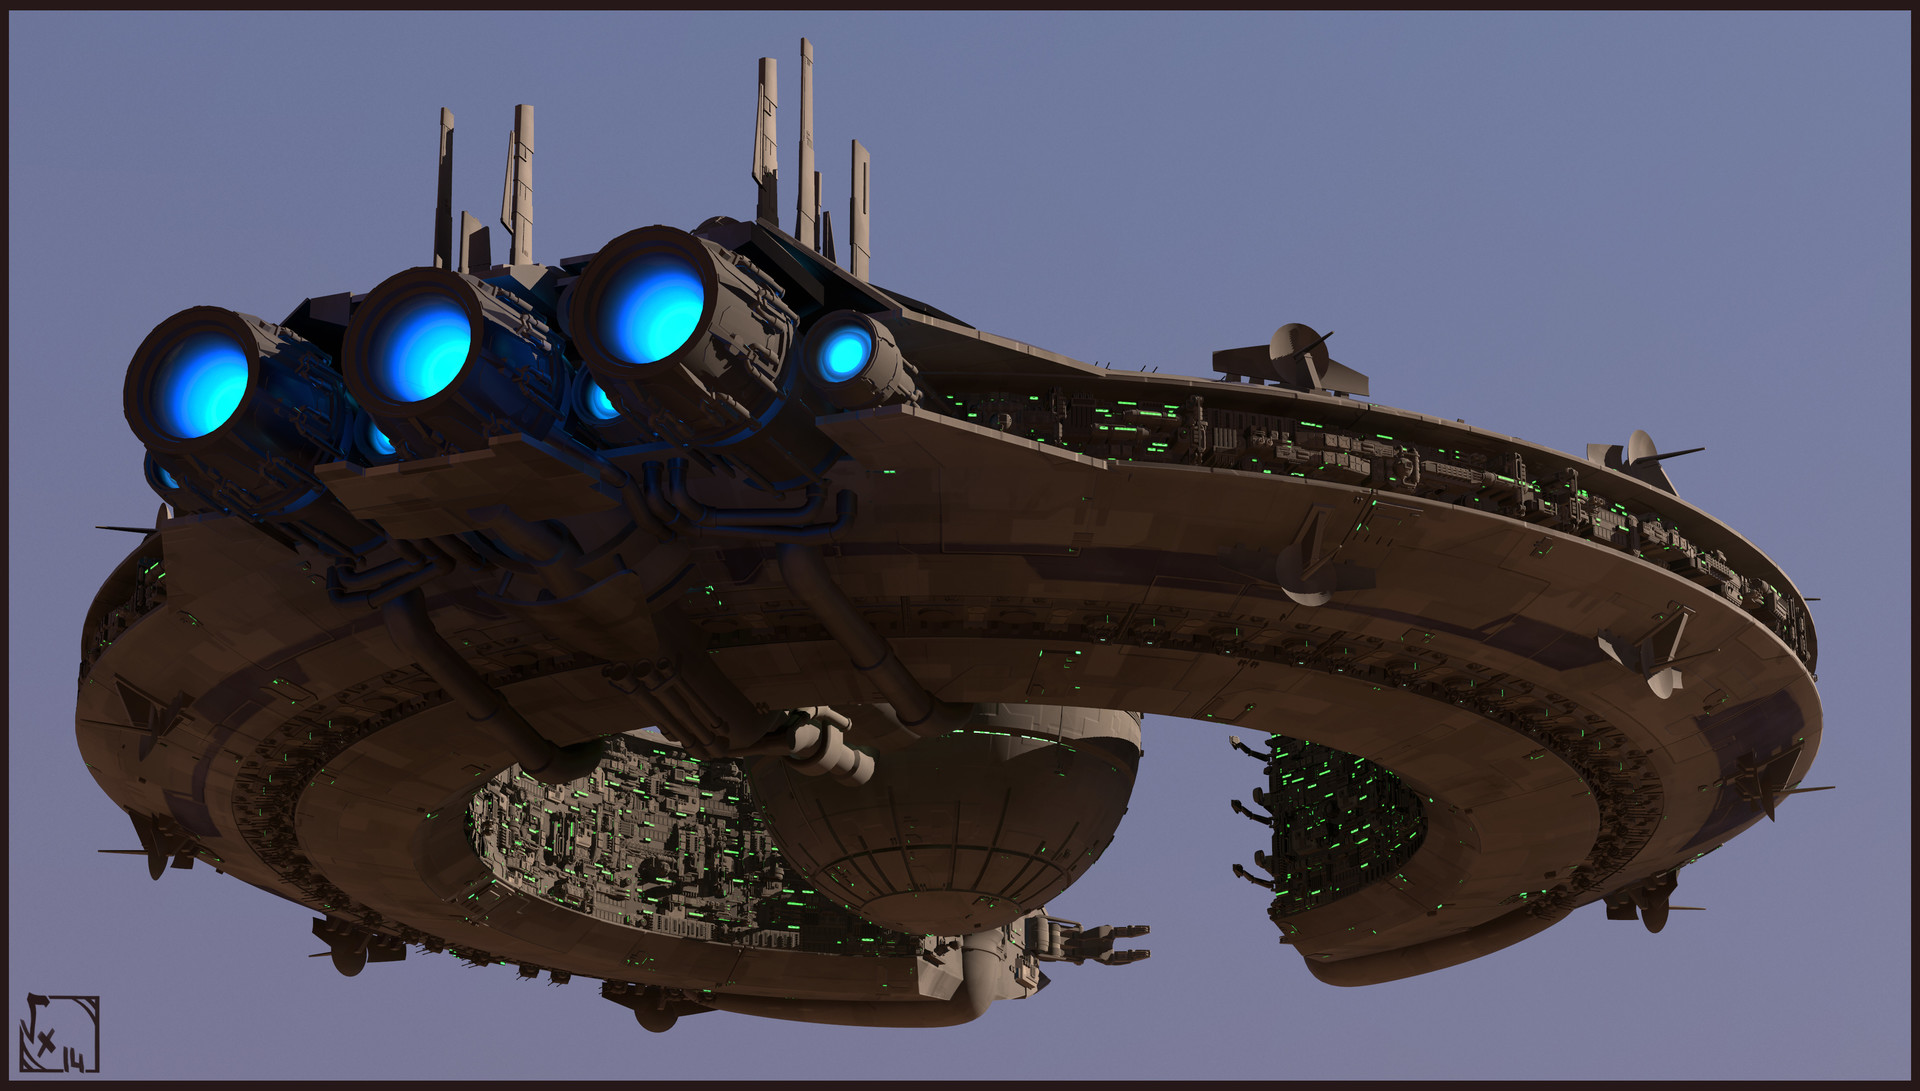
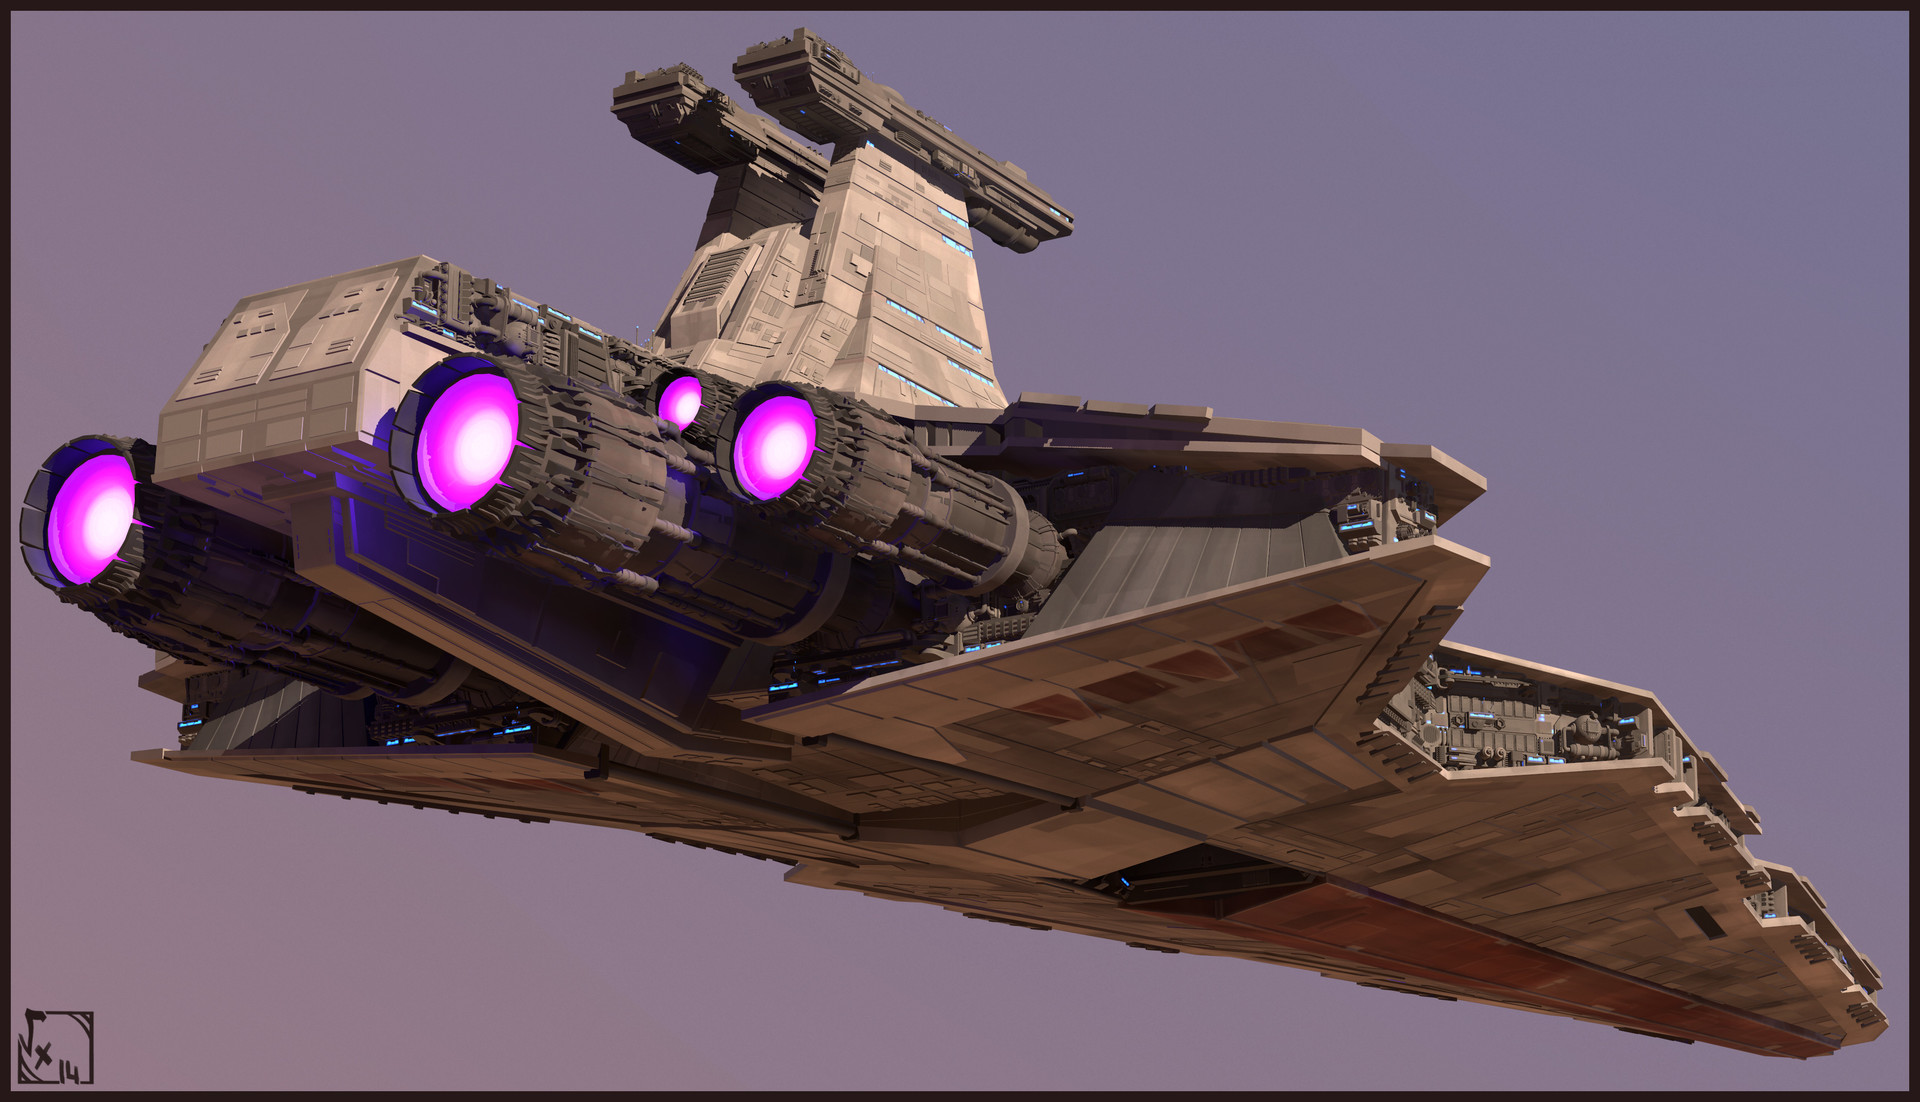
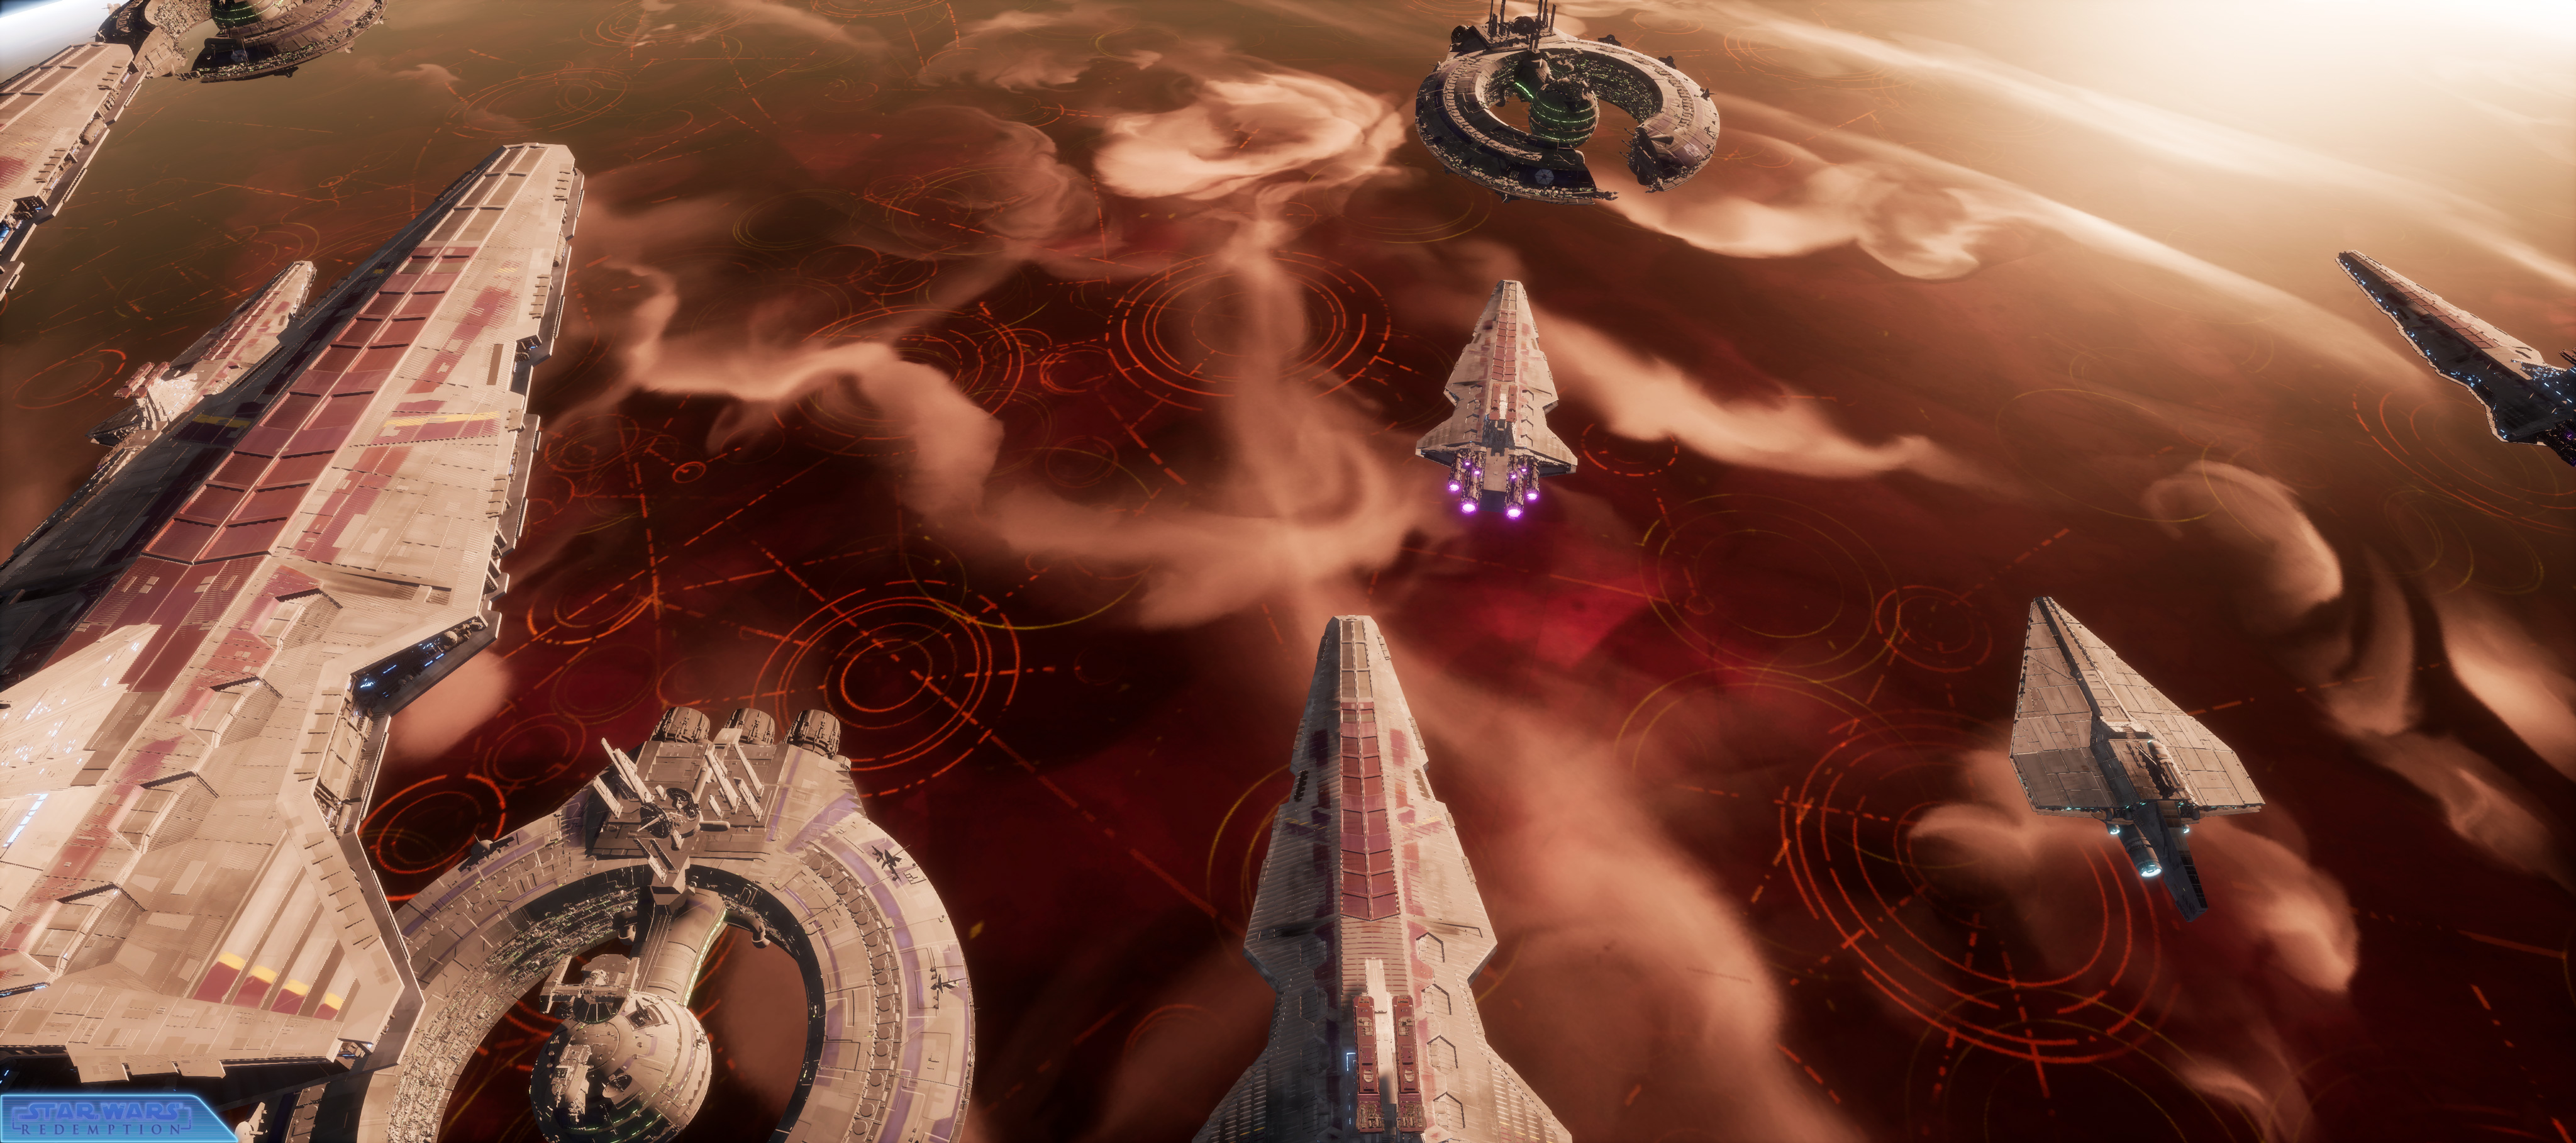
Made with 3dsMax ( Modeling + UVs )/3DCoat ( Texturing )
Probably the biggest model I ever did ^^" Special thanks to Ansel Hsiao for his good advices about modeling huge spacecrafts carefully
Hope you'll like it =)
Star Wars - Rdemption's project : https://www.artstation.com/artwork/gO4Pm
-
1
-
-
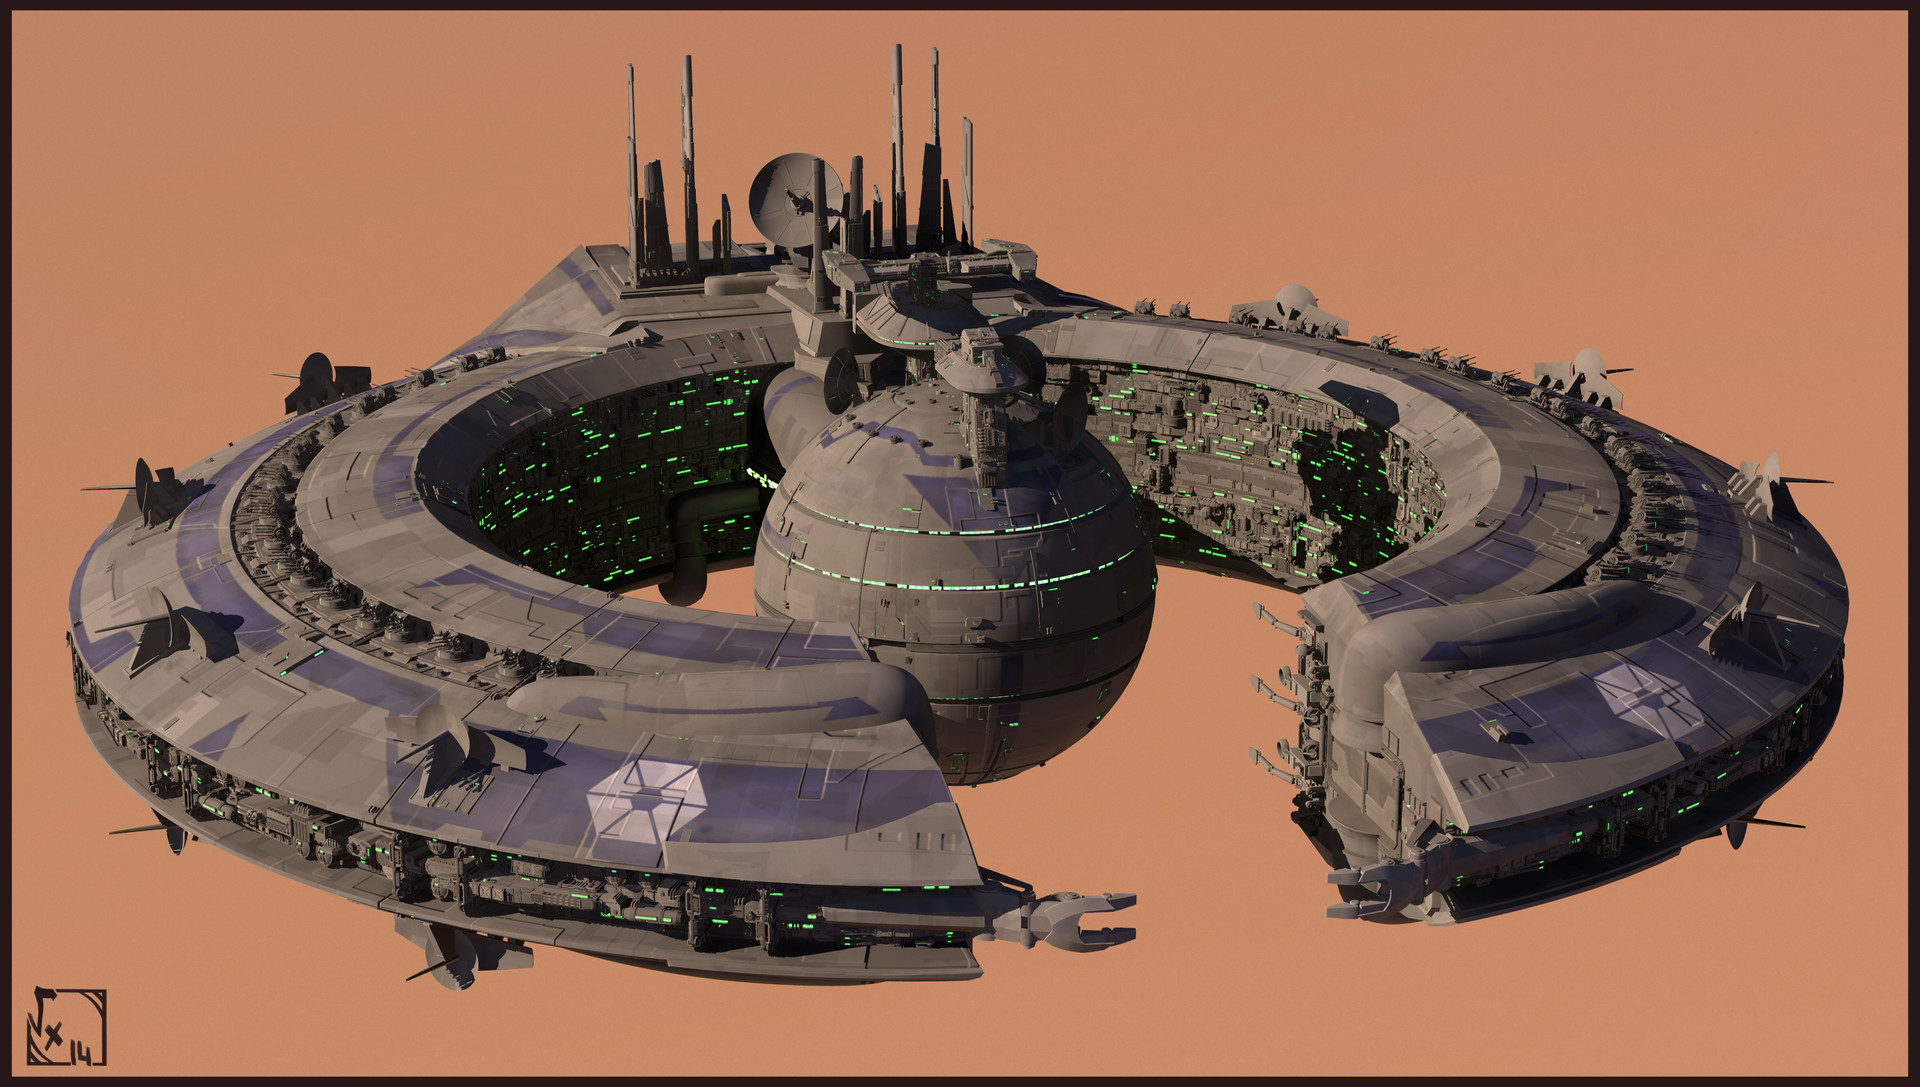
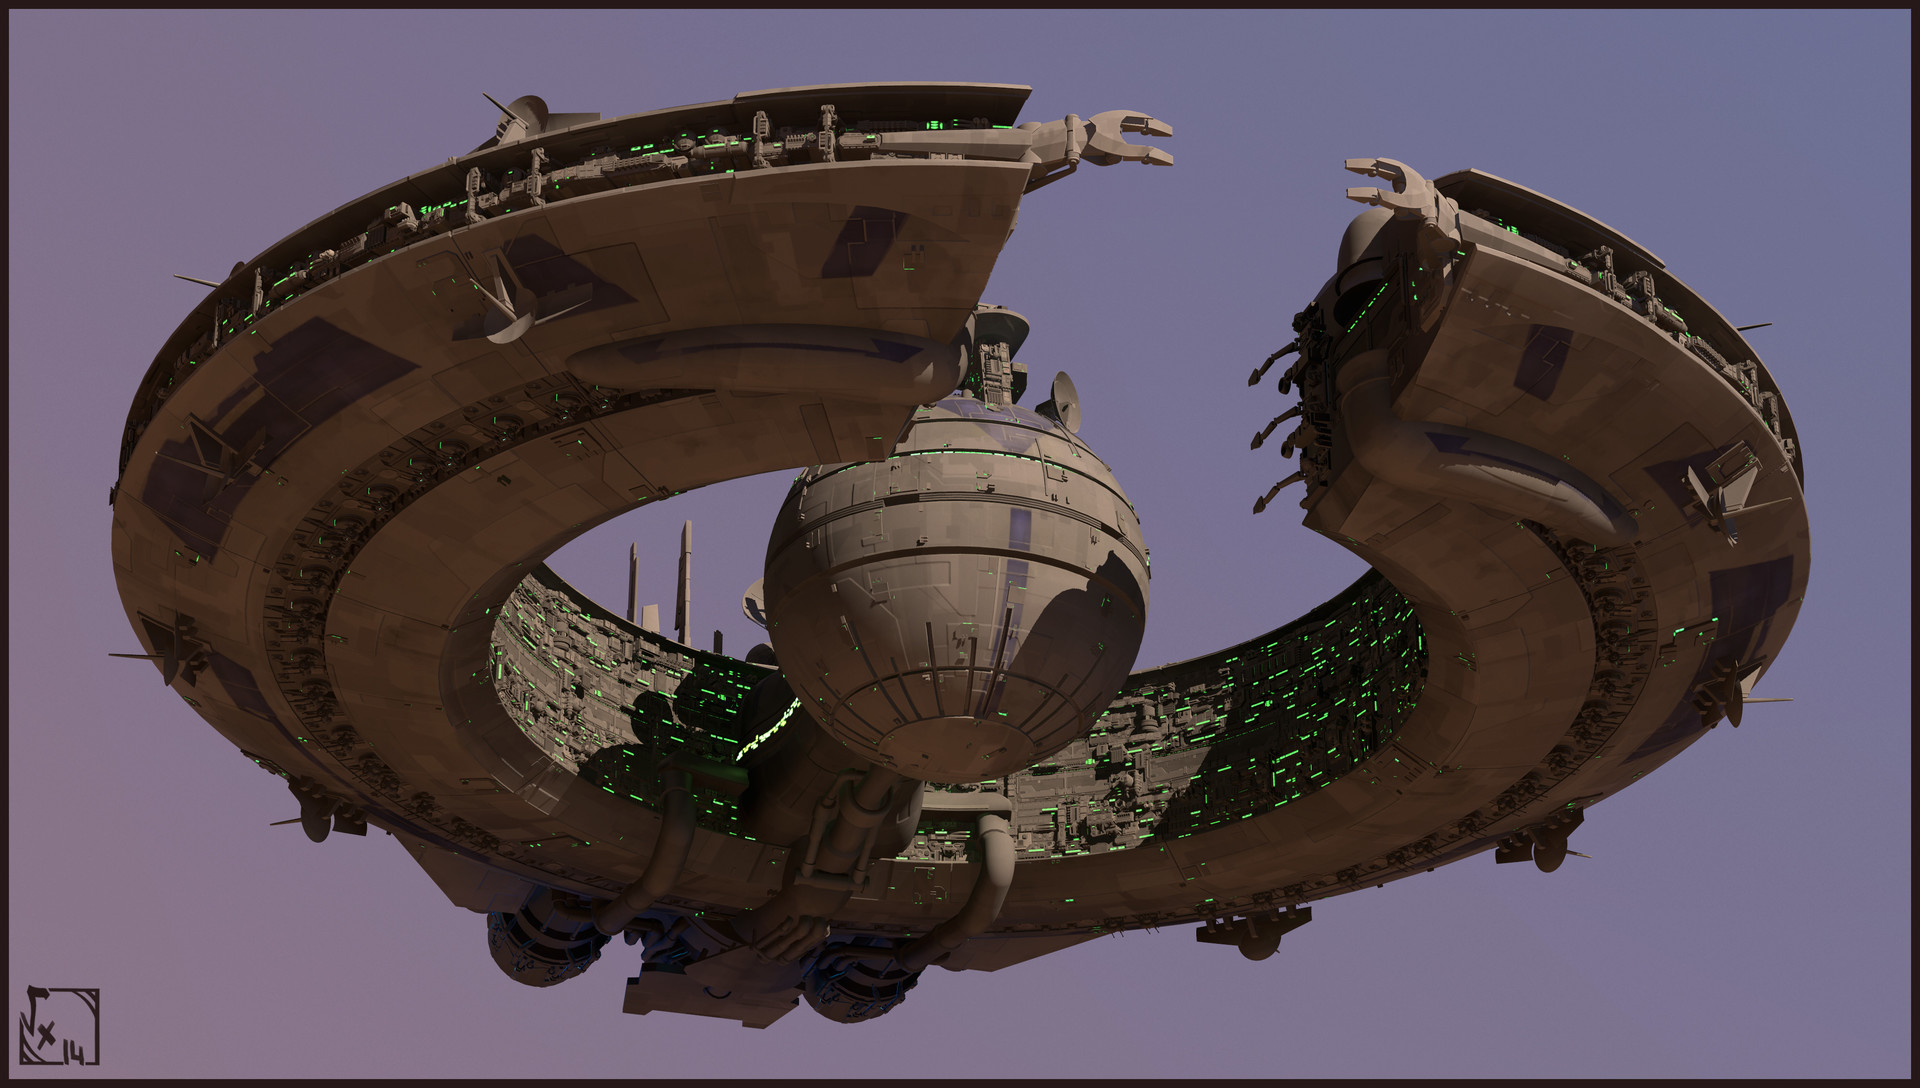
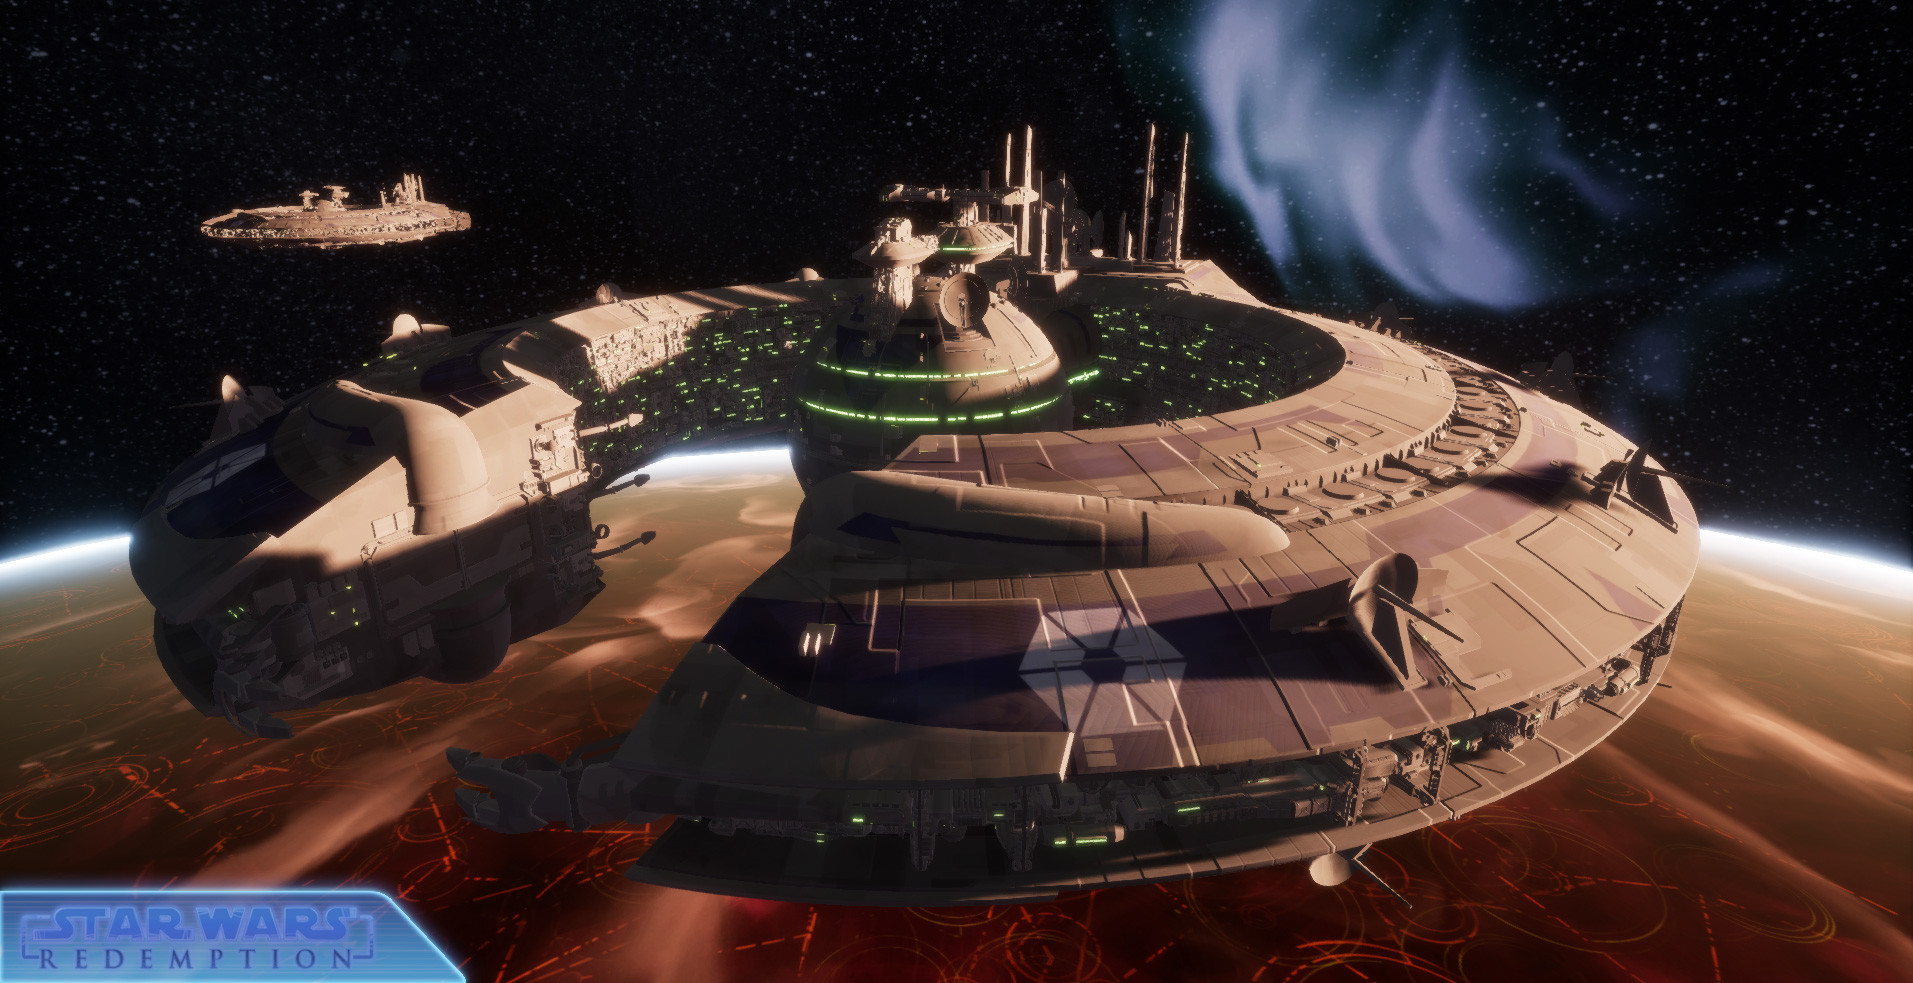
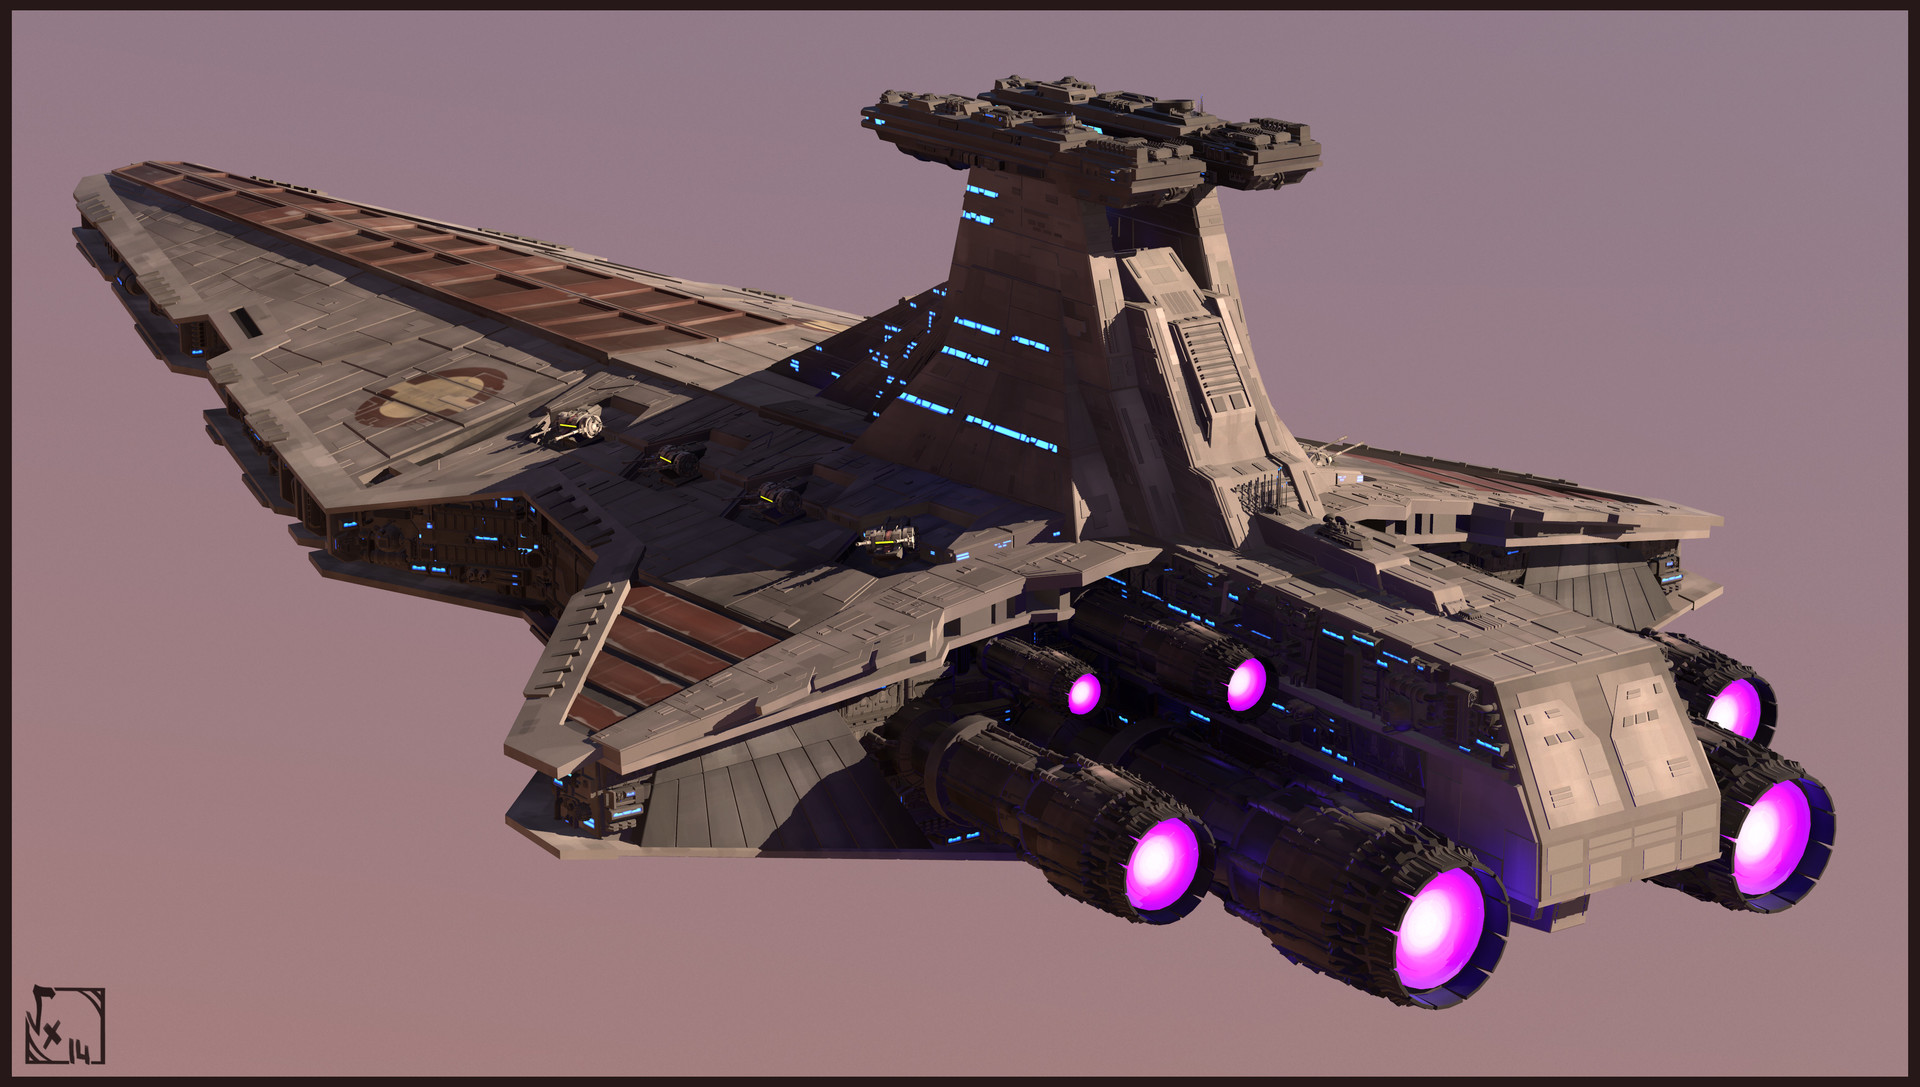
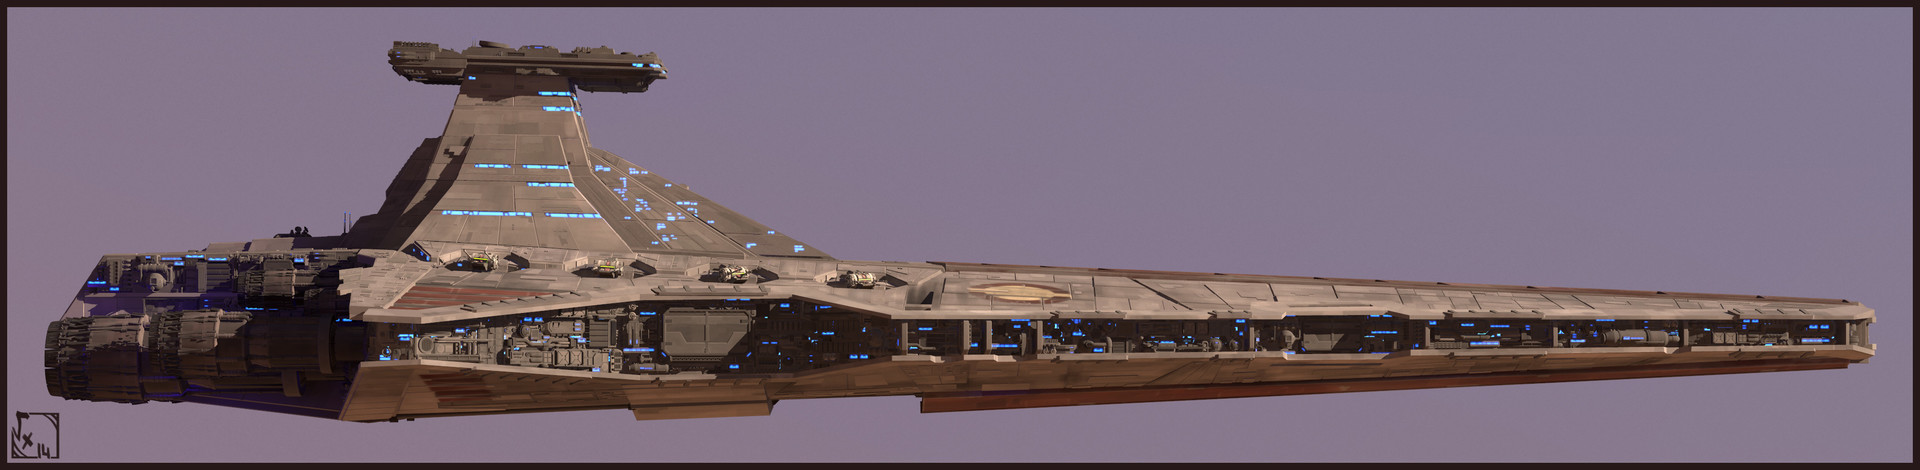
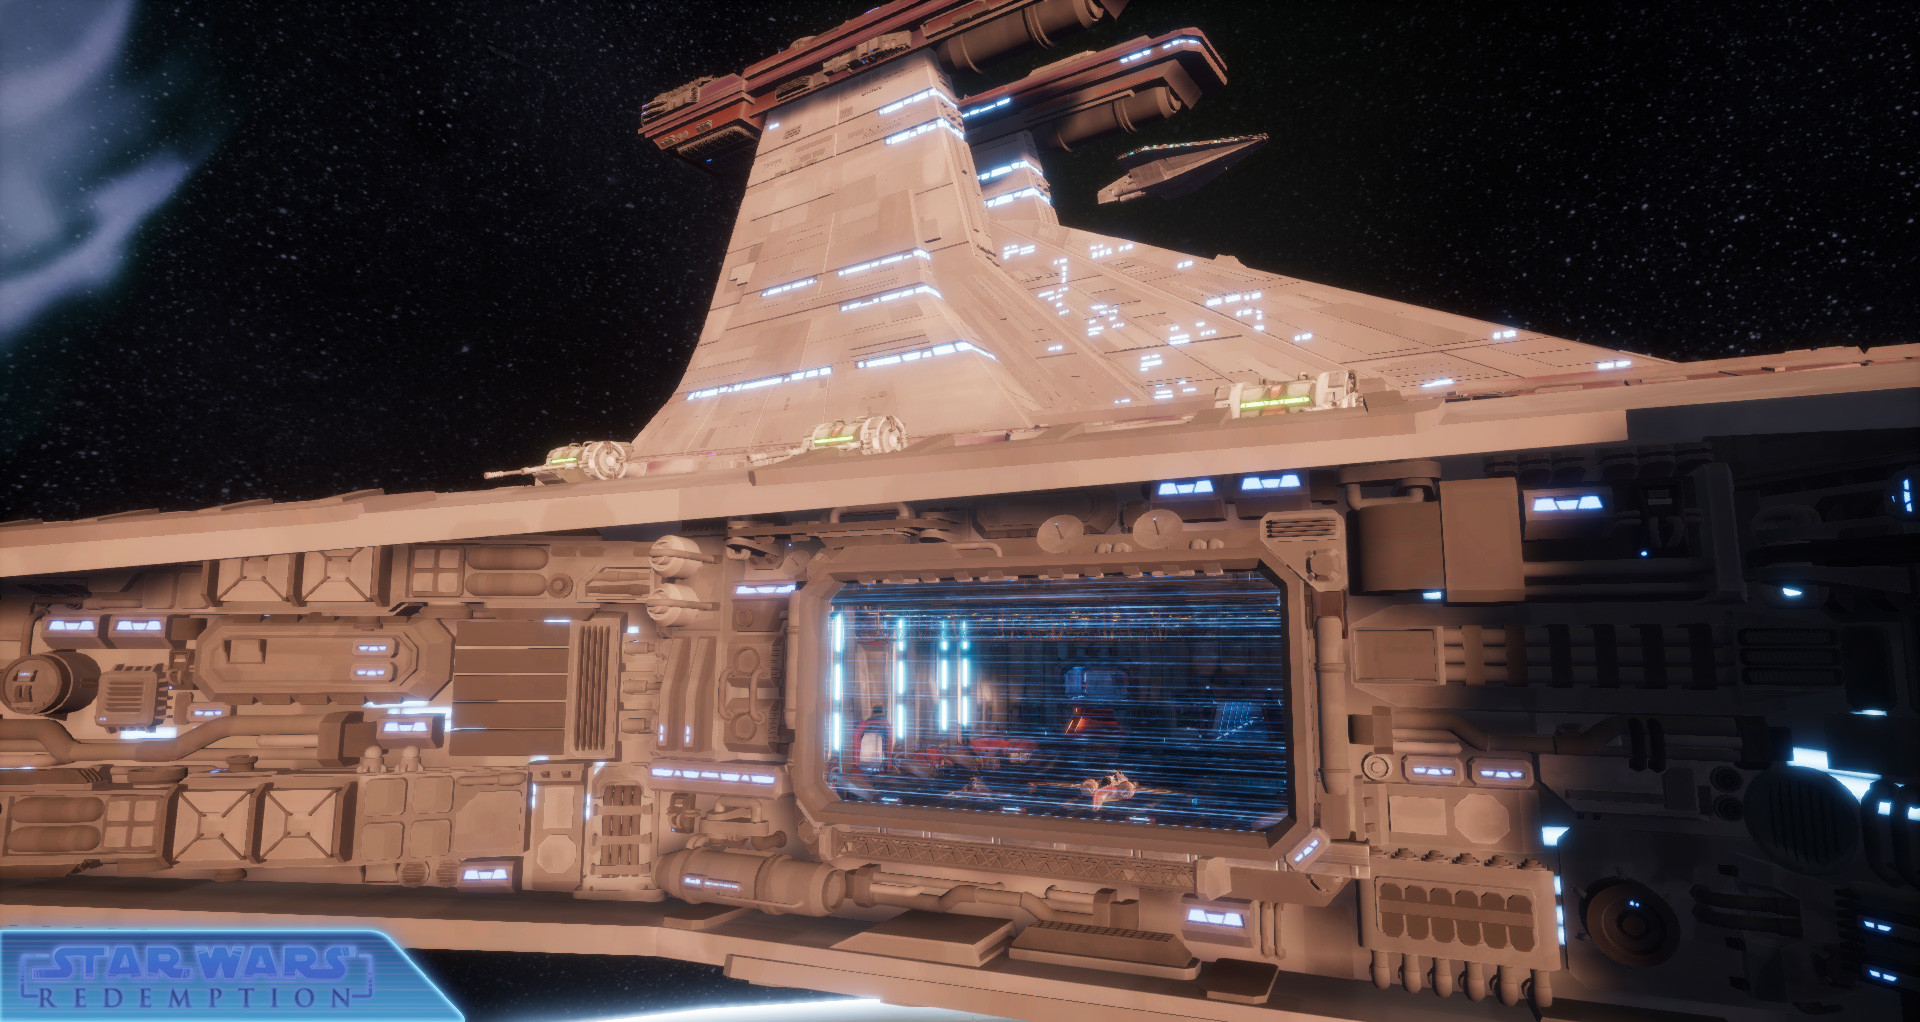
Made with 3dsMax ( Modeling + UVs )/3DCoat ( Texturing )
The model is a reworked version of an old one, I needed to have more details when I fly really close to it, so I created kitbash assets and detailed all parts by handplacing these new assets =)
Star Wars - Rdemption's project : https://www.artstation.com/artwork/gO4Pm


-
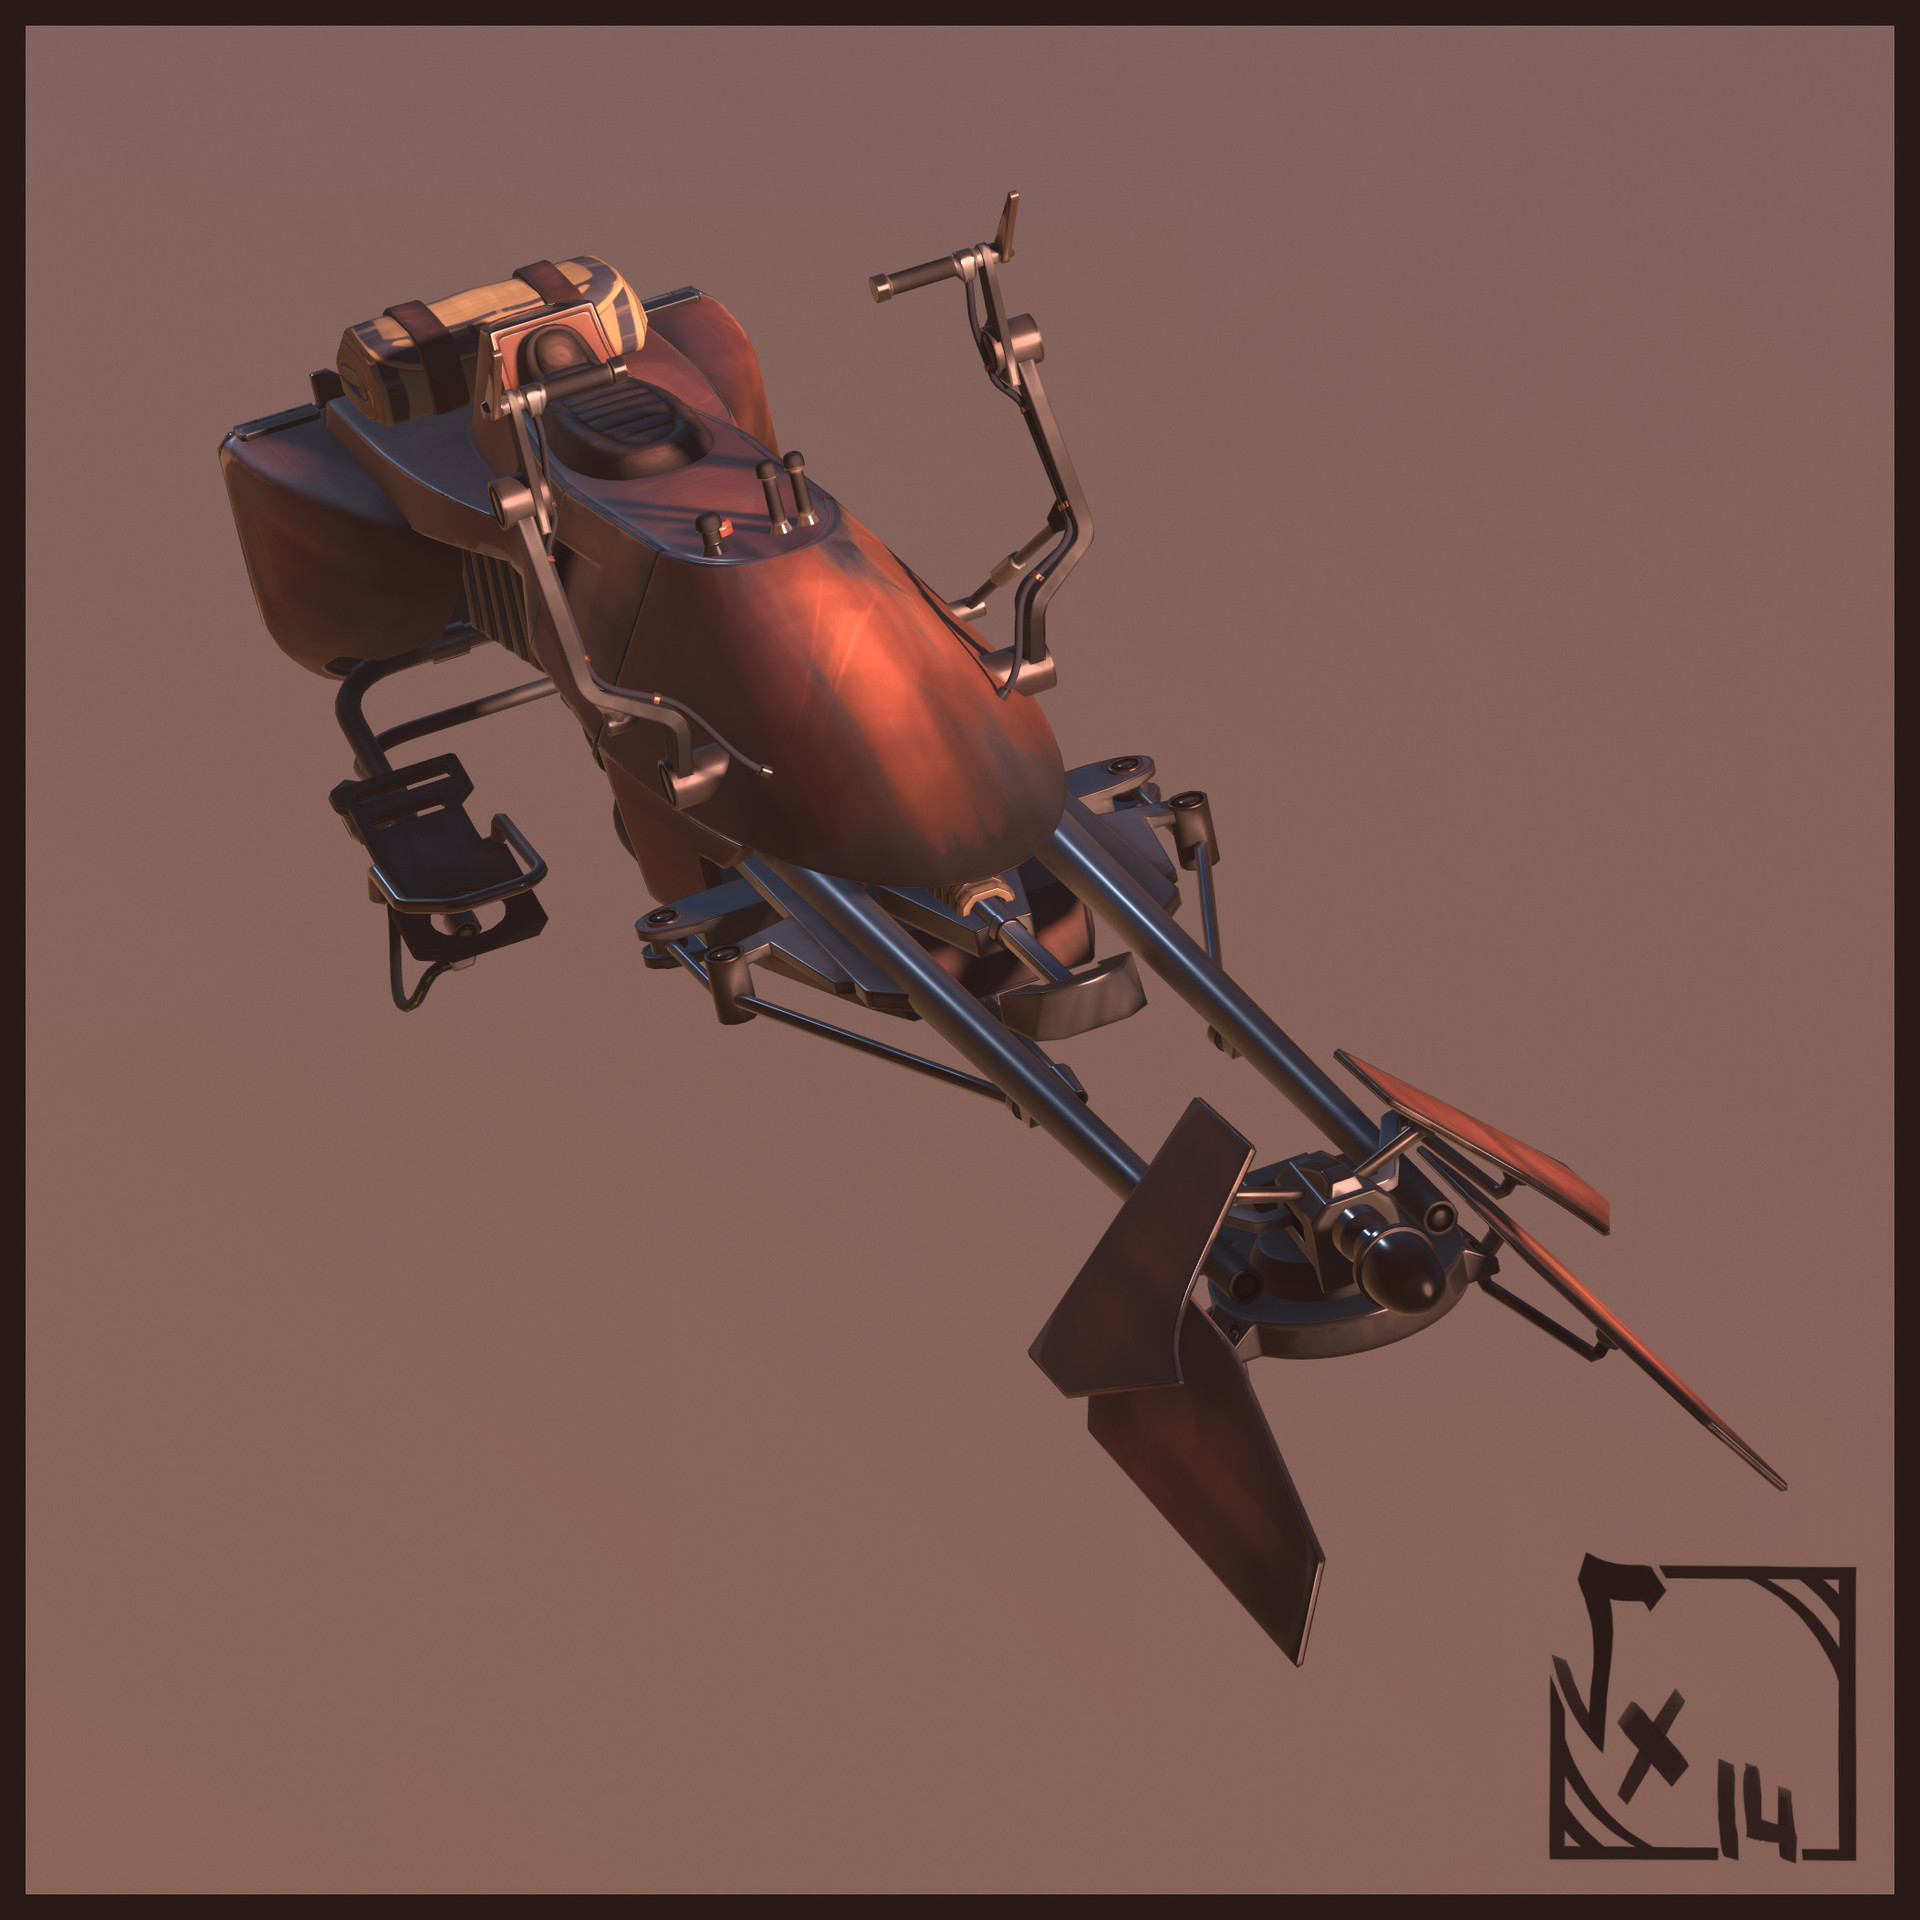
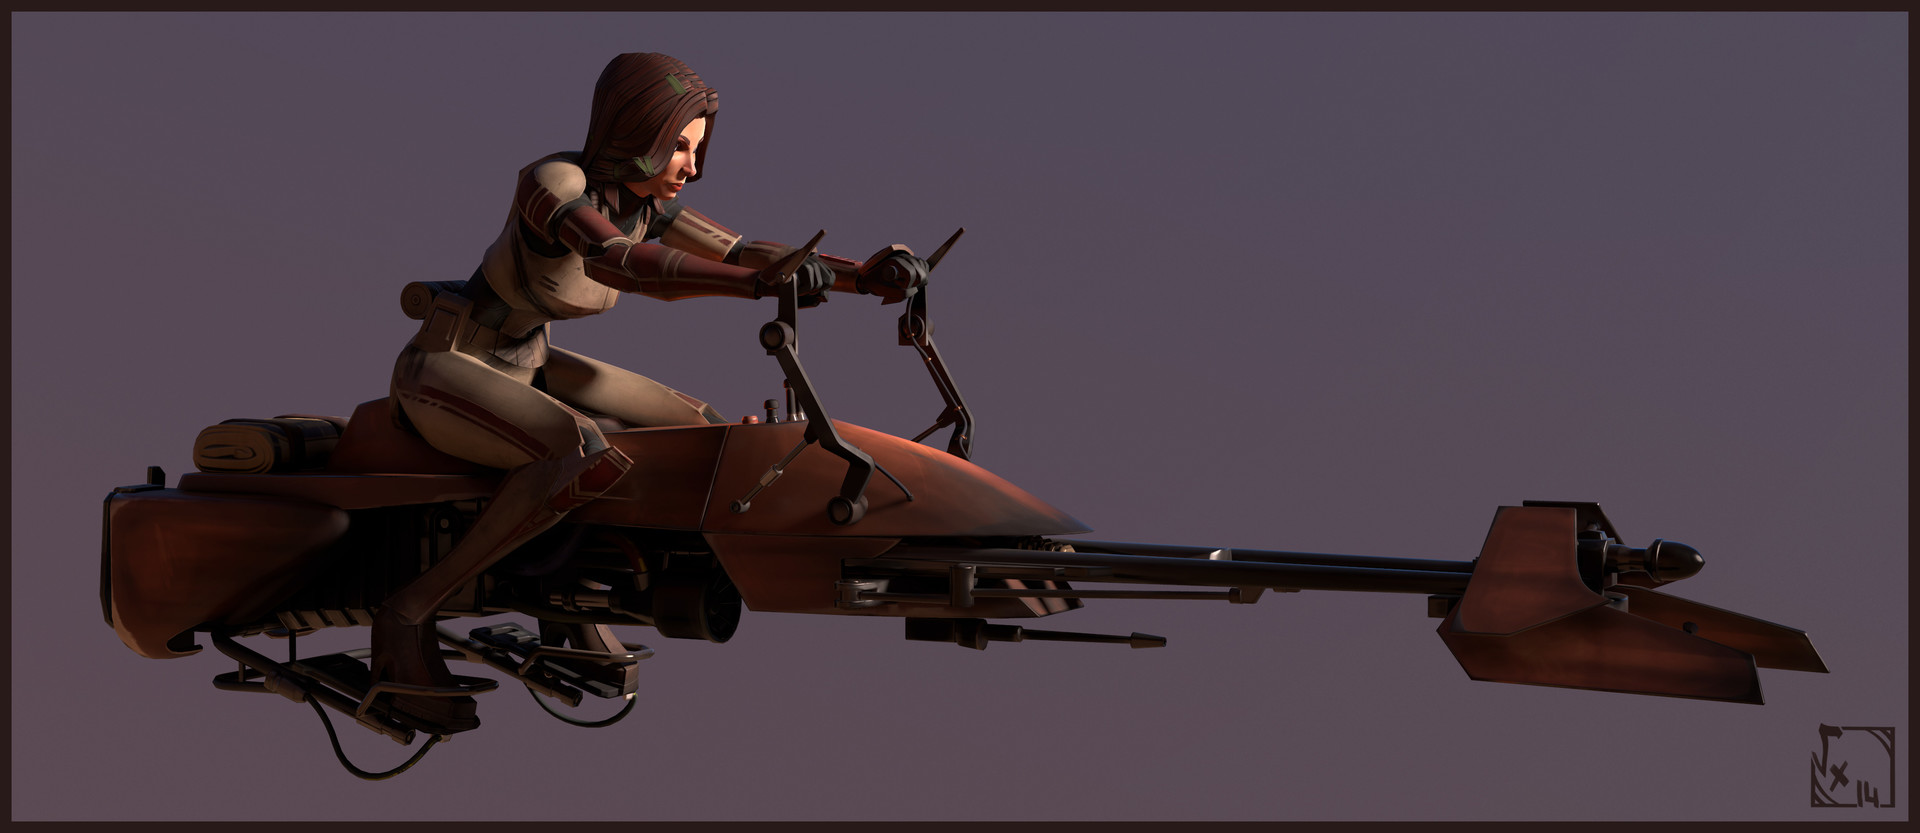
Hi guys !
This is a new asset I made for Star Wars - Redemption =) I used 3dsmax for High/Low poly, MightyBake for the normalmap bake and 3DCoat for texturing. 2K PBR maps. The model is "scorchable", which means you've got some damn cool motors'n pipes under the hood
As it's Mevenn's bike and globaly Republic's side bike ( not empire ), I've added some new things to it to make it more suitable with other prelogy asset's logic, and of course the usual art direction's treatment ^^
Hope you'll like it !
Star Wars - Redemption : https://www.artstation.com/artwork/gO4Pm
-
Here is a funny version of the new Mevenn’s stuff, rebuilt from the previous one I made years ago, with many tweaks, mostly in texturing/skin/rig. The model is integrated into the engine but I still have issues with cloth parts ^^”
About the model itself, I used 3dsmax for modeling high/lowpolys, 3DCoat for texturing and a mix of MightyBake/Marmoset Toolbag for the normal’s bake. The rig I used to make her pose is the same I made for the previous clone stuff she wear, still on akeytsu by the way =) I just used some parts of the awesome new V1 of that software to get faster pose, such as the great reverse-foot =)
Textures were made in 4K max per map, in PBR with handpainted smartmaterials made for Star Wars - Redemption on 3DCoat =)
Hope you’ll like her new outfit =)Star Wars - Rdemption's project : https://www.artstation.com/artwork/gO4Pm

This one is a “young” version of the new Mevenn’s Jedi stuff.
About the model itself :
I used 3dsmax for modeling high/lowpolys, 3DCoat for texturing and a mix of MightyBake/Marmoset Toolbag for the normal’s bake. Rig/Posing made with akeytsu.
4K max per map, PBR with handpainted smartmaterials made for Star Wars - Redemption =)
Here is the new Mevenn’s stuff, rebuilt from the previous Jedi Stuff I made years ago, but with many modifications, mostly in texturing/skin/rig processes.
About the model : I used 3dsmax for modeling high/lowpolys, 3DCoat for texturing and a mix of MightyBake/Marmoset Toolbag for the normal’s bake. The rig I used to make her pose is the same I made for the previous clone stuff she wear, still on akeytsu by the way =) I just used some parts of the awesome new V1 of that software to get faster pose, such as the great reverse-foot =)
4K max per map, PBR with handpainted smartmaterials made for Star Wars - Redemption =)
Hope you’ll like this new stuff, it’s her default one now =)
-
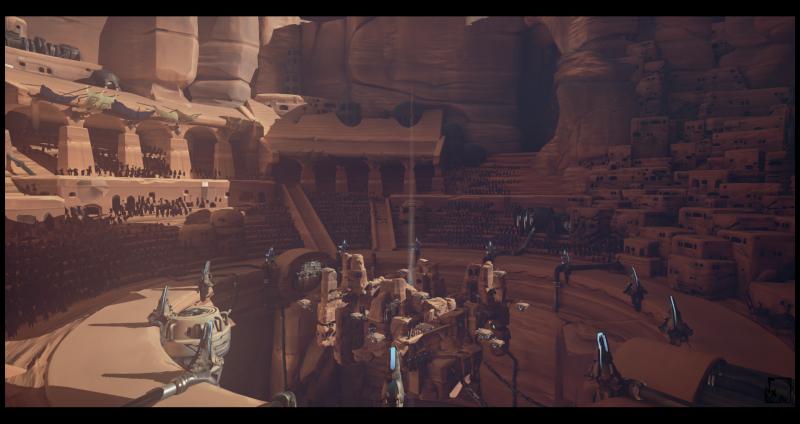
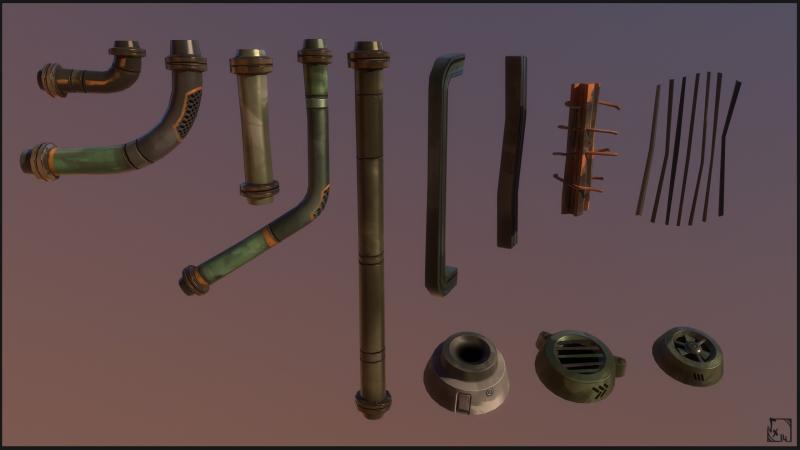
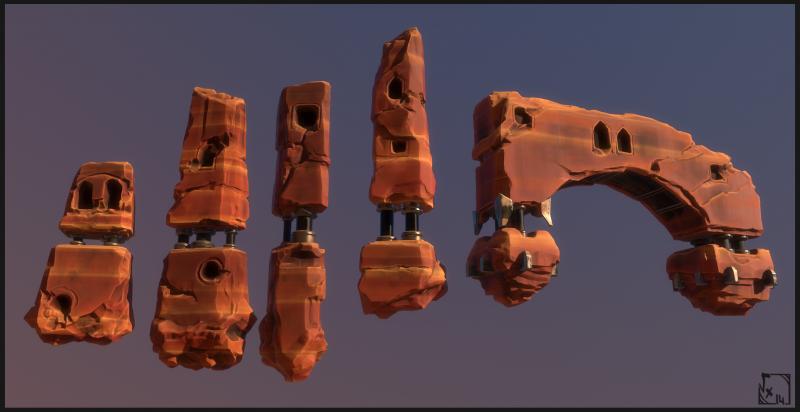
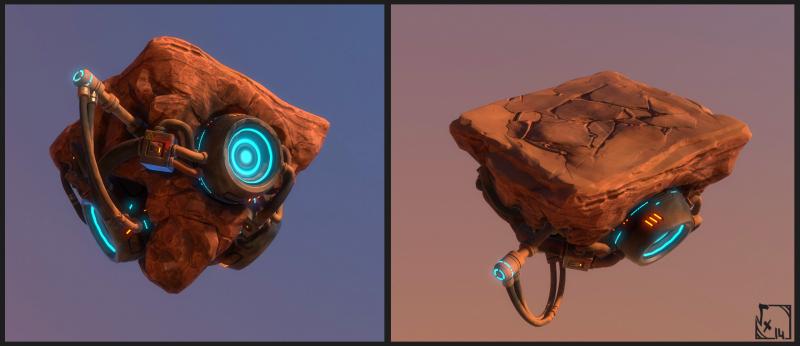
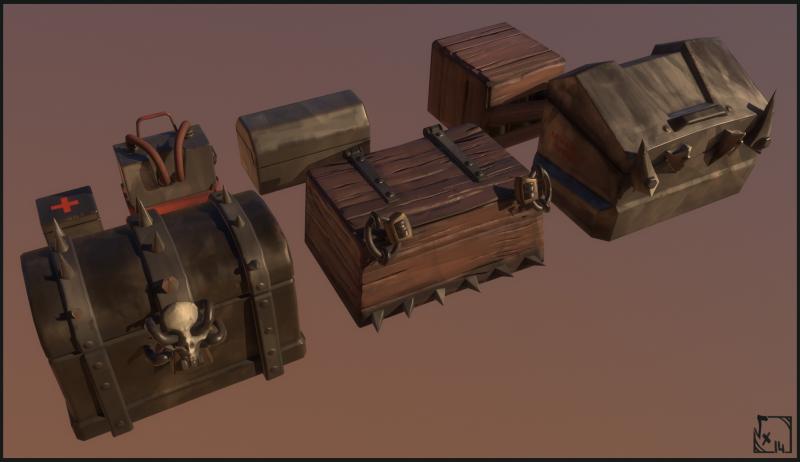
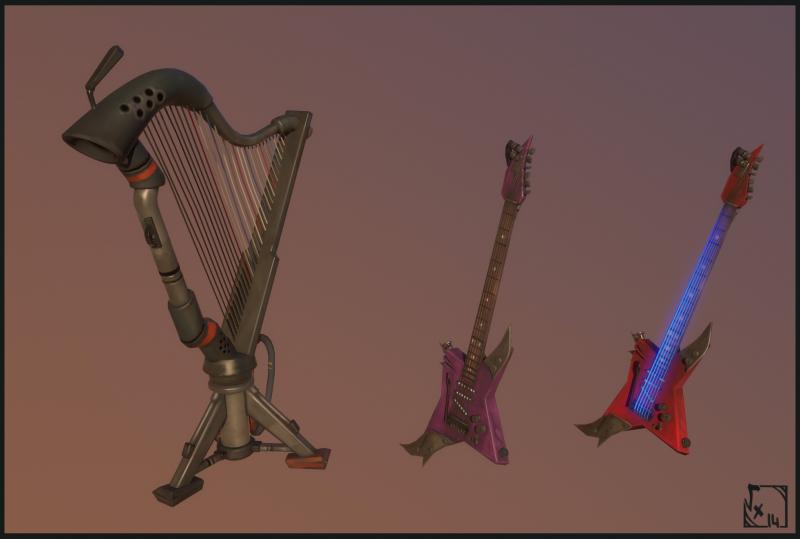
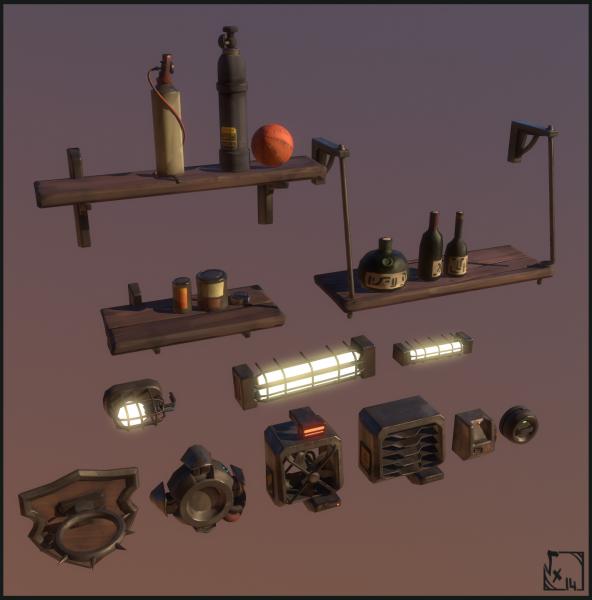
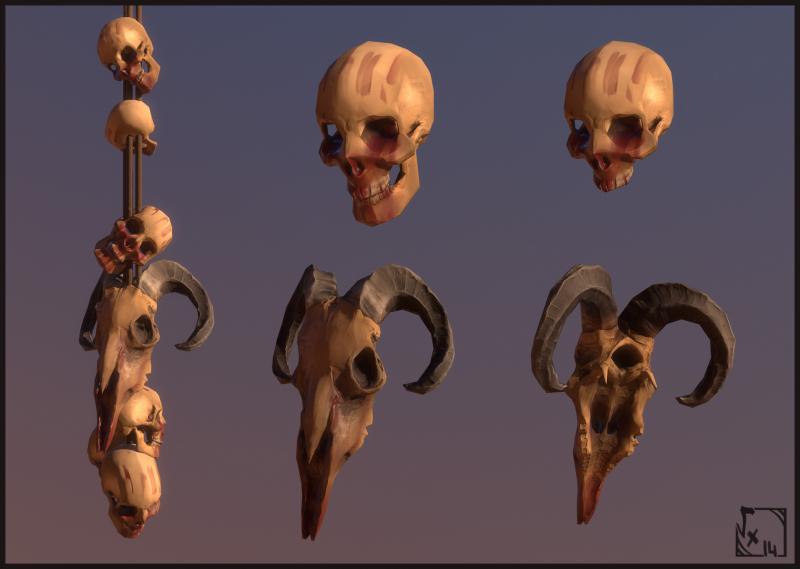
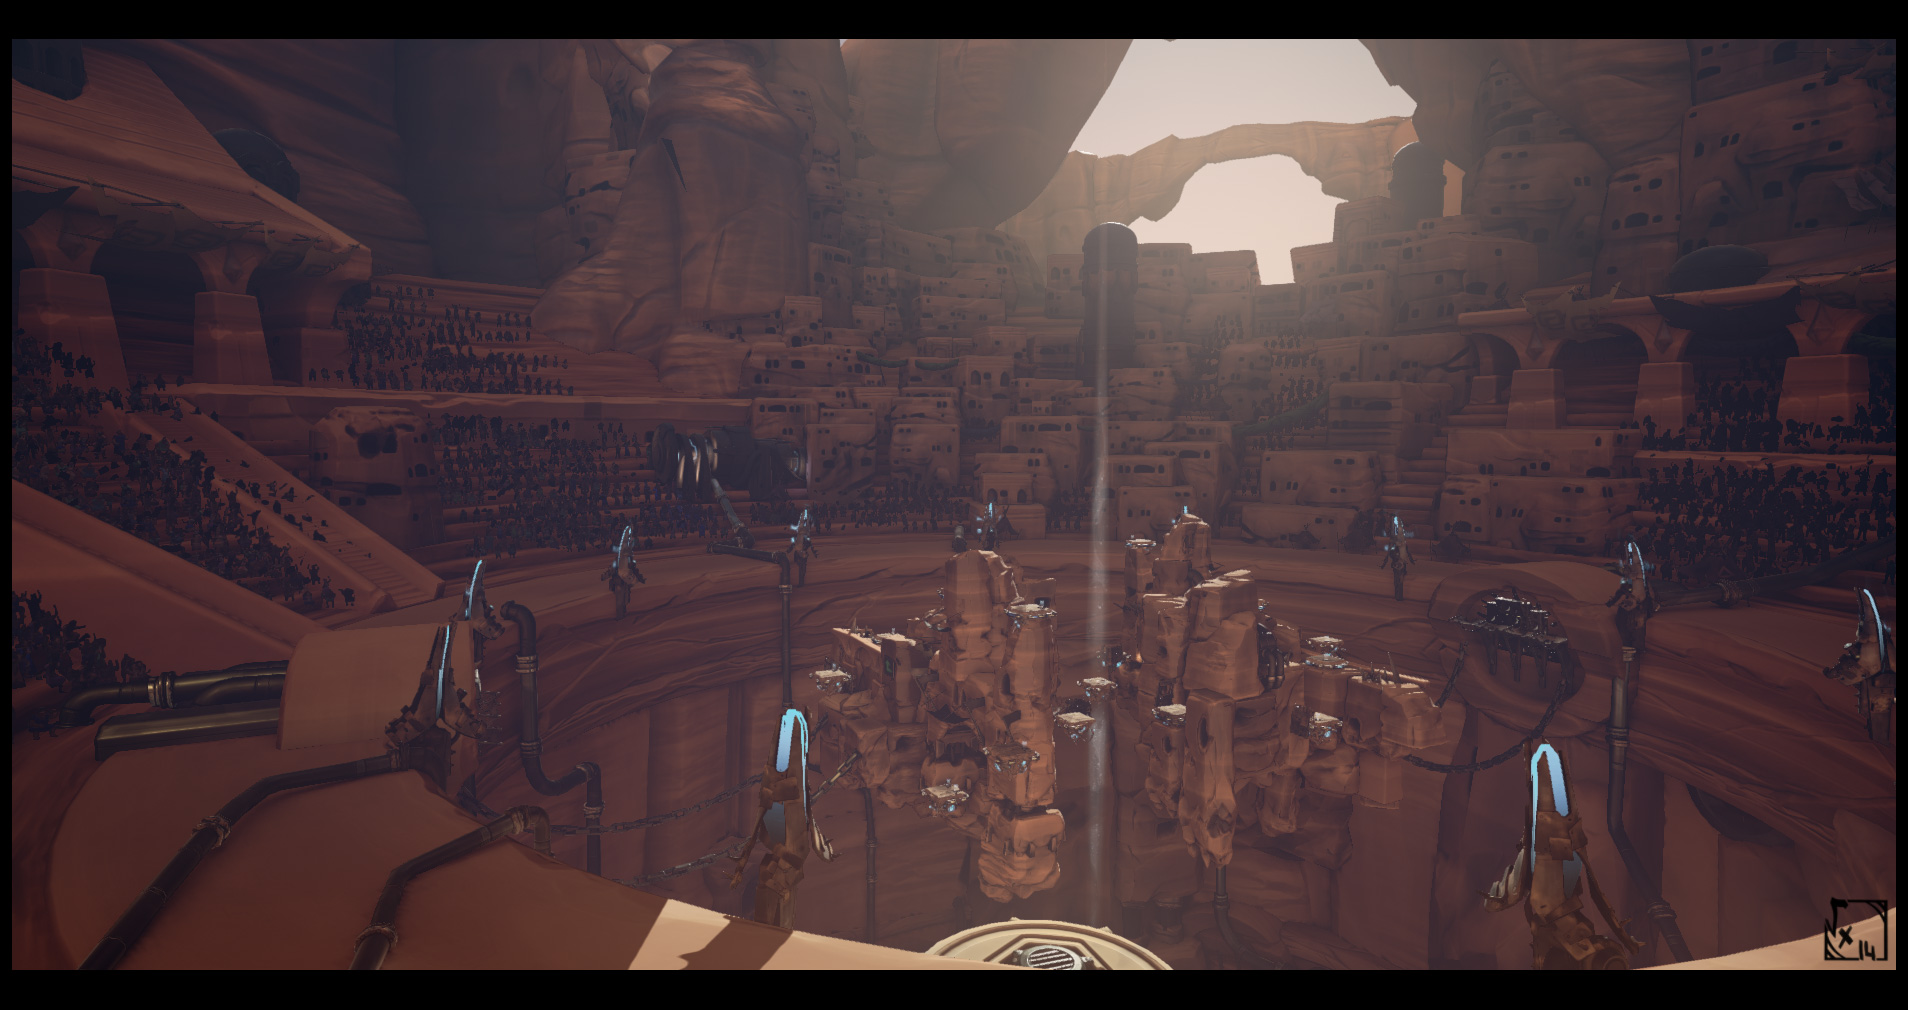
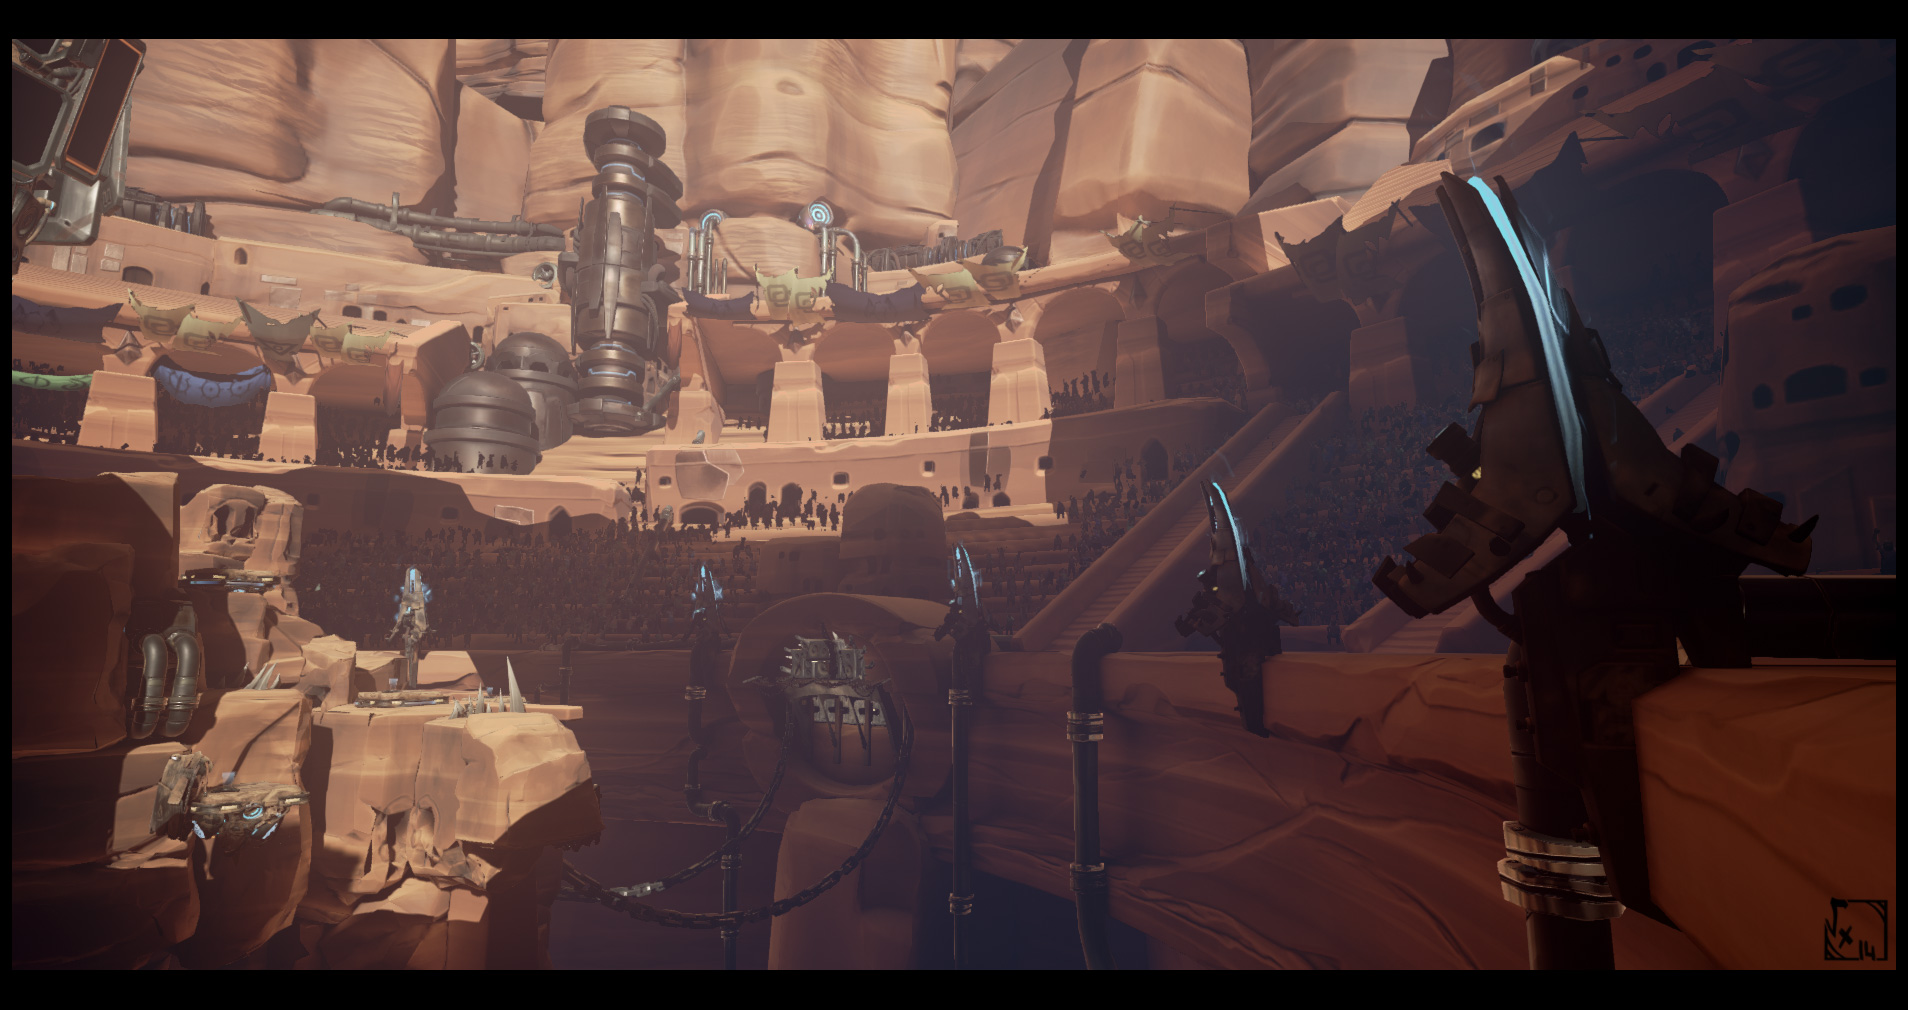
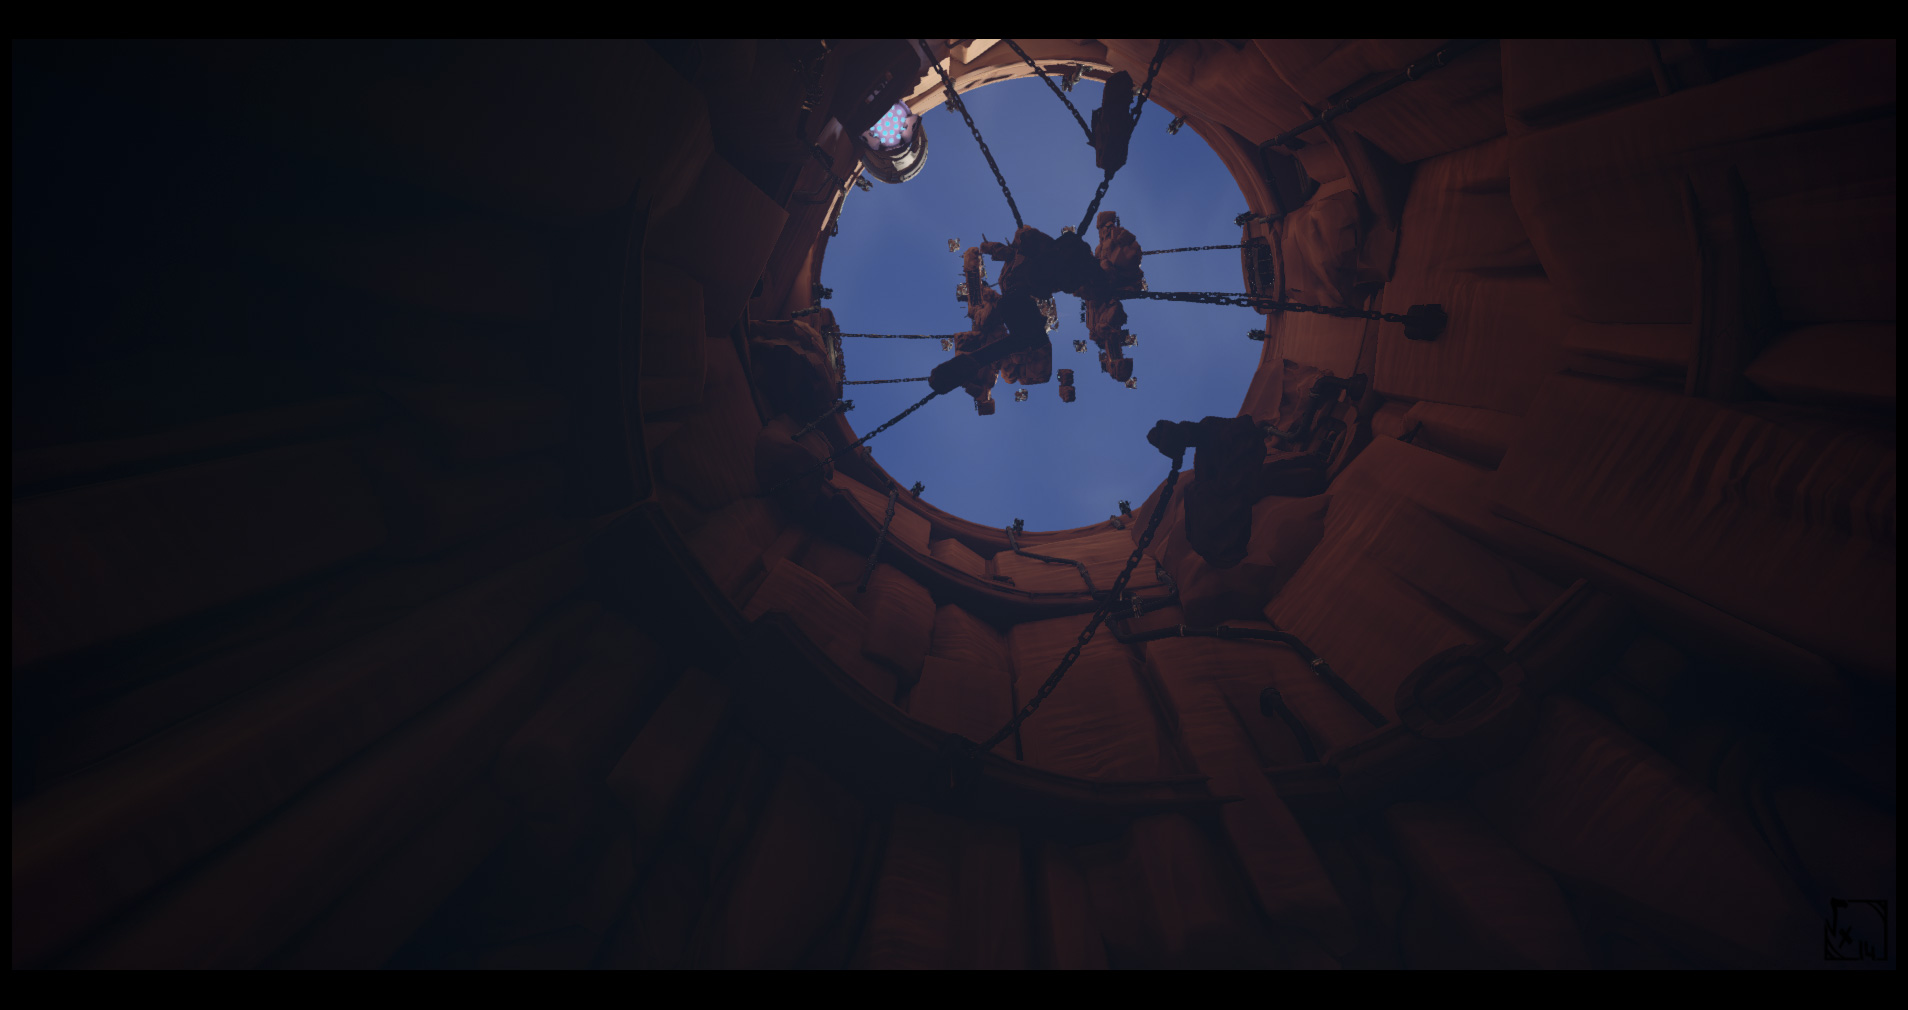
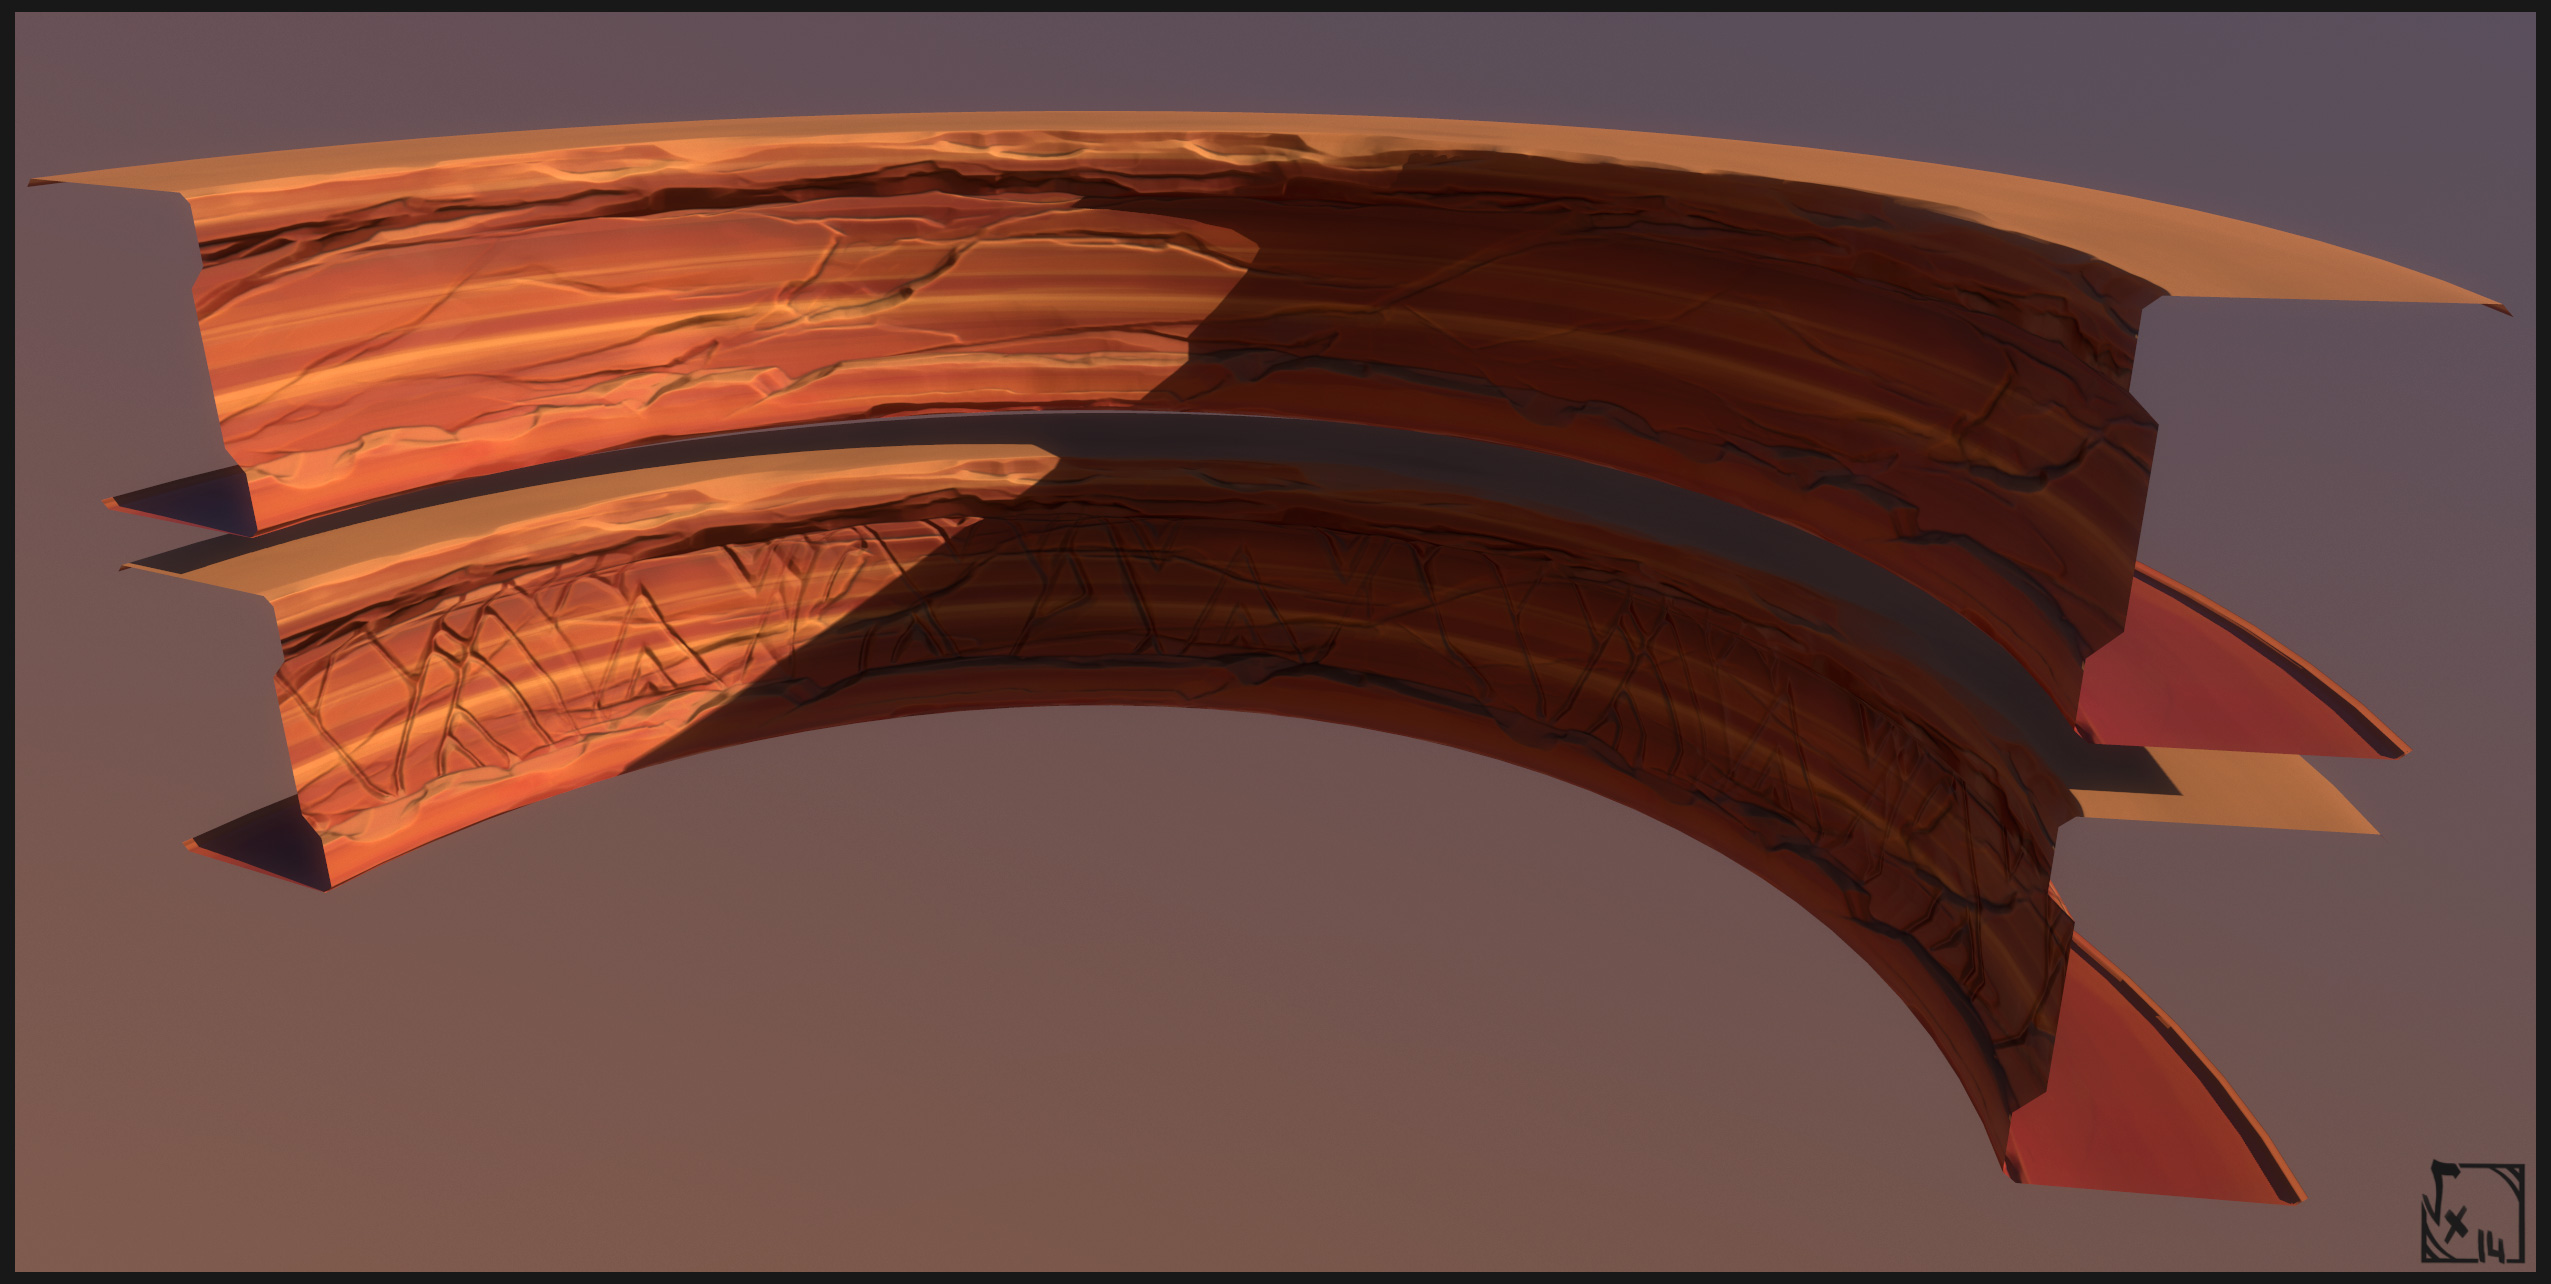
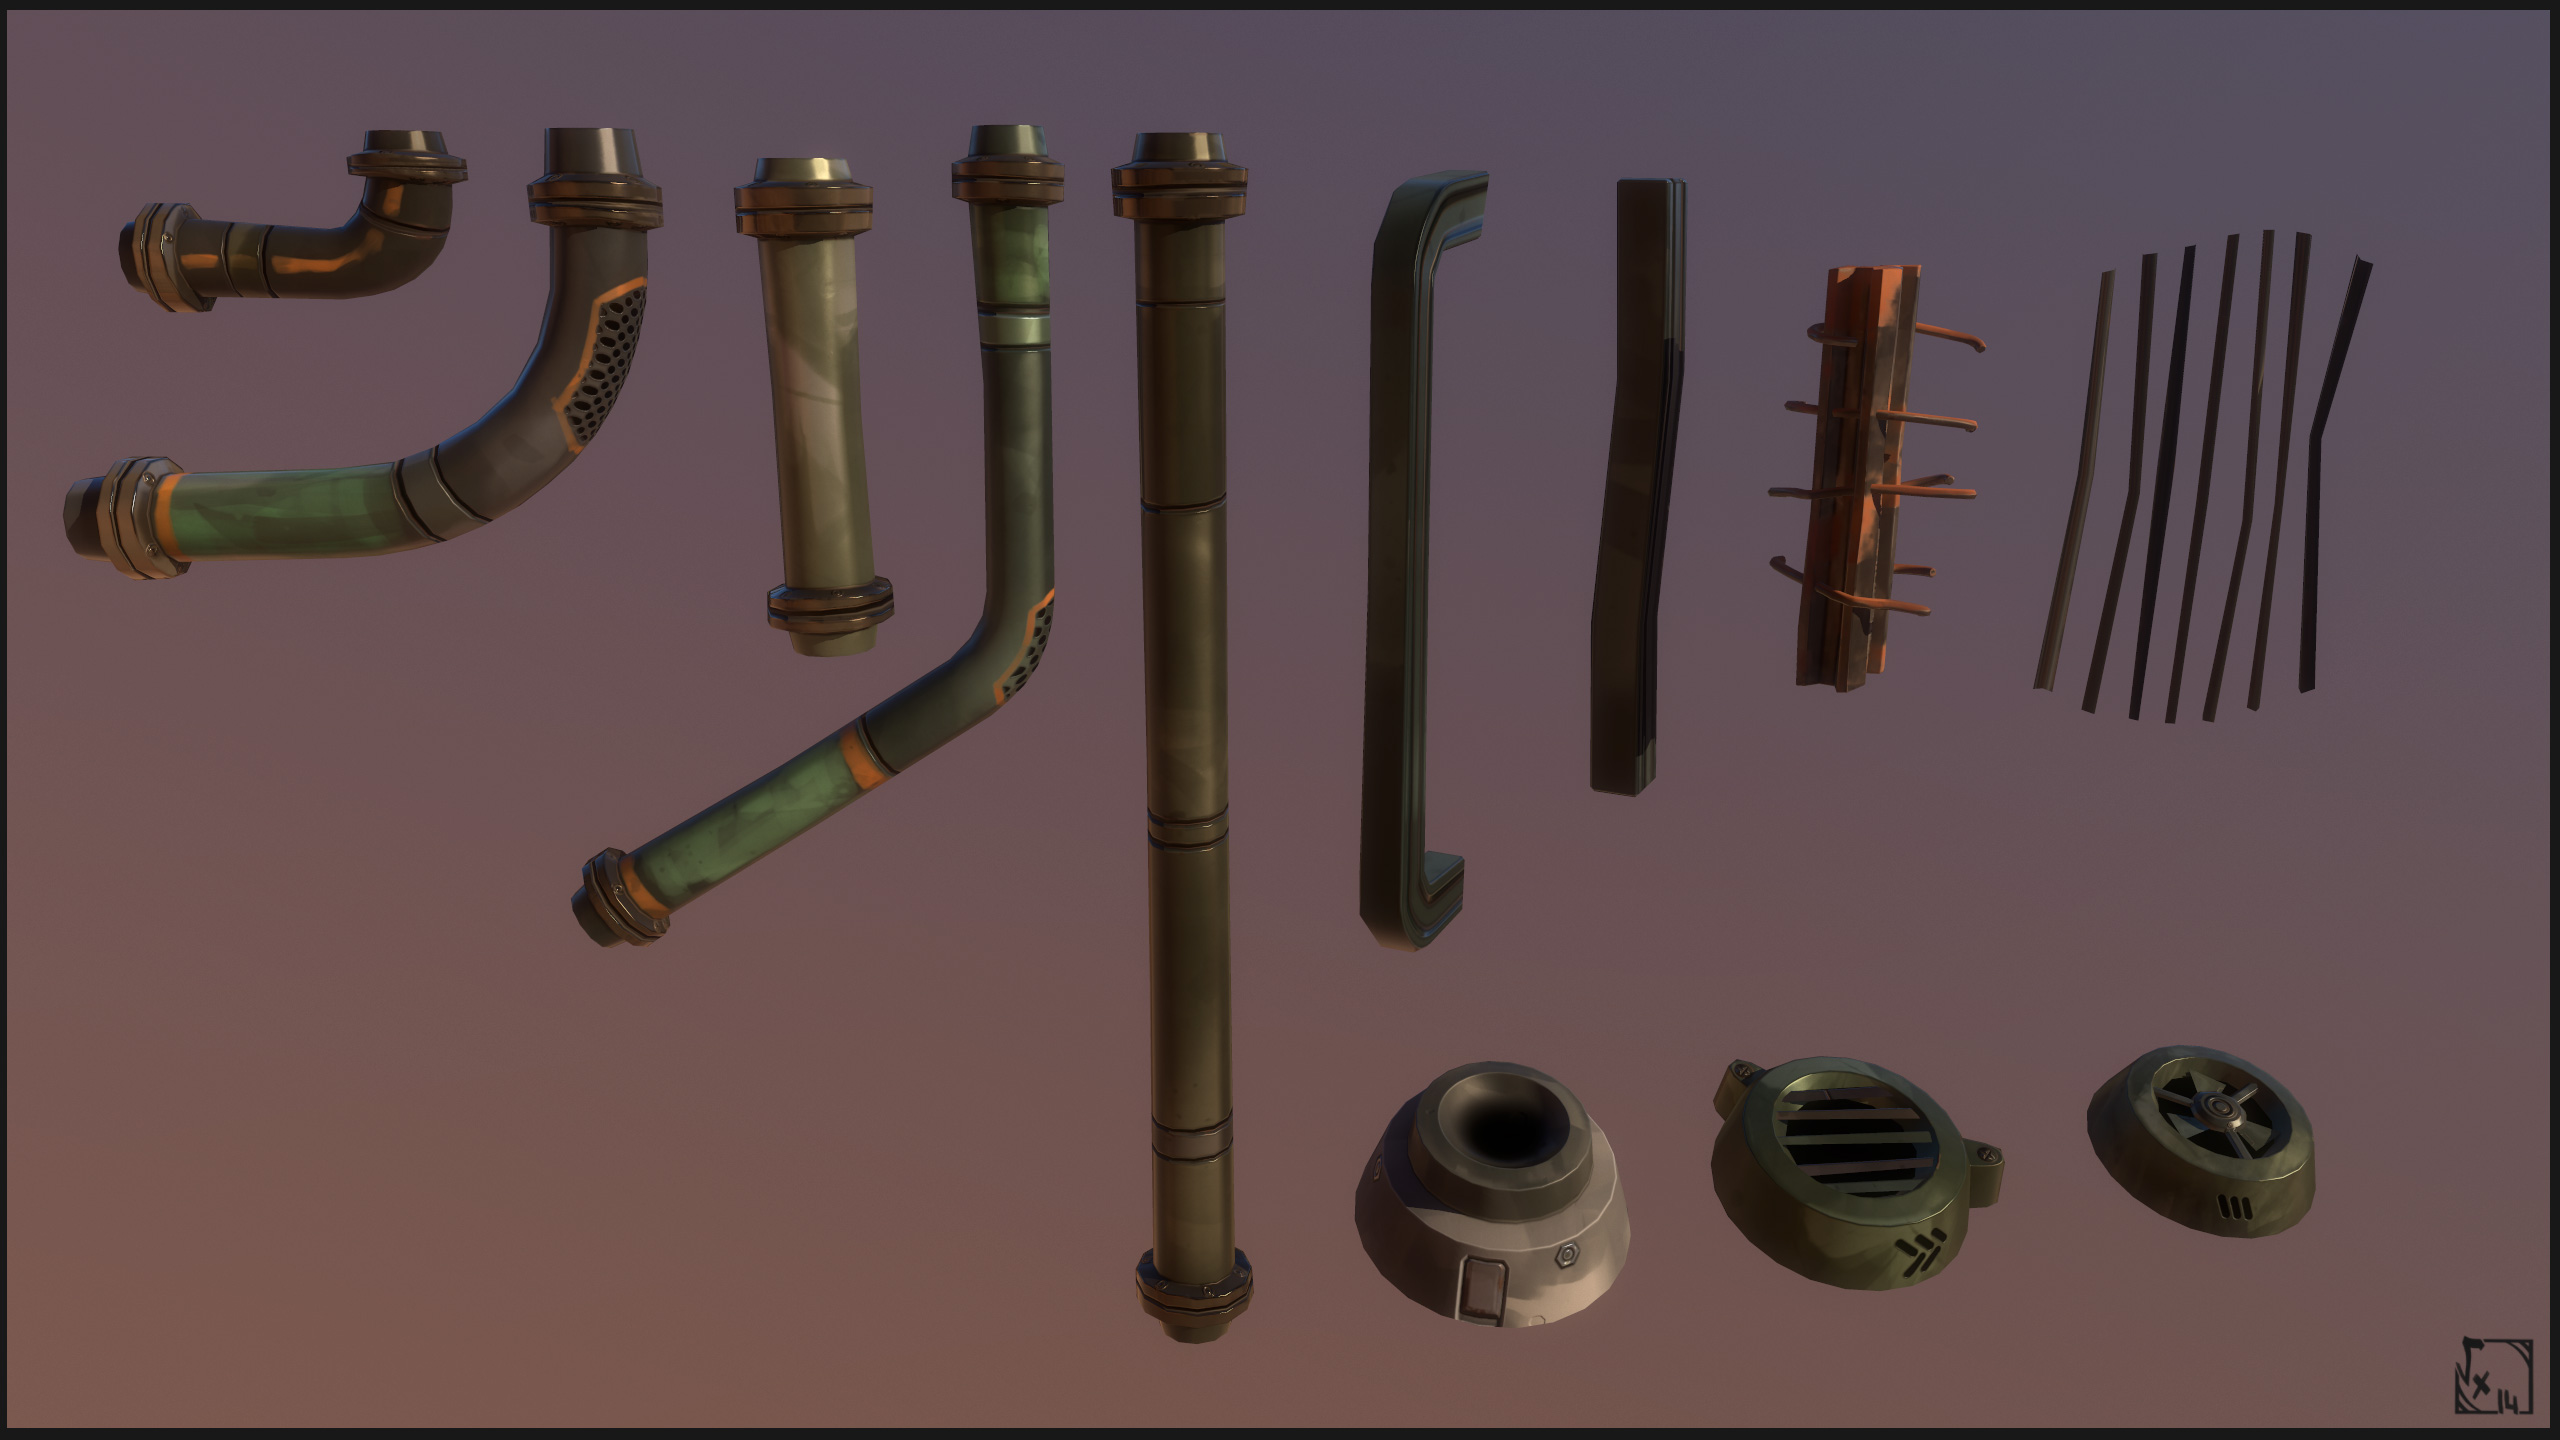
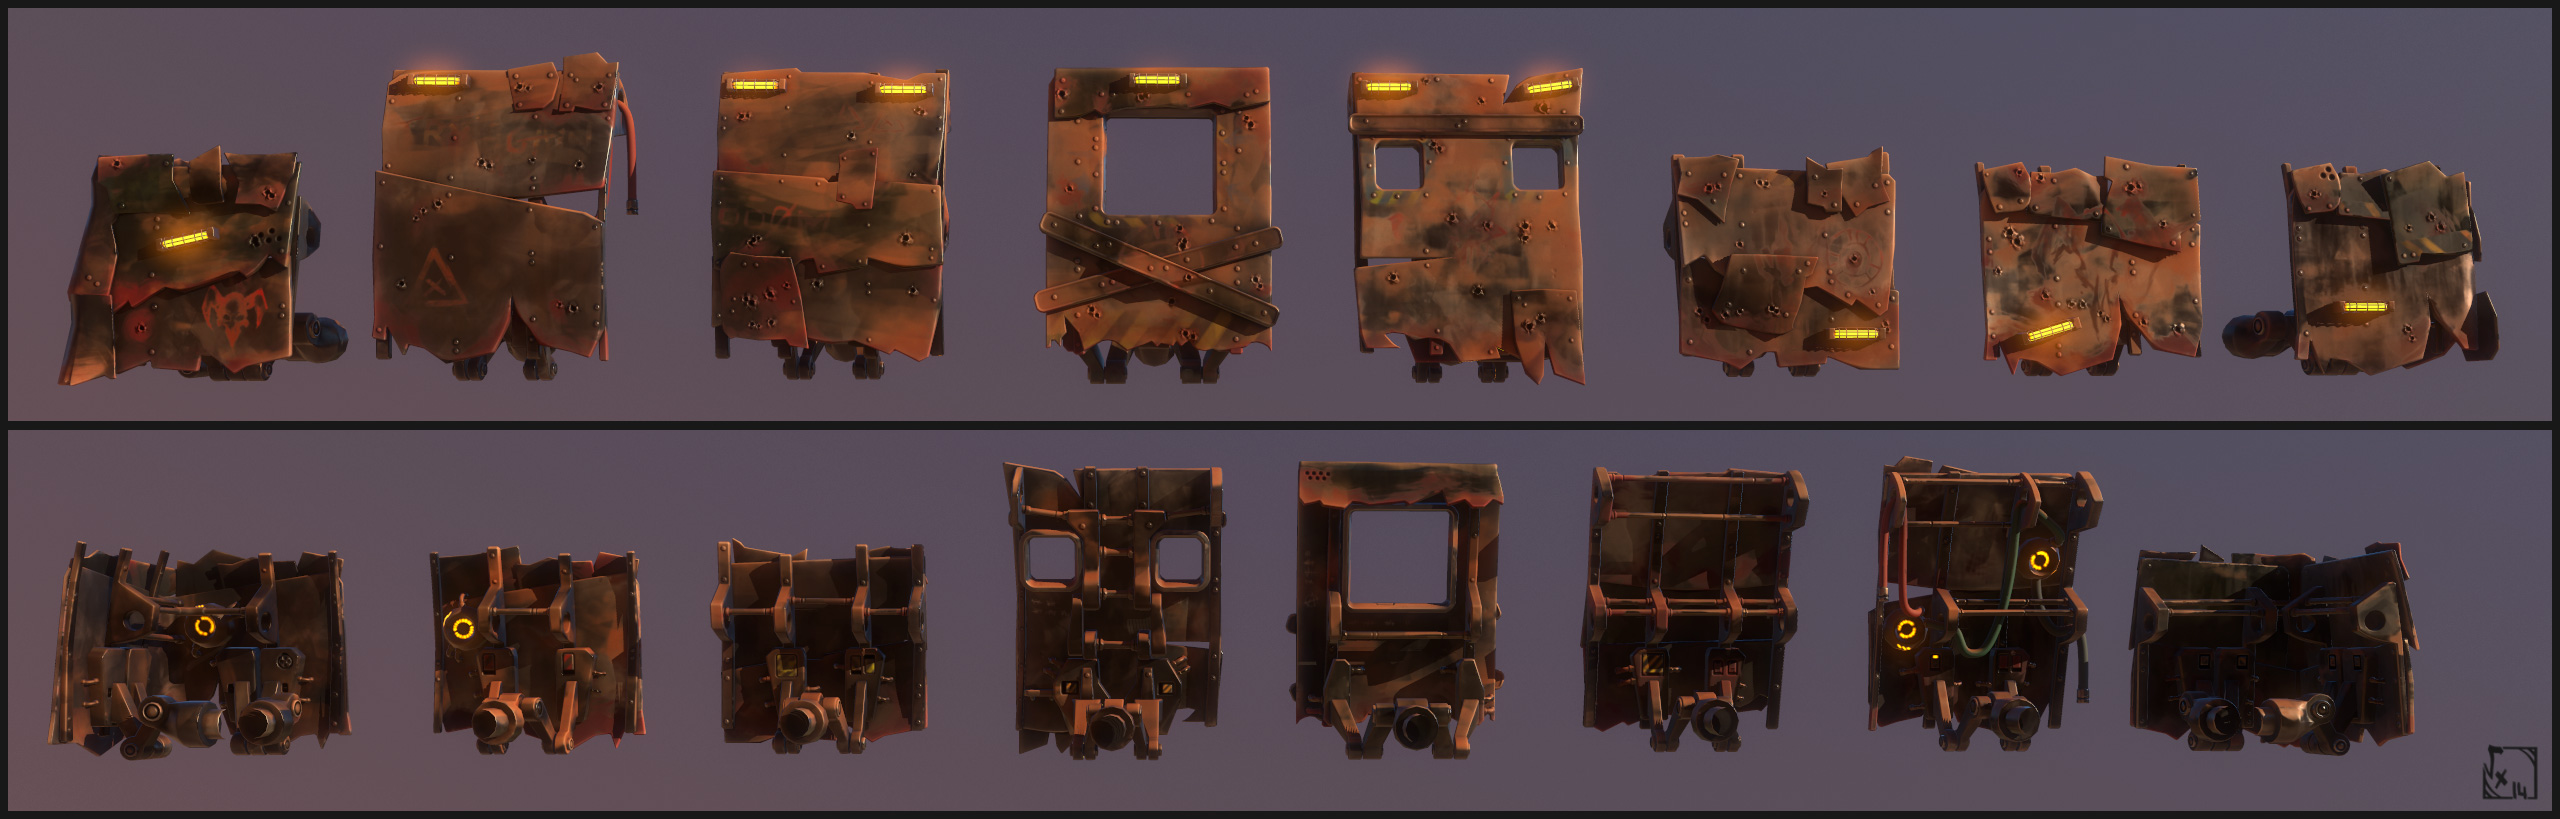
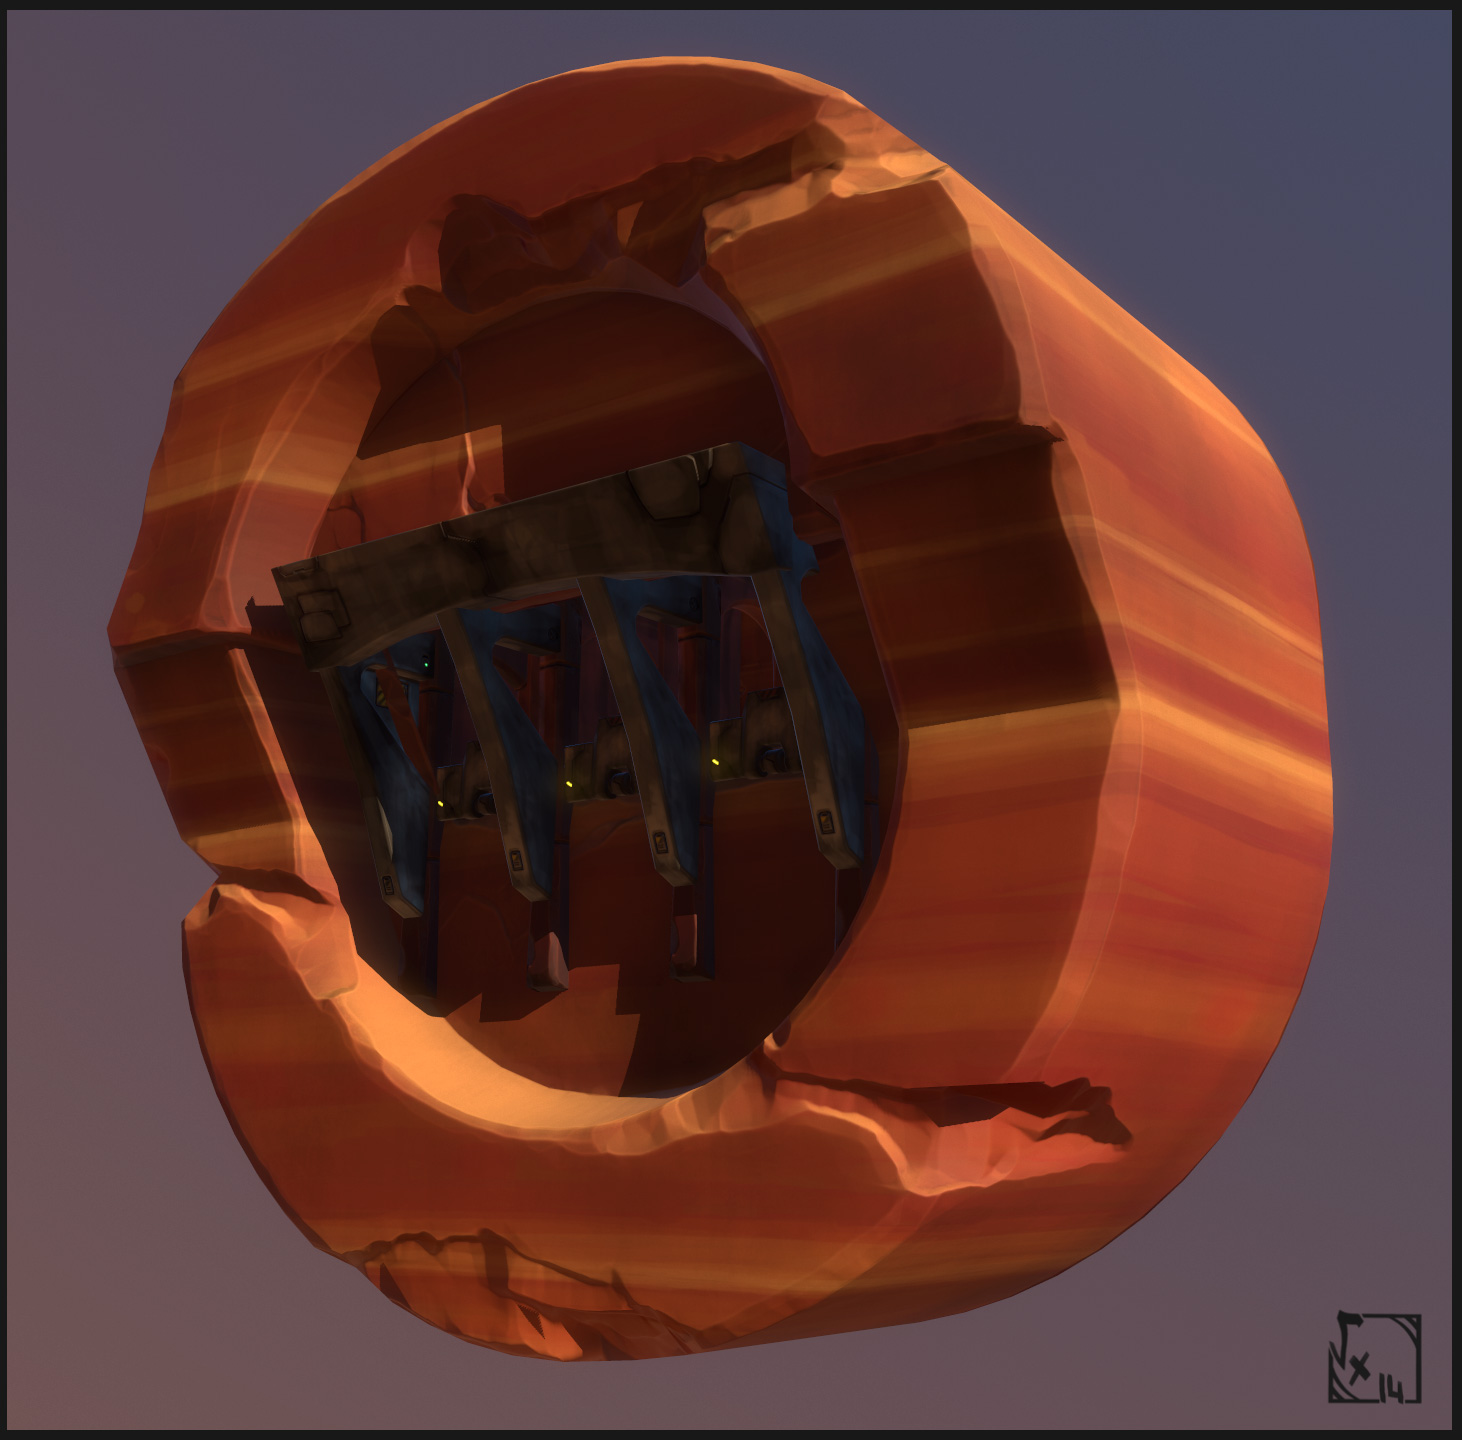
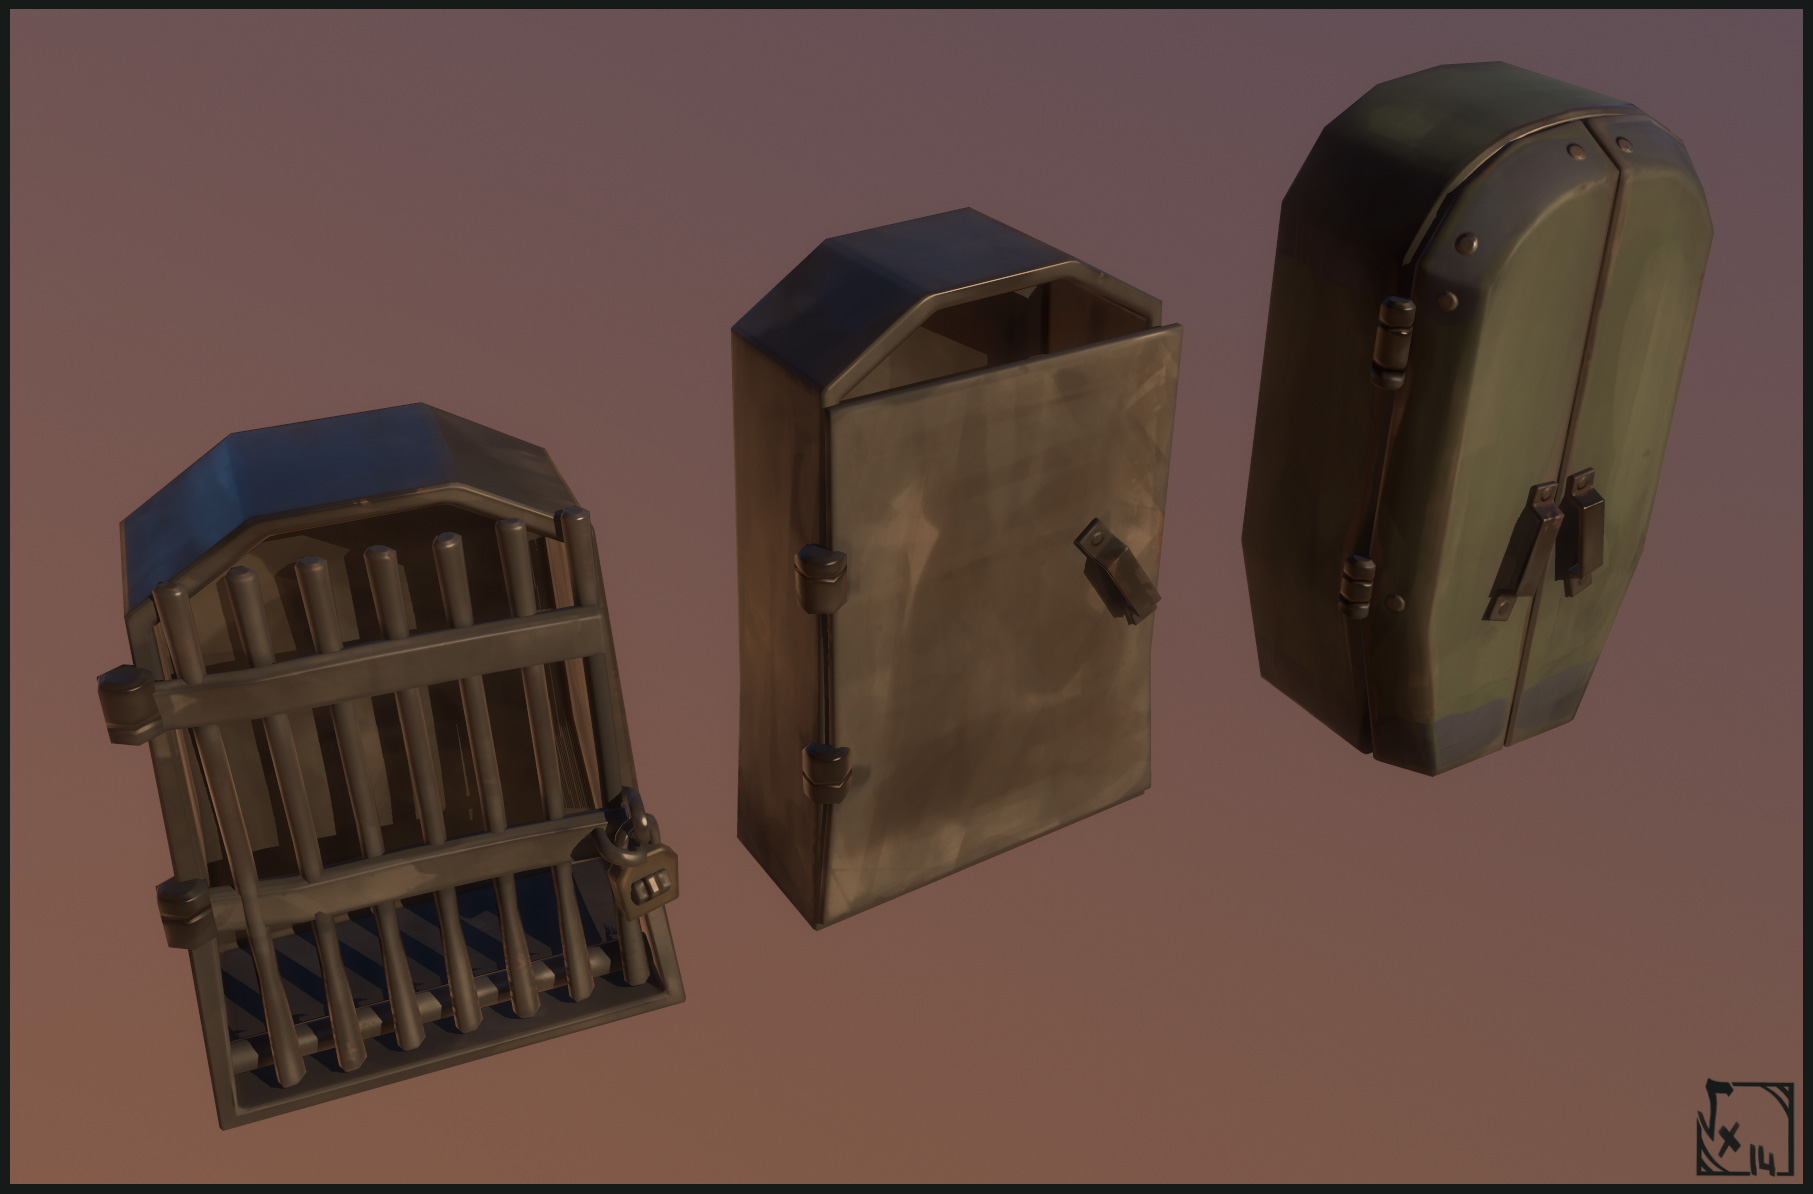
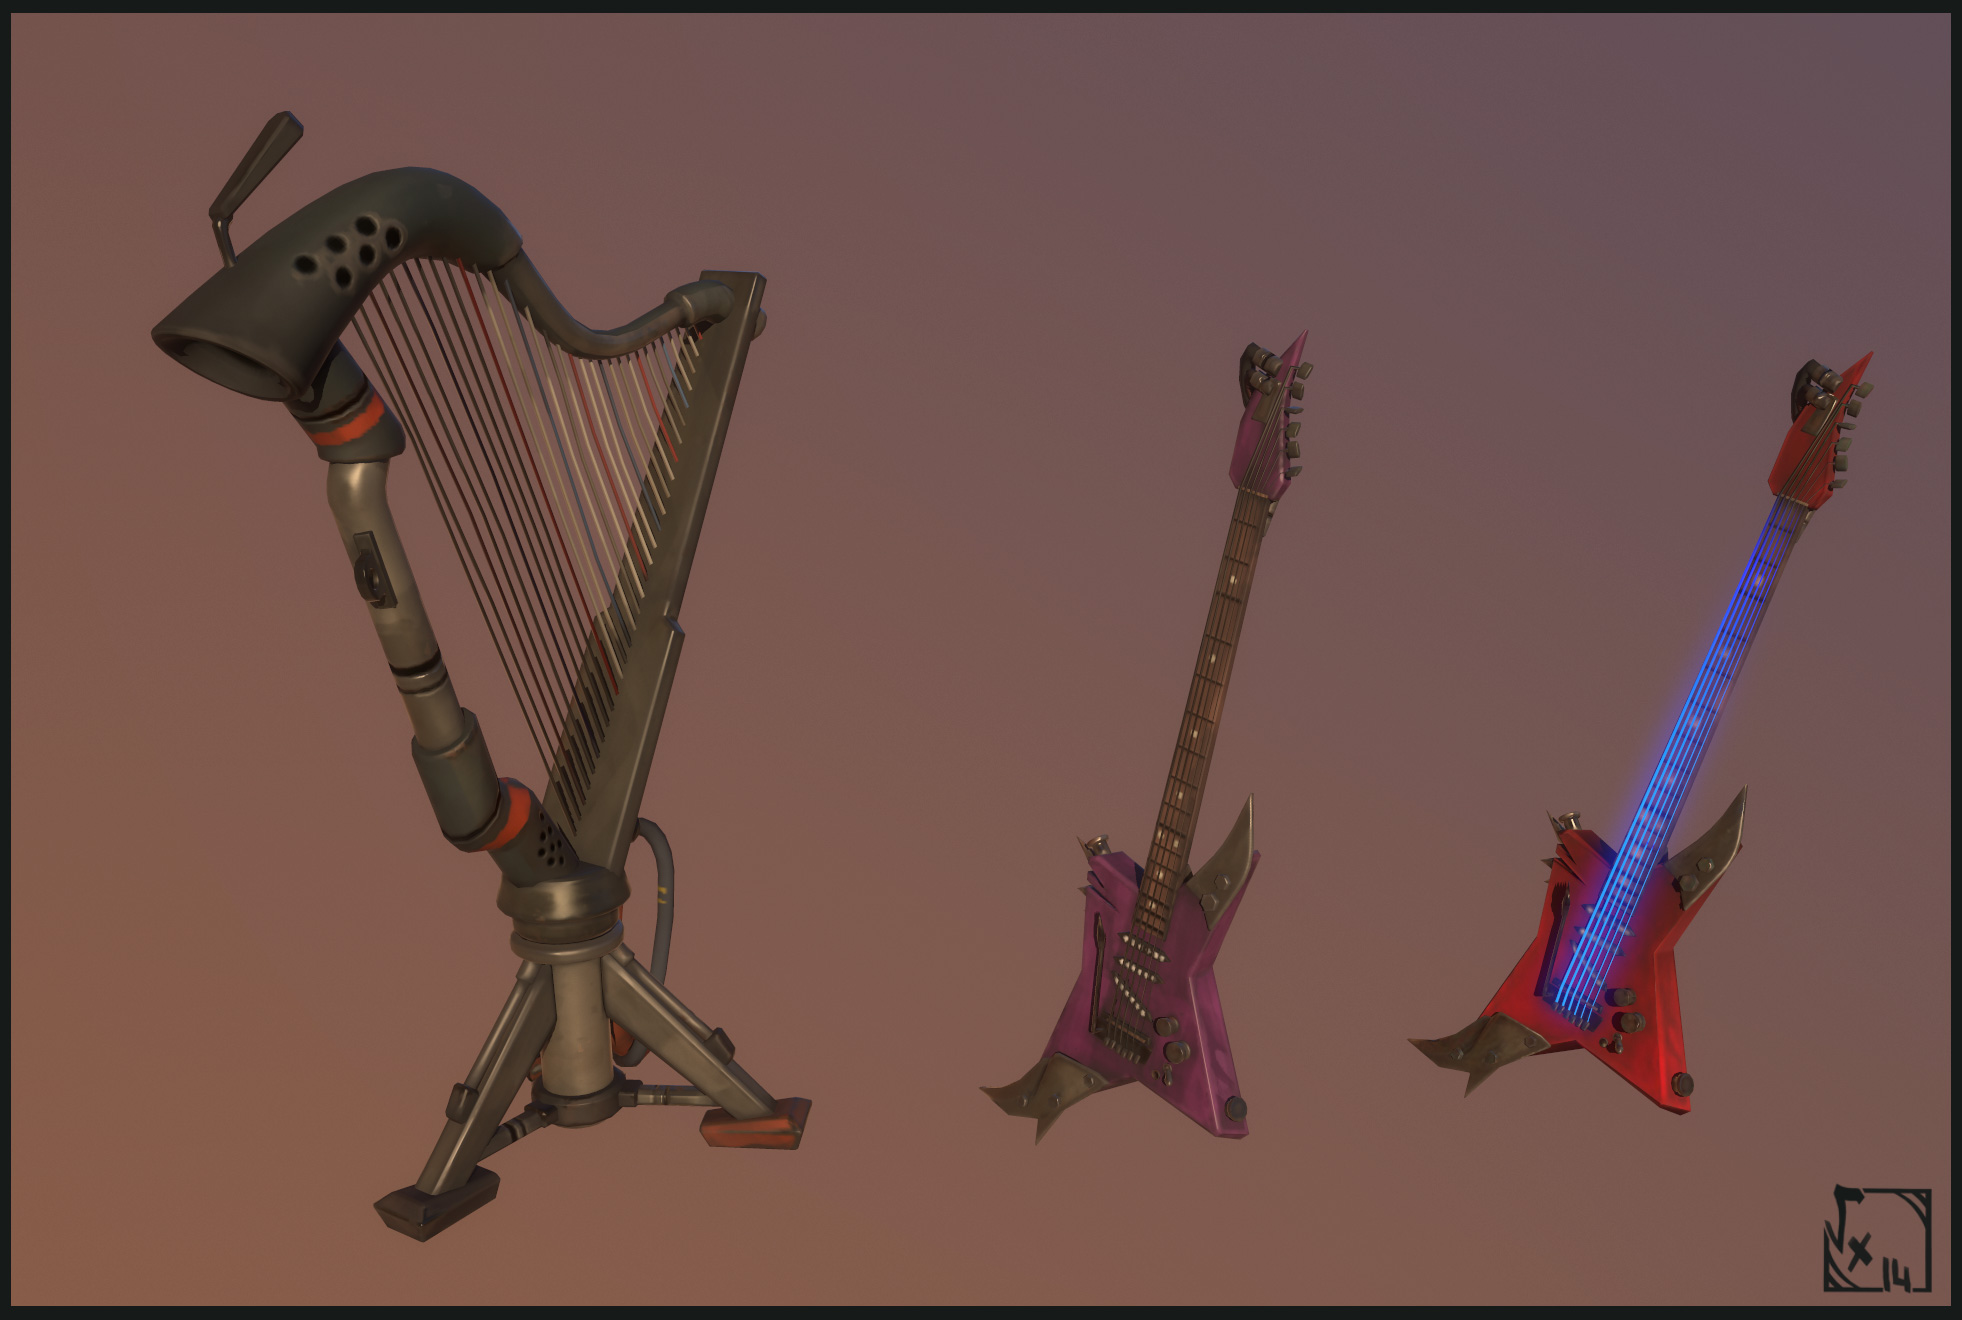
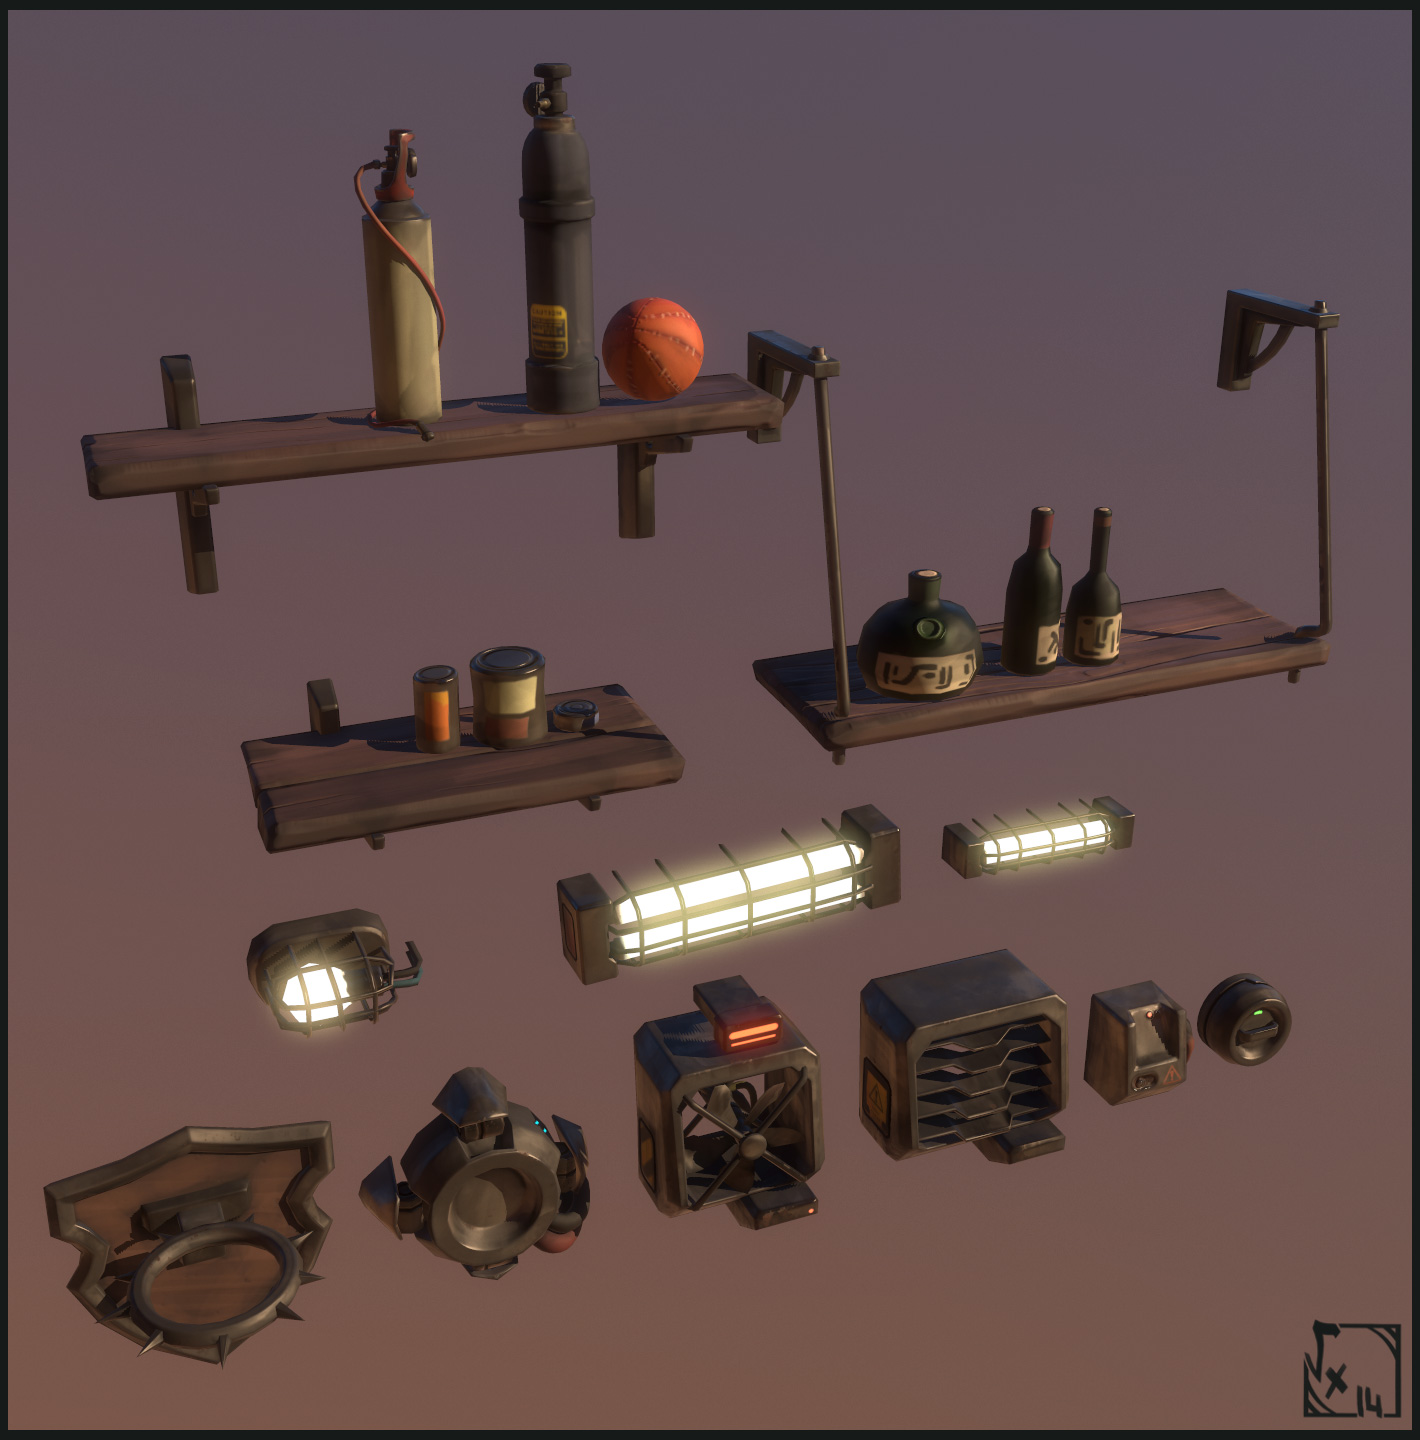
All environment pieces & level I did for The Burning Descent VR, for RyseUp Studios are here, the game run under Unreal Engine 4. I also helped on other fileds such as VFX art ( a little but super fun moments ! ), ConceptArt, Animation ( rigging & posing only for special purpose ) and Character's textures.
I used 3DCoat for mostly everything except for stencils/Brushes creation ( PS ) with custom smartmaterials ( same used on SWR project =) ), ZBrush for all of those canyon rocks ^^
3dsMax for all Lowpoly's and plenty of highpolys ( mostly when not organic )
MightyBake for baking.Special thanks to Anthony Daneluzzi, Fantin Gislette, Alexandre Cheremetieff, Jonathan Belot, Laurent Dessart, Guillaume Zannoni, Maxime Teppe, Coralie Bruchon, Adrien Chenet, Milen Ivanov, and evryone who helped bringing this game to life ! I really enjoyed working with all of you and I hope we'll keep teaming'up like that in the future =)
The Burning Descent is a VR Game made@ RyseUp Studios in Lyon
Full project here ( + viewers of each asset and some scene
") ) : https://www.artstation.com/artwork/ryzzm
) : https://www.artstation.com/artwork/ryzzm


-
3
-
-
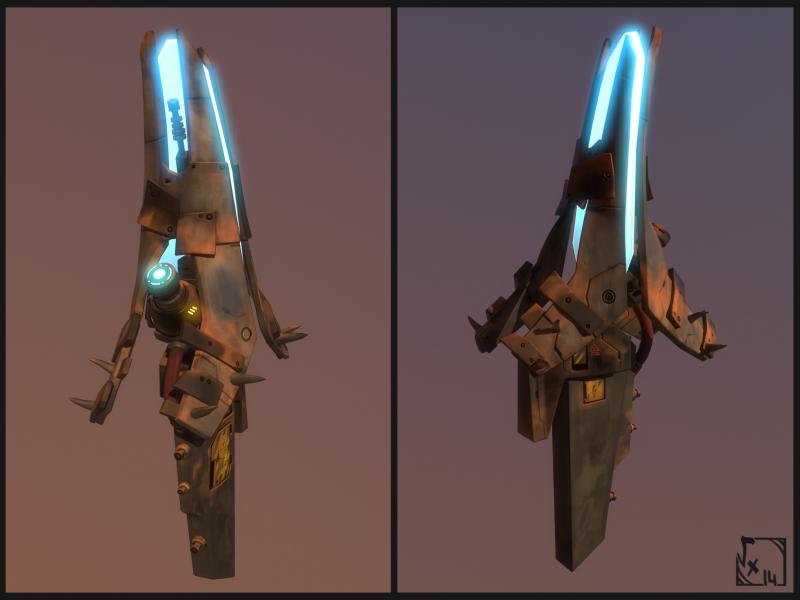
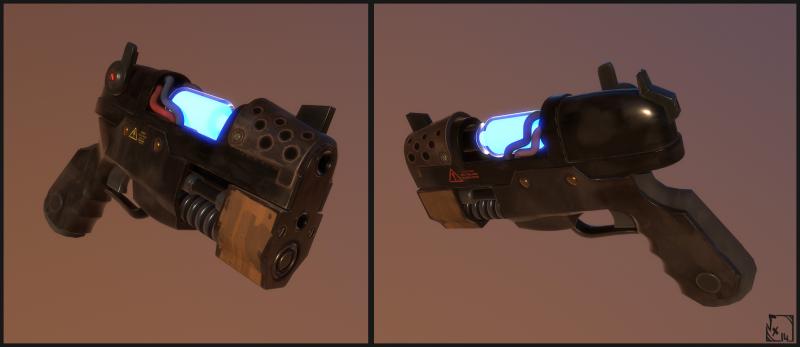
Ow and sorry for missing them ^^ both weapons are not used in game, the gun because it was a prototype one, and the Crossbow because it was a bit late ^^"
As usual, I did them with 3dsmax/MightyBake/3DCoat/Akeytsu
Simply that =)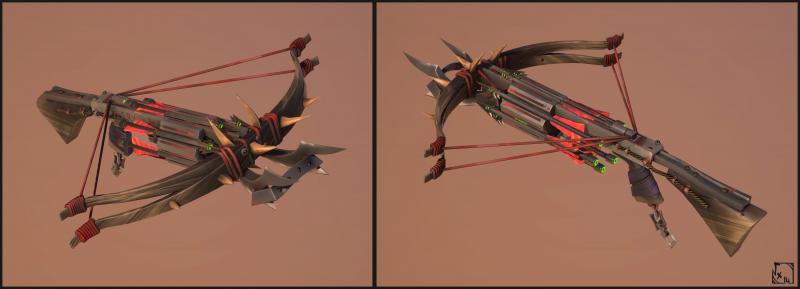
-
1
-
-
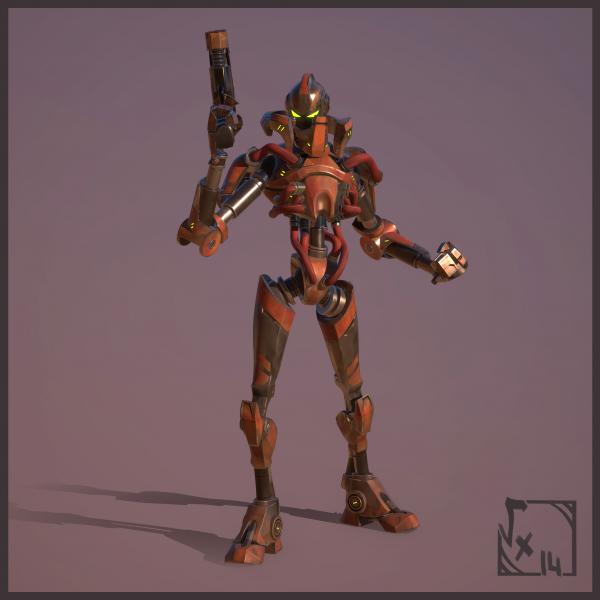
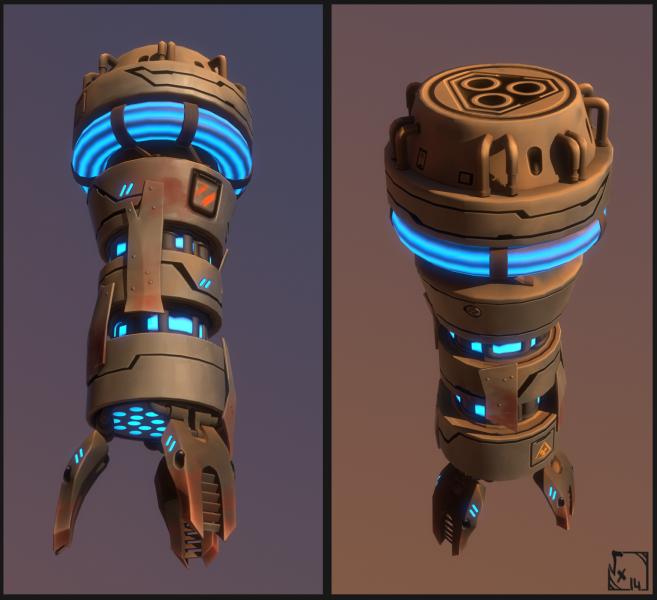
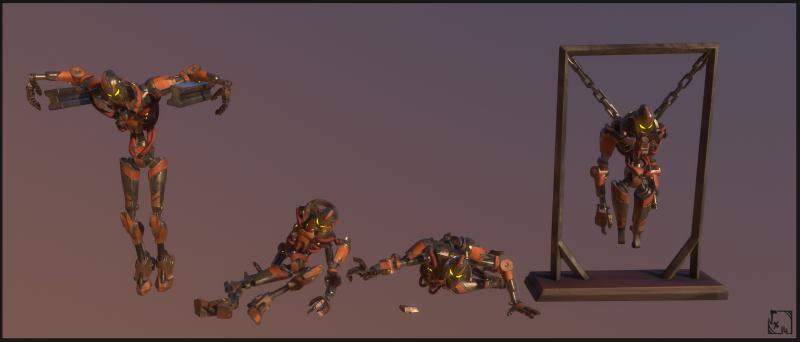
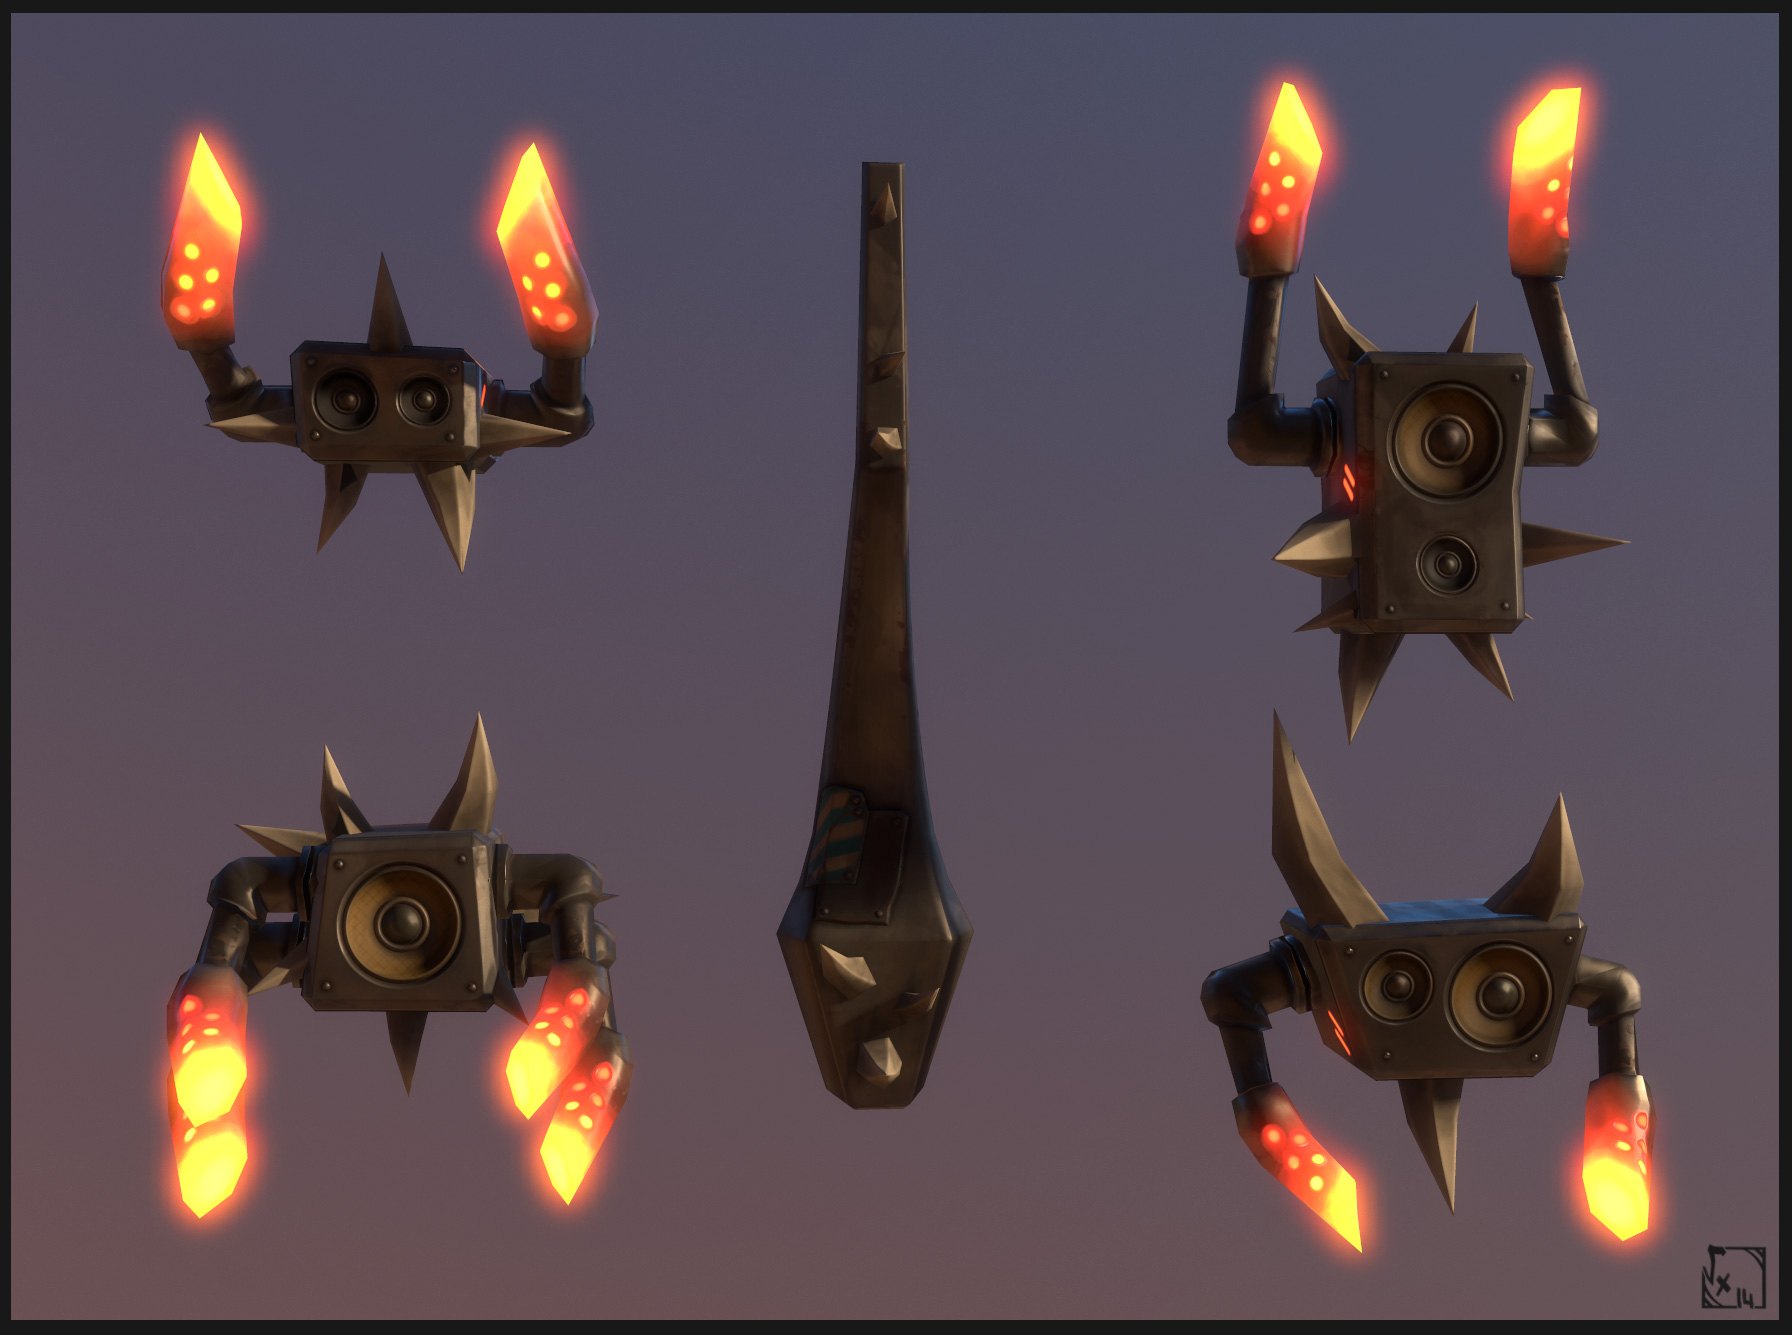
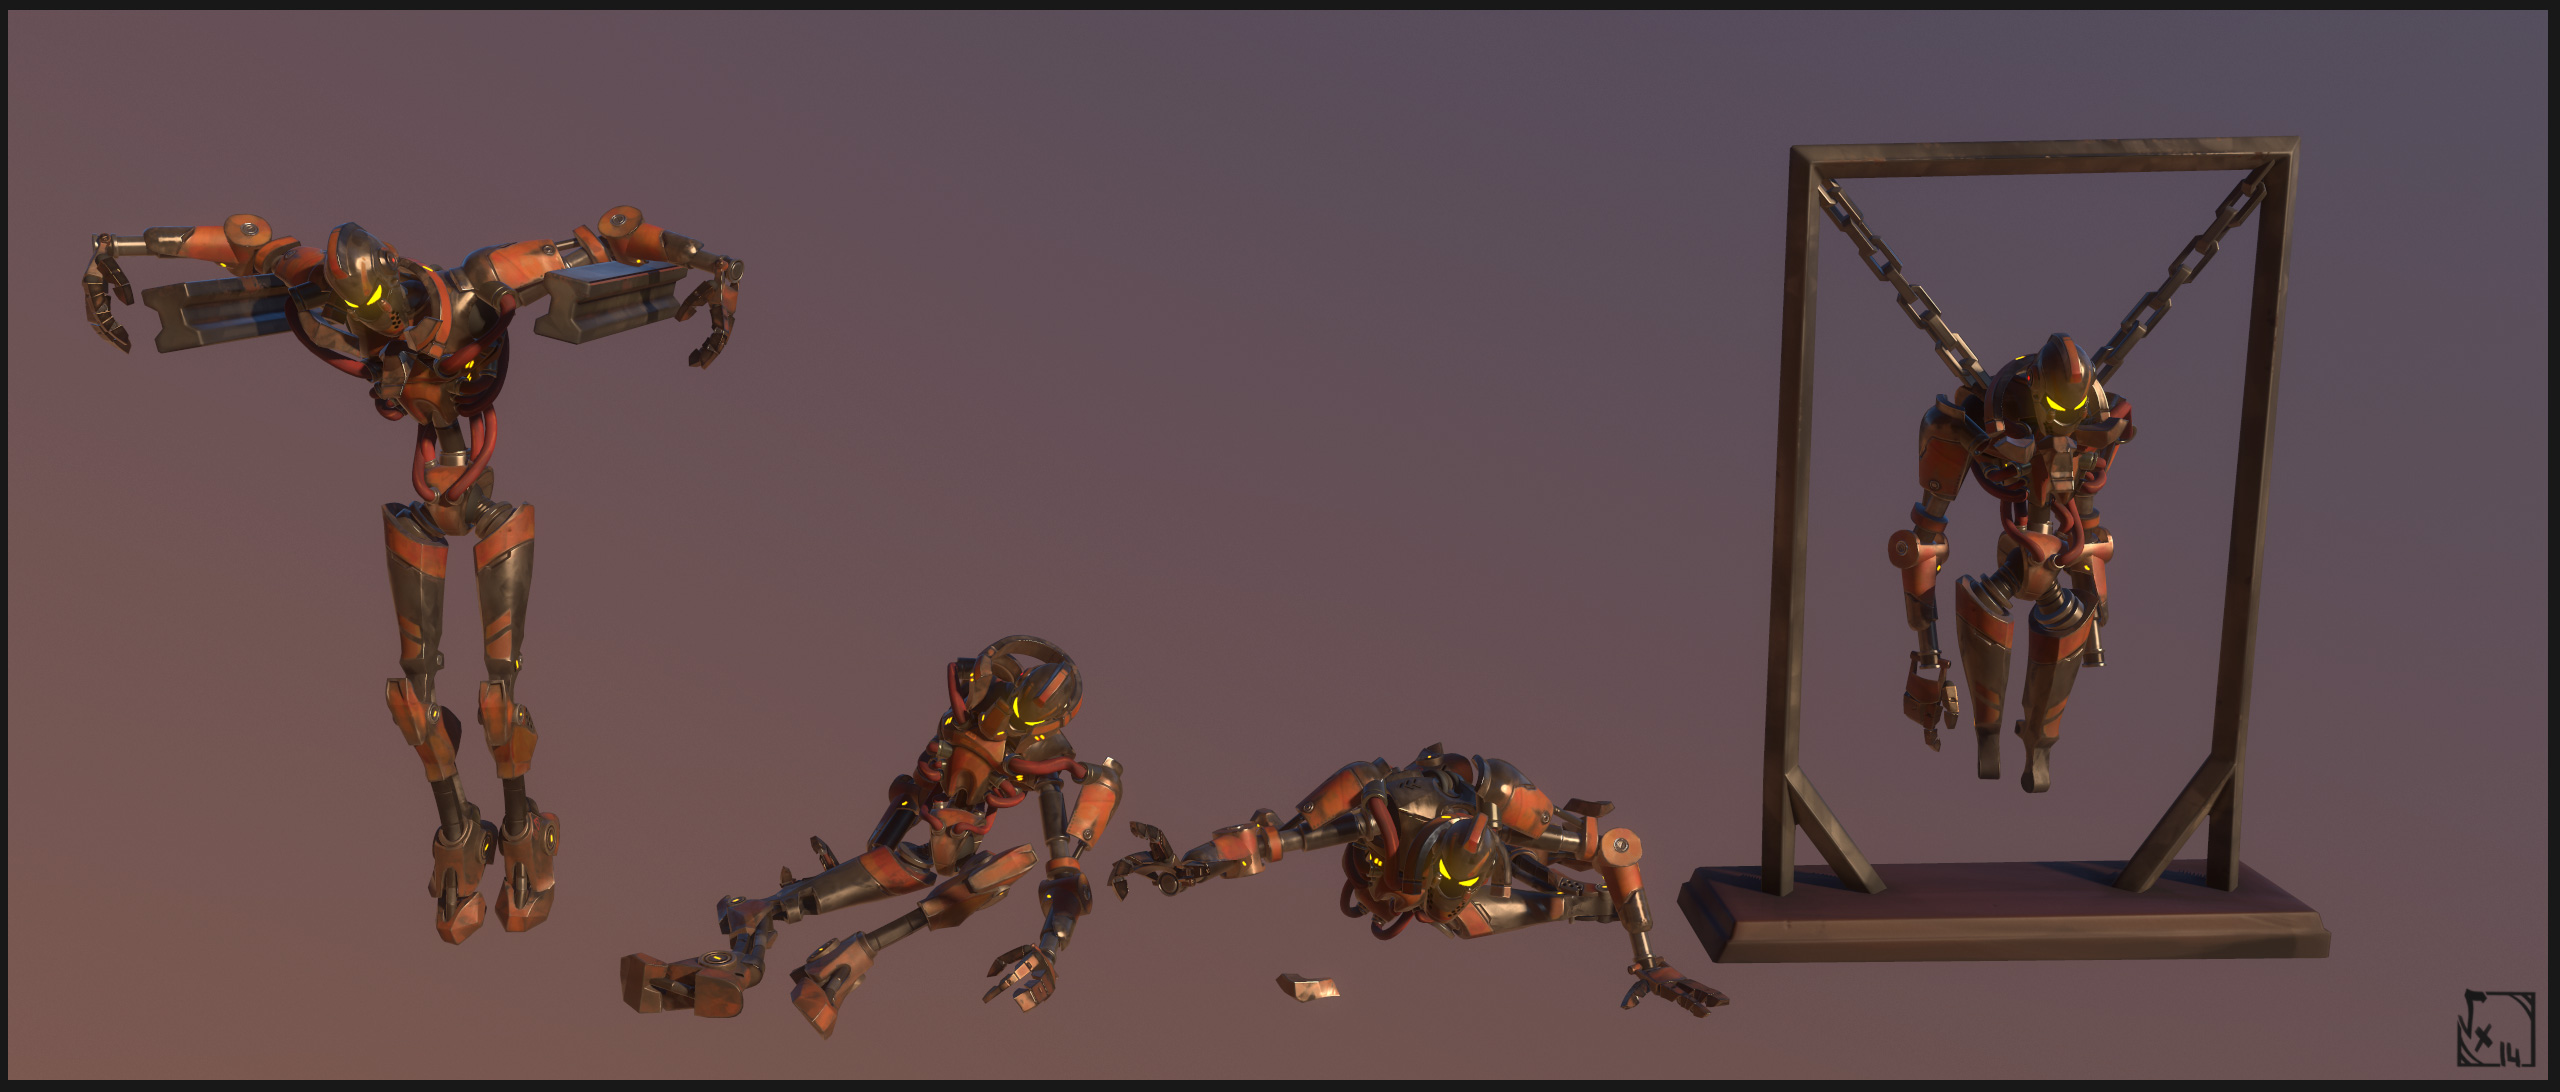
Made with 3dsmax/ZBrush/3DCoat/Akeytsu, from a conceptart made by Maxime Teppe and I
At the begining of The Burning Descent's dev, this bot was here to train players, the team did almost everything in order to get it into the game, but we've finally aborted this feature so I tried to drop the bot on some parts of the level anyway ^^ I can't let a cool thing go away like that ^^ You can see some of them arround the map, as "victims" of the arena fighters =D
Full project here with 3D viewers : https://www.artstation.com/artwork/26n1x -
Ashstrid ( High/Low/Uvs/Bake ) was made by the talented artist Coralie Bruchon ( https://www.artstation.com/artist/longsharp ). Except the CrossBow/Darts I made from A to Z on 3dsmax/MightyBake/3DCoat/Akeytsu, I did only her PBR textures/Rig/Posing.
Full project's here : https://www.artstation.com/artwork/1DXZo-
1
-
-
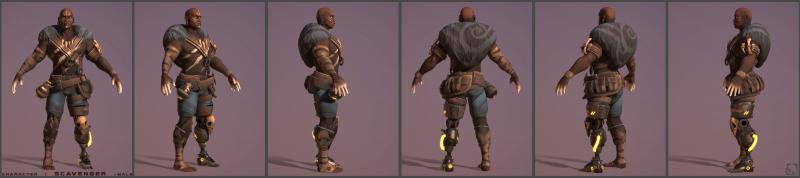
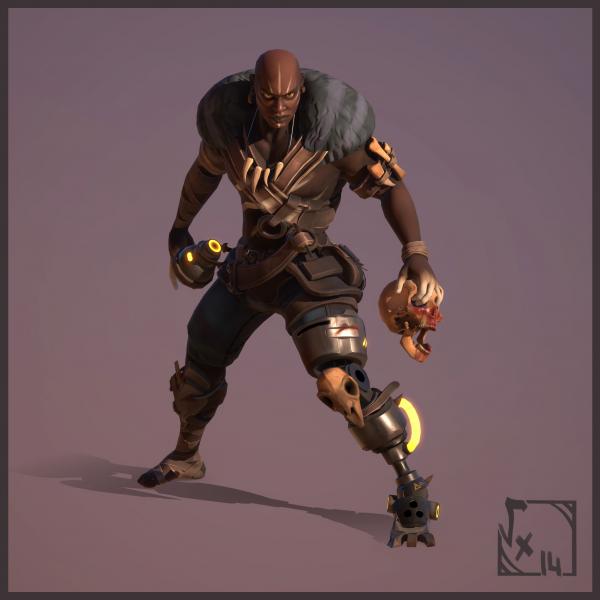
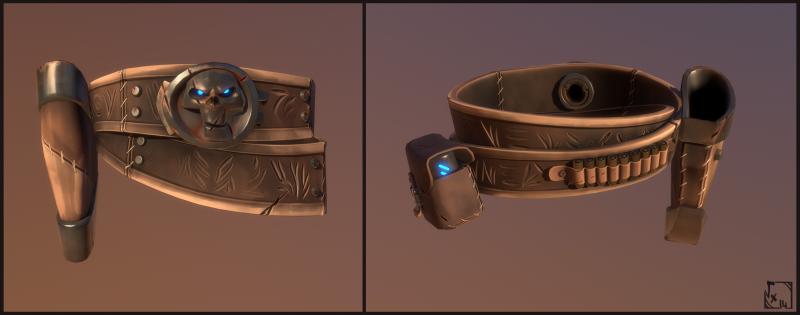
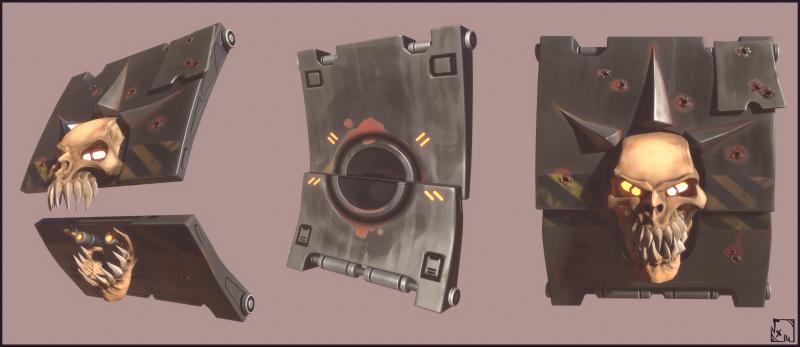
Karl’Os ( High/Low/Uvs/Bake ) was made by the talented artist Coralie Bruchon ( https://www.artstation.com/artist/longsharp ). I did the Skull + all PBR textures/Rig/Posing mostly with 3DCoat/Akeytsu.
Full Project here : https://www.artstation.com/artwork/oGZym
-
1
-
-
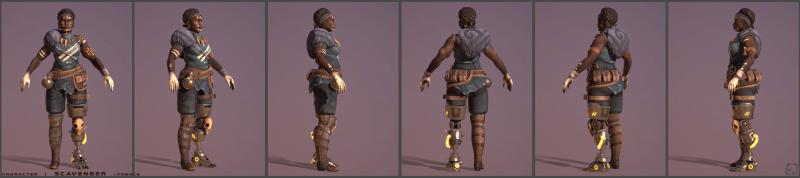
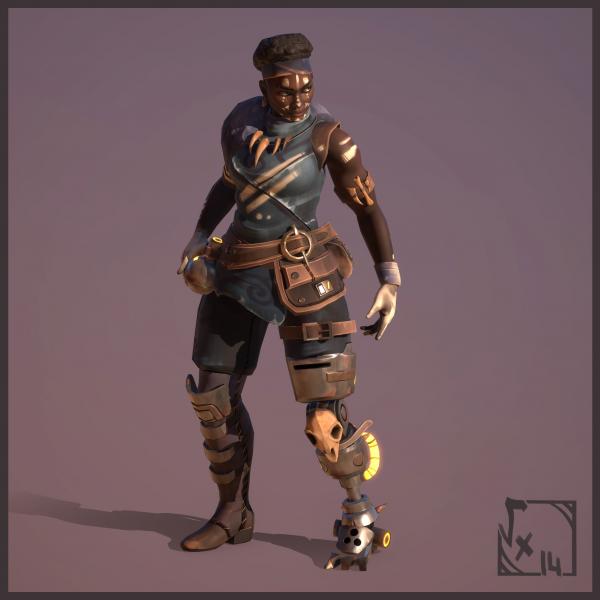
Sarah ( High/Low/Uvs/Bake ) was made by the talented artist Coralie Bruchon ( https://www.artstation.com/artist/longsharp ). Anthony Daneluzzi made her weapons from A to Z, and I did the PBR textures/Rig/Posing mostly with 3DCoat/Akeytsu.
Full Project here : https://www.artstation.com/artwork/rGZDe
-
1
-
-
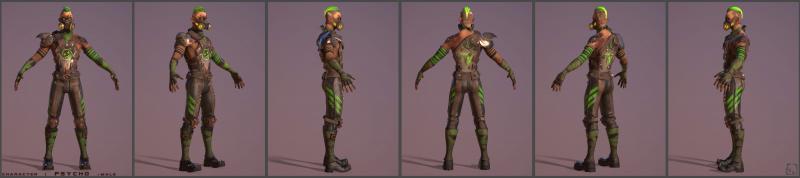
Madthing ( High/Low/Uvs/Bake ) was made by the talented artist Coralie Bruchon ( https://www.artstation.com/artist/longsharp ). Anthony Daneluzzi made his weapon from A to Z, and I did the PBR textures/Rig/Posing mostly with 3DCoat/Akeytsu.
Full project's page here : https://www.artstation.com/artwork/bRJ8o
-
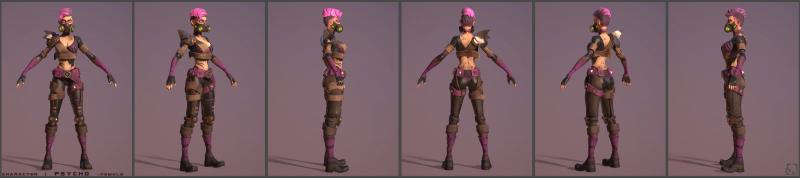
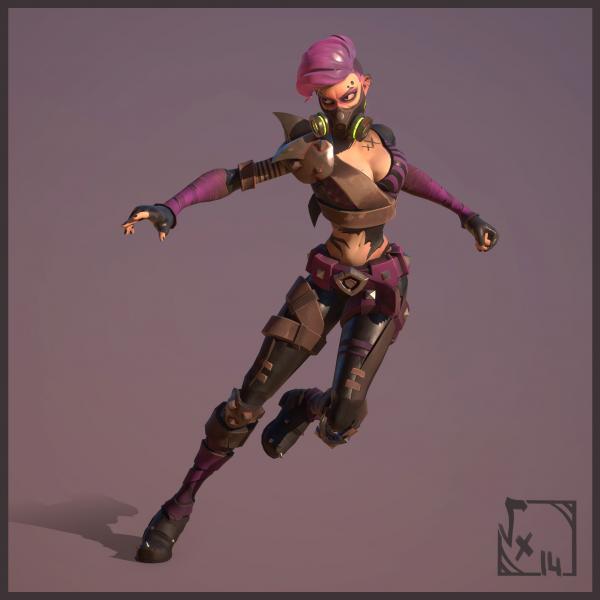
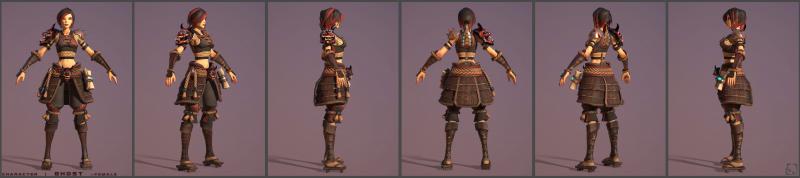
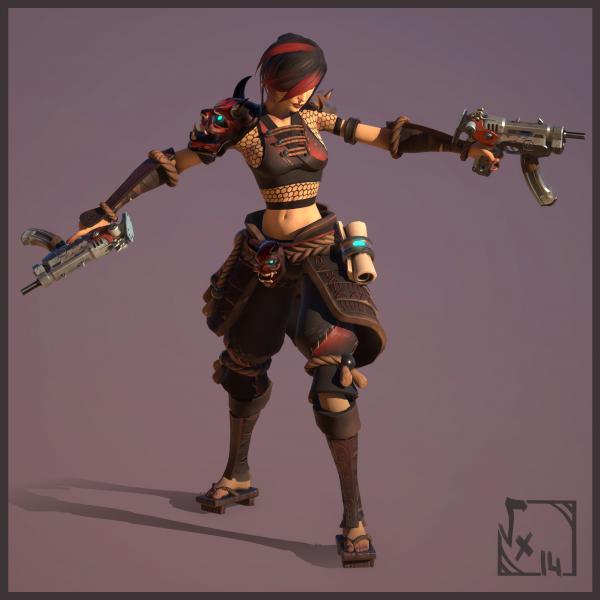
Vos'Kara ( High/Low/Uvs/Bake ) was made by the talented artist Coralie Bruchon ( https://www.artstation.com/artist/longsharp ). I did the PBR textures/Rig/Posing mostly with 3DCoat/Akeytsu.
Full Project here : https://www.artstation.com/artwork/nG2Ne
-
On 03/11/2017 at 1:20 AM, Vexod14 said:
Bug between UV Room and paint room with Vertice Normals
The problem : when I send my model into the UV Room, then change the UV Packing, 3DCoat recompute all my vertice normals to softedges ( which is not what I have sent into 3DCoat ).
May you fix this by realy locking models normals, binormals and tangents ? The "lock" button doesn't fix the issue.to be clearer ; I setup my vertices normals in 3dsmax or maya in angle+face/area weighted+from UV Splitted normals in order to avoid having large gradients on my bakes, and also ugly triangles being visible all over my models when using mipmaps, so almost all the important bake infos are stored in chamfers ( or "bevels" for maya users ).
I was wondering, does the FBX import/export imporovement fix this issue Andrew ?Cause being able to work on any model's vertices normals setup could be great, for exmaple, to avoid rebaking new UV packed assets ( and so decline them tons of time and really play with ressources you've already made ) or also create atlasses of numerous models faster than light =)
A good fix could be to just "cut and paste" islands of the original bake to the new UV packing but without changing any pixels values on these islands, or maybe this issue of changing the values just happens at export, because the verticenormals has changed after editing UVs, for now that's a part of the problem which could solve this, as long as recomputing vertices normals is fairly simple on 3dsmax/maya.
But if I'm wrong please let me know ! =) -
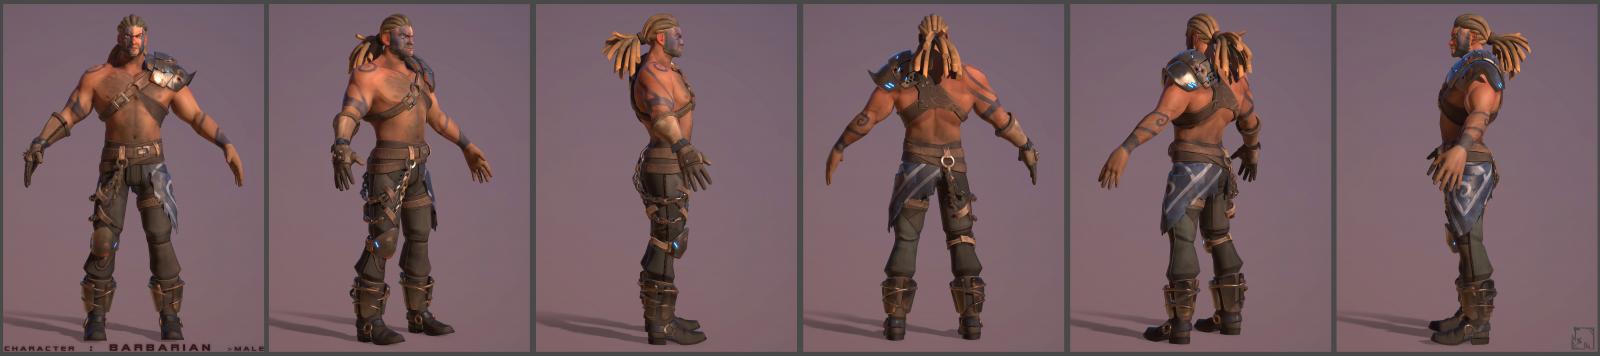

BraveDude ( High/Low/Uvs/Bake ) was made by the talented artist Coralie Bruchon ( https://www.artstation.com/artist/longsharp ). Anthony Daneluzzi made his weapons from A to Z, and I did the PBR textures/Rig/Posing mostly with 3DCoat/Akeytsu.
Full project here : https://www.artstation.com/artwork/60kZW-
1
-


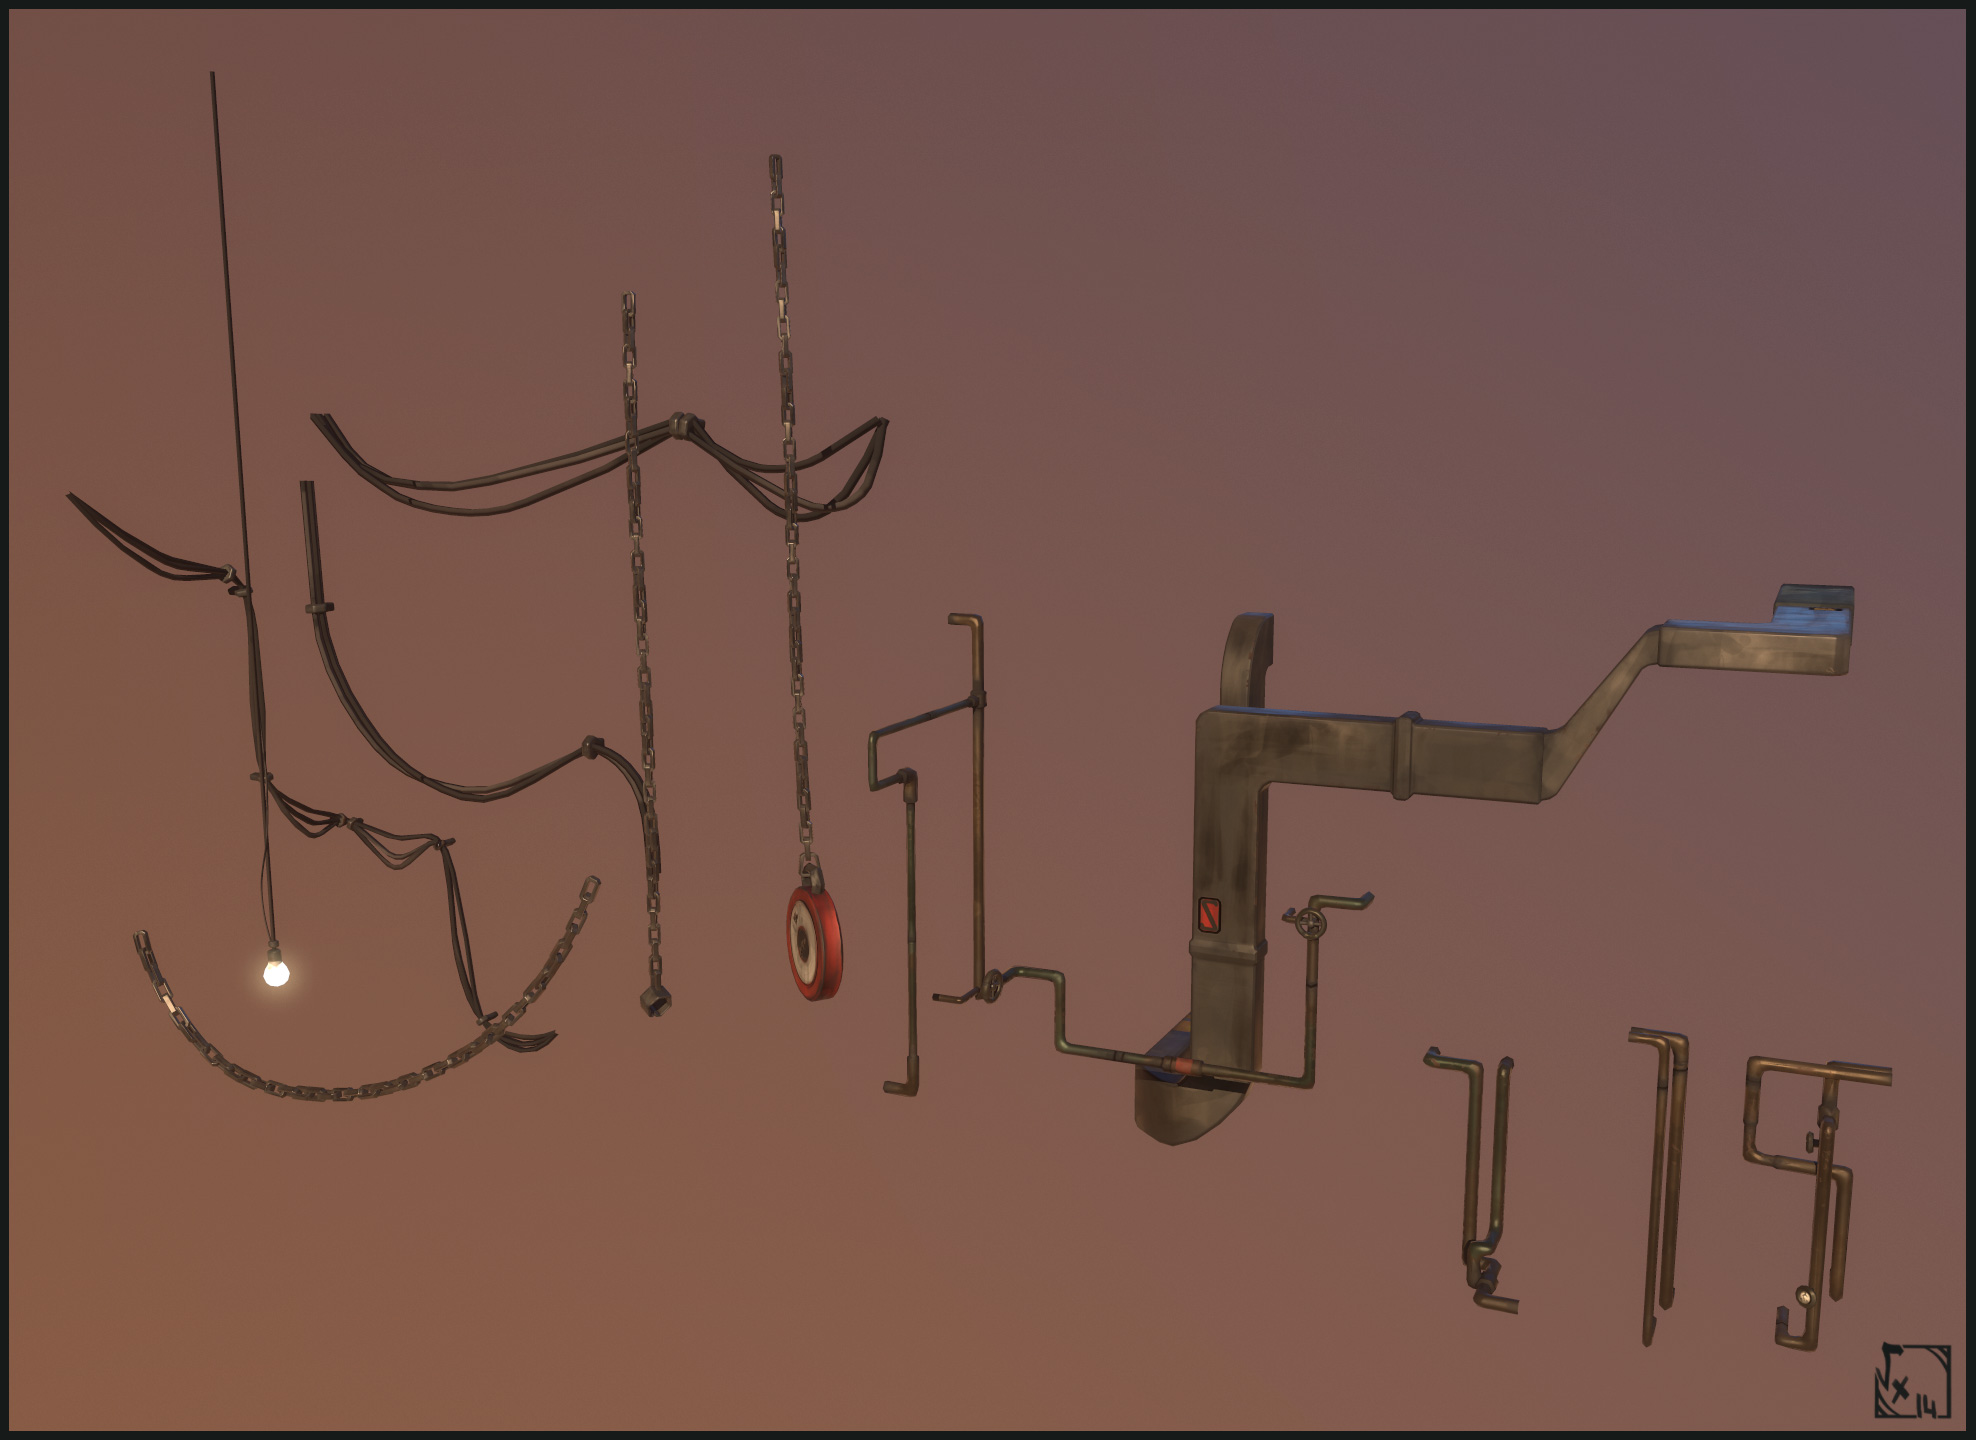
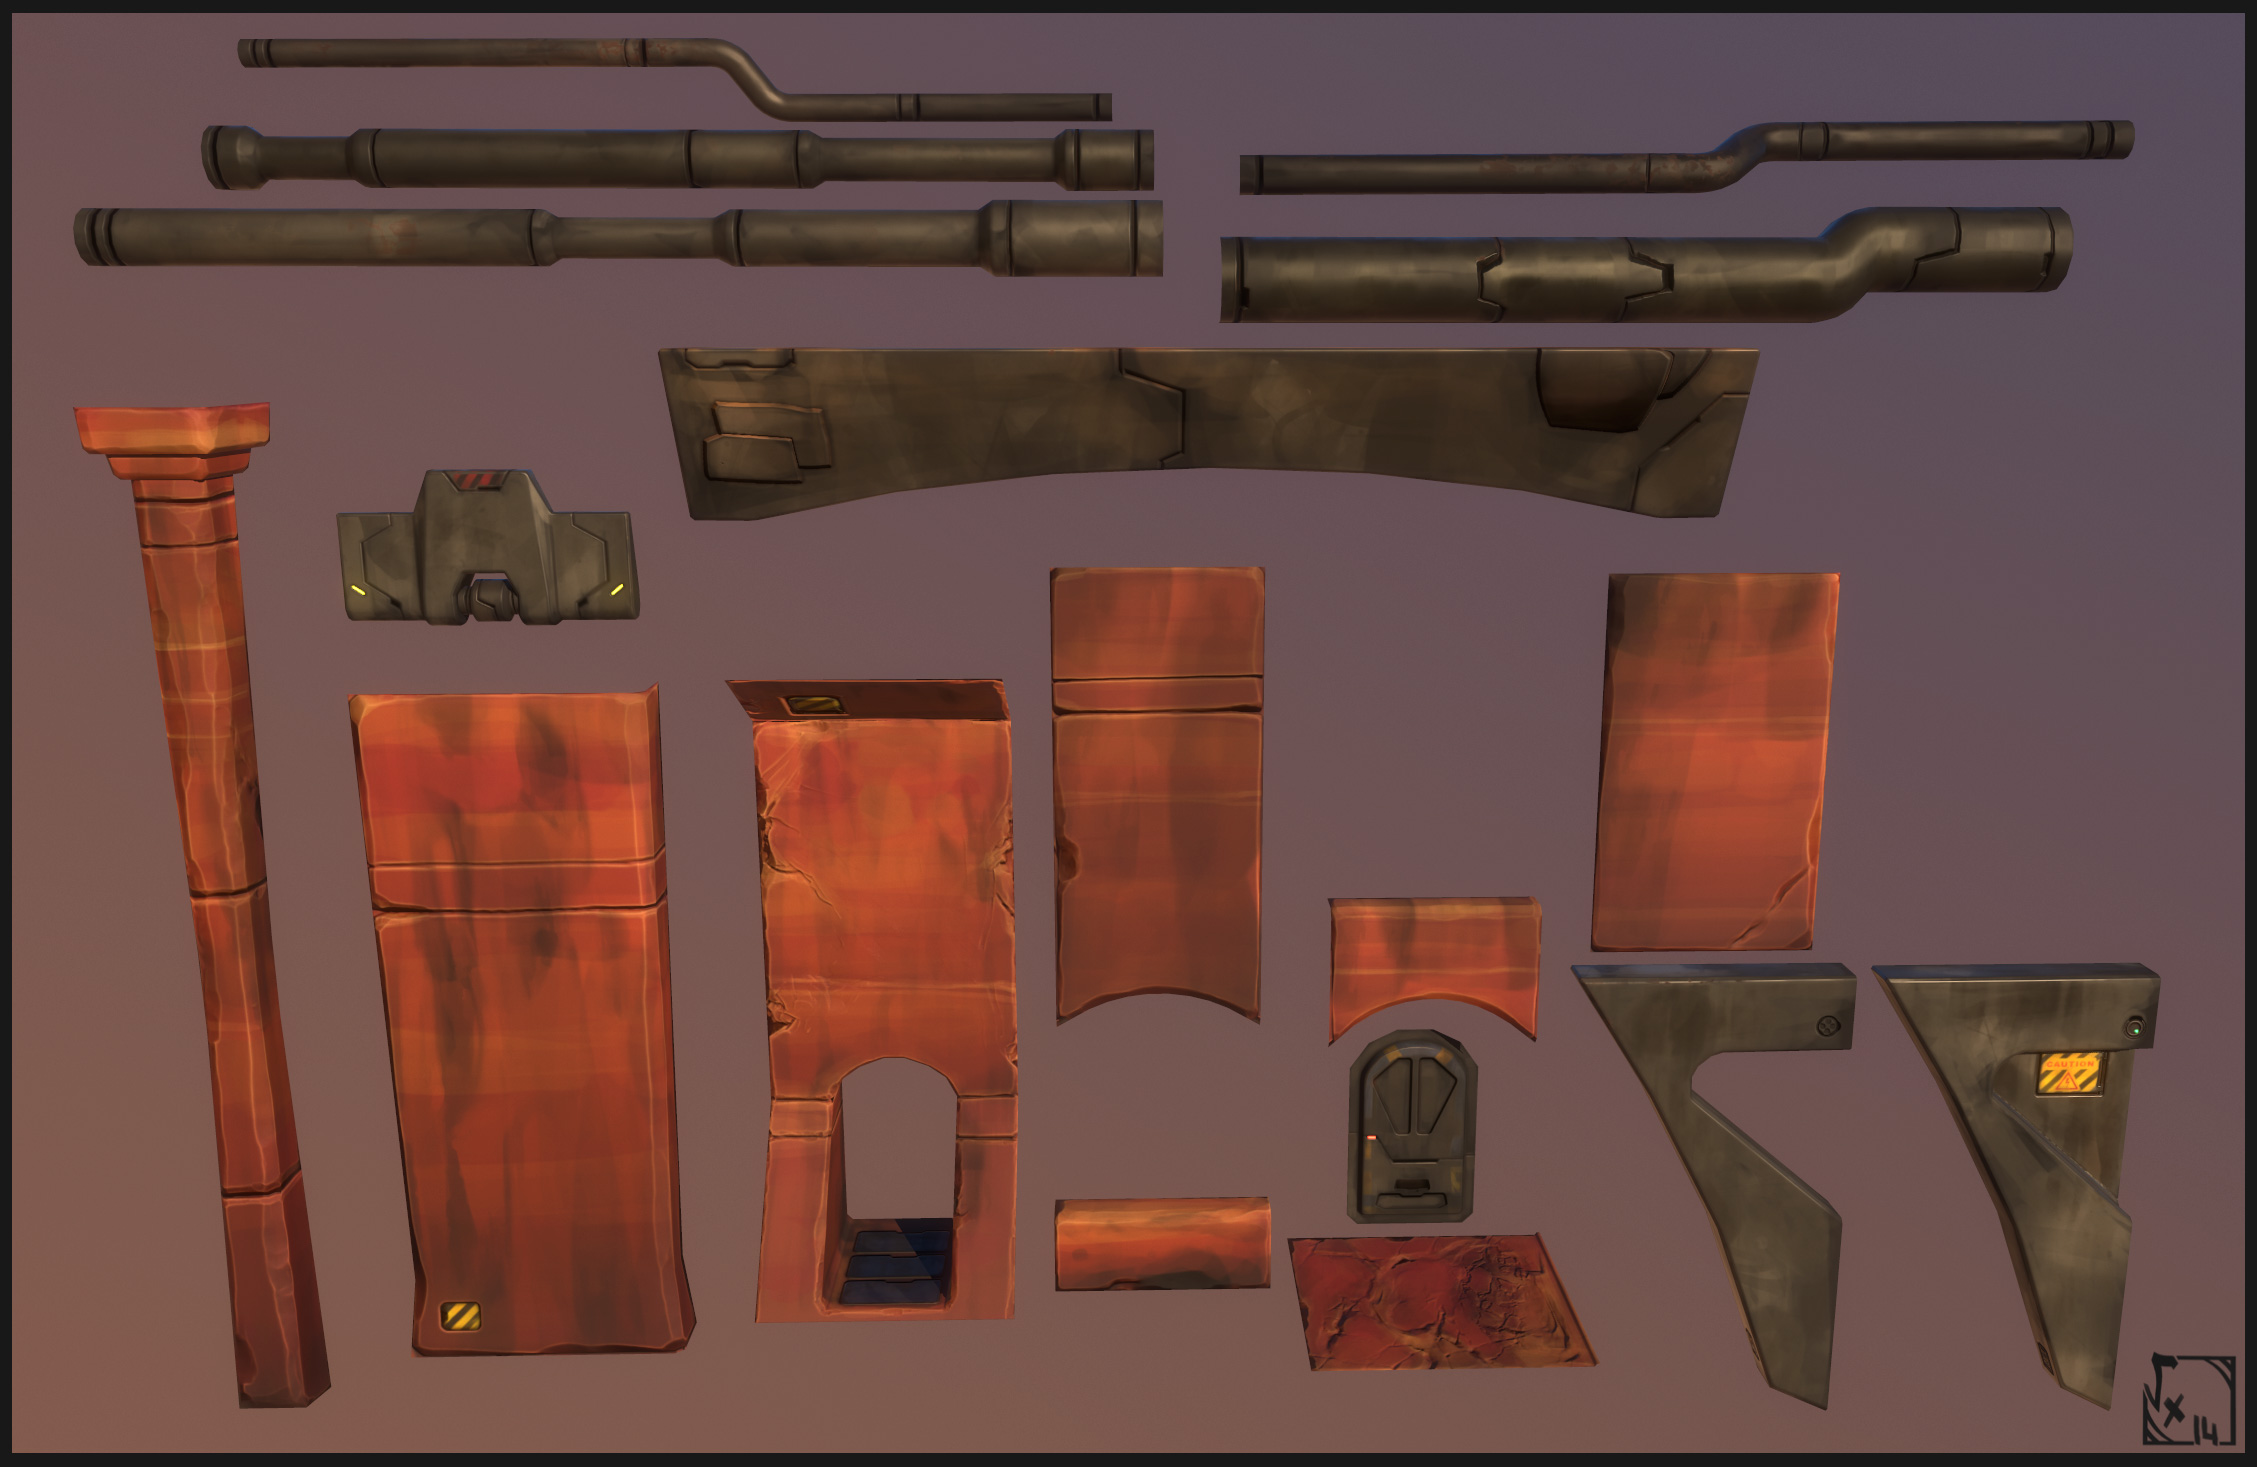
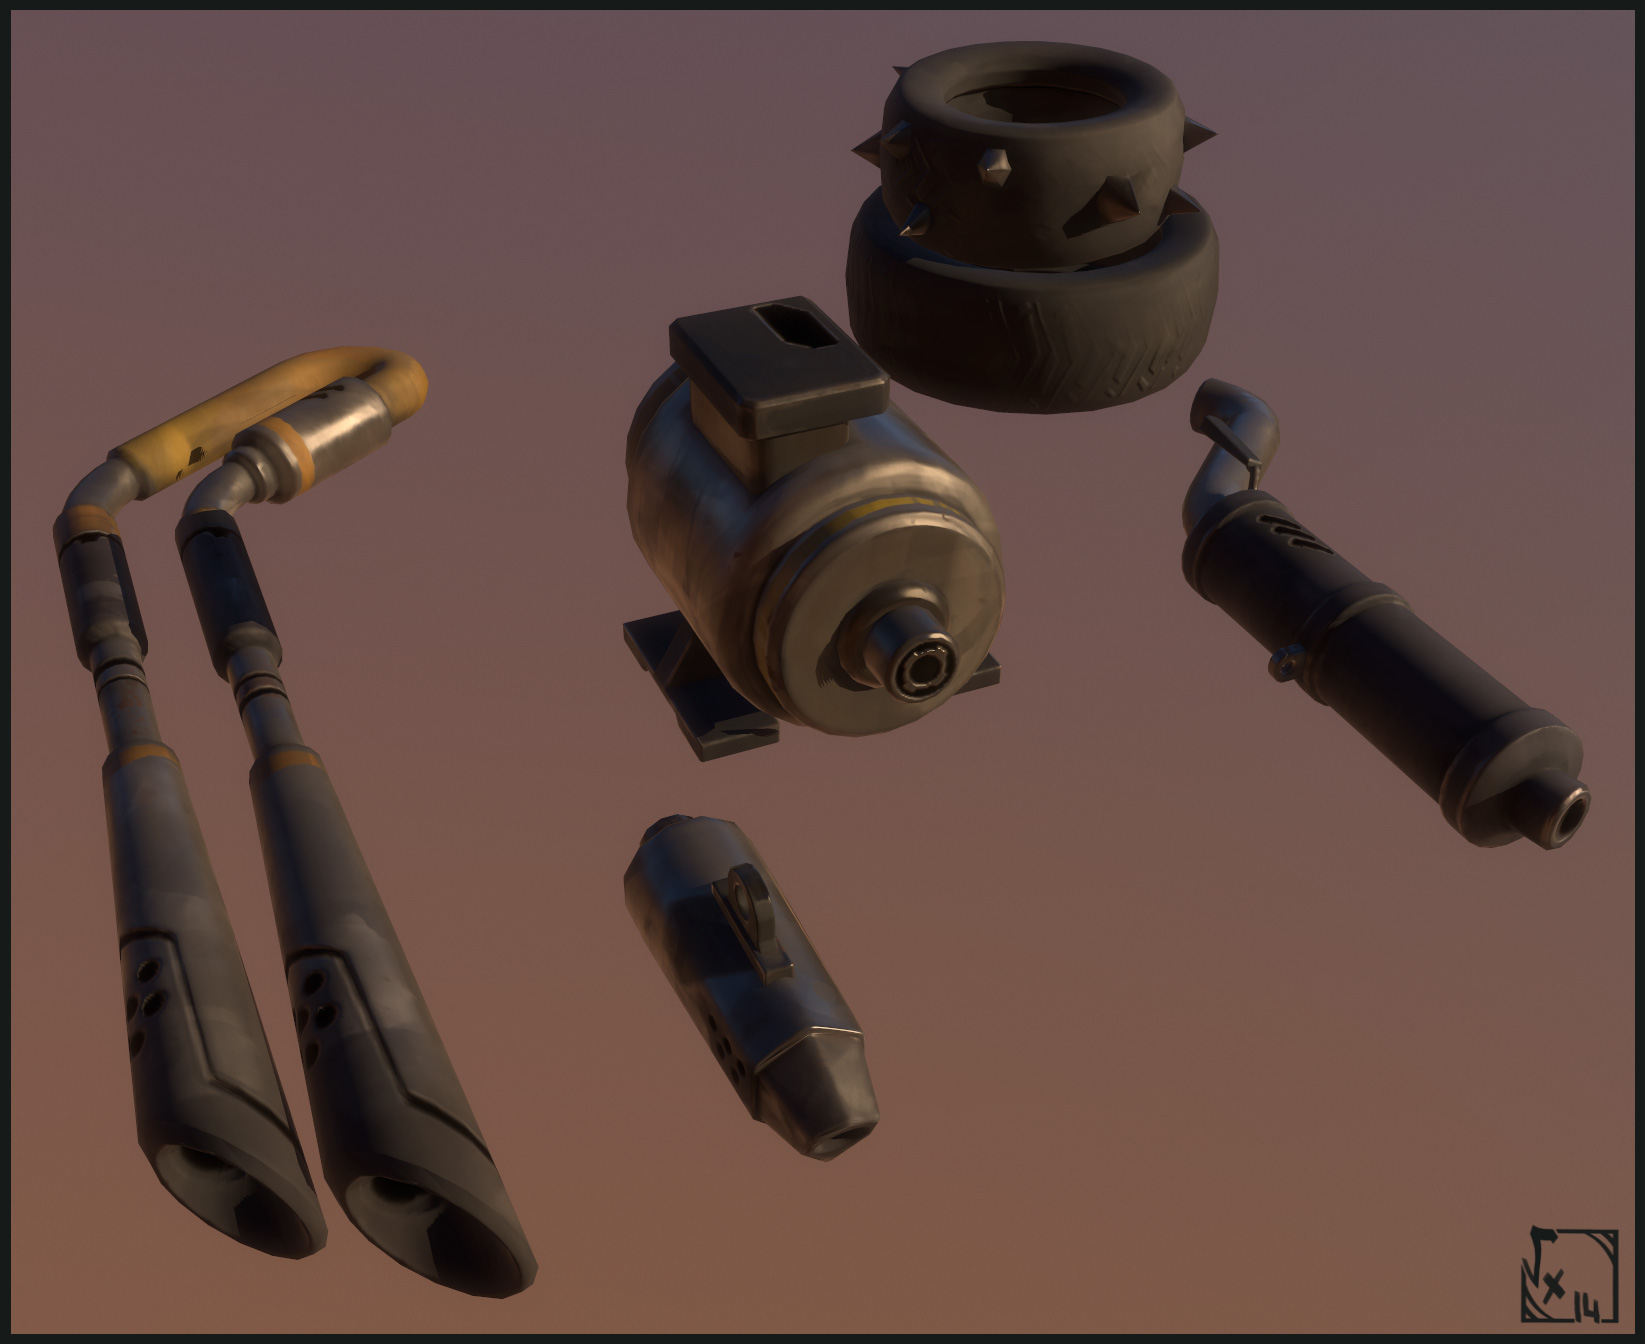
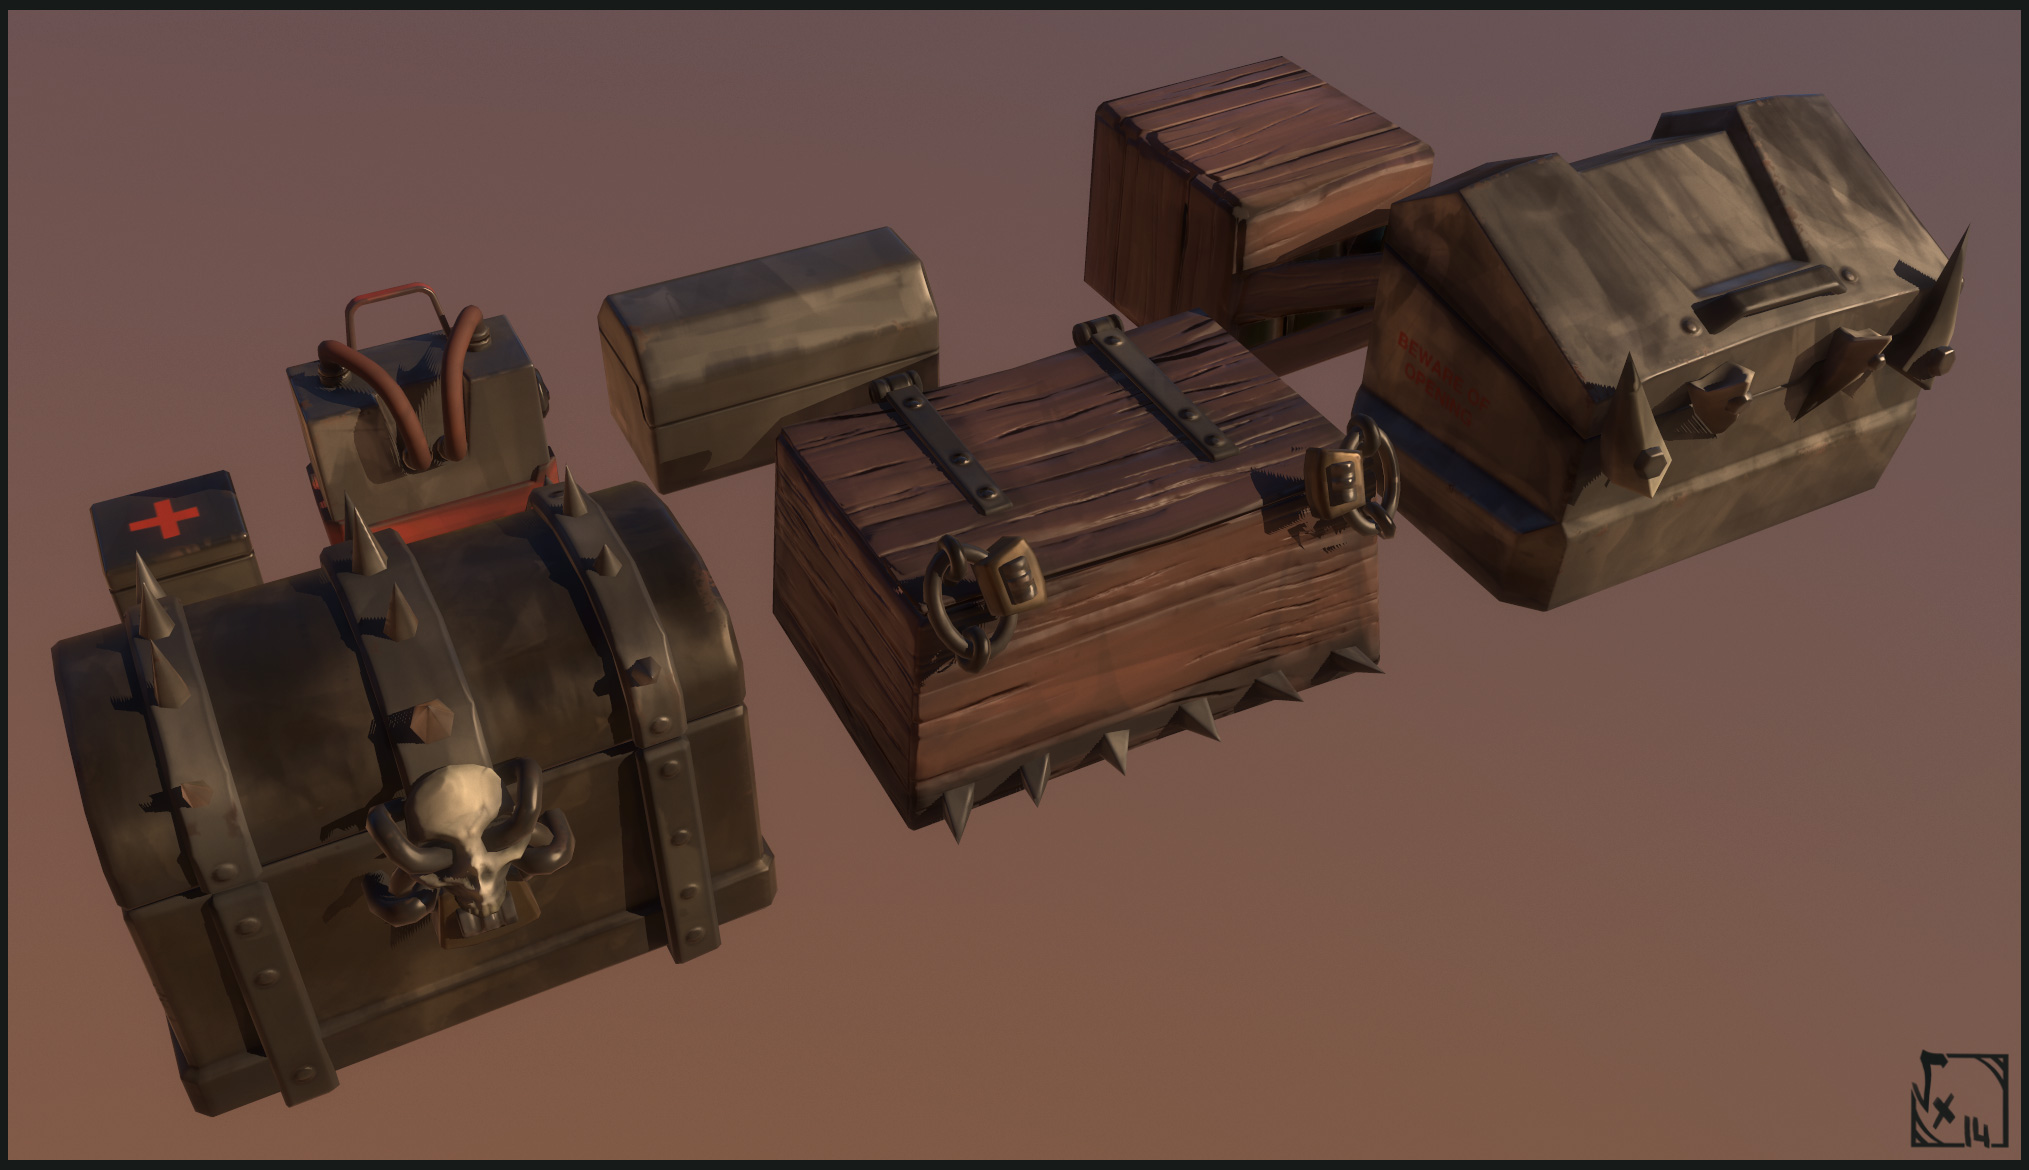


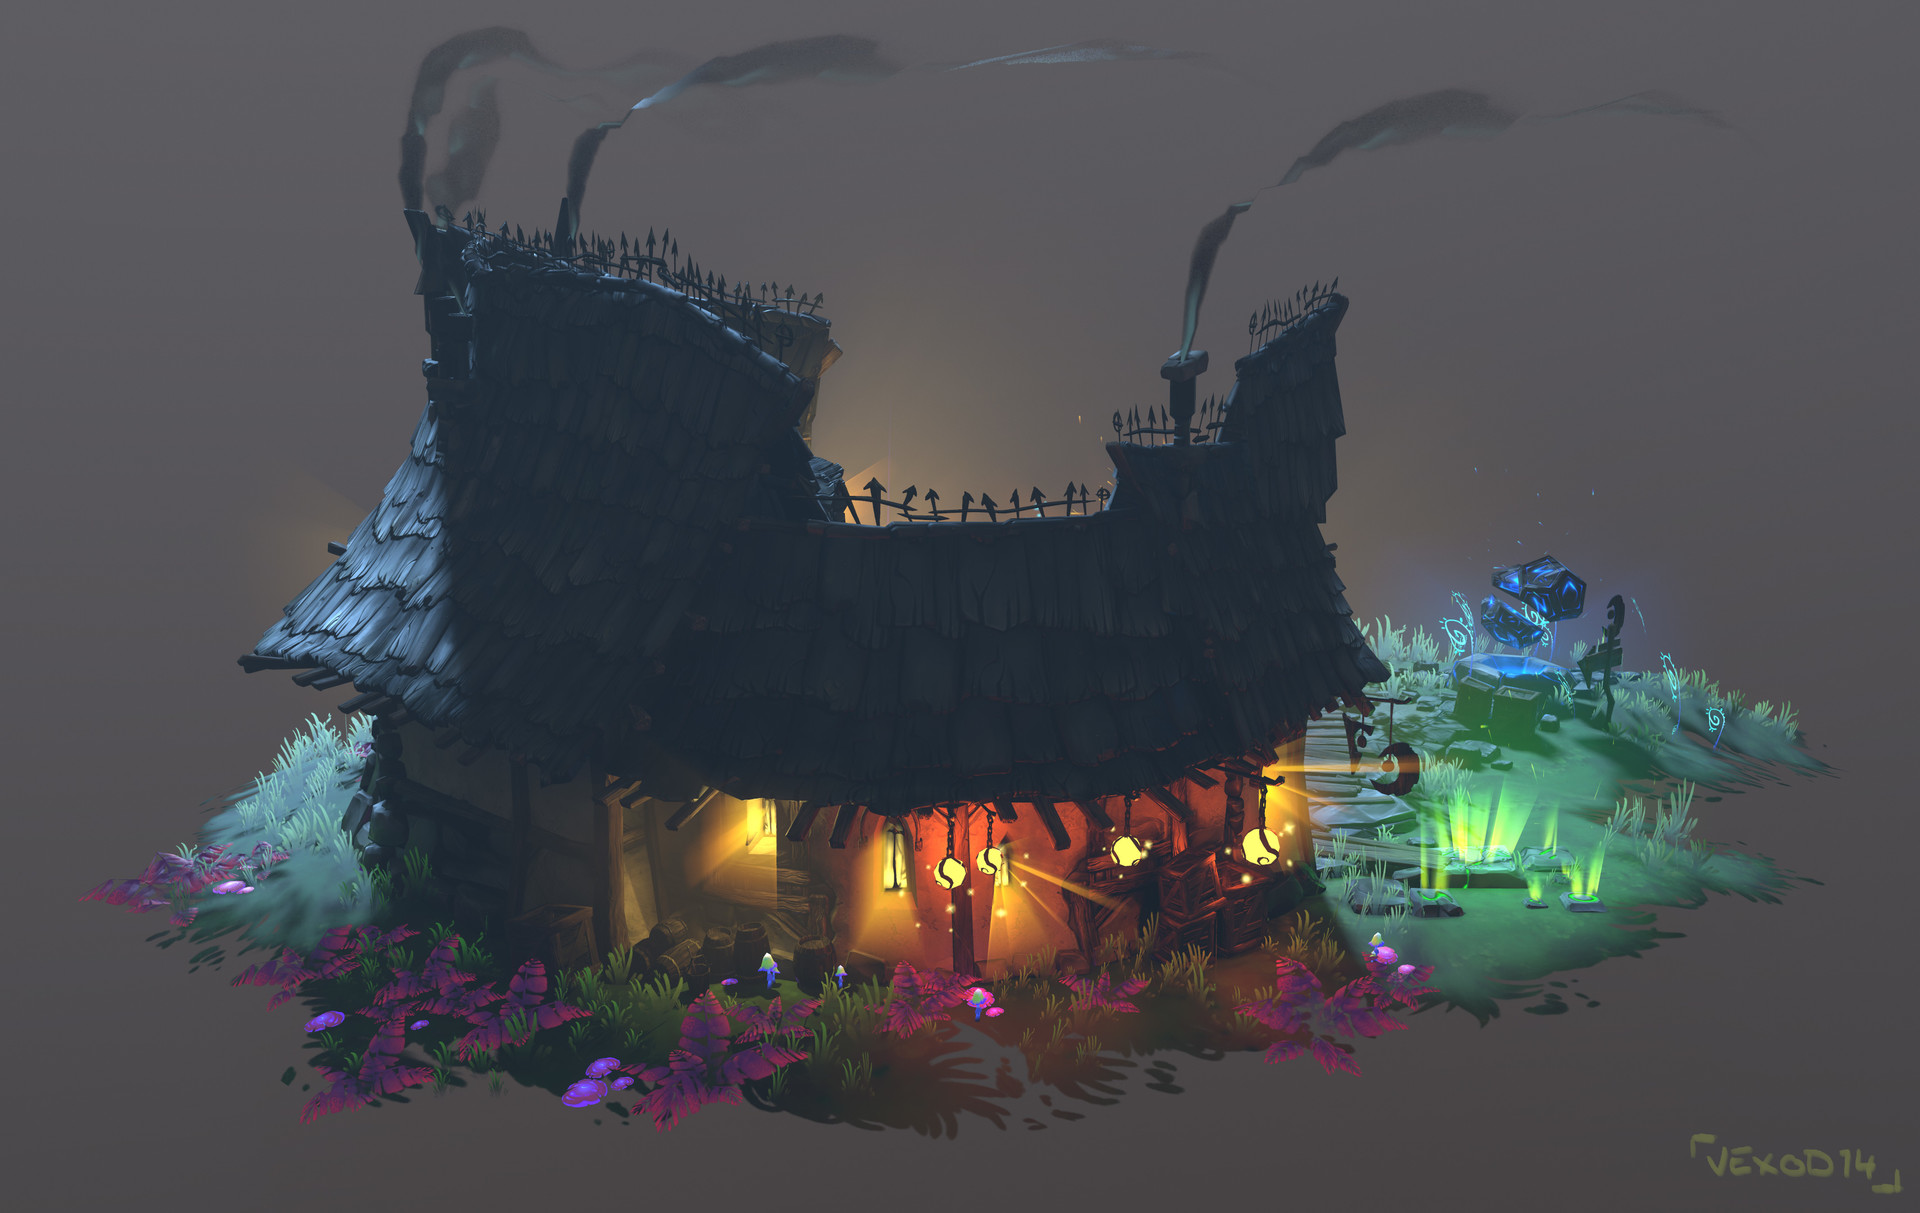
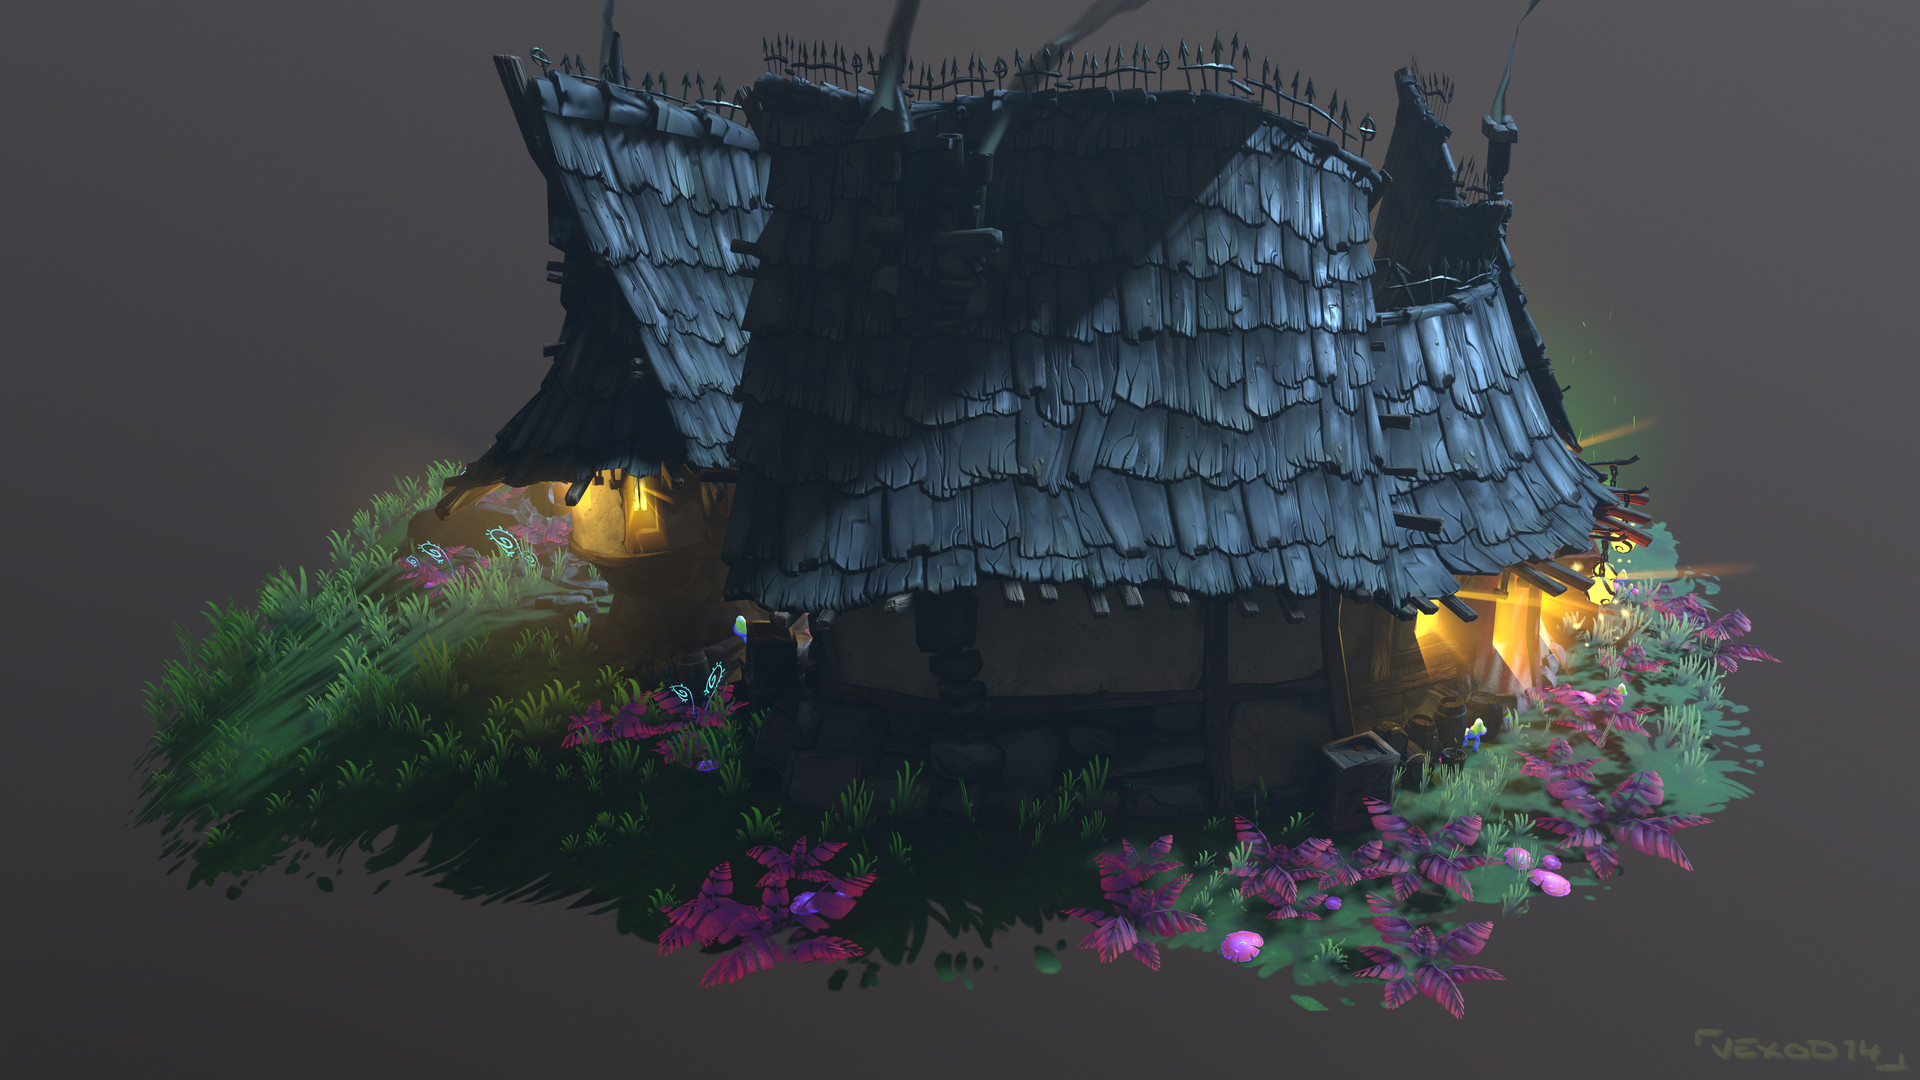
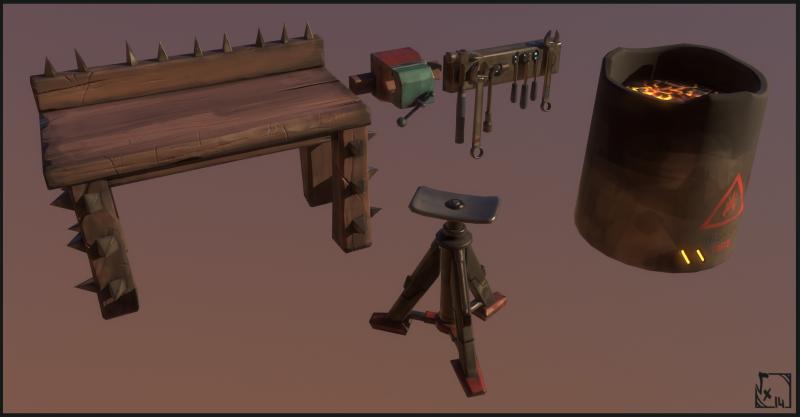
Arcanist's House
in Finished Projects
Posted
Something a bit different this time, done in 2 weeks, really cool things to learn here and a pleasure to get back to concept art and heroic-fantasy stuff ( You probably know how much I love Star Wars...but it's the same with Sacred, Diablo, Lord of the Rings, etc )
All stuff shares a single texture set with different materials according to some tricks I wanted to do, for example, for grass fade or FX cards, which was painful to figure out at the beginning and finally a great thing to work fast ^^ (probably the biggest thing I've learned here =))
I used ZBrush for sculpt, 3dsmax for modeling/Uv, 3DCoat for texturing and making all tiles, Marmoset for baking/shading/lighting/rendering, Knald for generating custom curvature/cavity used then in 3DCoat, and Photoshop for concept/textures tweaks.
Hope you'll like it =)
Project link with 3D viewer : https://www.artstation.com/artwork/8lWw2w