Search the Community
Showing results for tags 'vehicles'.
-
From the album: Macalabs Sketch Dump
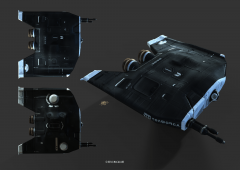
Here I tried to apply at once some of the techniques I've learned from studying 3dcoat, from the alike of Dmitriy Rabochiy (workflow for adding details with normal maps ) Fuad Quaderi, plus other tips scrapped from the internet. I'm still trying to optimise the whole workflow for quick concept art iteration. So far it can be summarized as follow: 1 Rough sculpt in 3dcoat (voxel mode) then 2 Surface mode for medium details, decimation then obj to retopo room 4 Topology(this is currently a big performace bottleneck as I can't retopo manually every model I sculpt and autopo gives decent result only with simple geometry as this ship 5 Apply UV go to paint room and add detail/paint with normal maps and PBR materials, once happy 6 Export new obj plus texture to Keyshot (or marmoset Toolbag) 7 Adjust lighting setup in Keyshot (or renderer of choice) then 8 To Photoshop if needed for retouching or painting or done Keeping in mind that I'm doing this from the perspective of a concept artist, does anybody on this group have any hints on how to improve this workflow? Better sculpting details or painting them with normals? And so forth. Keep in mind that the model doesn't have to be game ready, but looking as good as it can in the fastest time possible, so that art directors can have a look at it. Cheers, M-
- spaceship
- conceptart
-
(and 2 more)
Tagged with:
-
Hello folks, I'm new here. My name's Marco I'm a freelance concept artist and a super newbie 3d entusiast. Wanted to share my discovery path while learning this wonderful software. M
- 14 replies
-
- 4
-

-
From the album: Polaris Sector game. Eriances Race
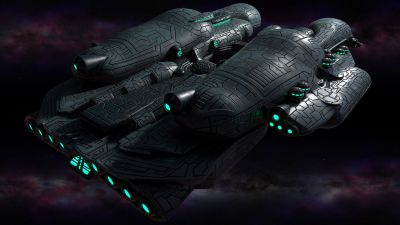
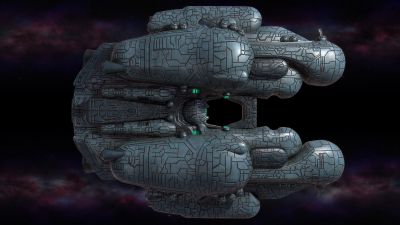
Model for Polaris Sector game. Race - Eriances Video presentation here - https://youtu.be/WUhXssD1llI 3DCoat - Texturing, Shading and Materials. Marmoset Toolbag 2 - Render Zbrush - Modeling.© artofcharly
- 2 comments
-
- polaris sector
- sci-fi
-
(and 3 more)
Tagged with:
-
From the album: Polaris Sector game. Eriances Race
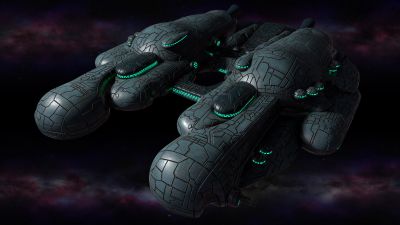
Model for Polaris Sector game. Race - Eriances Video presentation here - https://youtu.be/WUhXssD1llI 3DCoat - Texturing, Shading and Materials. Marmoset Toolbag 2 - Render Zbrush - Modeling.© artofcharly
-
- polaris sector
- sci-fi
-
(and 3 more)
Tagged with:


