Search the Community
Showing results for tags 'Sculpting'.
-
 Hello everyone, I'm curious about how I could split the mesh using multiple curves. The issue is that there is an intersection between the arms and the legs. Is there an option to hide a part of the mesh like in ZBrush, and then cut it? The way I tried was: I selected the curve and then right-clicked to "Split sculpt object by curve." but didn't work. Thank you in advance. Photo Example
 -
 HI, I've had many people reach out to me on how to create a multi-layer volumetric object like a brick with an inner and outer layer, so I decided to create a video showing my approach for creating this. Hope this comes in useful for a few of you. Enjoy!
 -
Just wanted to share this easy and quick technique I use for building low poly terrains.
-
Here's another video on Sculpting with Volumetric Materials.
-
Hi All, This is just a sneak peek at how I've been approaching sculpting with Dynamic Materials. It feels like a natural way to sculpt. Not all models, but it's been great for naturalistic props with natural or organic materials. I plan to make a more Indepth video. -Alex
-
Hi All, I put together a simple video to show new users and maybe others how to shuttle your model to different rooms for a complete workflow all in 3D Coat. Hope it's helpful to some! Best!
-
Hi All, This is part two of how to build quick and easy terrains in 3D Coat. I go over working with higher quality Height Fields (4k) along with using adjustment layers to balance out specific areas or features that are added to the terrain design. Cheers.
-
 Hello, here's a little tip. It might be something that's plainly obvious to a lot but this only recently occurred to me after years of using the software. This is an approach to getting an effect in the vein of "Elastic Deform" from Blender sculpt tools; big deformations, and doesn't break the surface even though the resolution is big. It's helpful if you need to make significant changes on the object's silhouette, or otherwise. The summary is: Use a separate mesh as a guide for the strokes, irrespective of the mesh you are sculpting on, and simply using the Move tool. The steps are as follows: 1. Create a mesh to be the "guide" for the brush. I use a cube, since it is convenient for constraining strokes to the multiple axes on the cube's surface sides. 2. Change the "guide" mesh's shader to be see-through with the opacity slider, so you can see what's going on around it. Freeze the surface of the cube to prevent it from being deformed as well. 3. Pick the Move tool. Make sure "Through all volumes" setting is on (top bar check box) 4. To reposition or rotate the cube, use the screen space gizmo control hotkeys. The "Navigation Control" (default hotkey: N) can also be handy to reposition or rotate it. 5. Unghost; unfreeze; unhide only the sculpt meshes you want to work on. 6. Stay on the "guide" mesh you created. Stroke with the move tool. Observe the move tool now works outside the bounds of the sculpt and is locked to "guide" surface, facilitates big but precise deformation of the sculpt mesh, without breaking surface too much. Bonus step: Can of course also mask parts of the sculpt mesh, the move tool then allows you to have great control over an extrusion like effect. Video demo: 3Dcoatgl64 Soft Deform Tip.m4v Hope this can be of help to somebody. Even though it is such a trivial little method, it has made a significant difference in my workflow. I'm the type to much prefer to move the points into place and then fix, instead of applying a lot of compounding sculpt strokes to get to where I need to be.
 -
Hey, I am really having a hard time getting 3D coat to work with any kind of scale value, I need to be able to sculpt to exact scales and dimensions. What I am trying to do is sculpt a terrain, and setting a sculpt brush to always sculpt to a max height. So for example I could sculpt to a max height of 300 meters and know when I export my heightmap and then import into engine, that the height will be 300 meters. There have been a few issues I have found, firstly I could not seem to export a heightmap where I could set white to be 3200 meters and black to be 0. Instead 3D coat always makes the heightst point value white. So I decided I would sculpt 2 spots on my mesh, one to be 3200 meters and one at 0 meters, which I would not sculpt above or below, ensuring white would be 3200 and black 0. Unfortunatly I then realized that brush depth changes depending on the radius of the sculpt brush and I have no idea how I am supposed to ensure I am working with correct scales. Please tell me there is a way to work in 3D coat with exact dimensions.
-
 Hi! I recently downloaded a pack of rock/cliff brush alphas and I'm trying to use them in 3D-Coat but I'm running into a peculiar issue with how the alphas are applied to the geometry. All of the alphas appear to bulge out towards their highest points leading all of them to have very dome-like shapes. The edge of the alphas was also very harsh usually with an easily recognizable cutoff towards the edge of the form. I imported the same alphas into Blender for use with its sculpt mode and neither of these problems were present leading to a much more desirable result. These were done in 3D-Coat and Blender using the same brush alpha: I'm not an expert on color-spaces but this seems like potentially a color space issue where 3D-Coat is giving more weight to higher alpha values leading to most of the detail being pushed to the highest point in the brush stroke. Is there a setting in 3D-Coat/the Brushes panel that might be able to fix this or is there something specific I need to do with the brush alpha textures themselves to more properly prepare them for use in 3D-Coat? Thanks!
 -
This is an Alien Scorpion that I have created in 3dcoat and brought into Blender for rendering. This is an asset I will be using in a scene that is off world and going to be animated. This was modeled / retopo / textured all in 3dcoat. alienscorp0001-0250.mp4
-
 Why none of the clay brushes have buildup (surface is pushed out as I move my pen within one stroke) ? Why does my brush not follow the updated surface of my mesh within one stroke ?
 -
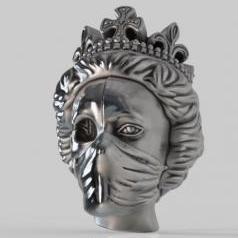
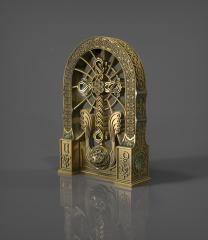
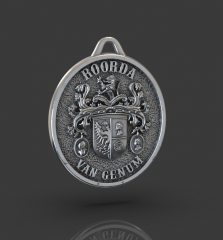
From the album: Jewelry assets for 3d printing and metal casting
© Sergei Kuznetcov
-
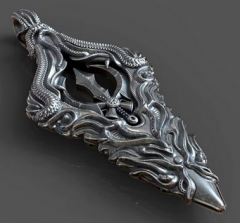
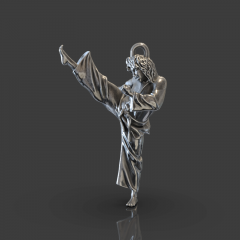
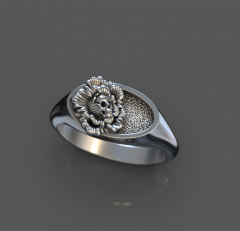
From the album: Jewelry assets for 3d printing and metal casting
© Sergei Kuznetcov
-
- 1
-

-
- prototyping
- sculpting
- (and 2 more)
-
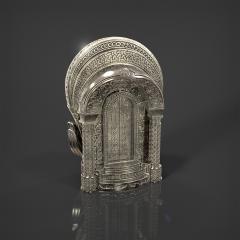
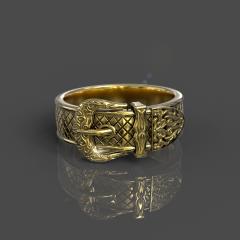
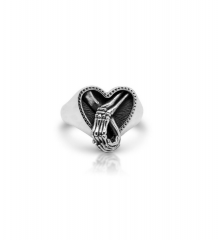
From the album: Jewelry assets for 3d printing and metal casting
© Sergei Kuznetcov
-
- 1
-
-
- 3d printing
- prototyping
- (and 2 more)
-
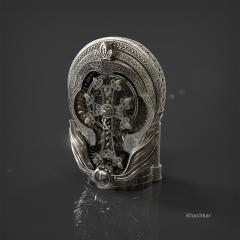
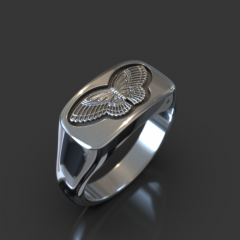
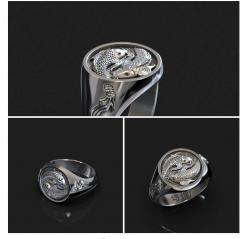
From the album: Jewelry assets for 3d printing and metal casting
© Sergei Kuznetcov
-

From the album: Jewelry assets for 3d printing and metal casting
© Sergei Kuznetcov
-

From the album: Jewelry assets for 3d printing and metal casting
© Sergei Kuznetcov
-
From the album: Jewelry assets for 3d printing and metal casting
© Sergei Kuznetcov
-
From the album: Jewelry assets for 3d printing and metal casting
© Sergei Kuznetcov
-
- 1
-
-
- 3d printing
- jewelry
- (and 2 more)
-
From the album: Jewelry assets for 3d printing and metal casting
© Sergei Kuznetcov
-
From the album: Jewelry assets for 3d printing and metal casting
© Sergei Kuznetcov
-
From the album: Jewelry assets for 3d printing and metal casting
© Sergei Kuznetcov
-
From the album: Jewelry assets for 3d printing and metal casting
© Sergei Kuznetcov
-
From the album: Jewelry assets for 3d printing and metal casting
© Sergei Kuznetcov