

Malo
-
Posts
1,139 -
Joined
-
Last visited
Content Type
Forums
Calendar
Gallery
Posts posted by Malo
-
-
Only UV sets determines how many textures are exported.
NOT Surface Materials, Paint Objects or Layers.
As far as i know, now you could only export it manually every single textures one by one.
-
Wenn Du den Pfad eingibst wo das Renderbild gespeichert werden soll, kannst du das Format auswählen.
-
Because your Retopo is not symmetrical.
Retopo Room only checks for the Retopo not for Sculpt
-
 2
2
-
-
Danke Dir
-
Hello at all.
A new tutorial series from me.
In this tutorial i show you, how to create clothes for an existing character.
Complede workflow from 3d Coat to Substance Painter.
It is in german, but maybe some of you could find it interesting.
Cheers Malo
-
2
-
-
Hallo zusammen.
Eine neue Tutorial Reihe von mir.
Hier zeige ich euch wie man Kleidungstücke für bereits vorhandene Charakter erstellen kann.
Kompletter workflow von 3D Coat bis zu Substance Painter.
Viel Spaß beim anschauen.
Gruß Malo
-
1
-
-
I mean the faces.
If i bake with quads and dont check Triangulate, i get quads in the Paintroom.
After export and import in Substance Painter/Designer, sometimes the quad gets tiled in different triangles as 3d coat tiled it.
You know, top left to bottom right or top right to bottom left. Two ways you could triangulate a quad.
Then i have a disorted normalmap in some areas. But in your case, it looks like you dont have any quads.
So i think, that wont causes any problems on your model.
-
2
-
-
No problems on my side. I use the Substance Preset, too, for baking.
Tested with
3d coat 4.5.37
Substance Painter 2.2
Substance Designer 5.3.4
I know, i am not up to date, but i never run into problems between 3d coat and Substance. Only if i dont use triangles for texturing.
-
Also die meisten nutzen den Render von 3d Coat nicht für ihr Finales Bild.
Die exportieren die Modelle und Texturen und Rendern das dann mit einer Professionelleren Software wie Vray, Octane oder so.
Manche nutzen auch Marmorset Toolbag oder so wie ich Blender und Cycles.
Warum das so pixelig ist bei dir weiß ich nicht. Vielleicht nicht als jpg speichern sonder eher tga.
Oder Save Lossless einschalten hilft vielleicht auch.
-
Congratulations to everyone!
-
Nice Work.

-
1
-
-
Thanks Michael
")
-
1
-
-
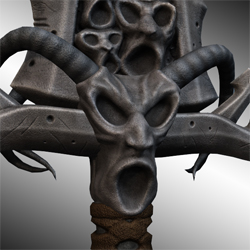
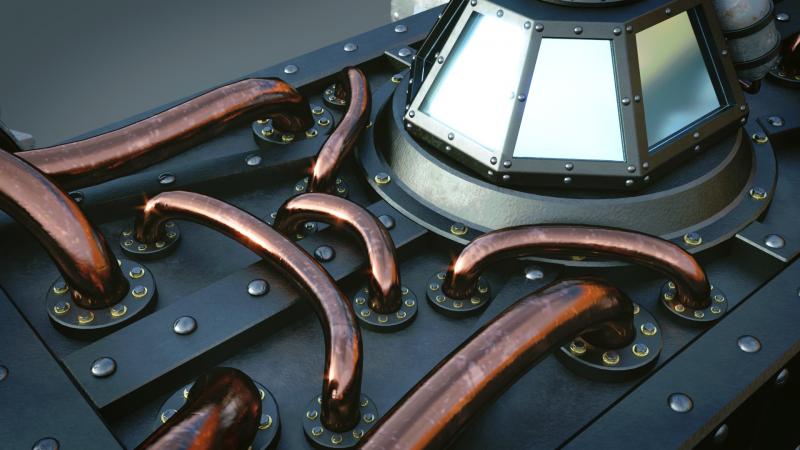
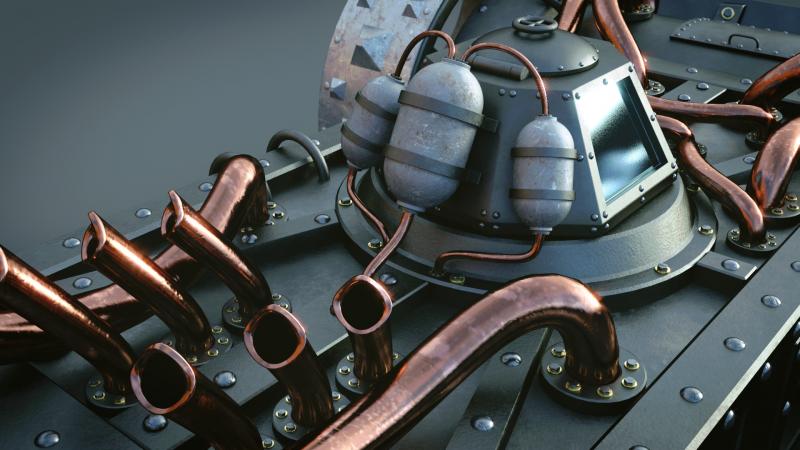
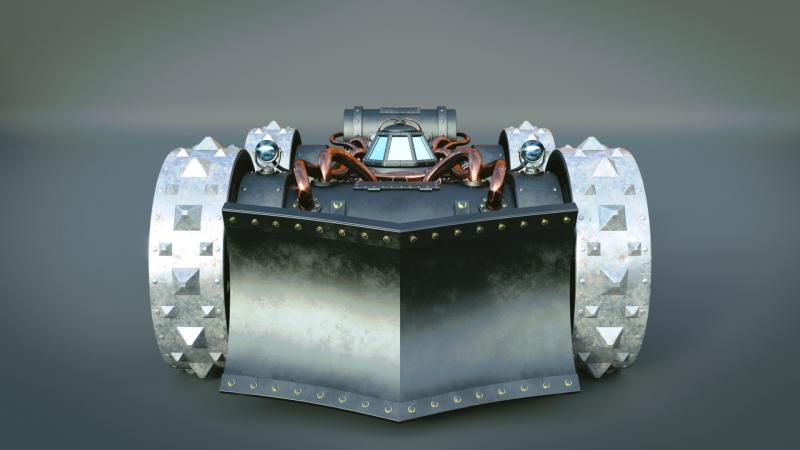
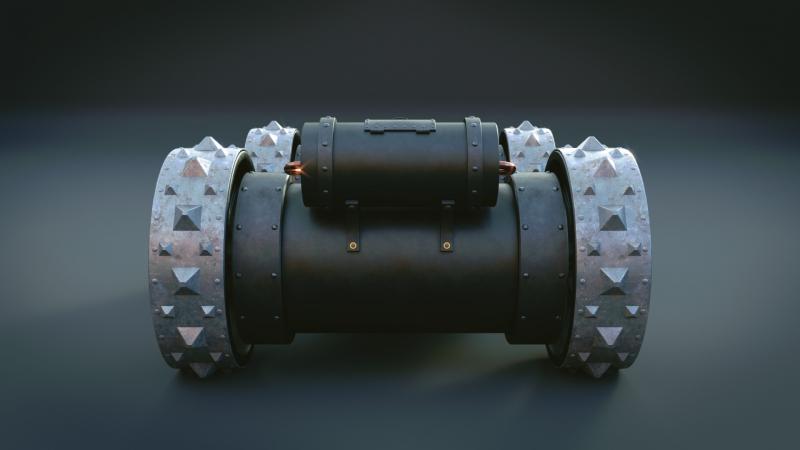
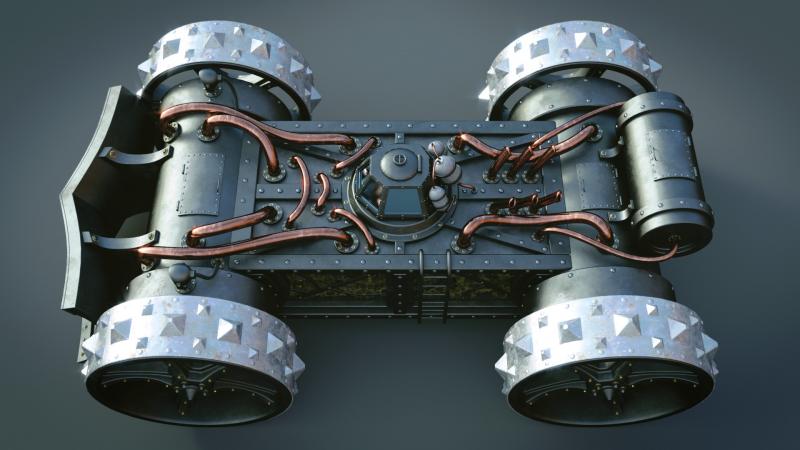
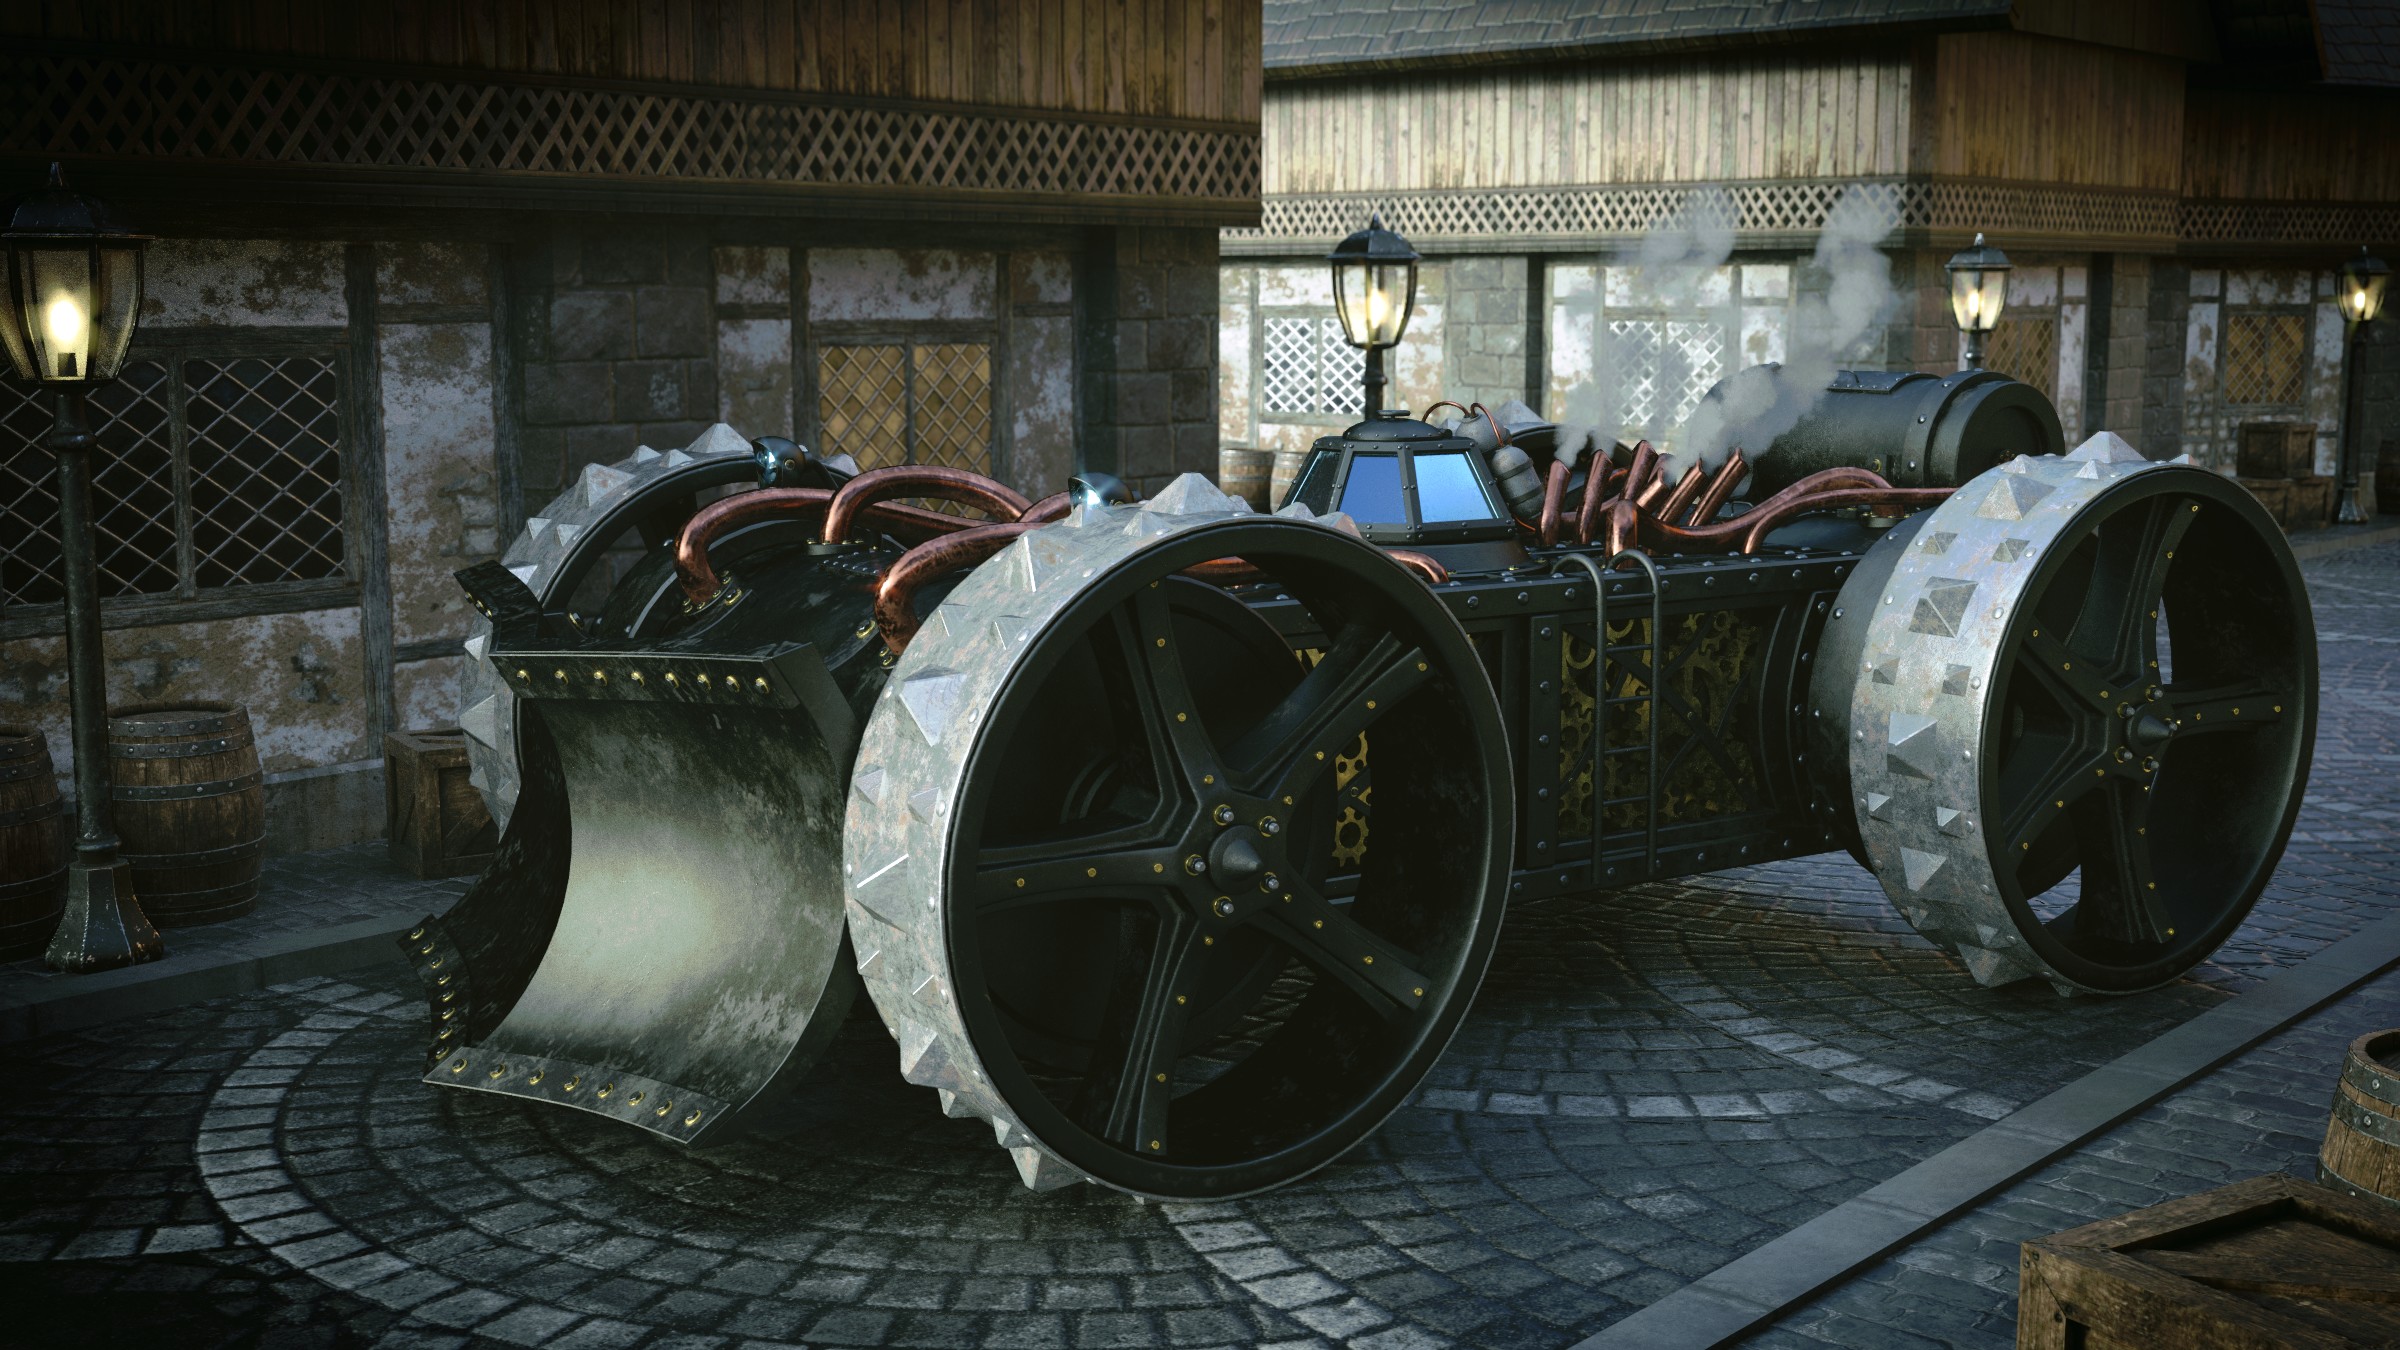
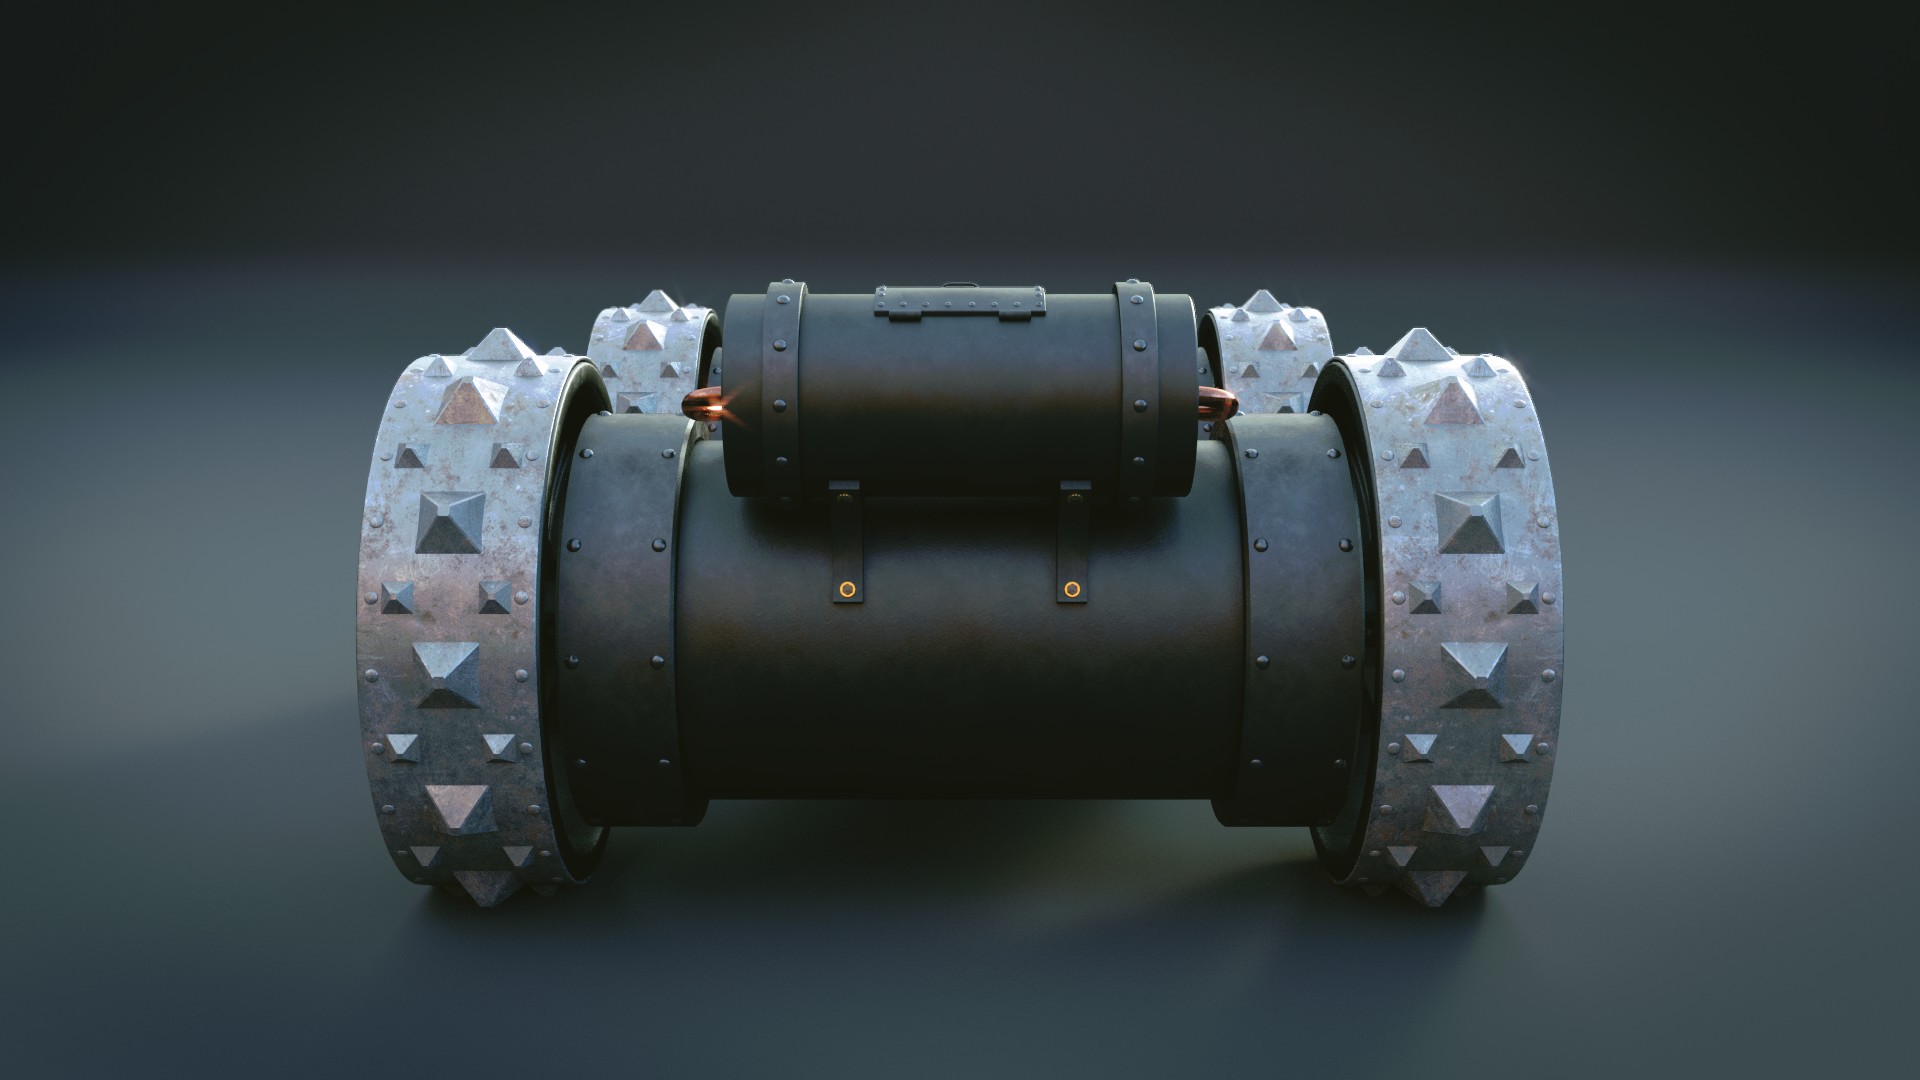
MY FINAL ENTRY

Created with:
Blender - Basemodelling
3D Coat - Sculpting, Kitbashing, Retopo, UVs and Texturing
Rendered and Postpro in Blender Cycles.
-
4
-
-
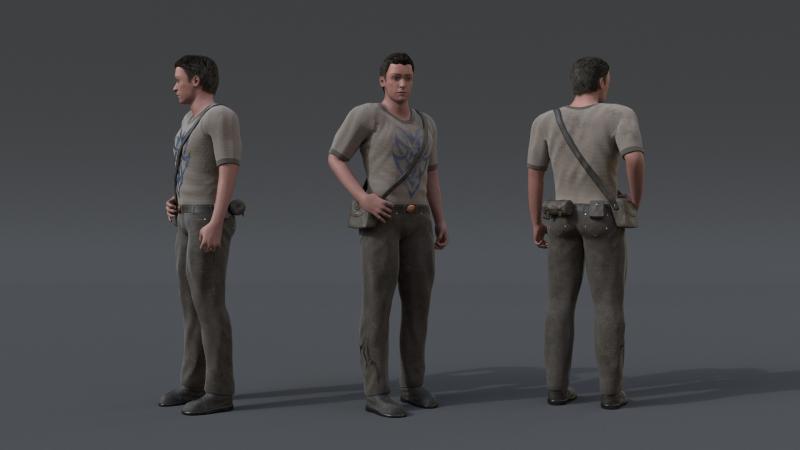
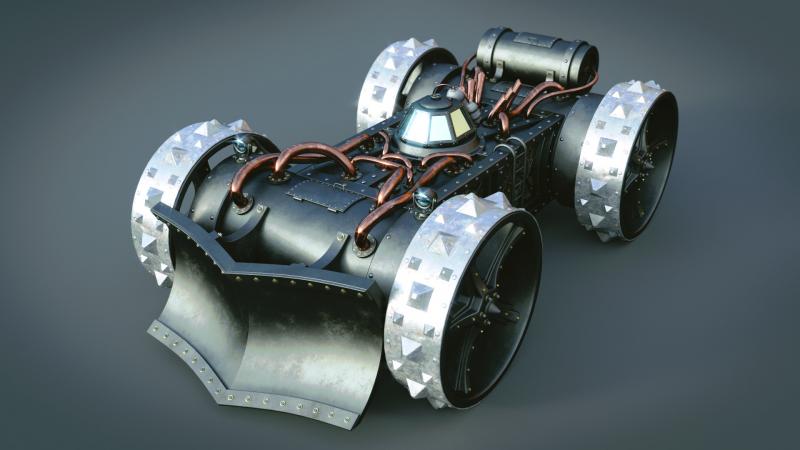
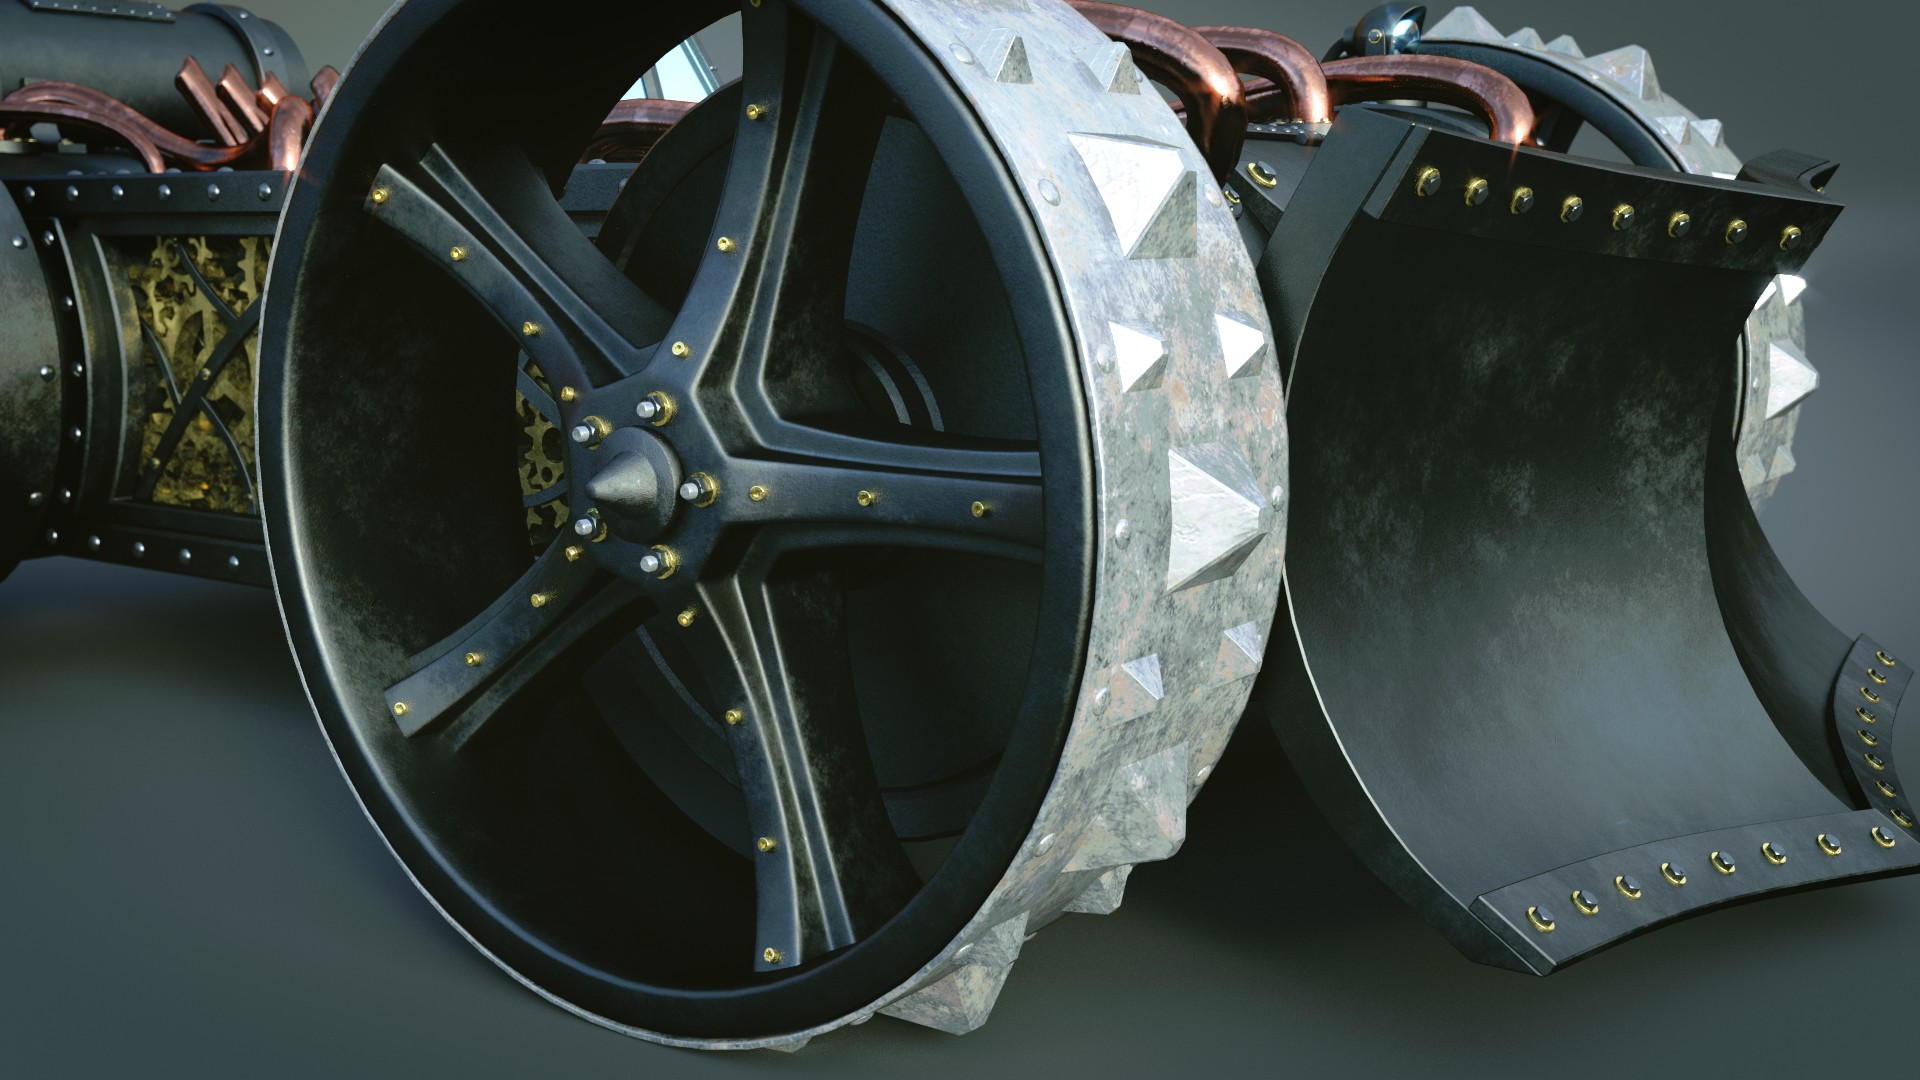
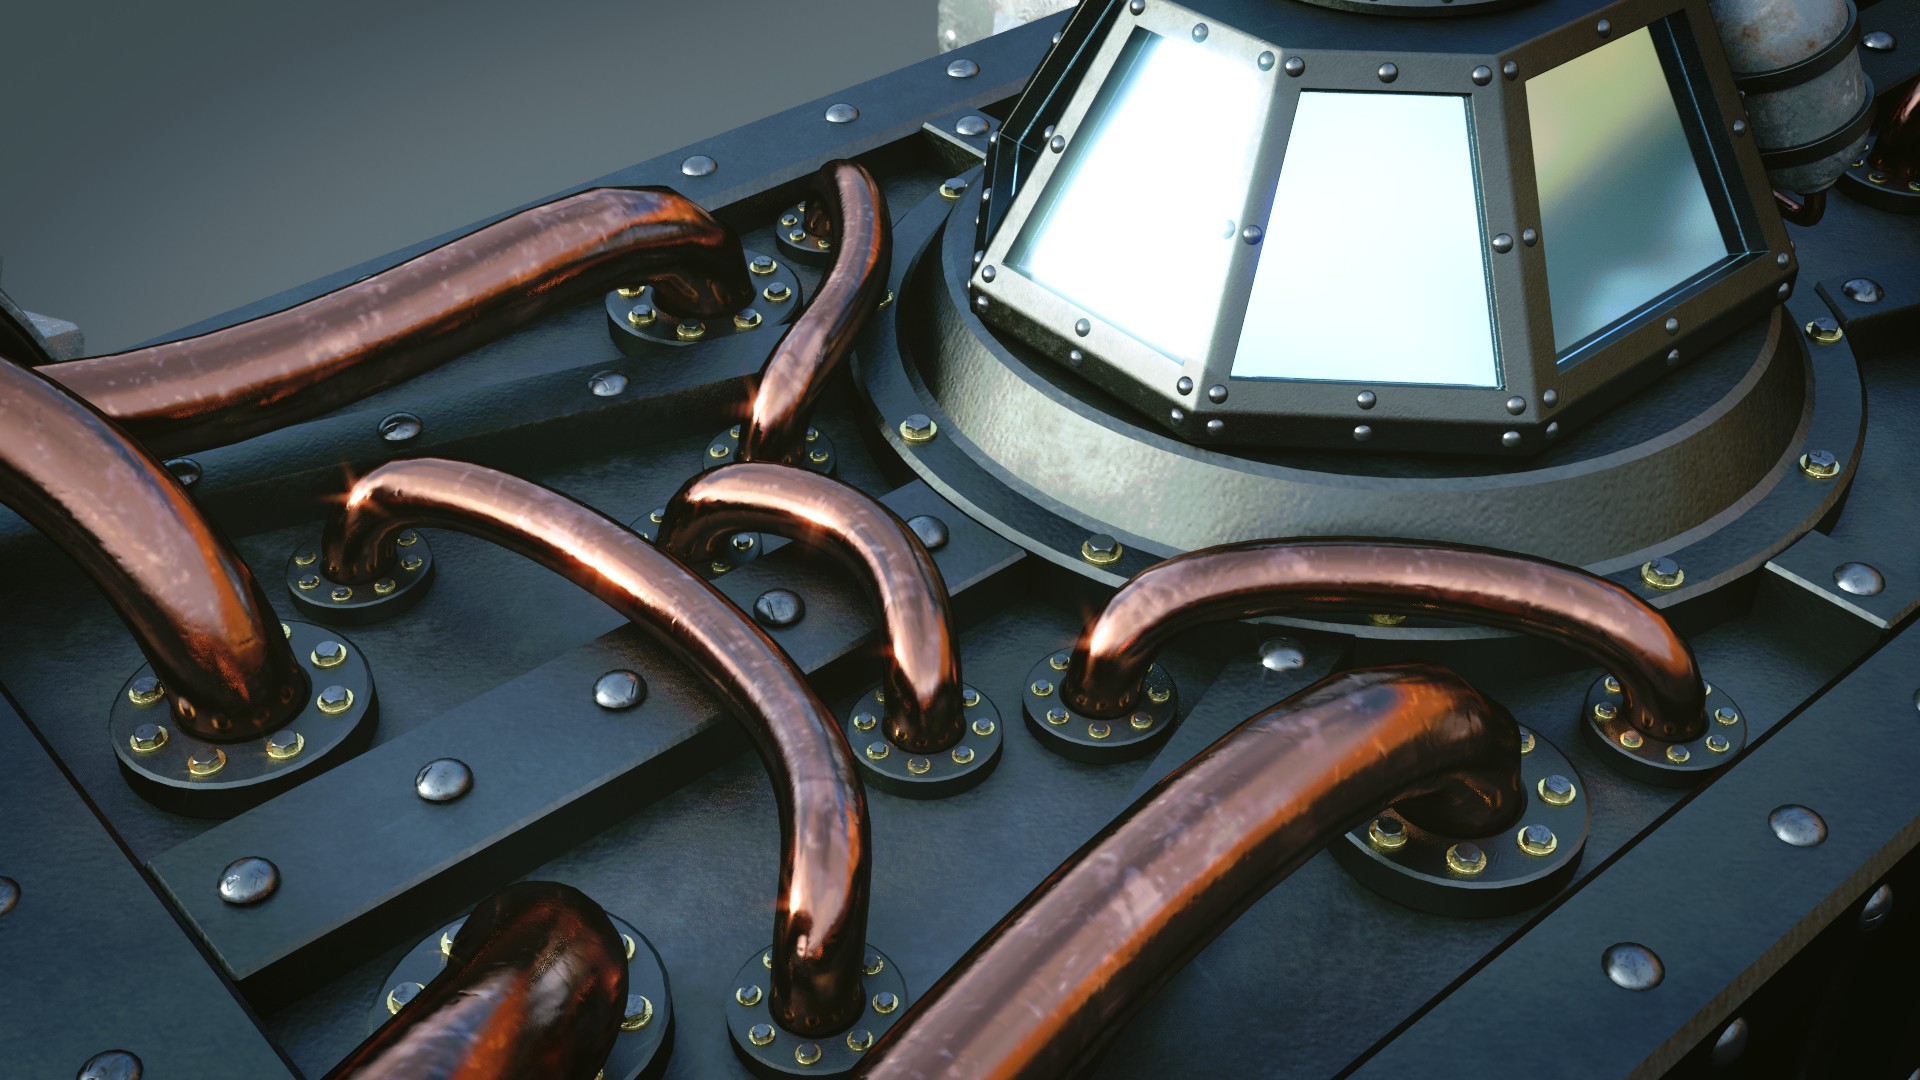
And some Closeups
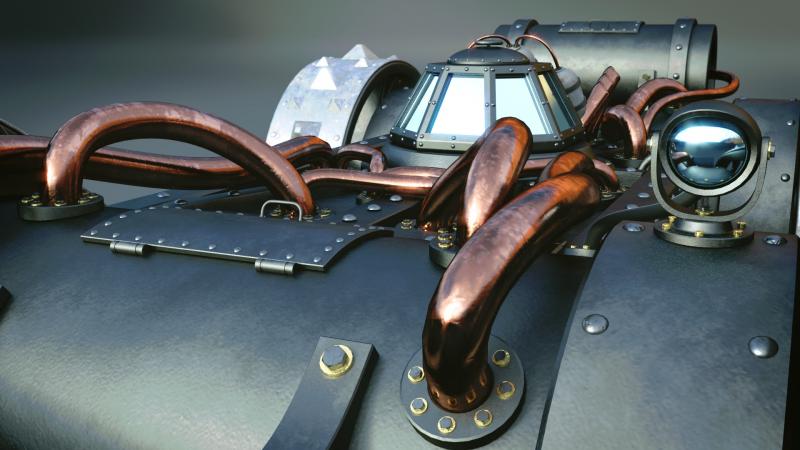
-
1
-
-
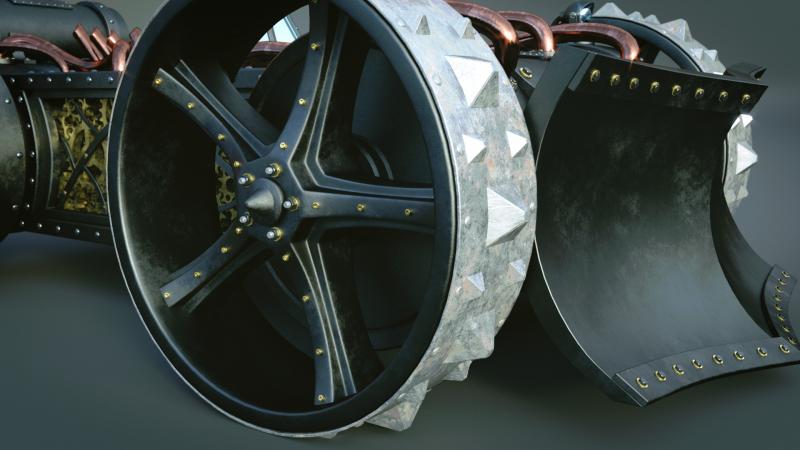
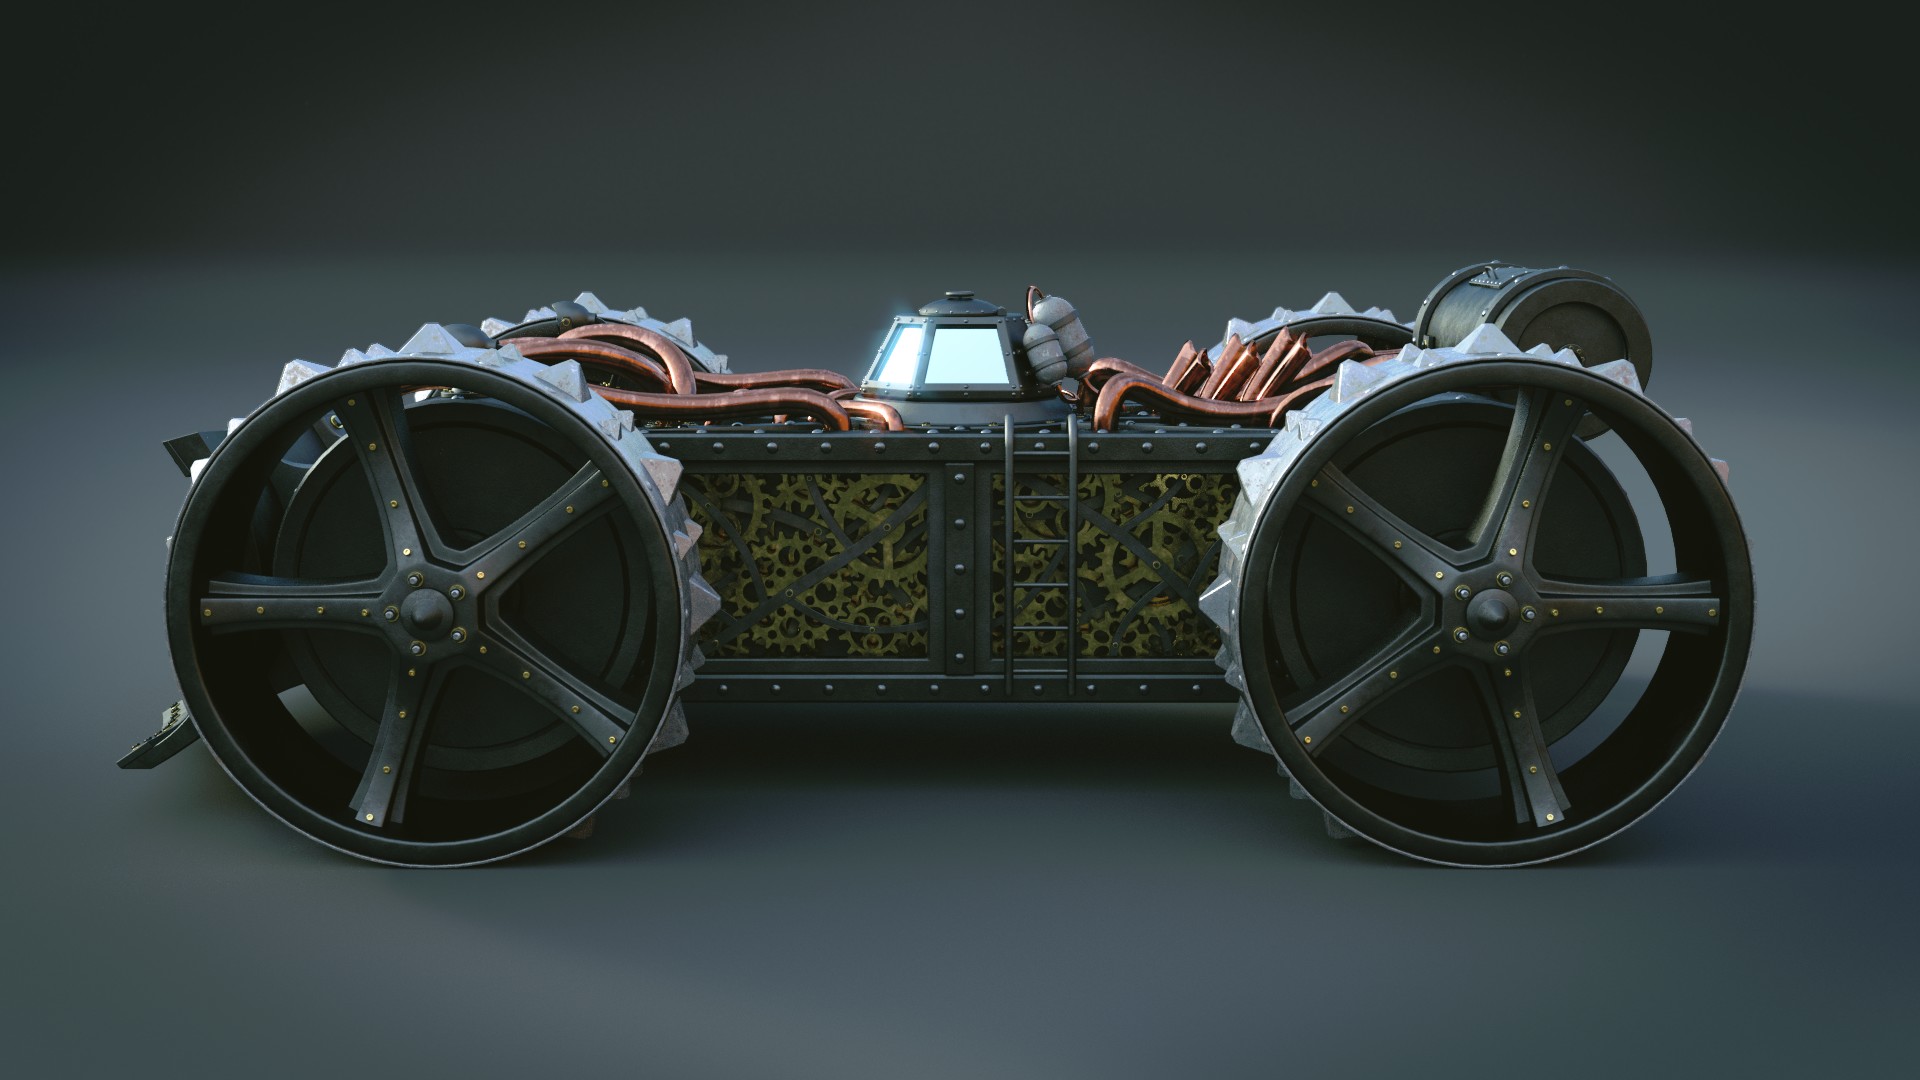
Its time
Some Studio Renderings for you.

-
1
-
-
Da gibts noch nichts da alles noch Beta ist.
Sind auch nicht freigegeben in 3d coat. Du kannst Sie zum testen dazu schalten um sie dir mal an zu sehen und zu experimentieren.
Aber mehr gibts nicht.
-
Das funktioniert vom Prinzip her genau so wie Früher.
Nur nutzt man jetzt Smart Material anstelle von Materials.
Du erstellst dein Smart Material und packst dort deine Texturen rein.
Mapping methode sollte auf From Camera gestellt sein.
Solltest Du Depth, Rougness, Metalness usw nicht brauchen, kannst Du das auch ausblenden.
Rechts neben dem Auge in dem Layernamen ganz links, gibt es ein Dropdown Menü.
Dort kannst Du alles unwichtige für dich ausschalten.
-
Mit S kannst du die Symmetrie einschalten.
Im Virtual Mode kannst Du sie auch anzeigen lassen.
Kannst auch auf den Doppel pfeil bei den Retopo Layer klicken um die andere Hälfte zu erstellen.
Musst nur aufpassen das du auf der rechten Seite das letzte mal was bearbeitet hast. Gespiegelt wird bei dem Doppelpfeil immer von der letzten Bearbeitungsseite aus.
Die Mittellinie musst Du in 3d coat nicht auf 0 skallieren, die Symmetrie Plane macht das dann für dich automatisch.
Um zu deinem Sx0 zu kommen.
Select Tool -> Eine Edge markieren -> Auf Edge Loop klicken -> Auf Transform klicken
Jetzt ist ein Loop markiert und Du siehst den Gizmo.
Nun Scale X anklicken und 0 eingeben und bei Position X 0 eintragen.
-
1
-
-
Merging wont realy helps.
If i merge the cube and sphere with booleans, it works. because i get one object with no gabs and holes.
But as you know, in Surface Mode, you cant realy allways merge the objects. You often gets an error if you try to do that.
My pants and sub objects wont merge. I allways get an error. I could merge it with No Booleans, but at the end, it is the same as i would work with single objects, there is no difference.
-
No, it is not a problem with the thin objects.
Little Vid for you
Maybe that explain it a little bit better.
Excuse me my bad english, it is not my main language.
-
1
-
-
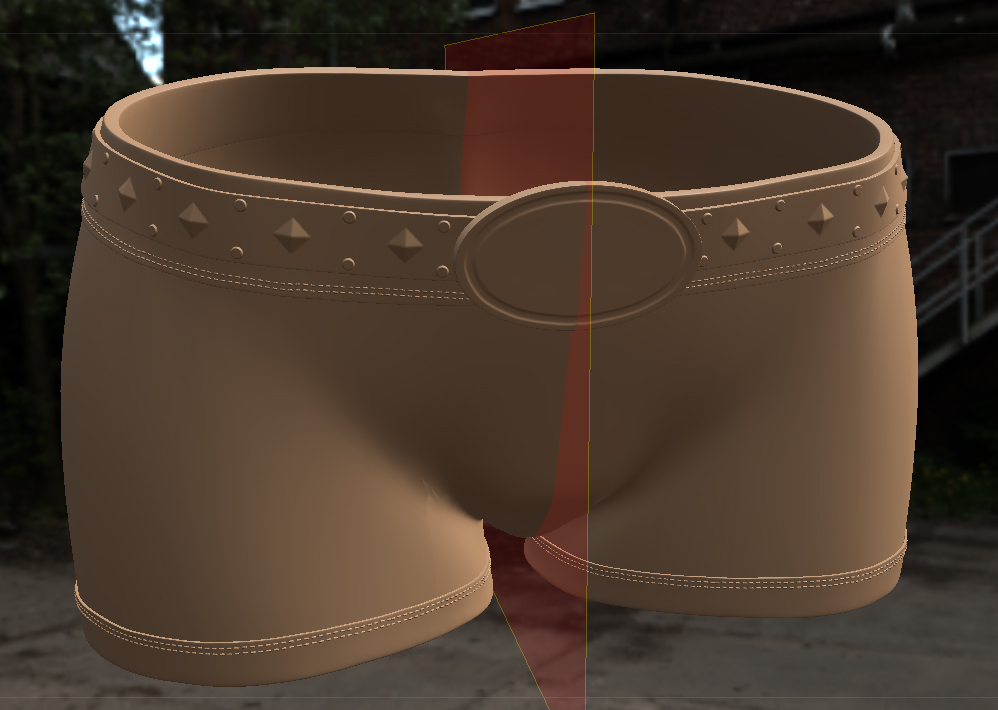
Hello at all.
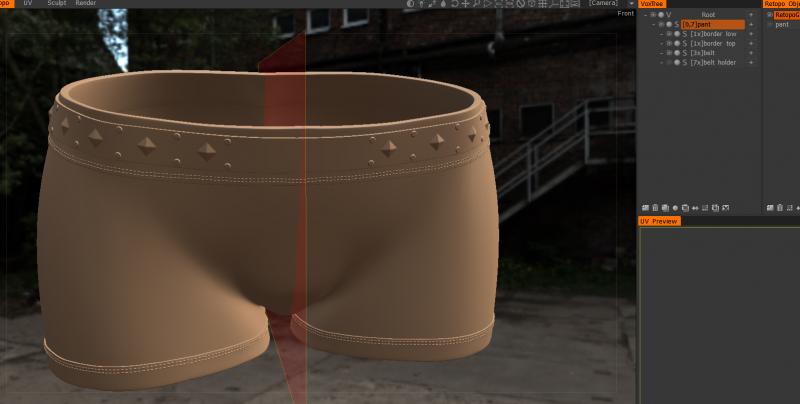
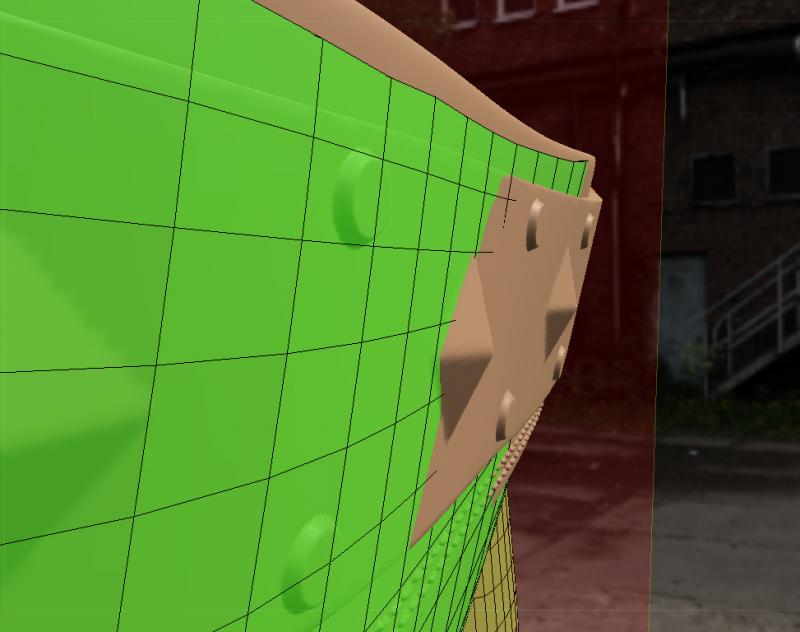
Got some weird retopo problem today.
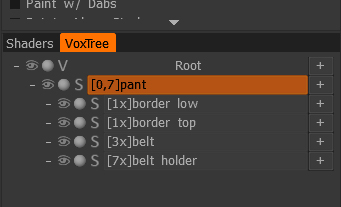
I have a pant
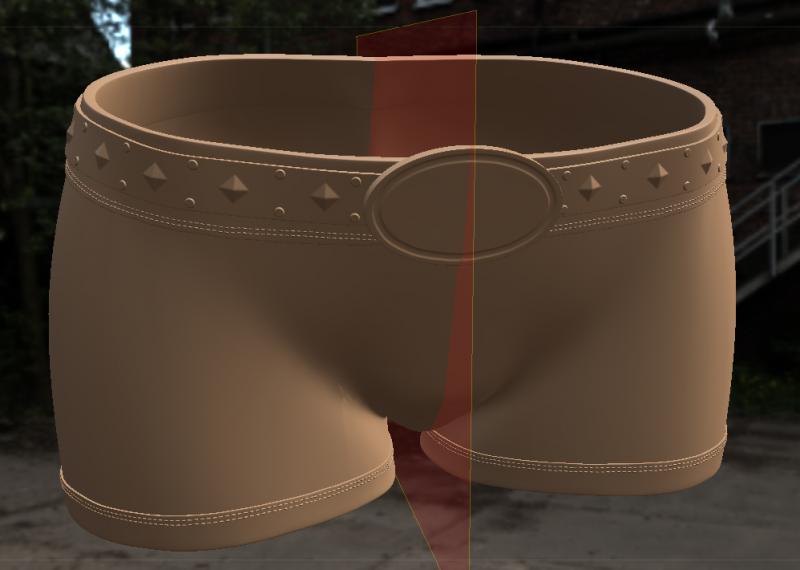
With that Tree
Then i run Autopo on that pant.
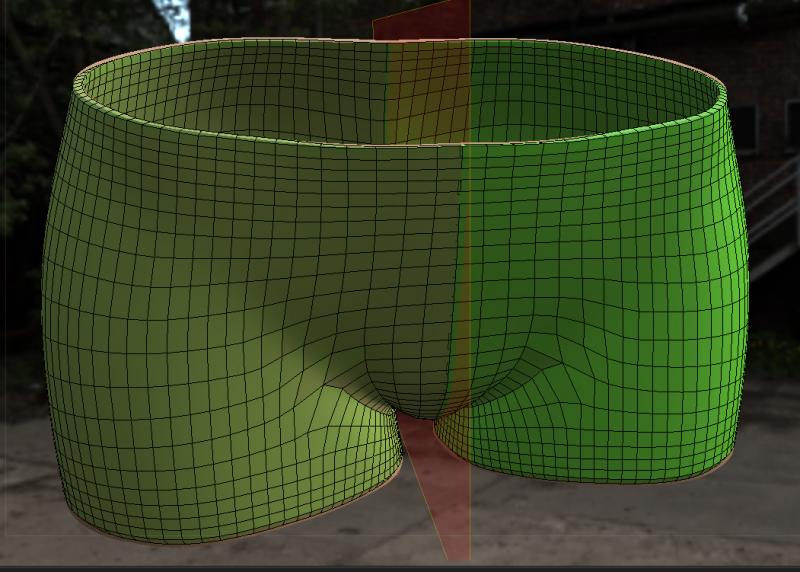
Everything looks nice so far.
Next step would be to add the other parts of the pants.
Still no problem.
The retopo is behind the newly added parts. Thats normal, becaus of autoretopo of the pants only.
Now i want to adjust the retopo to the compled modell.
And now the trouble begins.
I am not able to bring the vertices and faces above that pant to fit with the belt.
It looks like the autoretopo modell wont recognice the other objects. It sticks with the pants.
But why?
If i start without autopo and do my retopo manuelly it works without problems.
Whats going on here? Why did it works in that way?
Auto Snap is on. It makes no difference if i choose, Snap to closest, Outer surface or Nearest.
If i delete faces and create new ones, it works, the newly created faces and vertices snaps to the belt, but the old ones from the autopo object not.
This sucks.
Any idea whats going wrong here?
Cheers Malo
-
 1
1
-
-
Den Constructor brauchst Du eigentlich nicht.
Der ist überwiegend für Game und Render Engines um Texturen zusammen zu fassen wie für Unity zb wo Roughness und Metallic in einer Textur sind.
Oder Du Extra Maps brauchst wie Emmesive und die ein anderes Format haben soll oder so. Kann sehr nützlich sein. Muss man aber nicht nutzen.
Warum deine Normalmap nicht klappt weiß ich nicht, kannst aber mal in den Preferences nachschauen ob die Normalmap Preset Einstellungen noch passen die Du früher verwendet hast.
Kann sein das sich die verstellt haben bei dem Update.
Zum Retopo kann ich nix sagen, hab die neue Version noch nicht drauf.
-
Please add an option to use the Cutoff Tool and a Stecil in Surface Mode.
As far as i see, it is only possible to do that in Voxel Mode.
http://3dcoat.com/mantis/view.php?id=2147
-
Thanks Carlosan.
Mantis is open.
http://3dcoat.com/mantis/view.php?id=2147
Please add your +1 if anybody is interested in this.


Help me . Texture can not be exported
in SOS! If you need urgent help for 3DCoat
Posted
In Paint Room.
Top Row Textures -> Export
Then choose Albedo, normal and what you all need.