
Carlosan
-
Posts
26,142 -
Joined
-
Last visited
Content Type
Forums
Calendar
Gallery
Everything posted by Carlosan
-
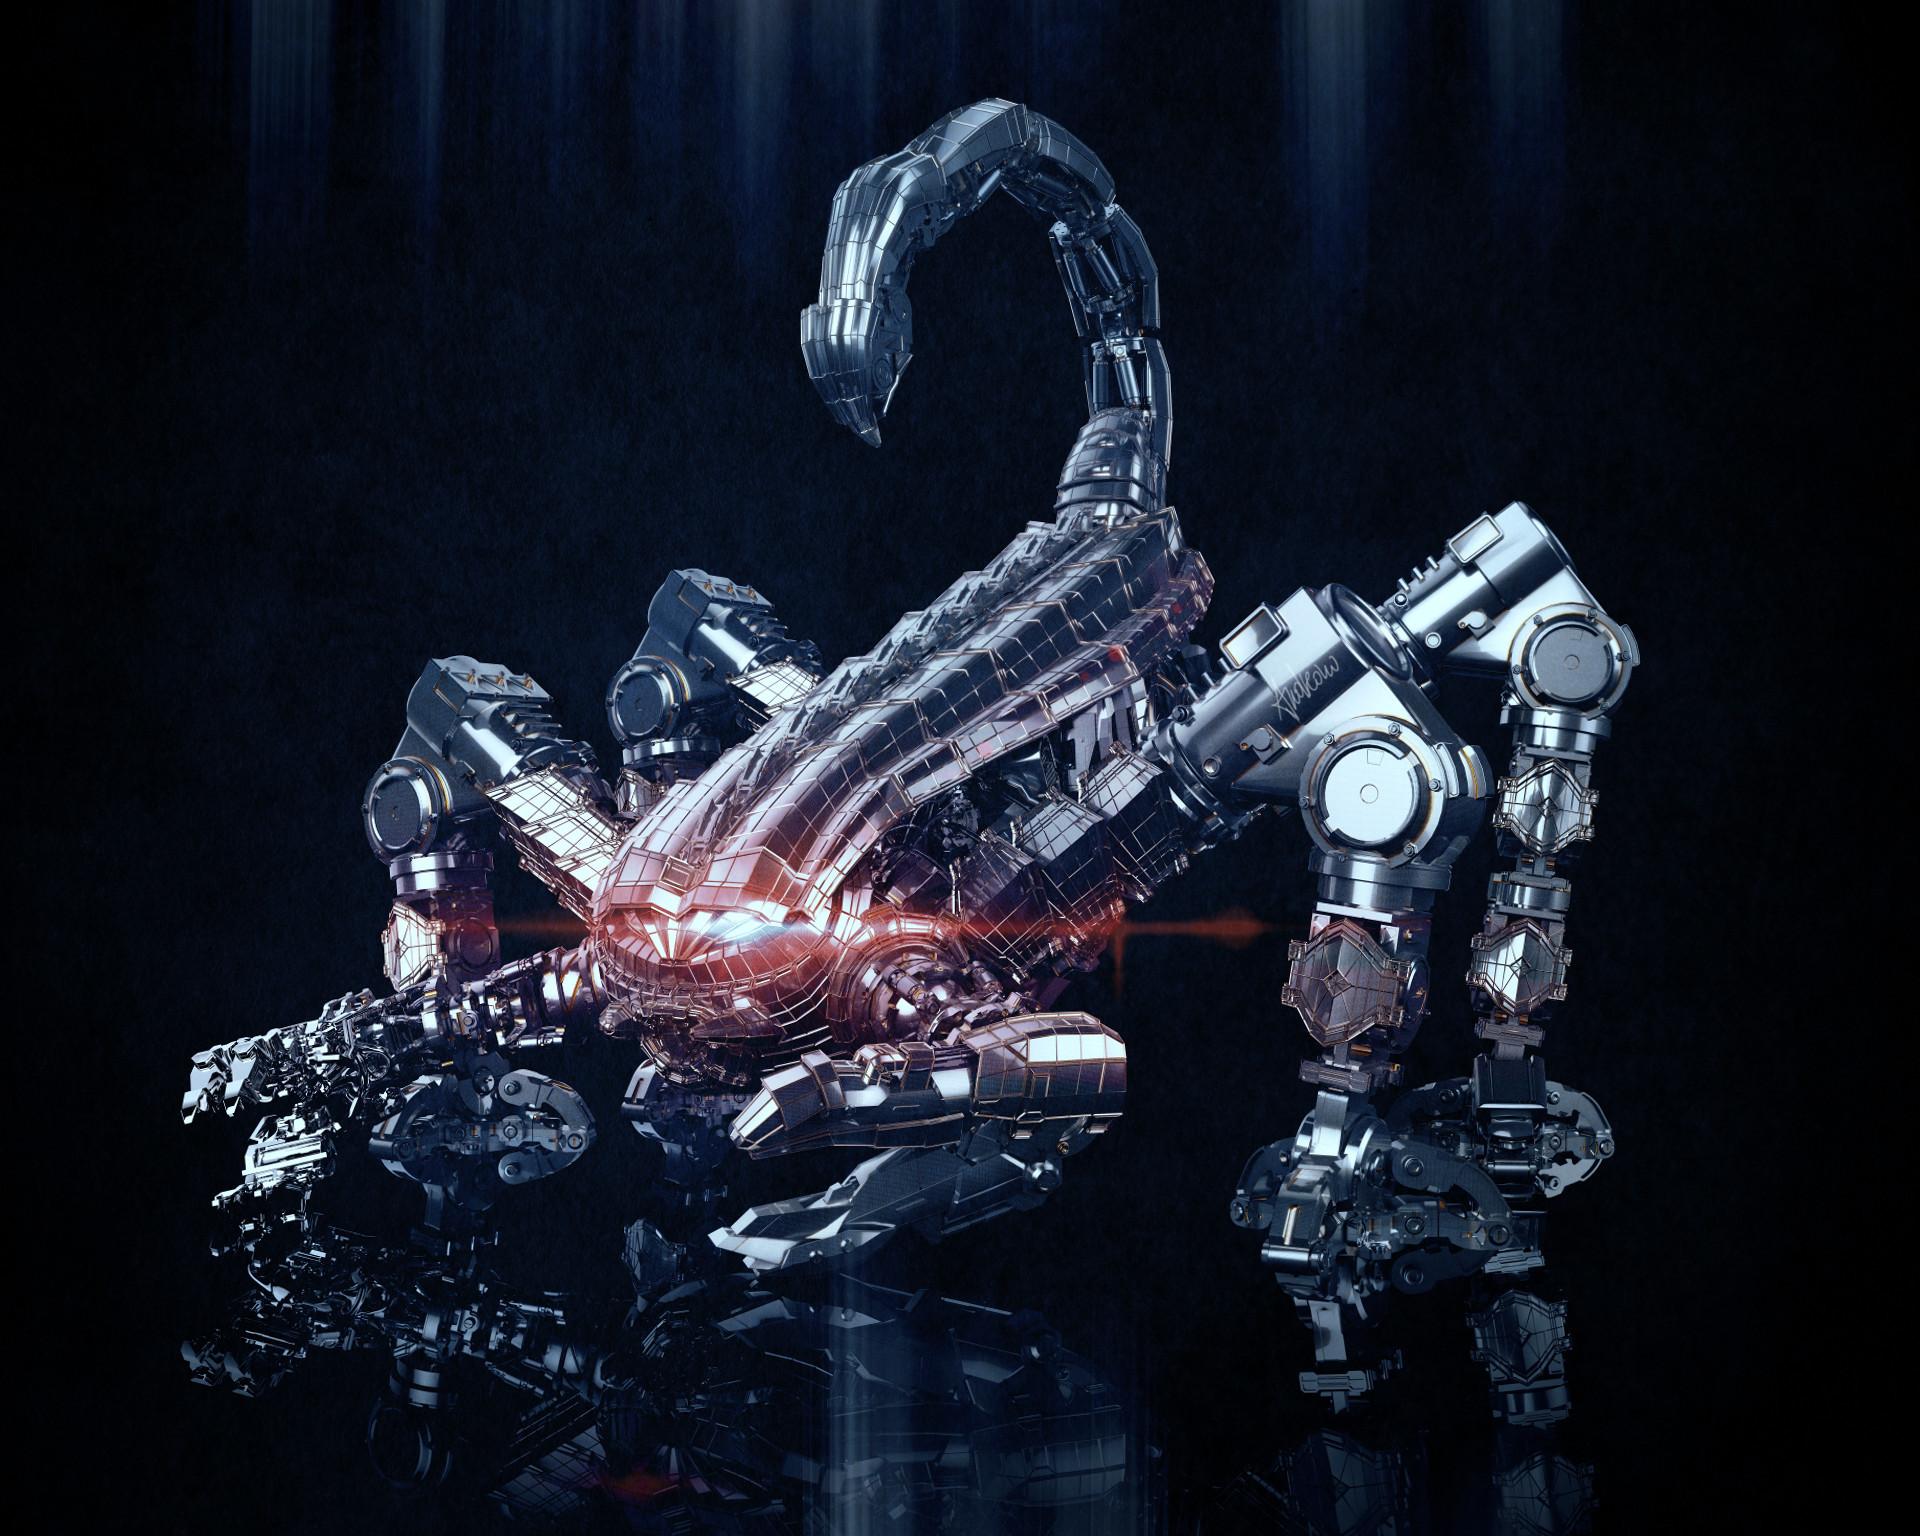
From the album: Finished Works
-
-
3DCoat v2021: Copy the ajz_multiSmoothFPSelection_2021.txt file to temporary directory and run it with Scripts->Run Script. This should place the script in Freeze menu (3DCoat restart is required). ajz_multiSmoothFPSelection_2021.script.txt
-

[Fixed] Much faster smooth tool for Pose brush
Carlosan replied to nobackup's topic in Feature requests
Selecting Paint mode and Stylus pressure strokes (not lasso) press Shift to smooth painted areas. Or run this script to assing more Smooth Steps ajz_multiSmoothFPSelection_2021.script.txt -
Thread closed because 3DC2021 was released. Please follow any conversation at this link: 3DCoat 2021 Development Thread Thanks.
-
Source... There seems to be quite some hype about Albedo Maps recently, especially in 3D Rendering and Realtime Rendering Applications. The correct usage of an Albedo Map can make quite some impact in your projects and I wanted to share my insight here: An Albedo Map is basically an Image texture without any shadows or highlights. Take the image below as an example. On the left, we have a picture of a brick wall with shadows and highlights and on the right, these shadows and highlights are missing. - Side by side comparison of an Albedo Map and a normal Image Why would we want to get rid of the shadows and highlights? Well, consider the following: You are using the left texture on an object to create a wall, but place a light at the bottom of the wall. Now, if you are using a normal or bump map with your Image map, the light itself would cast shadows upwards, but the brick wall texture already has shadows in the image that are cast down from the top (probably from the sun when the picture was taken). Now you have two shadows, the calculated shadows from your 3D light and the shadows already on the image. This will look confusing and unrealistic. The same is true for Ambient Occlusion. You don’t want twice the amount of AO or it will look too dark and dirty. This is why 3D Artists work with Albedo maps for their textures, so they have full control over where shadows and highlights appear without having them baked into the map. How to create an Albedo Map Creating Albedo Maps in Photoshop or other Photo-Editing Software would consist of the following basic steps: - Make an inverted Luminance Map of your Image: Desaturate it and invert it. - Clone that layer and use the “Soft Light” blend mode on that layer. - The inverted Luminance Layer will now lighten up the dark areas in your Image making it more homogeneous. Here is a video tutorial on how to create an Albedo map in Photoshop.
-
 https://www.artstation.com/artwork/q9q9Ye
 -
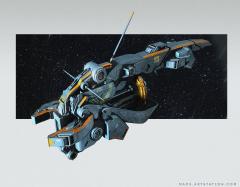
From the album: Finished Works
-
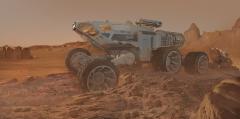
Cargo-Hauler_Sept_20.jpg.6d75fa0e473e31964e83a01c53bd7cca.jpg
Carlosan reviewed Carlosan's gallery image in Finished Works
 https://www.artstation.com/blogs/mack/Mobd/2021925
 -
Cargo-Hauler_Sept_20.jpg.6d75fa0e473e31964e83a01c53bd7cca.jpg
Carlosan posted a gallery image in Finished Works
From the album: Finished Works
-
Thank you, reported.
-
Hi Yes, this bug was posted before (and Reported)
-
[Solved] Exported PNG color alpha pixelated (3DCT)
Carlosan replied to E.V.'s topic in General 3DCoat
Testing export on Photoshop cant find any issue. Check your export settings, alpha channel must be alpha, not albedo Hope it help -
i Tested it. Found it working but it don't snap to surface by default. It keeps floating the curve half inside and half outside of the Sculpt mesh surface. Snap to surface on/off dont make any difference
-
 https://www.artstation.com/artwork/q9YQwn
 -
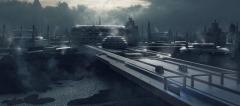
From the album: Finished Works
-
 https://www.artstation.com/artwork/qA4RBL
 -
From the album: Finished Works
-
Hi Send any support-related questions to Sergii Kryzhanovskyi at support.linux@pilgway.com Thanks
-
How to hide this "cross" at center of Brush in 2021?
Carlosan replied to Melik's topic in General 3DCoat
Hi This issue was reported Please send any support-related questions to Sergii Kryzhanovskyi at support.linux@pilgway.com Thanks -
Help with Environment Maps for Mac users (version 4.9.42A)
Carlosan replied to Melik's topic in General 3DCoat
Hi Send any support-related questions to Sergii Kryzhanovskyi at support.linux@pilgway.com Thanks -
Hi Please send any support-related questions to Sergii Kryzhanovskyi at support.linux@pilgway.com Thanks

