Search the Community
Showing results for tags 'hard surface'.
-
Okay, I throw my hands up. Calling for open advice! So I've been working on a weapon model and I drew up some reference, brought it into 3D-Coat, ready to do some voxel sculpting. Almost immediately I hit a brick wall. So here's what I'm trying to pull off. This is a screenshot of the sculpt shortly after doing a little cutting to match the silhouette. As you can see from the reference drawing, the sword's blade transitions from a thick depth at the back to a tapering edge at the front. My plan was to narrow that thick front plane down to a fine edge...you know, like any sword. Here's another image: The complexity of this edge is such that I have yet to find any great method of cleanly performing this operation. Pose tool, cutting off at specific angles, rebuilding the edge with curves, etc...all of these methods have been failures or felt really impractical. The only other thing I've been able to think of so far is just getting in there and free handing it to perfection. I went on a number of searches to find advice on blades, beveling in general, etc...I didn't turn up much help. I found a lot of advice on beveling, but none of the methods were quite adequate to recreating this exact geometry. Frustrated, I just went ahead and built the thing with traditional modeling. I'll put a shot of that up just as a further example of how I wanted it to look: But, the fact that I couldn't figure out a great solution to this really drives me crazy and I'm still trying to figure it out. I'd like to be able to rely on 3D-Coat from the ground up, since I really love the feel of working in it otherwise, but hitting such a hard wall right away on a pretty simple model made me feel like I ought to be using it in more of a secondary role. I'd love to see if anyone has any great advice here; anyone know how to pull this off nice and cleanly? Let me know if I can clarify anything for you.
-
Hi friends, A 3D Coat user (and some others) asked me how I made my 3d model in "hard surface". So I made a video to explain that simply. I hope it will be useful to other people too.
-
-
From the album: Hasuman's Art
My first serious attempt at hard surface sculpting. A homage to my favourite Quake 3 Arena character. Had a ton of fun making this guy. Can't imagine I'd had as much fun retopologizing him, lol. -
Posting recent progress on learning how to use 3D Coat for clean hard surface models. Still have a long way to go to attain my goal of creating reasonable size meshes that are clean to be used for 3D concept art. Any suggestions how to keep triangle count low and still get clean surfaces are welcome. Will continue to update this post as I create more work. Thank you for looking!
-
howdy guys, working on a set of norse alpha/normal brushes looking for feedback, you can grab them here https://gumroad.com/l/uIFW# for free, i look forward to your feedback
-
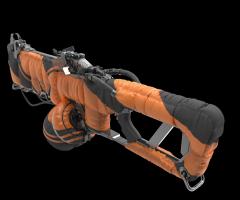
From the album: Nitrogen gun 3d model
-
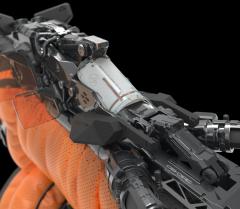
From the album: Nitrogen gun 3d model
-
Hi everyone. I have 3 video series on Udemy.com. All at half price thru end of January. They have about 950 total students and out of 80 reviews I have an average 4.5 out of 5 stars. I'm quite proud of that rating. I taught Coat for the last 4 or so in my classes at an art school where I direct the animation program. I love this program - the biggest secret in 3D lol. Here are the links and coupon codes if you're interested. Peace. Scott Coupon Code: SCULPT2017 https://www.udemy.com/3dcoatquickstart/ Coupon Code: RETOPO2017 https://www.udemy.com/retopology/ Coupon Code: HARD2017 https://www.udemy.com/3d-coat-robots/
-
Hi ! I'm learning 3dcoat & have a problem understanding how to retopo a hard surface humanoid model for exporting & animating in C4D. I'm confused because it seems I lose all the fine details that i've been able to sculpt in 3dc. All those sharp edges precisely. I'd like to export it to Obj for rigging & animating in C4D. So, i understand i should make a low poly export with uvs, normal map etc...but if my model lose sharpness, should i edit edges in C4D again ? (which would be kind of annoying). Or should i make a not-so-low-poly model and in this case what's a good poly count ? If anyone has suggestions or ideas, tutorials about this topic, thanks ! Here's an example of a model i'd like to rig :
-
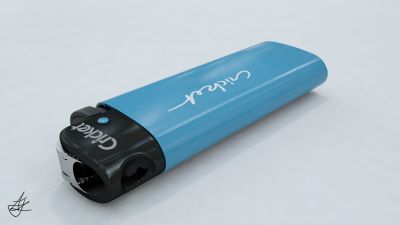
From the album: Cricket Lighter
SubDiv model created in NVil. Slight details and all textures done in 3D Coat. Rendered in mental ray.© AJZ 2013
-
I've been working on this guy as an exercise in hard surface sculpting techniques in 3DC.
-
Hi, how do you guys make rocky worn surfaces with layered bits? My goal is the style of layered rocky surfaces on the bellow Also achieving texturing like this is also quite hard to do in 3d coat. ide like to here some suggestion on getting this dirty ancient effect My (rather poor) attempt is bellow, its just nowhere near as good. He really defines and shows off his layers using specularity and highlight on them, but thats not really relevant, i just want layer in the first place.
- 23 replies
-
Hey, i just saw this: http://3d-coat.com/?id=109&list=singleimg&img_name=137762198694&img_type=1 And people say it's from automatic retopology! But i can't find any guides how to achieve effect like this. The most important is to keep hard edges hard - and these on the picture are really accurate! I will be grateful for some hints. Hard surface auto retopology is something that world really needs
- 2 replies
-
- hard surface
- auto
-
(and 3 more)
Tagged with:
-
- 3 comments
-
- 1
-

-
- hard surface
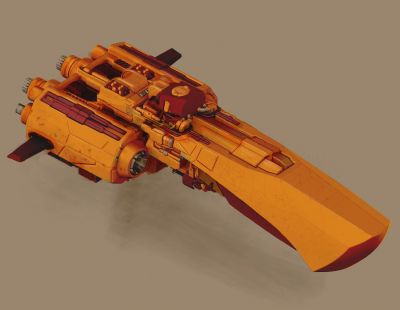
- spaceship
- (and 6 more)
-
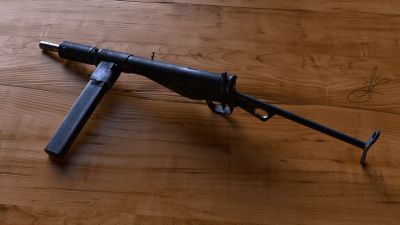
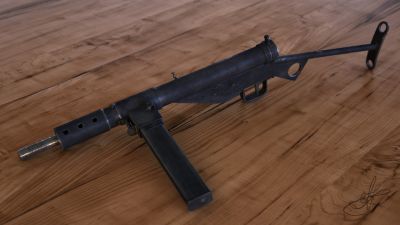
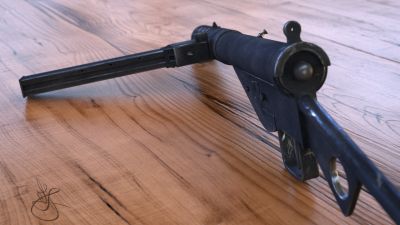
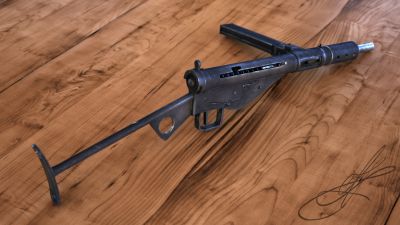
From the album: Sten Mk II
Hard light from Ennis probe. Sten textures done in 3D Coat.© Artur J Zarek
-
-
-
-
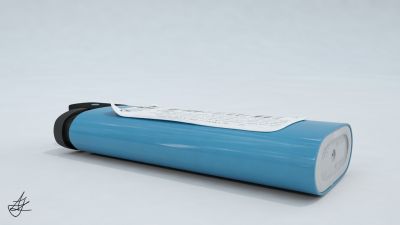
From the album: Cricket Lighter
SubDiv model created in NVil. Slight details and all textures done in 3D Coat. Rendered in mental ray.© AJZ 2013
-
From the album: Cricket Lighter
SubDiv model created in NVil. Slight details and all textures done in 3D Coat. Rendered in mental ray.© AJZ 2013
-
From the album: Fuad
Hi all ! This is my latest hard surface stuff with voxels I used keyshot for render . -
Hi all, I'm currently on a bit of a mission adding several new 3D Coat related tutorials per week to my youTube channel:- Here's a link listing all my 3D Coat tutorials:- https://www.youtube....sources+3d+coat Hope you find em useful!! Please fav/rate, comment & ask any questions you like. Thanks, Psionic
-
Hello. Retopologization of organic models in 3D Coat is quite pleasant. But it's about the other end of the surface world I'd like to ask a question about. How do you guys retopologize so called hard surface sculptures that are intended for further subdivision in your rendering and animation packages? Sculptures containing circular/curved holes on smooth, but curved surfaces. Sculptures for which you don't have any base meshes because objects were created in 3D Coat from scratch or maybe they were NURBS solids imported into 3D Coat for further modification and detail sculpting. I'm thinking things like toasters, guns, graters, walkie-talkies, hinges, tanks, planes, boats, etc. Do you have some tips or tricks to share perhaps? For me, retopologizing this kind of objects without a SubDiv base mesh already prepared is a hard and slow process because of the lack of standard modelling tools, Catmull-Clark subdivision, grid/object/component snapping available in the Retopo Room. Without these tools, creation of regular shapes like circles, ellipses, perfect grids, boils down to eyeballing and this is not good. I constantly have to switch between 3D Coat and subdivision modelling program in order to prepare mesh chunks for import to 3D Coat, inspect subdivision, align components, etc. It's not a very friendly workflow. I'm sure there are a better and faster ways to accomplish this kind of task and in hope of hearing about them I decided to write this post.
-
Hey everyone. for one of my university modules we are required to model a prehistoric flying or walking creature. I decided to go for a hard surface version of an Ankylosaurid. Known as the armoured dinosaur they are low to the ground and wide with some of this family having a mace like tail that, at current thinking, did have the necessary tendons to be swung as a weapon. So my initial sketch is this (i am by no means a concept artist) the back legs are similar to the front. This needs adjusting for more articulation but it's around right. I have modelled the cockpit gun and most of the cockpit and i'm currently modelling the legs. (APOLOGIES IF I SHOULD BE ATTACHING THESE IMAGES OR LINKING THEM RATHER THAN PLACING THEM HERE) Comments and critique welcome

