Search the Community
Showing results for tags 'texturing'.
-
Was trying to do simple things as starters. To big projects usually fail at certain points and redoing the whole thing that costs days to create is just a waste of time. Blender Created a cylinder 32 vertices with end and begin face, so it is closed. shade smooth, mark sharp at both edges Import for "per pixel painting" At import 3Dcoat >> enable option "Triangulate" Tried creating an UV map in Blender and let 3DCoat create one by selecting "auto mapping" But both times I have 1 visible straight line when I try to apply any material in 3Dcoat. It is a smart material I am trying to create in 3Dcoat, just added color, metal, height, roughness. I just cannot get that straight line to go away. What am I doing wrong?
-
Hello, Since I have experience with ZBrush, I wanted to ask if there's a similar workflow in 3DCoat to "Project All" for transferring high-resolution details onto a low-poly model. In ZBrush, the process involves duplicating the mesh, reducing the polygon count, and then using the "Project All" button to apply the details. Does 3DCoat offer a comparable method? Thanks!
-
Hi there, I've seen the possibility to export "Emissive" from the Texture menu bar (or when you export a model). But how to set up an emissive on a texture and a layer please ? Thanks
-
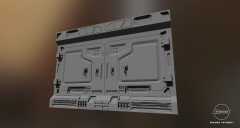
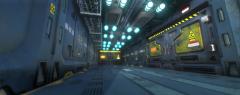
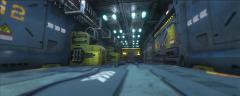
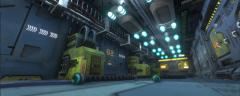
Inspired by the 1993 Mini-Series "The Tommyknockers" and the Stephen King book of the same name. 3D Coat was used for painting displacement and textures. Blender was used for everything else.
- 1 reply
-
- 3
-

-
- displacement
- texturing
-
(and 2 more)
Tagged with:
-
New beginner video continuing from the Lego man modeling to UV & Texturing it.
alexn007 posted a topic in Retopology, UVs & Baking
Hi guys, I just created a second part to my Lego Man modeling in 3D Coat, where I create UV's and add some textures. Below is a link to both videos. Modeling in 3D Coat, as well as UV's & applying textures. Part 1 - Modeling in 3D Coat. Part 2 - UV's & applying textures -
This is an Alien Scorpion that I have created in 3dcoat and brought into Blender for rendering. This is an asset I will be using in a scene that is off world and going to be animated. This was modeled / retopo / textured all in 3dcoat. alienscorp0001-0250.mp4
-
I would really love 3dc to support colour ID. Maps for assigning textures, I know it’s possible to do it, By using layers in photoshop, but it’s not great, especially when you only have limited layers on your license. i only use 3dc for texturing and this missing feature is driving me to use other (free) software, which is a shame. So, is this something that might be supported in future?
-
[Solved] Smart Material Preview not representing what actually gets painted
Slush47 posted a topic in General 3DCoat
Hi all, I have a material that I have made using the smart material editor, fine tuning it based on the smart material preview. However, when I use the flood fill tool or the paint brush, what ends up appearing does not reflect the Smart Material Preview. Does anyone know why this is happening? I have attached screenshots of the Preview, the model after it is flood filled, and the smart material. Thanks. -
Rygaard Sculptures / Texturing - My WIP I do in 3D-Coat.
Rygaard posted a topic in Finished Projects
Hey welcome! Hello everyone! I would like to share with this fantastic community my work in progress that I make using 3D-Coat. In this my sketchbook, I invite everyone to participate and that you feel free to say what you really think of my work ...No heartbroken!- 14 replies
-
- 3d
- work in progress
- (and 13 more)
-
Hi all - I recently started learning Substance Designer, Painter, and 3DCoat. Usually one would take their materials generated in Designer and apply them in Painter, but after using 3DCoat for a couple of weeks, I'm just about convinced that 3DCoat's texturing setup feels much more accessible than Painter (lots of little 3DCoat advantages, like Zbrush-esque navigation which works wonderful with a tablet, able to quickly freeze/unfreeze UV shells, etc. but still learning both). I'm having a lot of trouble exporting my material maps from Substance Designer and importing them into 3D Coat while retaining the same look and feel of the original. Here are my current results, with the material applied to a cube in Substance Designer on the left, and those maps exported and applied to a cube in 3D Coat on the right. I have quite a few questions. Surely I'm doing something wrong? I created a new Smart Material, and for my "Color" Texture in 3D coat, I imported the base color texture from Substance designer. Depth texture in 3DCoat <-- Normal texture from SD. Roughness texture in 3DCOAT <-- Roughness Texture from SD. Metalness texture in 3DCOAT <-- Metallic texture from SD. Condition Mask Texture in 3DCOAT <-- Ambient Occlusion texture from SD (this one wouldn't be necessary, right?). I'm a bit confused, where does the height map texture exported from Substance Designer hook into 3DCoat's Smart Material? There seems to be no field for that. I made sure to generate the "CurvatureMap" layer in 3DCoat. With the SmartMaterial selected, I also used the buttons in the "Preview Options" window to adjust the size/position/rotation of my smart material being applied to the cube, but I still couldn't get it to look correct. In Substance Designer, notice my material intentionally has a large raised circle in the center of each face, but it's completely missing in 3DCoat, despite using the same texture maps. Just to note also, the default Smart Materials in 3DCoat work beautifully - it just seems to be these custom ones I'm making that just won't work. I've attached the maps exported from Substance Designer. Any advice or suggestions would be greatly appreciated, thanks! SD_to_3DCOAT_TextureMaps.rar
-
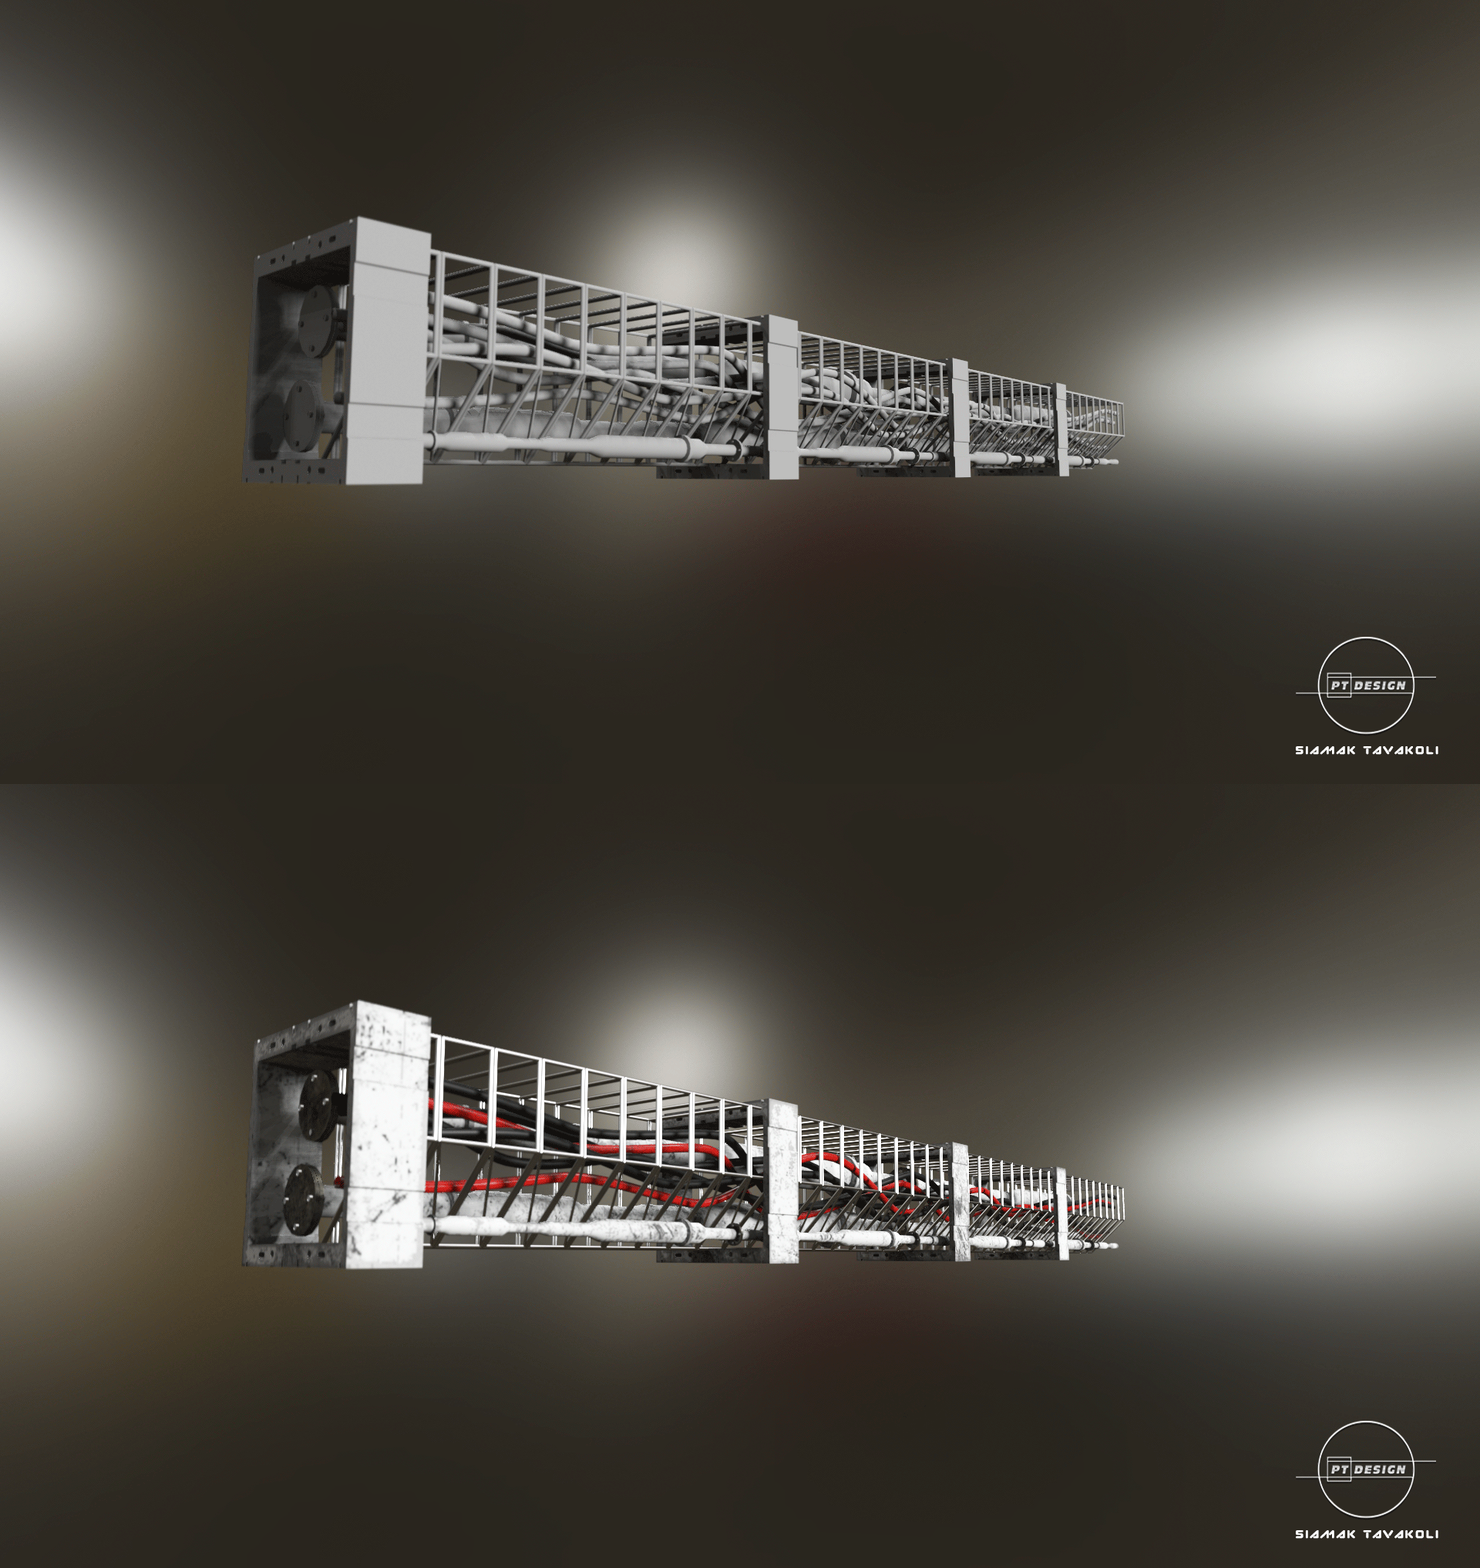
I have made a sculpt and wondered if it's a way to not have to retopologise and bake in order to texture and color it.
-
Hello. It is already 6 hours of nightmare with textures export of Smart Material. I can't export texture with high resolution as shown in preview and viewport. I read all topics about this problem, tried to change mesh and texture resolution (I set 16384 on start but baking allows only 8192 resolution) , bake textures (I set 16384 on start but baking allows only 4092 resolution) etc. and I already tried with high-poly mesh and 16 384 texture size, but exported image is blurry and terrible. Whatever I do - the result is always low-resolution blurry map. Please, help me! I can't sleep!
-
I stumbled upon this article and thought I should share it here as it maybe of interest to some of you, especially those new to texturing.... Elliminate Texture Confusion: Bump, Normal and Displacement Maps Cheers Ken
-
- 1
-
-
- texturing
- normal map
-
(and 2 more)
Tagged with:
-
Hello, I'm relatively new to 3d coat but my youtube research hadn't found a solution. In my workflow, I'll generally create and sometimes uv a mesh in maya and bring it into a program like 3d coat or substance painter for texturing. The 3d coat habit I've picked up has me separate different components from the mesh during the modeling process so I can use the 3d coat fill tool to just paint that component instead of the whole object. My question is, can I take that another step further and get 3d coat to see those separate components as different paint objects so I can hide them if I need to paint behind them? Thank you.
-
Hello guys I hope this is not a stupid question but Is there option to have smart material effect on textures when painting normal map? I noticed that material properties like for example rust on concave/convex etc are not showing on normal maps? Or is there need for any specific order of smart material and normal map in layer tree?
- 1 reply
-
- normal map
- pbr
-
(and 2 more)
Tagged with:
-
Not sure if this is the proper place for this post as I'm not a 3DC pro nor intermediate and I'm not totally a 3DC noob. I've textured a model in 3DC's native format in the paint room. It has no UV mapping. I did not convert it to an OBJ and import it into the paint room. I am using 3DC's native file format with the intent of doing a 3DC render then import into Photoshop or ArtRage to paint over. I textured in the paint room using pbr shaders and also used 3DC's bridge to the external editor (in my case Photoshop CC 2017). After I finished texturing I decided I would export to an OBJ to use in Daz Studio or Vue Complete. However when I re-import the OBJ into 3DC there are no textures (pbr shaders or Photoshop). In the folder where I exported the model is only the OBJ and associated MTL file. Is there any way of texturing a native 3DC model in the paint room and exporting to OBJ with texturing applied? I thinking it's not possible but just curious if if can be done. Cheers & many thanks... Ken PS: Just getting back into 3DCoat as I spend most of the summer with my Nikon DSLRs shooting well over 6,000 raw photos or landscapes, classic cars, hot rods and scenes. Most of my time has been in Lightroom CC 2017 & Photoshop CC 2017. So now a little rusty in 3DCoat, Silo3D & Moi3D.
- 2 replies
-
- texturing
- native file format
-
(and 3 more)
Tagged with:
-
Hi everyone, I've been using 3DCoat to create UVs for objects built in C4D, and it's a relatively simple process. What I want to do now, however, is texture a pencil. I'm still very unclear about how this process works. If I understand correctly: I should create a base texture (the yellow paint) and fill an entire layer. Then I should make a new layer, and paint in a wood texture near the tip. Then I should make a new layer, and paint in the lead tip. I'm not sure how to do the text. This all takes place in the Paint room, correct? If anyone feels like walking me through how this actually works, or maybe a tutorial that really walks through this step by step (I've watched a ton of tutorials and still really don't understand), that would REALLY help me out! OBJ and reference are attached. Thank you! Justin Pencil.obj
-
texturing [Solved] Depth painting amplified on certain parts of the UVs
AlienMinefield posted a topic in General 3DCoat
Hello, I've been using 3D-Coat for a good while now but I've never run into an issue quite like this. When I import this particular model that I've been given to texture, I noticed that there were these strange diagonal bands in the texture editor. I didn't think much of it at first but when I paint with depth information, the depth gets applied at maximum strength when inside these bands regardless of what the brush strength is. This only seems to happen with this particular model. I've included the .obj version, but I can't figure out what aspect of the model may be causing this. The bands don't seem to correlate with any of the edges on the model. There is only 1 UV set on the mesh (I've checked it in 3ds Max, Blender, and Maya, all showing the same thing). The problem occurs regardless of whether I export it as a .fbx or a .obj. This problem occurs with this model in both 3D-Coat 4.5 and 4.7 regardless of the texture resolution I specify when I import the model for per-pixel painting. Any ideas on what might be causing this? You help is much appreciated! HumanShip01_Arm.obj- 2 replies
-
- object import
- paint
-
(and 6 more)
Tagged with:
-
Just loaded up my save and this has happned! :/
Arno Alexander posted a topic in SOS! If you need urgent help for 3DCoat
me = just loaded up 3dcoat to finish texturing this and I'm saw that this has happened! I = can press *6* (lowpoly) to make it go but when I'm = goes into render it it just shows this silliness again! can anyone helps me please? I'm = don't wanna restart him he was a lot of work :/ -
I can't seem to find the gradient node?, Where you can position how you want the gradient fill to be positioned. If any body knows the answer please tell me!, Please and thank you!!!
-
Hi, guys. I just started a series in order to introduce 3D-Coat to the brazilian audience. The tutorial is in portuguese and it's really basic this time (its just a introduction to some basic painting workflow). Hope you like it!
-
The problem i have is the following : -I unwrapped my UVs fine -I then baked my normals (with the default shader & name correspondance for baking unchecked as it seemed to cause problem) -Normals are fine in the paint room I tried exporting the object from the retopo room (Export Retopo Object) & from the paint room (Export Object & Textures), and in those 2 cases, i get a weird UVW mapping in C4D : Also, in the Retopo room, i can't move retopo meshes in other UV Sets. I tried with my mesh selected or not in the Retopo room, with the initial object layer selected in the Voxtree or not... Anybody has ideas ?
-
Hi... I am texturing a mechbird I modeled in Groboto3D, Hexagon3D & Wings3D. The mechbird is comprised of 4 separate objects - body, head, right wing, left wing. All four objects are imported into 3DC and uvmapped and painted (which I would like to add is a very pleasurable experience). The body was saved as a 3DC file. The head and wings are also saved as a 3DC file and also exported as OBJs. When I'm finished I open the body 3DC and then import the head, right wing & left wing OBJs. However I lose the metalness (glossiness of the head & wings). Below are screen captures of the body & head in the paint room after being uvmapped.
-
Hi folks, Is it possible to do a similar workflow in coat like Ndo's normal map generation? I've been playing about with the stroke options and the depth setting but I can't seem to come up with a good combination of tools. Cheers your time and help Greg
-
How to create High res image export to print paper models
meandearl posted a topic in General 3DCoat
Hi everybody, Could anybody help me finding a good workflow to texture my papermodels in 3DC? I keep it as short as possible. Here is what I do: - Make illustration in Illustrator - export as jpg / 72 DPI but bigger size (4000 x 4000 pixel) - Import my lowpoly obj. model and the jpg into 3DC. (I only have 2048 version). - I UV map and then paint. Awesome !!!! - Export obj with texture as jpg Import into pepakura. The quality is poor. Do I have to work with 300 dpi from the beginning? Is jpg a bad choice? I cannot load the exported tiffs into Pepakura. My UV maps are not symmetric. I don't know how to do that yet. Is that the reason why some details show up distorted in Pepakura? Like nostrils or a mouth which looked well balanced in 3DC. I keep experimenting but it would be phantastic if somebody could share his/her knowledge with me. Cheers