Search the Community
Showing results for tags 'Blender'.
-
Hi. This is a short summary to get Applink working for Blender. If you have a brand new 3dCoat version, (compare the date and) copy COATs Applink from: ------------------------------------------------------------------------------------------------------------ C:\Program Files\3DCoat-2023\data\ToolsPresets\InstallAppLinks\Blender\files ----------(please modify the this path for yourself, example look for "3dCoat-2024", as copy and paste would not work in this case) to your Blender Folder: ..\blender\(version)\scripts\addons\io_coat3D\. For installed Blender versions this is in the Roaming folder. The versions shipped with 3DCoat are likely newer -->new features. ----------------------------------------------------------------------------------------------------------------------------------------------------------------------- 1. Right now April 2024, there is no need for the forked version. 2. There are a lot of folders for Applink. I try to clarify the dependencies in the Image. The most important file/folders seem to be ->'documents\3DC2Blender\exchange_folder.txt' ->'documents\Applinks\3D-Coat\Exchange\' Look If you have the same or similar folders. If Applink is not working, then one of the files is maybe pointing to wrong or outdated direction. 3. Open Blender and make sure 3DC Plugin is enabled. Then look on the right for scene properties. There you can set the exchange Folder, which should be: C:\Users\'Username'\Documents\Applinks\3D-Coat\Exchange\. The other 'Object/Texture' Field can be left empty. 4. Open 3DCoat, we take Modelling Room. 5. Back in Blender select the fancy Cube. In the 3D View 'Applink Window' select 'Retopo mesh as new layer' and Send. 6. In 3D Coat you should now see the placement arrow. Scale it Up or Down to see if something arrived in Coat and hit Apply. There should now be a new layer named '__something'. 7. If you get so far then there should be 'Export to Blender' under File. If 3DCoat asks for a filename it is working. The Folder should already be 'ApplinkObjects'. 8. Choose Name and use fbx format. 9. In Blender hit 'GetBack' from Retopo * 10. On new versions the last step changed a little. Before had send the mesh from Blender to 3DCoat, to get Getback applink working, you need to use this command first: File > Open in external app. Do not use Export to Belnder and then GetBack. This should be it for now. I hope it works! ------------------------------------------------------------------------------------------------------------------------------------------------------------------------- Export to Blender missing? Have a look: Check my 3Dcoat Script for this: Blender_Export_to_Button.as or install it as 3dcpack: Blender_Export_to_Button.3dcpack Then 'run script' from Menu in \Documents\3DCoat\UserPrefs\Scripts. Its function is displayed in the linked post, it makes the missing folders and files. I've tested it sucessfully. Edited just now by Ctc_nick
-
 Hello everyone, this is Denis Weber. Today I’m going to talk about what happens if you combine LEGO and the iconic movie Terminator 2. I’ll show you how I created a real LEGO trailer and what came out of it. I like doing such large-scale projects and if you have any cool ideas, let me know in the comments. If you prefer the video format, you can watch it here. In 1984, the movie Terminator first was released and it blew up the movie industry. Then there was Terminator two which succeed on an even larger scale. Then there were other Terminators. I think you’ll agree with me if I say that Terminator 2 is the best movie of the entire franchise. An epic action, an exciting plot, unreal computer graphics and, of course, the rise of robots. It’s scary to imagine, this year the second Terminator is turning thirty-three years old. In those times, well, or 10 years later after release, I got LEGO myself and I loved it with all my heart. I wanted to combine two of my favorite things. Thank God, AI still cannot make such a video in one click. In this article I’ll tell you how I created the LEGO characters of the trailer and the large-scale locations of the film. The first thing I did I watched the trailer a hundred times. I cheated a little here and I already had a ready-made LEGO minifigure from one of my past projects. In the first frames of the trailer, the skeleton of the Terminator stands in the fire and looks angrily into the camera. I downloaded the photo and made a 3D model from it. Hair for models was a the hardest part. It was necessary to make sure that the Terminator evoked fear, not applause after performing the hit of the 80s. I spent some time modeling hairstyles, but I wanted to finish my project in time for the release of the next part of the Terminator, so I used free models from the MecaBricks website. MecaBricks has some cool detailed models, but that’s what makes it harder to work with. High detailed models adds thousands of polygons, and for animation it is better if there are fewer polygons, but not for Pixar. Therefore, I had to spend time optimizing the models. The naked terminator inside the capsule moves through time and space straight to the truckers’ parking lot. The Terminator’s trips from the future always involve uncanny lightnings and sparks, so in post-production I added lightnings, which I tried to make as similar to the original as possible. There are also the trucks and bar decorations. I bet the movie was shot the same way, with one wall facing the camera. OK, the trailer also has a scene inside the bar, so I had to build it as well. I even modeled a LEGO billiard table and tattooed the arm of a random Terminator victim. In the scene where T-800 is looking for John, the moviemakers show a picture of his eyes. I tried a few crazy ways to do the same before I got what I like. When Sarah Connor got the news that the evil guy from her worst memories is in the city, two cyborgs are already running after John. For this scene, I created a small hospital room without walls and floor. Sarah couldn’t even escape from there. She looks at the Terminator’s photo and says that her son is in trouble. And at the same moment, a huge truck with a killer cyborg falls off the highway straight onto John. Do you still need more suspense? Sarah fights with T-1000 to the bitter end and in many scenes she herself looks more like a Terminator than a sweet mother playing with her son on the playground. Many scenes show great work with light and smoke. It took a lot of effort to convey at least something similar to the original in my video. Some scenes are simply amazing in their epicness. For example, when, during a chase, the T-1000, at the pilot wheel of a helicopter, flies into a truck with the main characters at full speed. In this case LEGO parts should shoot out of it. This is the biggest scene of the entire trailer. It’s full of trees, particles, smoke and everything that makes it so memorable. And here is one of the longest scenes, the one in which T-1000 is chased by the car of the main characters. He jumps on the trunk, breaks the glass and, of course, at the last moment Arnold saves everyone. In general, a lot of police equipment is used in the film. Helicopter, police cars, vans and motorcycles. It’s good that all these models were freely available on the Internet. Otherwise, I would never have finished this project. I can’t even imagine how the creators made the effects for Terminator with the capabilities of computers and 3D modeling programs in 1991. In my project, T-1000 is literally created from T-800. They should be produced somewhere in the neighboring workshops, right? I don’t understand why T-1000 doesn’t turn into someone whom the main characters haven’t seen yet and calmly finish their business. The T-1000 continues to show us its abilities. You need to be a very self-confident cyborg to jump out of an office building at full speed on a motorcycle, straight towards a helicopter and then climb into it. I especially like this scene where the evil Terminator turns to the camera so that the spotlight beam is visible in the hole. It’s a small thing, but it looks epic. The trailer is so full of events and different scenes that sometimes I spent several hours just to set up a 3D scene, the animation of which did not take even two seconds. Anyway, if you watch the whole trailer, all the scenes look cool because they have a lot of details. The animation does not look like a collection of random objects and can be perceived as a whole film. For this scene, I needed to create something between the normal look of the evil Terminator and his liquid state. At first the model looked more like a Michelin mascot, but after a couple of hours everything started to look right. When I figured out all the models, scenes, light and animation, I had to work as a conductor and I created, so to speak, a similar musical theme for the trailer so that YouTube would not have questions for me. Oh, yes, also sound design, but I’ll tell about it the other time. I really spent a lot of time and effort creating the trailer. More than for any other project before. And I really wanted to tell you about all the little things, but the trailer turned out to be so big that I would not have had a couple of hours. The trailer is already on my channel, don’t forget to watch it too. Trailer Making of video I am glad that I completed the project to the end and I really like the result. Some time ago, I didn’t think anything would come of it at all. Thanks for reading. It’s going to be really cool something here soon.
 -
 I need to change this to a more urgent topic because it actually prevents me from further work with texturing in Blender. I Autopoed some objects, auto-unwrapped their UVs and exported them along with baked normal maps to Blender and Substance Painter. All parameters and presets were set to Blender or OpenGL. However strangely, after applying the correspondent Normalmaps the objects appeared to have a lot of artifacts and seams in Blender than in SP. Details were also less clear than in SP. This stopped me from any further works in Blender. For your information, if I set the bake and export settings to Substance Painter instead, it also renders incorrectly in SP.
 -
I use Autopo to retopo some objects and export them to Blender and Substance Painter. All parameters and presets were set to Blender or Cycles. However strangely, the objects appeared to have a lot of artifacts and seams in Blender than in SP. Details were also less clear than in SP.
-
Does anyone know why Meshmixer does this when I bring a brush to a figure?
-
Hey everyone... As I did not have much knowledge with 3d-coat in relation to Define Measurement Units and Edit Scene Scale. I started a project without paying attention to these two important settings that are found in the Geometry menu. I would like to ask the help of all of you to used this topic to explain the subject better and with that you would help others who use 3D-Coat. Doubt 1) In a project I'm working on, only now that I've realized that the values in the Edit Scene Scale are all changed as you can see in the image I've attached. If I change the value of SceneScale to 1 will what happens in my file? I would have problems if I change this value which is currently 137.963562 for 1? Could I change units from millimeters to meters? Because it is in millimeters... Could someone explain it better? Doubt 2) I realized that by default 3D-Coat uses millimeters. I would like to have a 1: 1 ratio between 3D-Coat and Blender because of a 3d print job and I also believe it will help in mesh workflow for animation and games. Currently in 3d-coat version 4.8.21, what would be the best configuration between 3d-coat and blender without there being any problems in the scale and positioning when it imports -> exports -> imports again for 3D-Coat? I realized that when I use these 2 programs, the scale almost always changes. Maybe because I do not know how to configure. Sometimes the sculpture when it returns to the 3d-coat comes either large or small and the pivot gets altered also causing the sculpture to be located in another position completely different from when I exported. I think using meters would be the best unit of measure because I've read that physical simulations, displacement maps and other things will be best produced when configured using actual measurements of the world in meters. How do you work with Measurement Units and How does the Edit Scene Scale work? Doubt 3) How to properly set up each project (for 3D print? for Games? for animation?) What would you advise for 3d-coat users in the initial scene setup within 3d-coat? Anyone who is knowledgeable in this subject, please share with the whole community about all of these subjects that I mentioned above. This is very important... Thank you for your attention and help.
-
 Hi all, Simple3DCoat addon is for Blender+3DCoat production. This is a fork of the official one made by Haikaikalle . Blender 2.93+ 3DCoat4+ Features: Set the Exchange Folder of 3DCoat manually. Custom Textures Path for export/import. Export/Import through Obj/Fbx formats. ExportMaterials, ApplyModifiers checkboxes. No PBR Materials support. Sorry. Simple to Use Screenshots: How To Use: - Enable the Addon and set the Exchange Folder. - Export/Import models back and forth. Download: Sources: https://github.com/mifth/mifthtools/tree/master/blender/addons/2.8/io_simple_3dcoat Latest MifthTools Master Download (ZIP): https://github.com/mifth/mifthtools/archive/master.zip Enjoy.
- 153 replies
-
- 3
-

-

-
- export
- 3dcoatapplink
- (and 3 more)
-
 This video goes through the process of bringing in a premade spaceship using Addon Ship Wright into Blender and then converting this to a smooth detailed object. Once spaceship is created then I will be taking this into 3DCoat to use the Wrap Tool to create a rounded Sci-Fi Object. This tutorial will help to understand how to use many tools along the way to create some cool shapes. To follow along you will need shipwright however you can create another object in different means to bring this also into 3DCoat if needed. Please join me in the process. Let me know if this helps at all. Please understand this process is very intensive with the computer so there will be a lot of waiting for things. However, things you wait for are the best things.
 -
 If you are still struggling to model characters with the best topology for animation, then you should check out this tutorial series. There are 5 amazing videos. Here is the first video in the playlist. Enjoy and Learn.
 -
 I was going between 3DC and Blender a bit trying to hit the sweet spot I wanted for something, and I noticed differences between the two renders, especially caused by varying roughness values. I decided to get a bit scientific about it, so here's the results of my tinkering. I used the studio.exr panorama from Blender in both programs for a fair comparison. The 3DCoat environment settings were left at default, but the light was deactivated. The HDRI was normalised when I imported it. The HDRI strength was left at default value in Blender too. A simple sphere, identical colour value in all renders. I'm making no judgement as to which renderer is 'better'. This is just purely for comparison, to see how roughness values appear in each in order to make texturing a bit more predictable. I did notice that in the HDRI there is a tiny but bright spotlight high up adjacent to the other light, but for some reason this isn't picked up in the 3DCoat renders. Perhaps it's just a tiny pinprick and too small to be picked up. I don't know. There also appears to be a light down low, right of centre, but only on the renders for 25% to 40% roughness in the 3DCoat renders. I don't know where that's coming from. It isn't apparent in any of the others. The most noticeable differences is that the reflections in the 3DCoat Paint Room preview are a touch more intense than both of Blender's renders, but the same reflections are a bit feinter in 3DCoat's Renderer. Also, at around 35-40% roughness, the 3DCoat Renderer has greater blur on the main reflections near the centre, which has almost become a single bright patch, whereas all the others still have two distinct light sources. Like I said, this isn't about picking a 'winner' or 'favourite'. It's just to help me predict how my textured objects will appear and render in Blender to save time to-ing and fro-ing making adjustments. Just thought I'd share. Regards, Derek
 -
 Hello and good evening. I discovered this wonderful software called 3D Coat; I love the texturing and uv mapping workflows, but I can't seem to get a handle on the baking phase. I've tried several bakes, but each time the results are the same. Could somebody tell me why my bake looks like that and what I need do? I paid close attention to both the outside and interior cages. I've watched several tutorials, but to no avail. Help, what should I do to fix this?
 -
 Sorry, if this is an easy question. But I have looked everywhere and can't find one theme or other Hotkey set / Tools etc.. Please Help Bring back themes and hotkey/tools to simulate other 3D apps, I'm trying to model and I can't get it to select a whole object to move, like if I create a cube then setup my reference image and want to move said cube into position to start poly modeling adding and moving points / faces etc.. I can't even get out of the gate because all the ollder hotkeys which used to work, no longer work? Anyone have a hotkey setup I can download and try? I was trying to emulate Silo3D's keyset, mode of modeling where I can tweak as I go etc.. Also, Your Preview pane in the reference image selection window does not work, I have alot of images that are JPG's which is in the supported type list of extensions. Yet, when I click on any of them nothing shows as if they are not recognized. I had to bring them up in photos to view and make sure I was selecting the right ones. Any help would be greatly appreciated. Ken Cornett aka StOrM36969
 -
 H! I am having a 360 Equirectangular / Spherical Image of a room Mesh. I want to map the 360 image as texture into that Cube 3d Mesh. I nearly done by applying as spherical texture to that mesh in Blender but it is not coming Exactly as real world room Is there any way to map that Equirectangular Image as texture to that Room 3d Model? via Blender or any other software
 -
Пожалуйста помогите новичку. Как экспортировать хайпольную модель, созданную в коте и покрашенную в комнате рисования в блендер? Искал способ на форумах и ютубе, нигде не нашел. Пробовал разные варианты экспорта, но в блендере открывается не крашеная модель. Как экспортировать с информацией о цвете, может кто знает? На скрине видно, что пункт "ЭКСПОРТ В" отсутствует.
-
 Hi, can anyone help?! So I've been working on a character for a while and I've just finished texturing it in 3DCoat. I have had to work on it in 3 different 3Dcoat files (Body, Armour and Boot) so my machine can handle it. I've wanted to move it in to blender to start rigging and add hair particles, so I've been using the 3DCoat Blender app link. For the most part it works perfectly accept for some certain objects. As you can see from the photos I've uploaded below in blender, the knuckle guards parts of the skin and the belt have weird texture errors. However when you look at them in 3dCoat there doesn't seem to be any errors. I've uploaded images of my export to blender settings to see if that could be the issue. Can anyone see what's causing this error and how to fix?! Much Appreciated
 -
 At first I tried this with my complex model I've been trying to work with, and it would show up in every window but the sculpt window. I also tried it with a basic starter block to see if it was a problem with my model, the same thing happened, the model showed up in every window accept the sculpt window. This is unfortunate, because I was trying to do some surface sculpting. I have tried hiding and unhiding layers to no effect. Am I doing something wrong? Or is this a bug? I'm currently using Blender 2.92 with 3D Coat 4.9.60.
 -
Hi, I'm new to 3DCoat, and just discovered the applink functionality. I set up the built in plugin in blender as instructed, however it doesn't seem to interact with 3Dcoat and give me an import dialog like the videos. I'm using 3DCoat version 4.9.60 (consumer) downloaded from steam, and Blender 2.91.0, also downloaded from steam. I've done a lot of watching and re-watching the lessons on using the applink, and I can't actually get the two programs to talk to each other. Am I missing something?
-
Hey I am using 3D coat version 4.9. I sculpted this desk in 3d Coat then took it into blender. In blender I used the applink to send it to 3d coat for Painting it, as shown in the top image, I send the desk back to blender, but the object seems to have no texture on it in the view port. The UVs all seem to be intact. I tried this method with the gun model too (sculpted in 3dcoat- taken to blender- painted in 3d coat) and it seemed to have been working fine. I have also attached an image of the shader editor. Thank you very much for your time. You may download the blend file here: https://drive.google.com/file/d/11QKtjRTN-r2zBM99MPgy2g6o_bHLq2xR/view?usp=sharing
-
I made a model in Blender and baked a normal map for it in the same program. When I looked at the model in blender with the normal map on it everything looked as it was supposed to, but when I imported the object into 3D-Coat and put the same normal map on it I noticed that the smoothing on a few parts looked quite a lot different than in Blender. I then tried the same thing with a simple cube and noticed the same thing. Cube without Normal Map in Blender: Cube with Normal Map Blender: Cube with normal Map in 3D Coat: The import settings and the normal map settings are both set to Blender, but it still looks different in both programs. Is there a way to fix it or does the smoothing in both programs just work different and I should avoid smoothing my low poly mesh as much as possbile? Thanks in advance.
-
 I made the model and the normal map in Blender and am now importing those in 3D Coat (as .obj), but after I apply a smart material on the object there are some weird stretches happening as you can see in the following picture. The normal map I am importing + UV Map + Mesh looks as follows: I Does anybody know if there is some way to fix this problem directly in 3D Coat or if I have to change the mesh or the normal map in blender? Thanks in advance for the help.
 -
Hi, I exported 2 objects from my blender scene to 3dcoat by shift-selecting and using app link for 'per-pixel painting'. Both the objects are already unwrapped. But when transferred to 3dcoat, the bigger object has this noise, and upon inspecting I realized it has the materials but no UV's from my blend file.. any ideas what might be the issue here? P.S.: I've already tried treat materials as separate textures and Import tiles as UV sets but no luck
-
Hey everyone, This is thread to follow the development of a project that I have been developing called Gladiotron. It is an original project and hopefully the first of many. My pipeline consists primarily of Blender and 3D Coat, with some other applications for authoring PBR textures and then ending up in Unity. Our target platform is PC and Console initially, then possibly mobile afterwards. I have a few goals with this project. 1. To engage the 3d Coat and Blender communites 2. To share development progress on the art assets and the game 3. To work with the 3D Coat team in a similar way to the way the Blender Foundation creates film projects to drive the development of the application
- 11 replies
-
- 8
-
-
- gladiotron
- concepts
- (and 7 more)
-
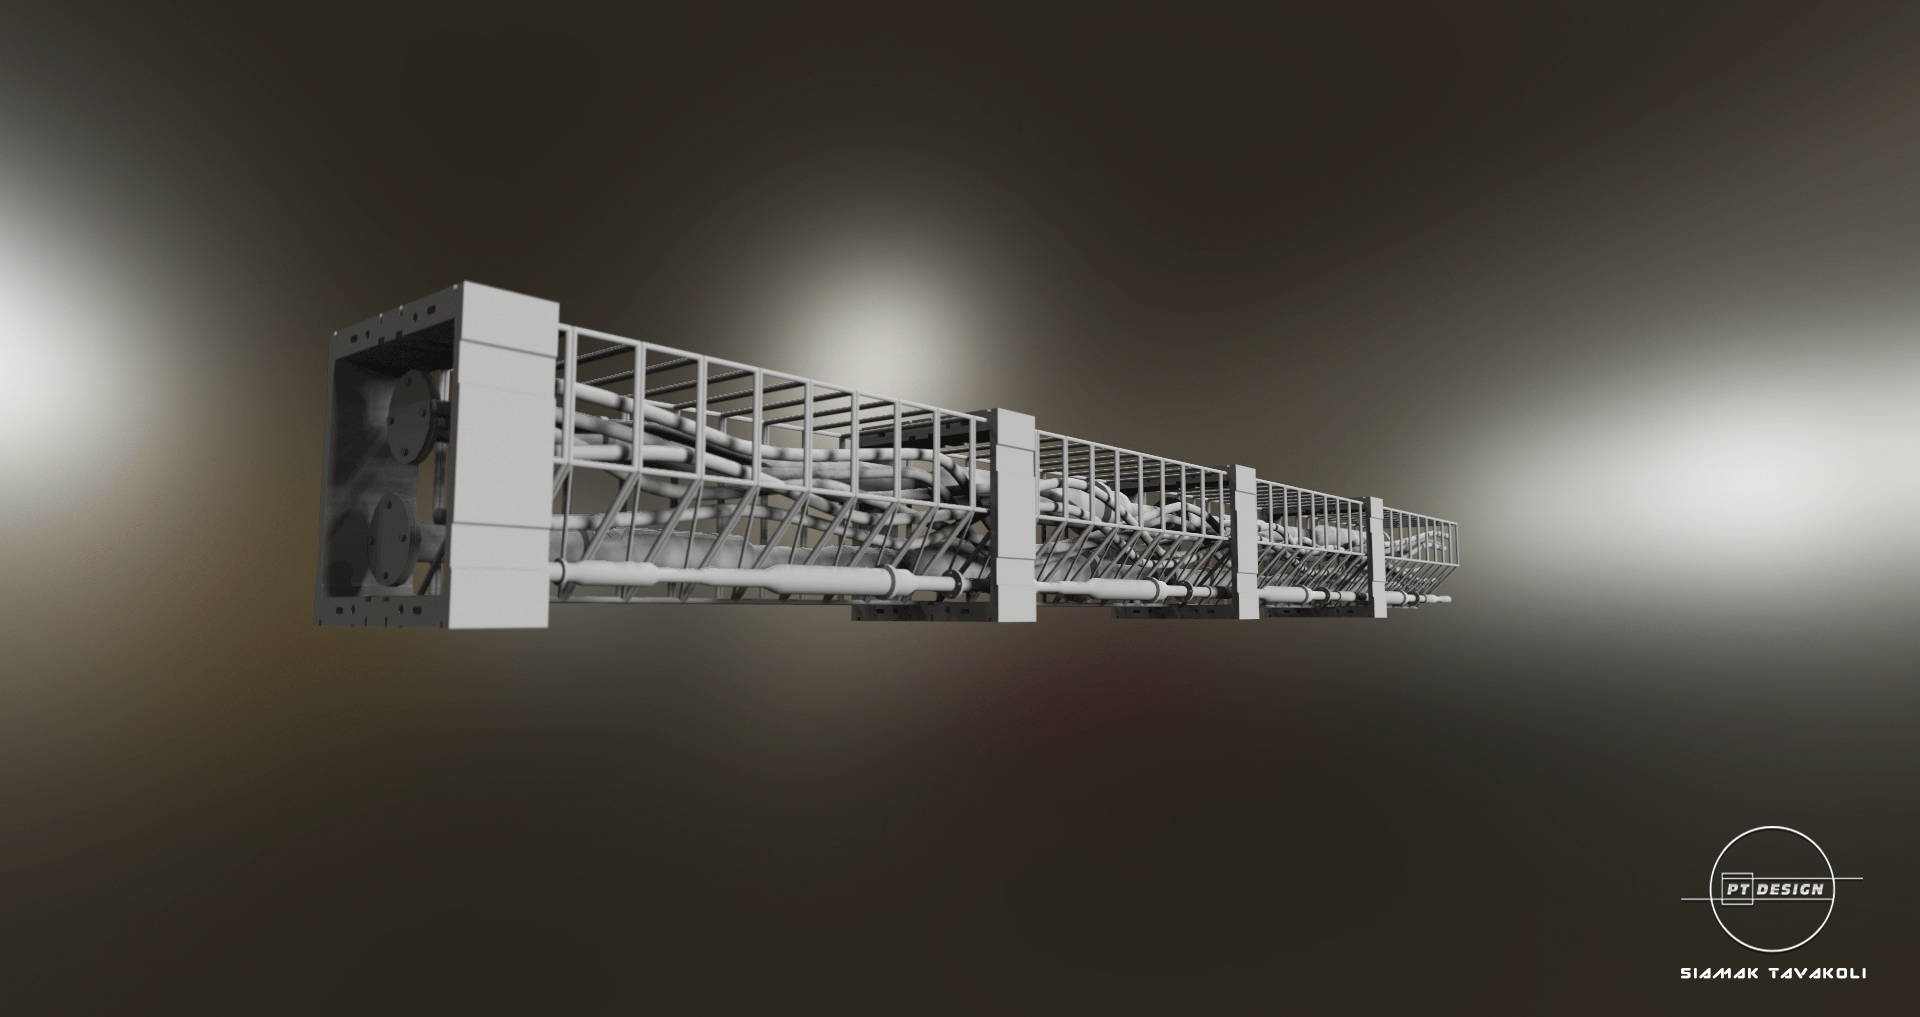
From the album: Sci Fi Concept
-
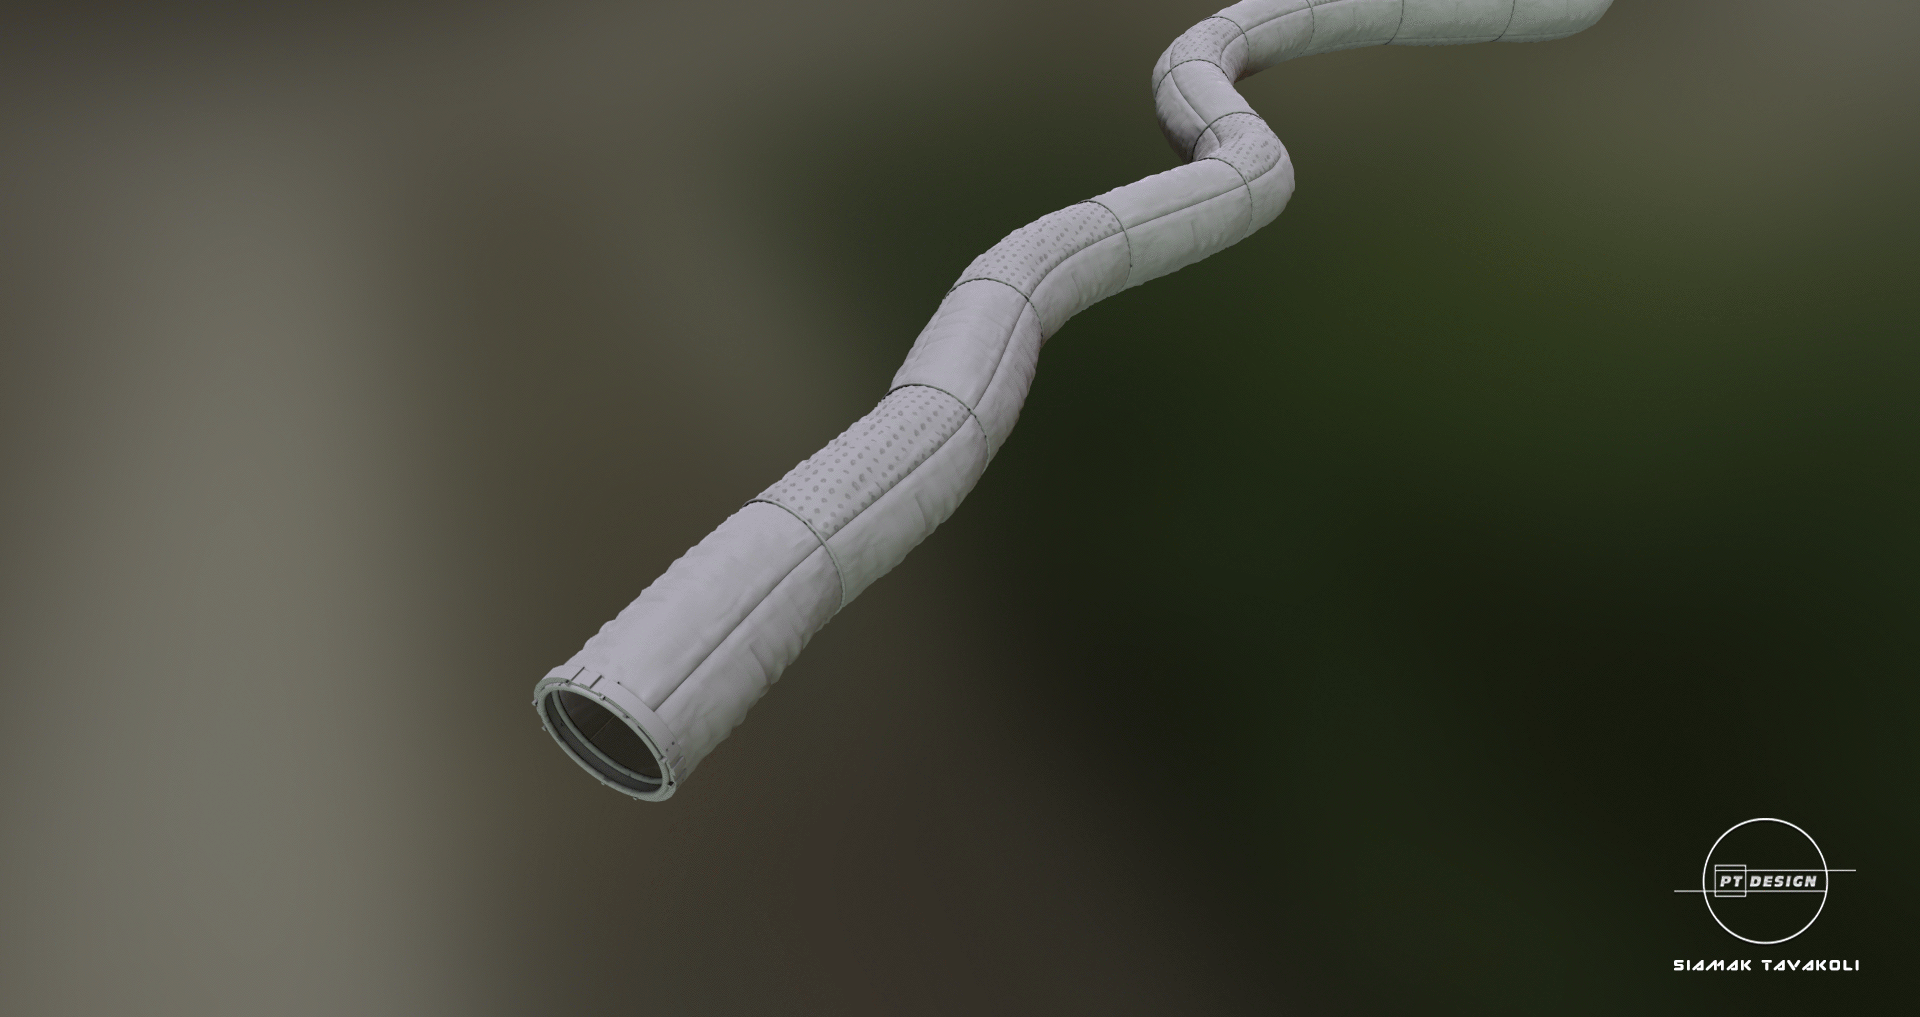
From the album: Sci Fi Concept
-
From the album: Sci Fi Concept