 中文 (台灣)
  English
 Українська
 Español
 Deutsch
 Français
 日本語
日本語 Русский
 한국어
한국어 Polski
 中文 (中国)
 Português
 Italiano
 Suomi
Suomi Svenska
 Dansk
Dansk Slovenčina
 Türkçe
 Nederlands
 Magyar
 ไทย
ไทย हिन्दी
 Ελληνικά
 Tiếng Việt
 Lietuviškai
 Latviešu valoda
 Eesti
Eesti Čeština
 Română
 Norsk Bokmål
许可方法已更新以简化整个过程。
要安装许可证,请按照以下步骤操作: 在不输入任何信息的情况下单击3DCoat中的“登录”,然后将打开该网站。在那里登录,你就完成了。
当然,旧方法(通过许可证文件)也可以。
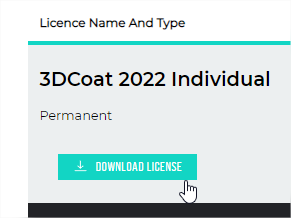
在 pilgway.com 或 3dcoat.com 上登录您的帐户以下载您的许可证(旧方法)。
它列在您的个人资料中:

安装它:
首先卸载旧许可证
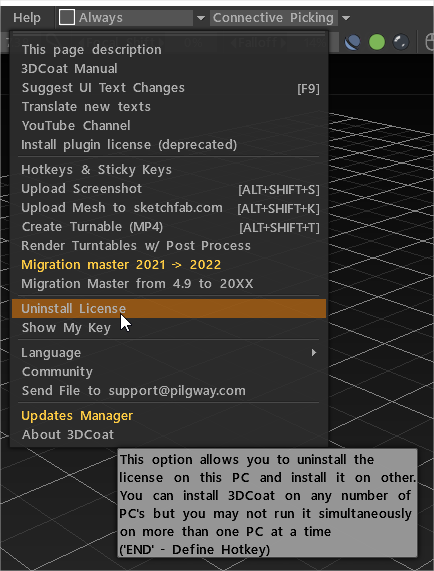
以管理员身份运行应用程序,并添加新许可证。
自购买之日起 12 个月后,您的许可证未过期:
您拥有永久许可证,并且在您的帐户中,您可以下载在此期间发布的任何版本。
您可以无限制地使用3DCoat ,但只能下载自购买之日起 12 个月内发布的版本。
升级基本上是 12 个月的更新,而您的永久许可证仅意味着您可以永久使用在这 12 个月内发布的最新版本/构建。
我登录到我的Pilgway帐户,但我也没有看到升级选项。建议?
下载部分应该至少有一个稳定版本(不是论坛上的测试版),您在每年的免费更新周期内无法下载。
由于我们向用户出售新升级+12 个月的免费更新,技术上应该满足两个条件:
1、之前的License免费更新期到期;
2. 应该可以升级到更新的 STABLE 更新(构建) 。
当您的免费年度更新周期结束后,下载部分 ( https://3dcoat.com/download/?download=windows ) 将提供下一个稳定版本(不是论坛上的测试版)时,升级优惠将自动出现在您的帐户中.
逻辑如下——我们出售升级——我们不只正式出售维护。我们出售最后稳定版本的许可证。上次升级后的 12 个月免费升级只是我们的礼物。
所以如果你想购买升级,你应该有可以购买的东西。
如果用户可能已经可以访问最新版本并且没有更新的版本可供购买:
下载部分应该至少有一个稳定版本(不是论坛上的测试版),您在每年的免费更新周期内无法下载。
现在, 3DCoat 2023 是下载部分中的最新稳定版本,它仍在您的年度更新周期内(如您所写)。这就是您无法进行升级的原因。
所以请稍等片刻,直到我们在下载部分制作下一个稳定版本。我希望这将是本周。之后,升级优惠将自动出现在您的帐户中。
我们可能会有另一个更新,所以一旦这样的更新可用,这些用户就可以购买带有 12 个月免费更新的升级。
———————————-
自购买之日起 12 个月后,您的许可证未过期:
您拥有永久许可证,但这意味着您可以无限期使用3DCoat ,但仅限于自购买之日起 12 个月内发布的版本。
许可证本身是永久性的,在您的帐户中,您可以下载在此期间发布的任何版本。但我们没有向任何人承诺无限免费更新。
我们在这里明确声明https://pilgway.com/store : 12 个月的免费更新。