 Eesti
Eesti  English
 Українська
 Español
 Deutsch
 Français
 日本語
日本語 Русский
 한국어
한국어 Polski
 中文 (中国)
 Português
 Italiano
 Suomi
Suomi Svenska
 中文 (台灣)
 Dansk
Dansk Slovenčina
 Türkçe
 Nederlands
 Magyar
 ไทย
ไทย हिन्दी
 Ελληνικά
 Tiếng Việt
 Lietuviškai
 Latviešu valoda
 Čeština
 Română
 Norsk Bokmål
Klõpsates vahekaardil Brush ikoonil Kaust, saate import mitu failivormingut, mida kasutada pliiatsina.
3D-mudeli saate pukseerida vaateavasse ja valida selle nendest käskudest.
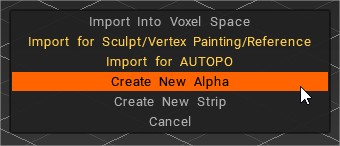
Looge alfa 3D-objektimenüü hüpikakende jaoks, mis näitavad järgmisi valikuid:
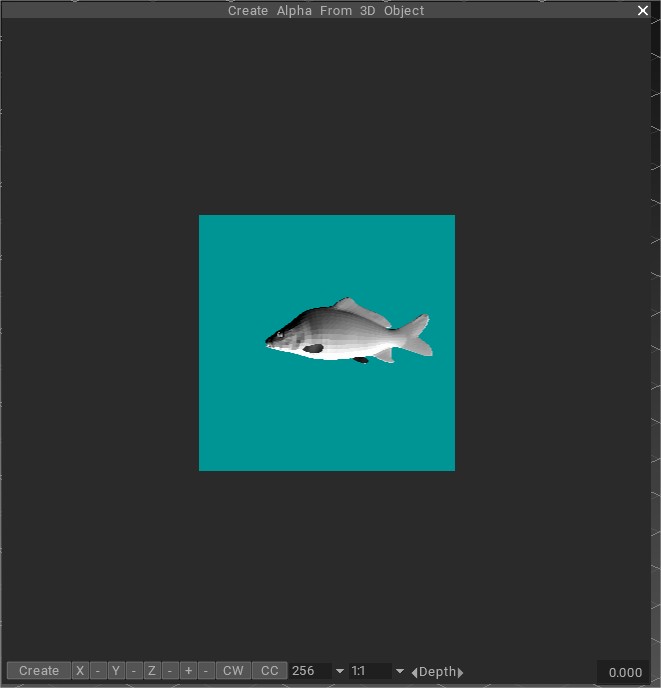
Pildil näete 3D-võrgu importimise redigeerimisvaateava. Mudelit saab pöörata, liigutada ja skaleerida. Pöörake mudelit, vajutades klahvi LMB, liigutage mudelit, hoides all SPACE, skaleerige seda RMB-ga ja pöörake ekraaniraamis, kasutades kombinatsiooni ALT+LMB.
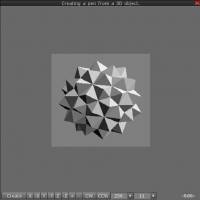
See video näitab, kuidas võtta juba kõvakettal olev mudel või luua see otse 3DCoat , et kasutada seda 3D- Brush. objekti kopeerimine piki pintslitõmmet.
Saate valida tekstuuri suuruse ja pildi proportsioonid. Mitteruudukujuliste kujutiste kasutamine on eriti mugav ribade loomisel, nagu allpool kirjeldatud. Parempoolses alumises nurgas oleva liuguri abil saate reguleerida mudeli taustatasandile sukeldumise taset, mis määrab Brush nulltaseme.
Chuot dong näitab selles videos, kuidas 3D-failist pintslit luua.