中文 (中国)
  English
 Українська
 Español
 Deutsch
 Français
 日本語
日本語 Русский
 한국어
한국어 Polski
 Português
 Italiano
 Suomi
Suomi Svenska
 中文 (台灣)
 Dansk
Dansk Slovenčina
 Türkçe
 Nederlands
 Magyar
 ไทย
ไทย हिन्दी
 Ελληνικά
 Tiếng Việt
 Lietuviškai
 Latviešu valoda
 Eesti
Eesti Čeština
 Română
 Norsk Bokmål
Core API是扩展 3DCoat 功能的强大方法。您可以使工作自动化或主要添加新工具。这不仅仅是脚本;您编写的代码以编译后的 C++ 的全速运行。我们使用Microsoft Visual Studio进行编译。但整个过程对您来说是完全透明的。您不需要配置任何东西或管理复杂的项目配置。 3DCoat将通过一个简单的向导引导您完成整个过程。
快速开始
核心 API 需要安装了 C++ 功能的Visual Studio 2022 Community 。如果您尚未安装 Visual Studio, 3DCoat将帮助您使用正确的选项进行安装。
开始很容易。只需使用Scripts->Create new Core API script
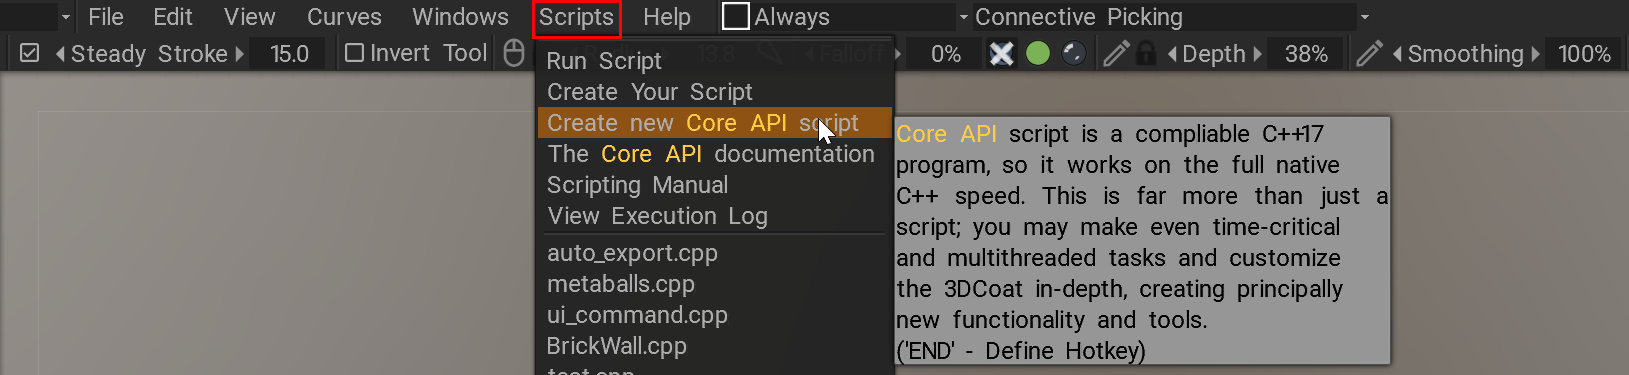
选择项目的模板和路径。如果需要, 3DCoat将协助您安装 Visual Studio。
每个示例都有详细的文档,使用相对简单的语法,从基础到复杂都易于理解。
您需要了解几个重要注意事项:
1)始终从其中一个示例开始您的项目。即使您想从头开始制作所有内容,也可以使用脚本->创建新的Core API脚本->最小 c++ 程序作为起点。不要手动创建项目!
2)使用调试;很方便;所有3DCoat原生数据类型都显示在用户友好的界面中。
3) 始终按照 Visual Studio linter 提示编写正确的代码。将鼠标悬停在数据类型和函数名称上以即时访问文档。

4)不要阅读完整的文档。这是不可能记住的。首先遵循示例。如果您需要一些详细信息,然后查看文档。
5) 看C++语法,但不要阅读整本手册;先打基础
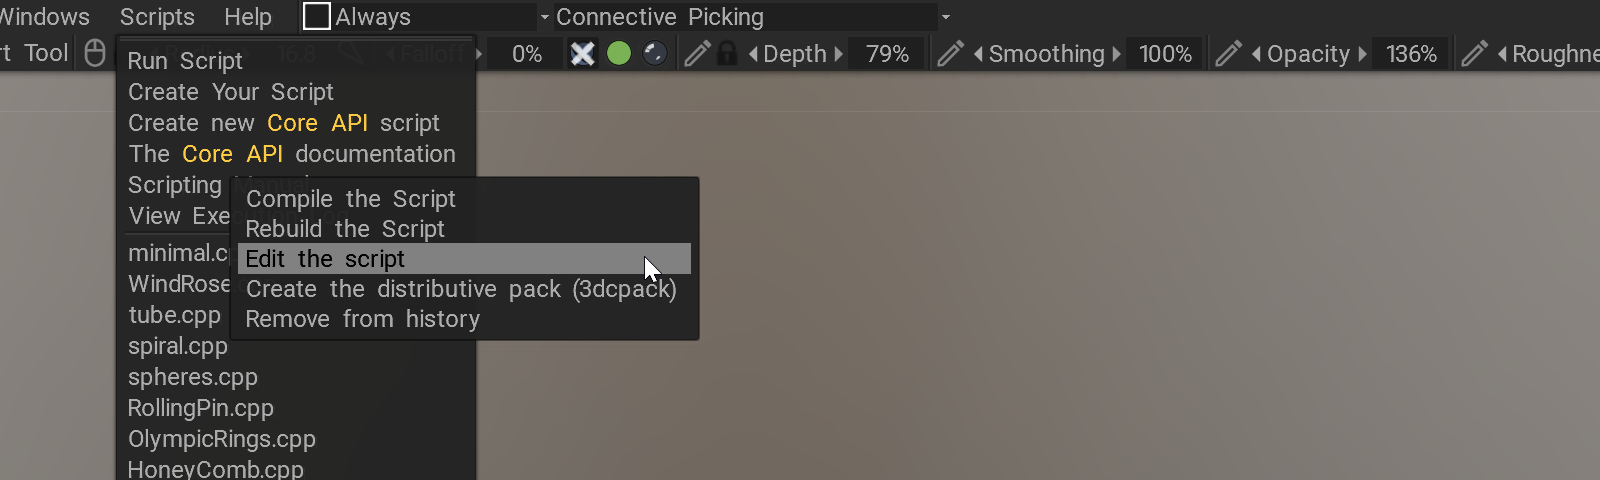
6) 点击脚本菜单中的项目执行。使用 RMB 点击获取有用的命令——编辑、构建、重建。您还可以创建脚本的分发版以与其他用户共享。