 English

Spline Curves
Spline curves: lets you place spline points directly into your scene or apply a brush along a curve.
Is a wonderful feature which allows to quickly create organic tube-like shapes, chains or flat shapes defined by spline points.
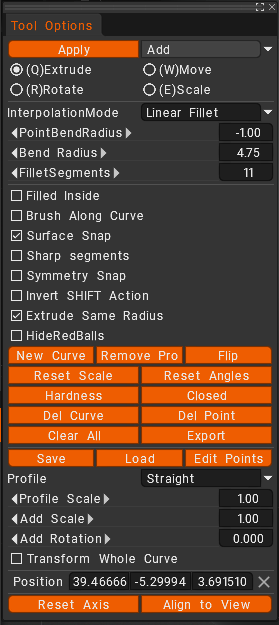
- Draw with curves (splines).
- Add points with LMB, resize with RMB, and delete the last point with BKSP.
- Press ENTER to draw the curve, then ESC to delete the curve.
- CTRL+LMB on a ball will join points.
Apply Method:
- Add: Move vertices. Click to select or drag to move vertex. Use SHIFT to move child curves branch
- Substract: Subtract object from the current volume.
- Intersect: Remove all but the area of objects intersection.
- Split: Split current volume on 2 parts with the object – external and internal.
Actions
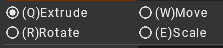
- Extrude: Extrude curve from existing curves. Click on curve and drag. Use SHIFT to rotate whole chunks. Use MMB to move vertices
- Move: Move vertices. Click to select or drag to move vertex. Use SHIFT to move child curves branch
- Rotate: Rotate/twist curve branches. Drag to rotate child curves. Use SHIFT to twist. Use MMB to move vertices. In this mode you can navigate with LMB.
- Scale: Scale separate point or curve branch. Use SHIFT to scale child curve branch. Click to select or drag to scale groups. Use MMB to move vertices
Interpolation Mode
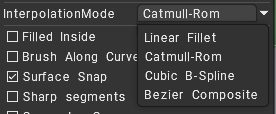
- Linear Fillet: Linear Interpolation.
- Catmull-Rom: Uses Catmull-Rom spline interpolation, ensuring the surface passes through the control points (except boundaries).
- Cubic B-Spline: B-Spline Interpolation.
- Bezier Composite: Bezier curve Interpolation.
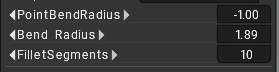
- Point Bend Radius: Press RMB over the curve point to scale the radius dragging left <> right..
- Bend Radius: is the minimum radius that you can bend.
- Fillet Segments: define how sharp or rounded an internal or external corner appears.
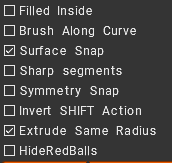
- Filled Inside: Curve will be filled inside like disk.
- Brush Along Curve: Applies brush along curve with spacing and jitter.
- Surface Snap: Snaps the points to the object’s surface using Move mode.
- Sharp segments: Add straight line segments by default instead of smoothing them.
- Symmetry Snap: Snap curve to the symmetry plane.
- Invert SHIFT Action: Invert SHIFT action to be able to perform global posing without holding down SHIFT.
- Extrude Same Radius: Extrude tube from the point using the same radius as source point.
- HideRedBalls: Hide the Red Balls points.
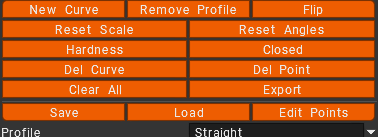
- New Curve: Start a new curve.
- Remove Profile: Set the tube profile. This option reverts the currently selected curve profile back to the default tube shape.
- Flip: Flip model used as spline profile.
- Reset Scale: Reset the scale of the active curve.
- Reset Angles: Reset the rotation of the active curve.
- Hardness: This button toggles whether the curve of the spline is softened from point to point.
- Closed: When enabled, this button automatically closes the spline between the first and last points. Additional points can still be added and subtracted.
- Del Curve: Delete the currently active curve.
- Del Point: Delete the currently selected point.
- Clear All: Clear all curves.
- Export: Export spline as a polygonal object to be used in other apps.
- Save: Save curve to File.
- Load: Load curve from a file.
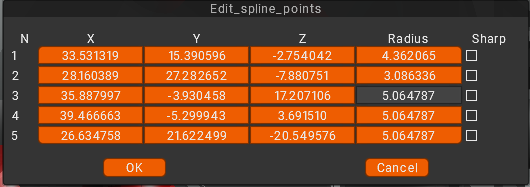
- Edit Points: Edit points of the current curve.
Profile Types
Select a profile to apply to the active curve.
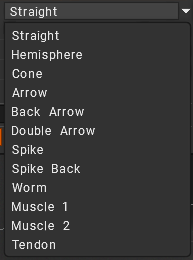
- Straight: This profile applies flat, unmodified ends to the spline.
- Hemisphere: This profile applies rounded, uniform ends to the spline.
- Cone: This profile applies tapered, conical ends to the spline.
- Arrow: This profile applies an arrowhead pointing to the most recent spline point. The starting point is flattened.
- Back Arrow: This profile applies an arrowhead pointing to the first spline point. The ending point is flattened.
- Double Arrow: This profile applies an arrowhead pointing to the start and end points of the spline.
- Spike: This profile tapers the entire spline toward the end point. The start point is flattened.
- Spike Back: This profile tapers the entire spline from the start point. The end point is flattened.
- Worm: This profile tapers the entire spline at both ends, leaving the relative center of the spline length at its original thickness.
- Muscle 1:
- Muscle 2:
- Tendon:
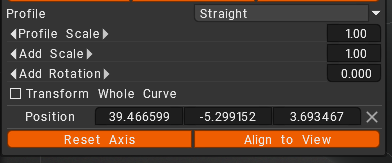
- Profile Scale: This slider adjusts the profile treatment applied to a spline. Arrowheads are lengthened or shortened, tapers are flattened, etc.
- Add Scale: Use this slider to adjust the scale of the entire curve profile. Only the object around the spline is adjusted, not the size of the spline itself.
- Add Rotation: This slider rotates the spline along its long axis. Use it to adjust the orientation of things like chains or wire, etc.
- Transform Whole Curve: Apply rotation/scale/transform to the entire curve. When it is enabled, this toggle allows the entire curve profile to be modified. Otherwise, only the profile adjacent to the selected point is modified.
Position: Position on X, Y,Z, coords of the Global Space
Reset Axis: Reset the point axis
Align to View: Align to current viewport.
Text
Draw text in volume. This lets you place text along a spline curve and create text in voxel form.
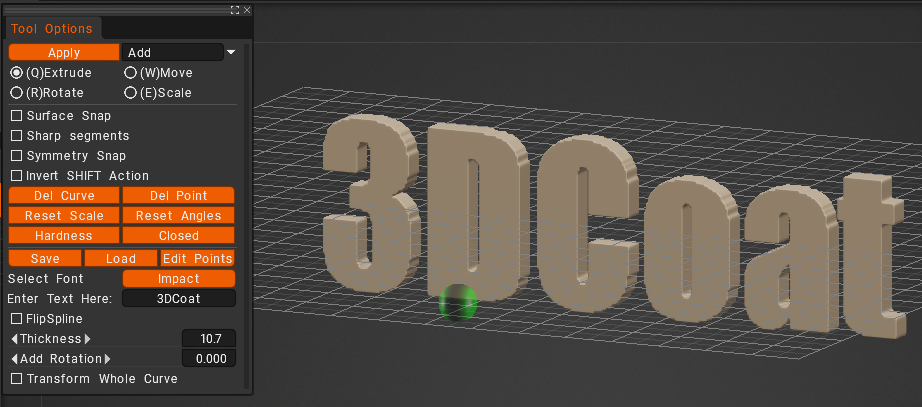
Its parameters are identical to the Curves tool, so you should already be familiar with it after reading the section above. It has a few unique features:
You can select a font for your text, you can, of course, type in the text you would like to make volumetric, and you can adjust the thickness of this volumetric text.
Vox Layer
Create a thin layer around the frozen area of the current volume. Paint with the freeze to mark the area and press Apply afterward.
Coat (available on Surface mode)
This tool allows to add coating over the layer in non-destructive way. It is similar to VoxLayer tool, but you may define area using curves and change corner points later.
Tube/Array
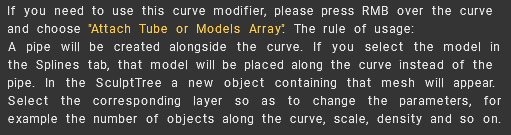
Array/Bend Volume
Swep along Guide
The swept surface will be generated by moving the profile along the selected curve guide. After appearing Tool Options dialog, you need to select profile-curve. The new item in Sculpt Tree will be created, and the mesh will be placed there.
Select the corresponding object in Sculpt Tree to be able to change parameters like thickness, angle, twist-angle, etc. Delete the corresponding Sculpt Tree element to stop filling the curve.
Surface of revolution
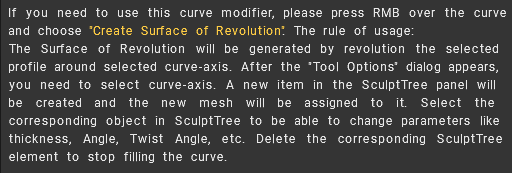
The revolution of the selected profile around the selected curve axis will generate the Rotate surface. After appear “Tool Options dialog appears,” you need to select the curve axis.
The new item in Sculpt Tree will be created, and the mesh will be placed there. Select the corresponding object in Sculpt Tree to be able to change parameters like thickness, Angle, Twist Angle, etc. Delete the corresponding Sculpt Tree element to stop filling the curve.
Polyhedron
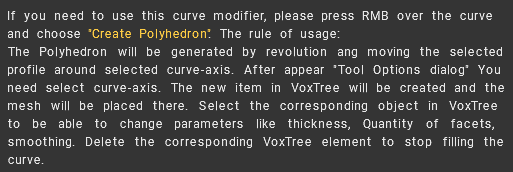
Rotate Surface: The Rotate surface will be generated by the revolution of the selected profile around the selected curve axis. After appear “Tool Options dialog appears” you need to select the curve axis.
The new item in Sculpt Tree will be created, and the mesh will be placed there. Select the corresponding object in Sculpt Tree to be able to change parameters like thickness, Angle, Twist Angle, etc. Delete the corresponding Sculpt Tree element to stop filling the curve.
Swept 2 Guide
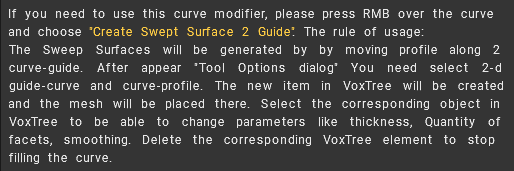
Swept 2 Gener
The Sweep Surface will be generated by moving two profiles along the selected guide curve. After appear “Tool Options dialog” You need to select the second guide and curve profile.
The new item in Sculpt Tree will be created, and the mesh will be placed there. Select the corresponding object in Sculpt Tree to be able to change parameters like thickness, Quantity of facets, and smoothing. Delete the corresponding Sculpt Tree element to stop filling the curve.
Swept N Gener
The Sweep Surfaces will be generated by moving N profiles along two curve-guide. After appearing Tool Options dialog, You need to select the second guide and curve profiles. The new item in Sculpt Tree will be created, and the mesh will be placed there.
Select the corresponding object in VoxTree to be able to change parameters like thickness, Quantity of facets, and smoothing. Delete the corresponding VoxTree element to stop filling the curve.
Tutorials
Creating a Spline Pallet Object: This video demonstrates the creation and usage of Spline Pallet Objects, which can be replicated along a Curve, whether it is the Tube/Array or the Legacy Curves tool.
Apply a brush along a curve: This video demonstrates the ability to brush along a curve…primarily in the Voxel Sculpting Room, using the Curves tool. It also includes creating a 3D Brush Alpha from an OBJ object/file, in the process.
Spline Curves by alien Minefield:
Curves Category by Alien Tenitsky: