 中文 (台灣)
  English
 Українська
 Español
 Deutsch
 Français
 日本語
日本語 Русский
 한국어
한국어 Polski
 中文 (中国)
 Português
 Italiano
 Suomi
Suomi Svenska
 Dansk
Dansk Slovenčina
 Türkçe
 Nederlands
 Magyar
 ไทย
ไทย हिन्दी
 Ελληνικά
 Tiếng Việt
 Lietuviškai
 Latviešu valoda
 Eesti
Eesti Čeština
 Română
 Norsk Bokmål
本章向您展示如何完全自定义3DCoat 。尽管选项很多,但实际定制是一个快速而简单的过程。
在这个视频系列中,Rygaard 展示了如何掌握所有关于惊人的定制。
在2022 版中,用户界面得到了大幅修改。
通过脚本或手动添加的完整 UI 自定义,创建您自己的自定义房间和工作区,可以在简化或启用完整功能的情况下工作。
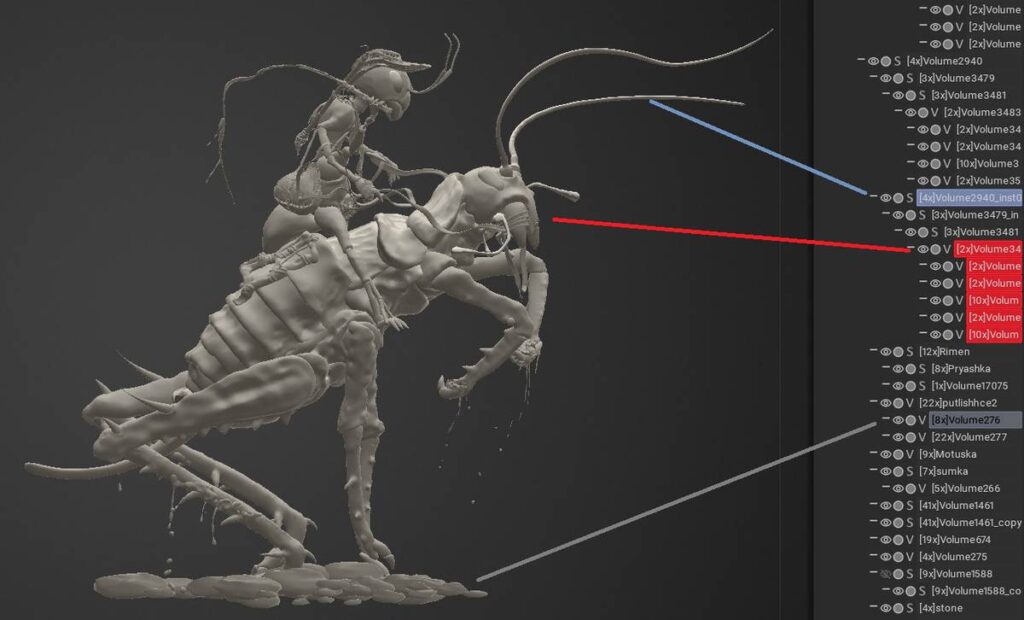
所有图层着色
在对象树窗口中,您可以为对象或对象组分配颜色。此功能将使您能够快速找到它们的位置,尤其是在大量对象中:
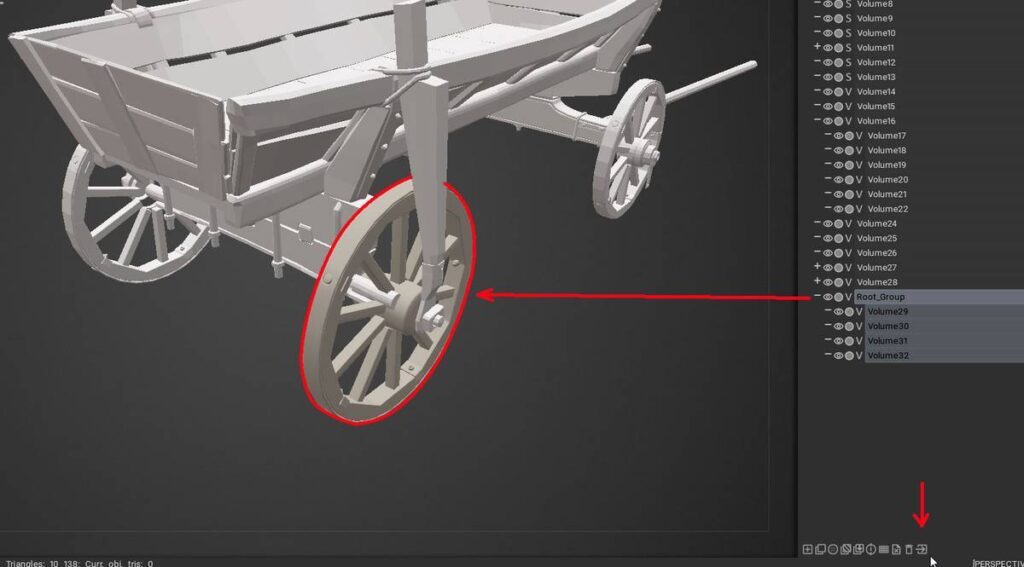
所有图层分组
无 Gizmo 变换
从界面隐藏元素
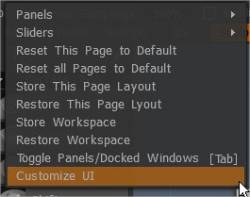
从“编辑”菜单中选择“自定义 UI”。您会注意到大多数菜单项(每个类别)和工具旁边都有一个复选框,表示它们可以在界面中显示或不显示。
一些用户仅将3DCoat用于非常具体的任务,在这种情况下,他们隐藏许多界面项目以减少不必要的功能和选项的整体混乱是有意义的。
只需隐藏那些让您分心的界面元素,并使用键盘快捷键让您仅在需要时访问所需的工具。
最方便的“弹出式”工具面板之一是“工具/颜色”面板。它包含左侧工具面板中的所有Painting工具,以及一个方便的色轮。
使用和自定义 UI :作者:Javis Jones。
全部藏起来
如果您喜欢使用尽可能多的“空白”屏幕空间和混乱的界面元素来绘制和纹理,请使用 TAB。 3DCoat允许您以这种方式工作。
自由绘画和纹理,当您需要更改为不同的绘画工具或颜色时,按下“空格键”。
要访问 Main Paint Functions 面板,只需按键盘上的“~”将其带到工作区的前面,就在光标位置。
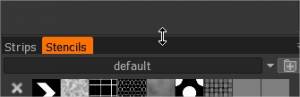
选项卡式 Windows 弹出式面板
与许多其他应用程序一样, 3DCoat允许您自定义工作区以满足您的需要。您可以隐藏或显示窗口、移动带选项卡的弹出窗口,甚至停靠/取消停靠它们或将它们变成浮动窗口。如果您不需要或不想查看特定窗口,只需将其关闭即可。
您随时可以通过“窗口”菜单将其带回界面。自定义您的工作区可以让3DCoat以最适合您的需求和工作流程的方式工作。
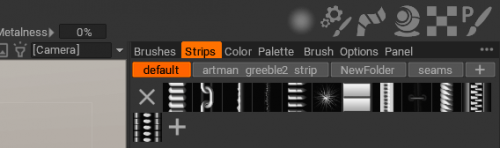
使用此菜单可以选择要在整体界面方案中显示哪些功能面板。
这些面板可以自由浮动或停靠到界面的任何部分,只需在看到其新位置的突出显示预览后拖动标题栏并放下面板即可。
任何安排都可以保存和重新加载。
让我们来看看如何使用该界面。我们将从四处移动选项卡式弹出窗口开始。我们将讨论如何取消停靠和停靠选项卡式窗口,甚至如何创建浮动窗口。
选项卡式窗口非常灵活,您可以更改它们的宽度和长度以及它们的位置。如果您在笔记本电脑上使用3DCoat并且需要获得尽可能多的屏幕空间来建模或进行纹理工作,这会很有帮助。
将鼠标放在选项卡式窗口的边缘或边框上。当您的光标变成双头箭头时,拖动鼠标以调整窗口大小。
转到“窗口”菜单以显示您可能已关闭的选项卡或浏览可用选项卡。从这里,您可以选择要在界面中显示的选项卡。了解3DCoat中的工具的一个好方法是打开窗口并探索其中包含的所有功能。
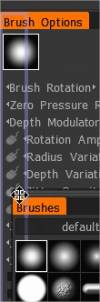
将选项卡式窗口移动到新位置很容易。您可能希望将一个选项卡式窗口移动到另一组选项卡中。一个很好的例子可能是将所有处理颜色或笔的窗口拖到一个集群中,这样您就可以快速找到它们。
将鼠标放在选项卡上并将其拖动到新位置。
看到蓝色轮廓时松开鼠标。轮廓的位置将决定选项卡将占据窗口的哪一部分。松开鼠标,标签式窗口将停靠在蓝色轮廓出现的位置。
如果您将其放置在错误的位置,请不要担心。您始终可以重新定位选项卡式窗口,直到您对它们的位置感到满意为止。
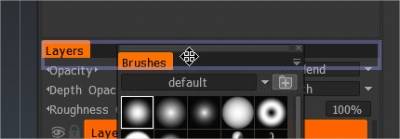
如果您愿意,可以通过将选项卡拖离它曾经占据的选项卡式窗口组来创建一个浮动窗口。松开鼠标,它就会作为自己独立的窗口浮动。
当您看到蓝线时,您可以通过拖放窗口将浮动窗口停靠回任何窗口集群。
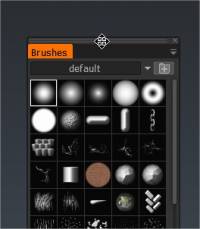
弹出窗口菜单
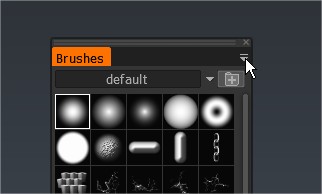
3DCoat中的许多菜单在其右上角都有一个向下的小箭头。
当您单击并按住鼠标光标时,它们会弹出以显示特定于菜单的选项。
假设您在查看笔时更喜欢较大的图标。打开 Pen 选项卡窗口上的弹出菜单并选择 Large 以更改预览图标的显示大小。
右上角活动栏介绍
它显示遮罩/材质/着色器/顶点纹理等的当前状态。这是通过首选项/测试版激活的预览/测试版功能。
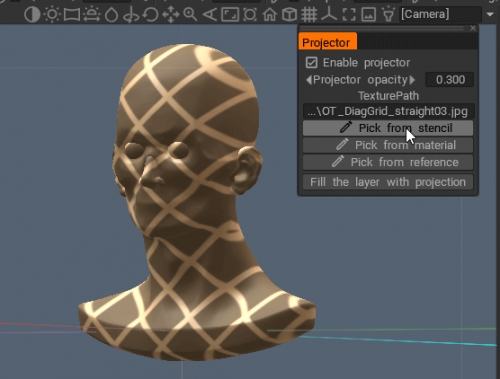
投影工具
请参阅导航面板灯图标。
该工具允许您在整个场景中投射任何纹理,就像投影仪照明的图像一样。这在处理参考时很方便,该工具不会影响任何颜色或材料属性。
Viewport Projector Tool :您可以在整个场景中投射任何纹理,类似于投影仪。这仅供参考,它不影响任何颜色或材料特性。
添加键盘快捷方式(热键)
当您从其中一个房间选择工具或菜单项时,您可以启用该选项以查看短或长“提示”。当您将鼠标悬停在您感兴趣的工具或功能上时,它们就会出现,您将在提示的末尾看到以下内容:
“(’END’ – 定义热键)。您可以直接在用户界面中为几乎任何3DCoat功能或工具分配单按钮和多按钮快捷方式。只需按下键盘上的 END 键,同时将鼠标移到任何元素上,然后使用您选择的键盘快捷键。
如果已经分配了热键,系统将询问您是否希望:
使用新工具/功能重新分配密钥。
将工具/功能与任何以前的工具/功能堆叠在一起,让您可以使用一个热键在所有工具之间循环。
删除分配给该键的任何工具/功能。
定义热键:展示如何设置自定义热键,使用热键堆叠或 Javis Jones 的完全重新绑定。
将工具添加到当前房间。
将 SmartRetopo 添加到建模:如何将工具从Retopo房间添加到3DCoat中的建模房间。
教程
自定义 UI :该视频演示了3DCoat中“自定义 UI”功能的用法;允许用户只显示他们想要或需要的工具。
Quick Tip_ Using Dual Monitors :该视频简要演示了将 3DCoat 的 UI 扩展到两个显示器的能力,作为显式双显示器支持的类似替代方案,目前尚不可用。
在 UI 中编辑文本:想要更改工具或画笔的名称以更好地符合您的喜好,更正您可能在菜单或工具描述中发现的拼写错误……或者改写某些内容? Edit Text Tags 对话框可让您立即执行此操作并将您认为应该反映在默认应用程序中的任何更改提交给Pilgway。
改进了Voxel Room 中的 UI 自定义:该视频演示了3DCoat中Voxel工作区中 UI 自定义的一些新改进/更改……包括将预设包含到工具面板中的能力。
使用 hide 简化左面板:在此视频中,Rygaard 将向您展示一些东西,这些东西将根据您的需要帮助简化3DCoat界面的左面板。