 English
  Українська
 Español
 Deutsch
 Français
 日本語
日本語 Русский
 한국어
한국어 Polski
 中文 (中国)
 Português
 Italiano
 Suomi
Suomi Svenska
 中文 (台灣)
 Dansk
Dansk Slovenčina
 Türkçe
 Nederlands
 Magyar
 ไทย
ไทย हिन्दी
 Ελληνικά
 Tiếng Việt
 Lietuviškai
 Latviešu valoda
 Eesti
Eesti Čeština
 Română
 Norsk Bokmål

We have a small handful of functions that reside in the top toolbar for the Retopo tab.
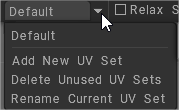
Choose a UV-set list:
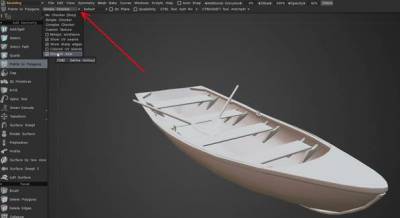
Choose Checker Style: select the kind of visualization.

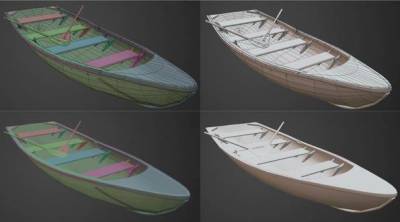
Various view modes for the retopo mesh: With no checker, with a simple checker, with a complex checker, and Custom Texture.
Separate options for wireframe, seams, sharp edges, colored islands preview, and smooth mesh view.
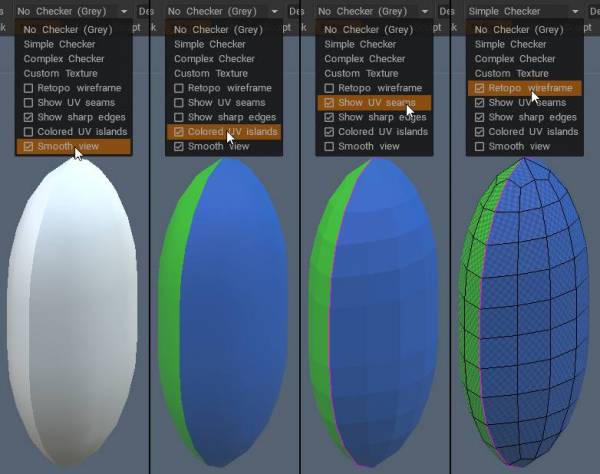
It is very useful as it shows the distortions of the texture in different areas of the mesh.
Choose UV-set: If the mesh has multiple UVs, you can switch them in that drop-down list.
Move Select: Move selected faces to another UV set.
AutoSnap: Snap newly created points to the surface automatically.
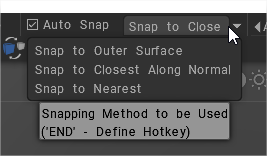
- Snap to Closest Along Normal: Snap to the closest point on the surface along the normal of the retopo mesh.
- Snap to Outer Face: Snap to the outermost surface within the designated threshold.
- Snap to Nearest: Snap to the nearest point on the surface.

Additional Extrusion: The additional extrusion of the mesh. This value will be used when you transfer the mesh into the scene. It could be useful for making cloth.
Z-bias: This z-bias value will be used to improve the visual appearance of the mesh. Adjust the z-bias to get a better look at the retopologized mesh preview.
Retopology mesh opacity: The current group gets this opacity; other groups are getting 50% of this opacity, and other UV sets are getting 25%.
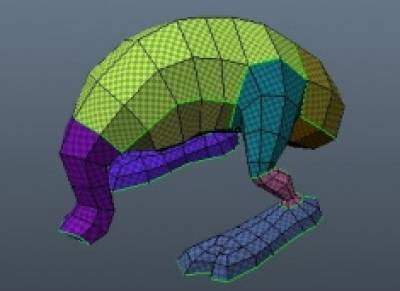
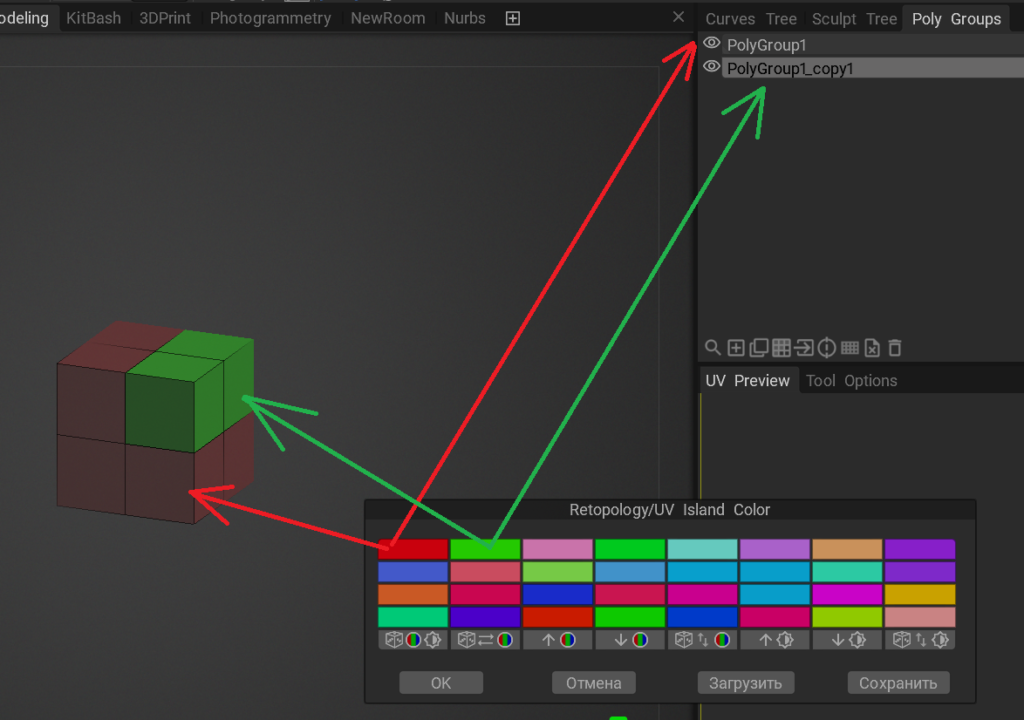
Colors: Edit Retopology Mesh and UV island Color.
When you select an Retopology/UV islands colors, each color cell corresponds to a polygroup.

Relax SE: Moving or not the “Sharp Edges” during Relaxing
Radius: Change the Brush Radius.

Invert Mirror: Enable this option if you want to invert the direction of symmetry mirroring.
Mirror Snapping: This value determines the degree of snapping of points close to the mirror.

Method of selection: when you use Select Tool choose the selection method.
- Auto: Choose selection method automatically and clear current selection. Use A shortcut.
- Vertices: Operate over vertices. Double-click to select cluster in select mode.
- Edges: Operate over edges. Double-click to select cluster in select mode.
- Faces: Operate over faces. Double-click to select cluster in select mode.
- Whole: Operate over object.
- ClearSelection: Clear selected elements. Use CTRL-D as universal deselecting method.
- Inv. Selected: Invert selected within the current retopo group.
- Inv. all selected: Inverts all selected elements regardless on the group.
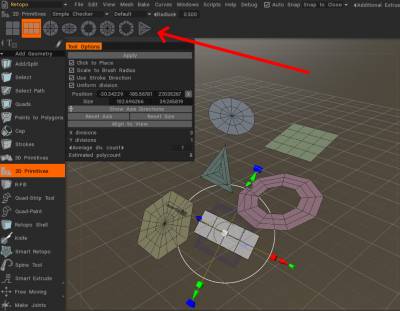
Create 2D/3D Primitives
With this tools you can create 2D primitives for Modeling and Retopo rooms:

How can I adjust the transparency of the polygon display in the Retopo Room?
In 3DCoat’s Retopo Room, you can adjust the transparency (opacity) of the polygon display to make the reference mesh beneath more visible. The best way to achieve this depends on whether you want to adjust the retopology mesh itself or the underlying high-poly reference mesh.
Here are the primary methods:
1. Adjusting Retopo Mesh Opacity (Wireframe/Polygons)
To make your new polygons transparent so you can see the high-poly model underneath, adjust the retopo mesh opacity:
- Locate the Opacity Slider: In the Retopo Room, look at the top menu bar (often near the Z-Bias setting).
- Adjust Percentage: Drag the slider to reduce the opacity of the retopo mesh to make it more transparent.
2. Adjusting Reference Mesh Transparency (High-Poly)
If you want to make the high-poly reference mesh transparent, follow these steps:
- Open Shader Editor: Go to the shader list (usually on the right side) and right-click on the shader applied to your high-poly mesh.
- Edit Settings: Select “Edit current object shader settings”.
- Change Color Modulation: Click on “Color Modulation” to adjust the transparency/opacity of the reference mesh.
3. Using Z-Bias for Visibility
If you want the retopo mesh to appear on top of the reference mesh without completely hiding it, you can increase the Z-Bias setting located in the top menu bar.
- Setting a higher Z-bias (e.g., higher than 10) can make the retopo mesh sit further away from the surface, often improving visibility during manual retopology.
4. Hiding Reference Geometry
If you need to temporarily hide the high-poly mesh to work on the retopo mesh:
- Use the VoxTree: Toggle the visibility of the reference mesh by clicking the “eye” icon in the VoxTree panel.
- Use Paint Objects Panel: Go to WINDOWS menu > Popups > Paint Objects and use the eyeball icon to toggle visibility.
Tip: If you are finding the reference mesh difficult to work with, it is generally recommended to have your high-poly model in the Sculpt Room (Surface Mode) while working in the Retopo Room, rather than importing it as a “Reference Mesh”.
Tutorials
Unify Multiple UV Sets into One: If you have a scene in 3Dcoat with multiple uvmaps (UVsets), you can consolidate them into one.