 Deutsch
  English
 Українська
 Español
 Français
 日本語
日本語 Русский
 한국어
한국어 Polski
 中文 (中国)
 Português
 Italiano
 Suomi
Suomi Svenska
 中文 (台灣)
 Dansk
Dansk Slovenčina
 Türkçe
 Nederlands
 Magyar
 ไทย
ไทย हिन्दी
 Ελληνικά
 Tiếng Việt
 Lietuviškai
 Latviešu valoda
 Eesti
Eesti Čeština
 Română
 Norsk Bokmål
Surface array: This tool is added to make an array of objects on the created surface or on the selected faces of the low-poly mesh.
Build surface on sculpt mesh. Then you can put the model on the Surface.

1) The tool allows you to place a poly model (or volume object) on the surface. You can build a surface or select an existing one. Instead of a surface, you can use poly mesh. First you need to select the faces.
A surface can be constructed in several ways by drawing splines on the surface
-Loft
-Strip
-Polygon.
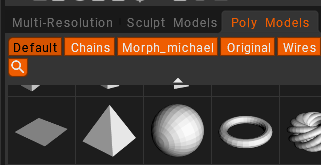
2) Load Low poly Model from file or select it from window “Poly Models” or “Sculpt Models”.
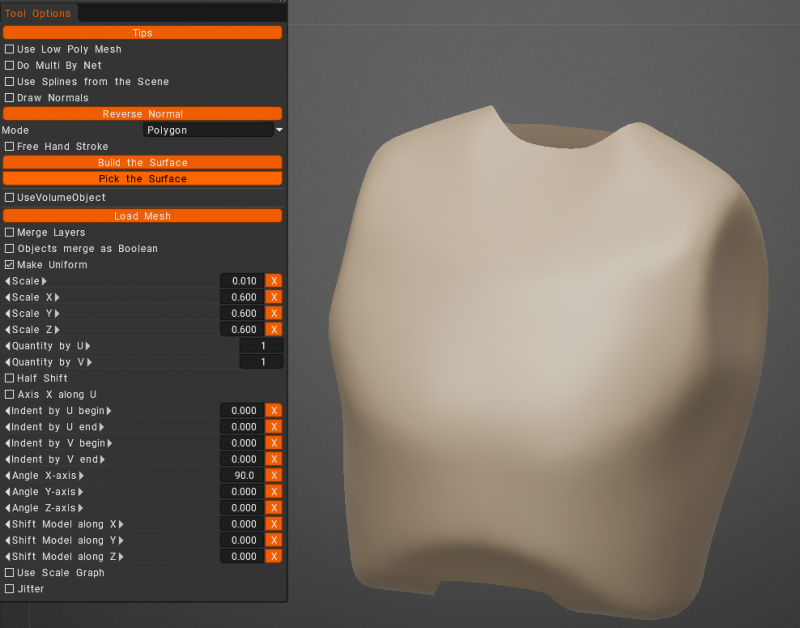
3) Adjust parameters.
Multiple objects usage tips:
1) Create the lofted surface.
a) Draw some splines on sculpting mesh, or cross sculpting mesh by sections.
b) After drawing spline (not Section) you can edit splines.
c) If holding Shift and editing the First or Last point of Spline, The spline follows a plane passing through the two extreme points and orthogonal to the screen.
2) Load Low poly Model from file or select it from window “Poly Models” or “Sculpt Models”.
3) Adjust parameters, and you can hide the original volume if you want to better see new objects.
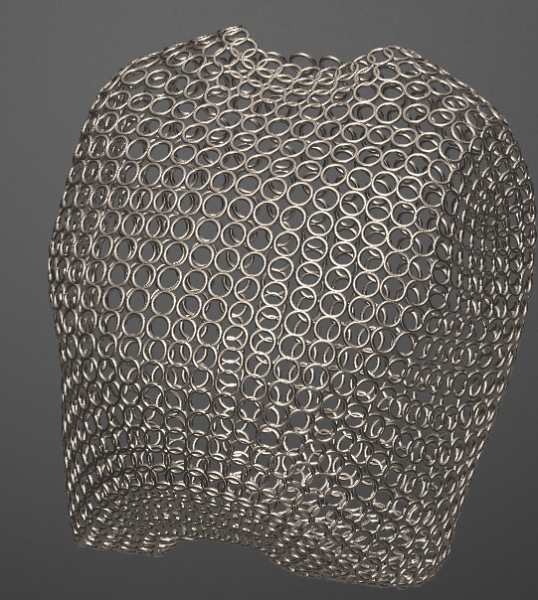
Example for chain cloth
Select the object base and retopo creating a surface (on the autopo I deleted top and bottom face areas)
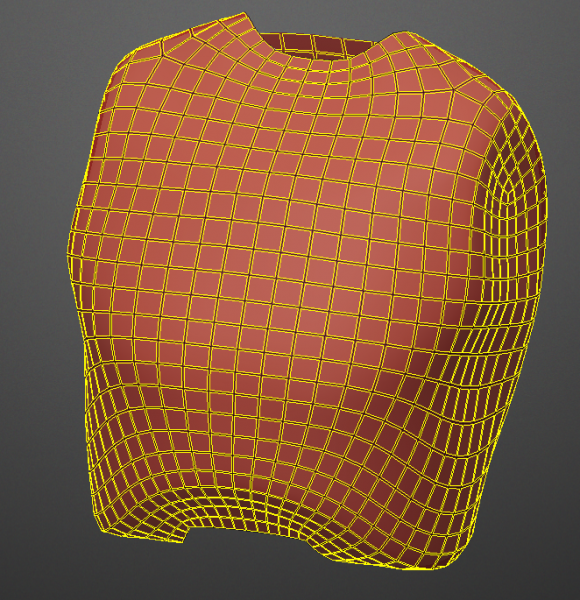
Select all Polygroup faces (always keep it selected, very important)
On Mesh Menu > Convert to Sculpt Mesh
Now you have the surface on Sculpt Room as new Layer
With that Sculpt Layer selected
Pick Use Low Poly Mesh

Load Low poly Model from file or select it from window “Poly Models” or “Sculpt Models”. (Is less intensive for the computer to use polymesh models)
Scale and rotate as needed
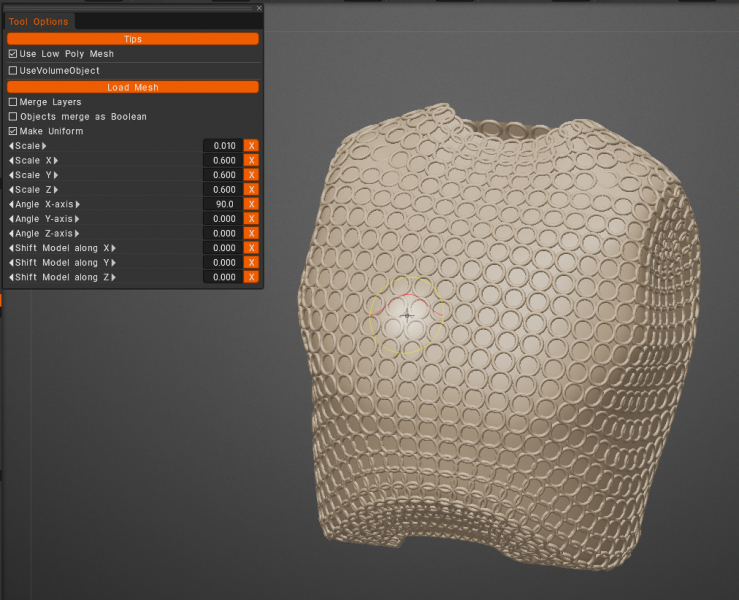
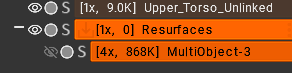
If you like, turn eye off the base mesh Layer to visualize the chain mesh
Tutorials
Sculpting tools: Surface Array: This video demonstrates the Surface Array tool in 3DCoat’s Sculpt workspace. This tool is added to make an array of objects on the created surface or on the selected faces of the low-poly mesh.
Sculpt new tool “Surface Array”:
Sculpt tool “Multiple Objects1”:
Sculpt too “Multiple Objects part2”: The new tool allows you to place an array of objects on a surface. These objects can be easily scaled and rotated.