 Suomi
Suomi  English
 Українська
 Español
 Deutsch
 Français
 日本語
日本語 Русский
 한국어
한국어 Polski
 中文 (中国)
 Português
 Italiano
 Svenska
 中文 (台灣)
 Dansk
Dansk Slovenčina
 Türkçe
 Nederlands
 Magyar
 ไทย
ไทย हिन्दी
 Ελληνικά
 Tiếng Việt
 Lietuviškai
 Latviešu valoda
 Eesti
Eesti Čeština
 Română
 Norsk Bokmål
Blender sovelluslinkin asennuksen esittely, kirjoittanut Ctc_nick
Yritin tehdä lyhyen yhteenvedon saadakseni Applink toimimaan Blender.
1. Juuri nyt huhtikuu 2022+, haarukkaversiota ei tarvita.
2. Applink on paljon kansioita. Yritän selventää Kuvan riippuvuuksia. Tärkeimmät tiedostot/kansiot näyttävät olevan
->documents3DC2Blendervaihtokansio.txt
->documents Applinks 3D-CoatExchange
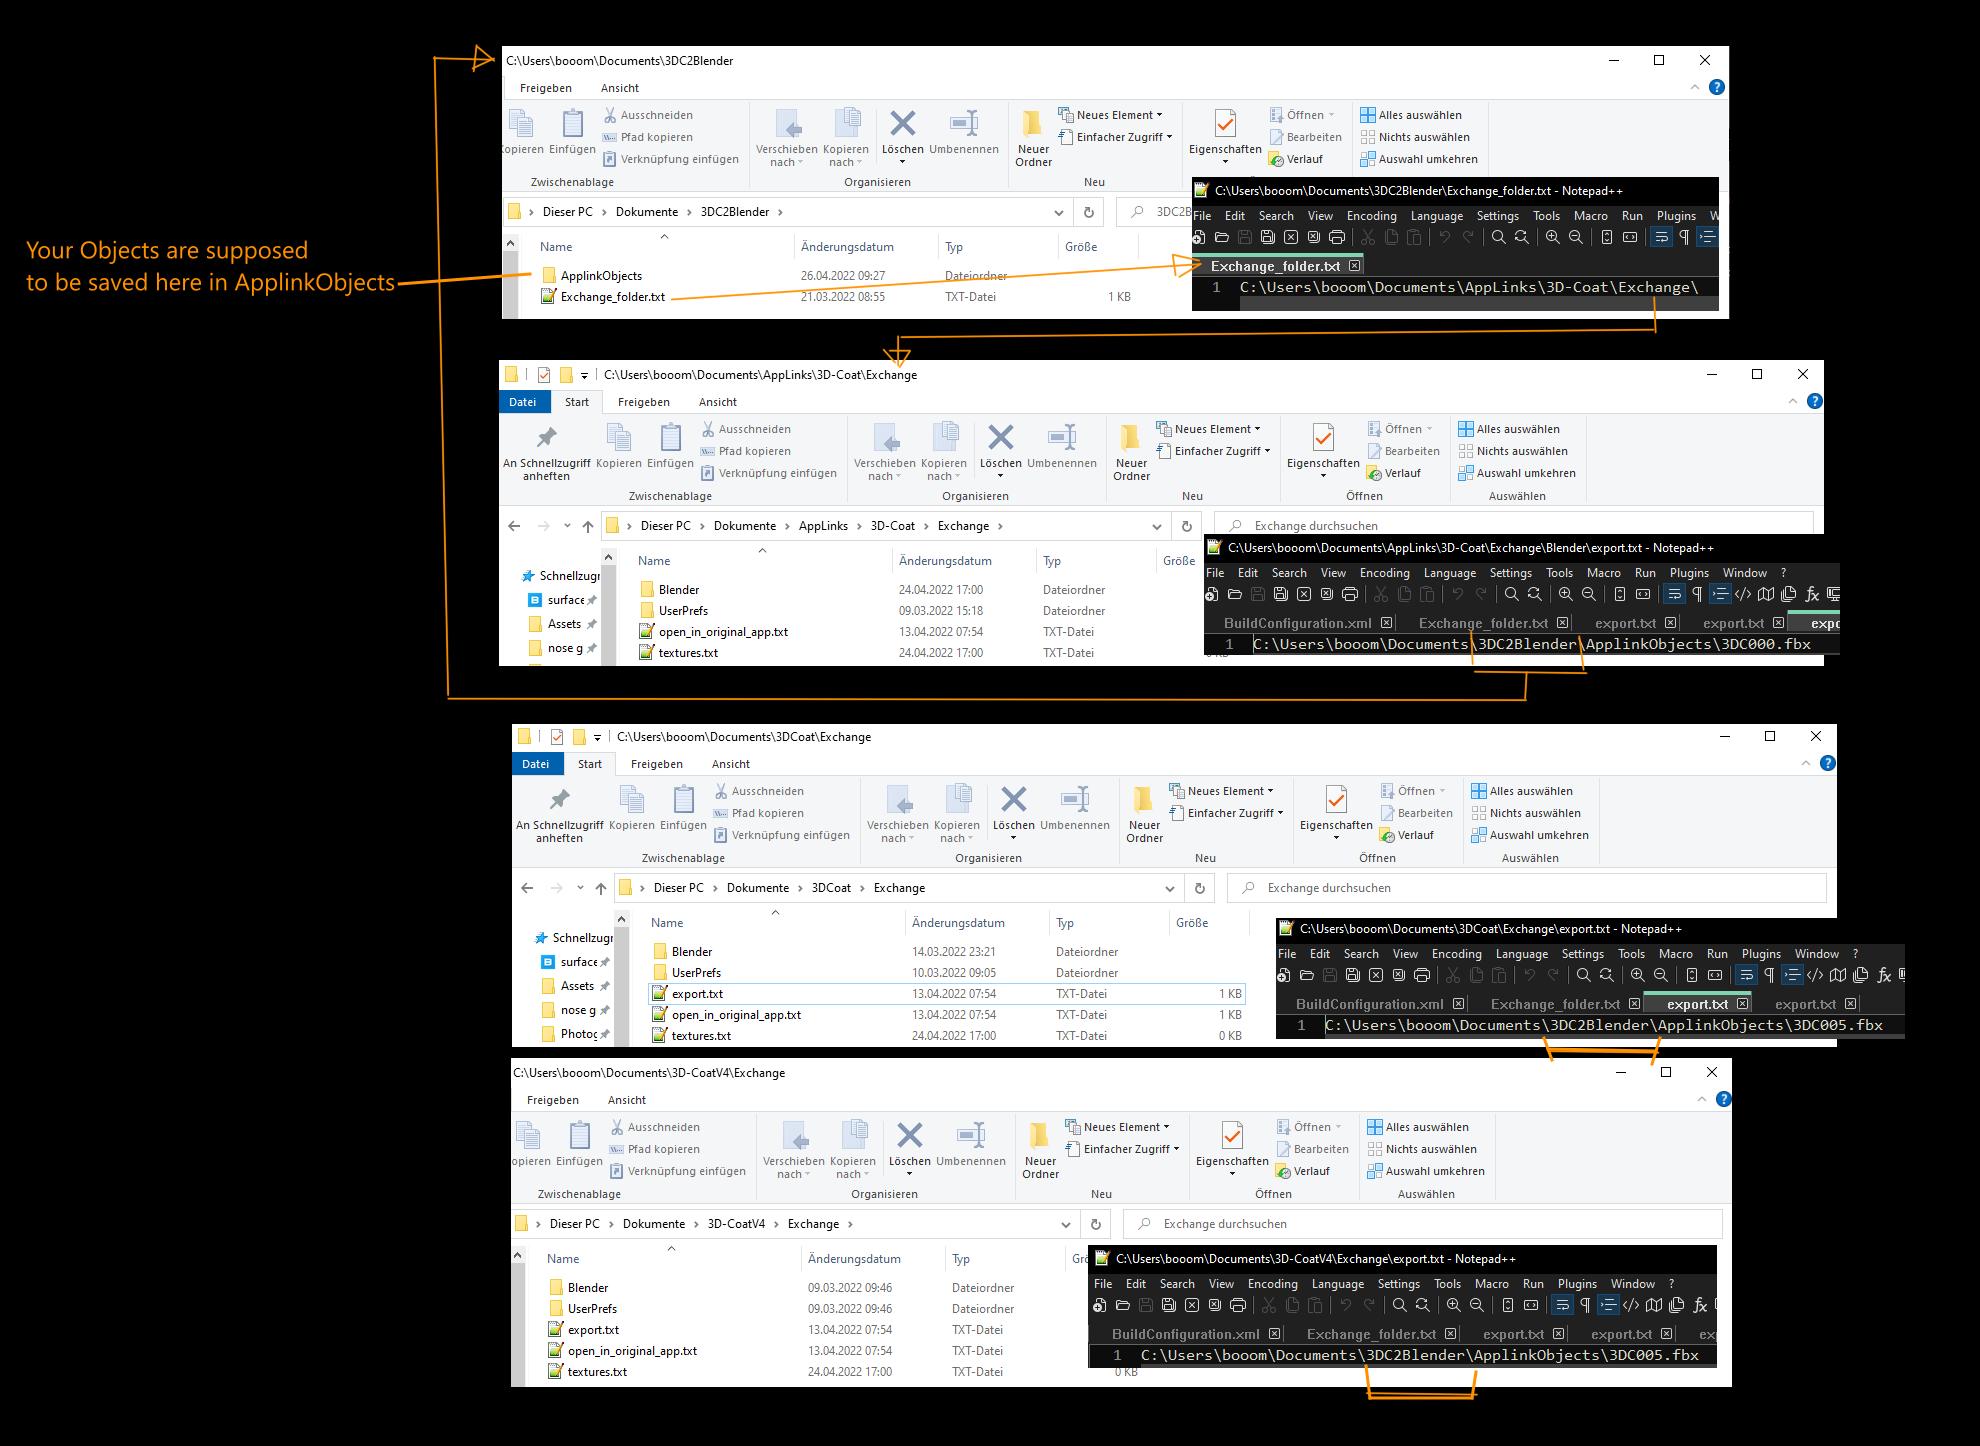
Katso Jos sinulla on samat tai samankaltaiset kansiot. Jos Applink ei toimi, jokin tiedostoista saattaa osoittaa väärään tai vanhentuneeseen suuntaan.
3. Avaa Blender ja varmista, että 3DC Plugin on käytössä. Etsi sitten oikealta kohtauksen ominaisuuksia. Siellä voit asettaa vaihtokansion, jonka pitäisi olla:
C:Käyttäjät
Toinen “Objekti/tekstuuri” -kenttä voidaan jättää tyhjäksi.
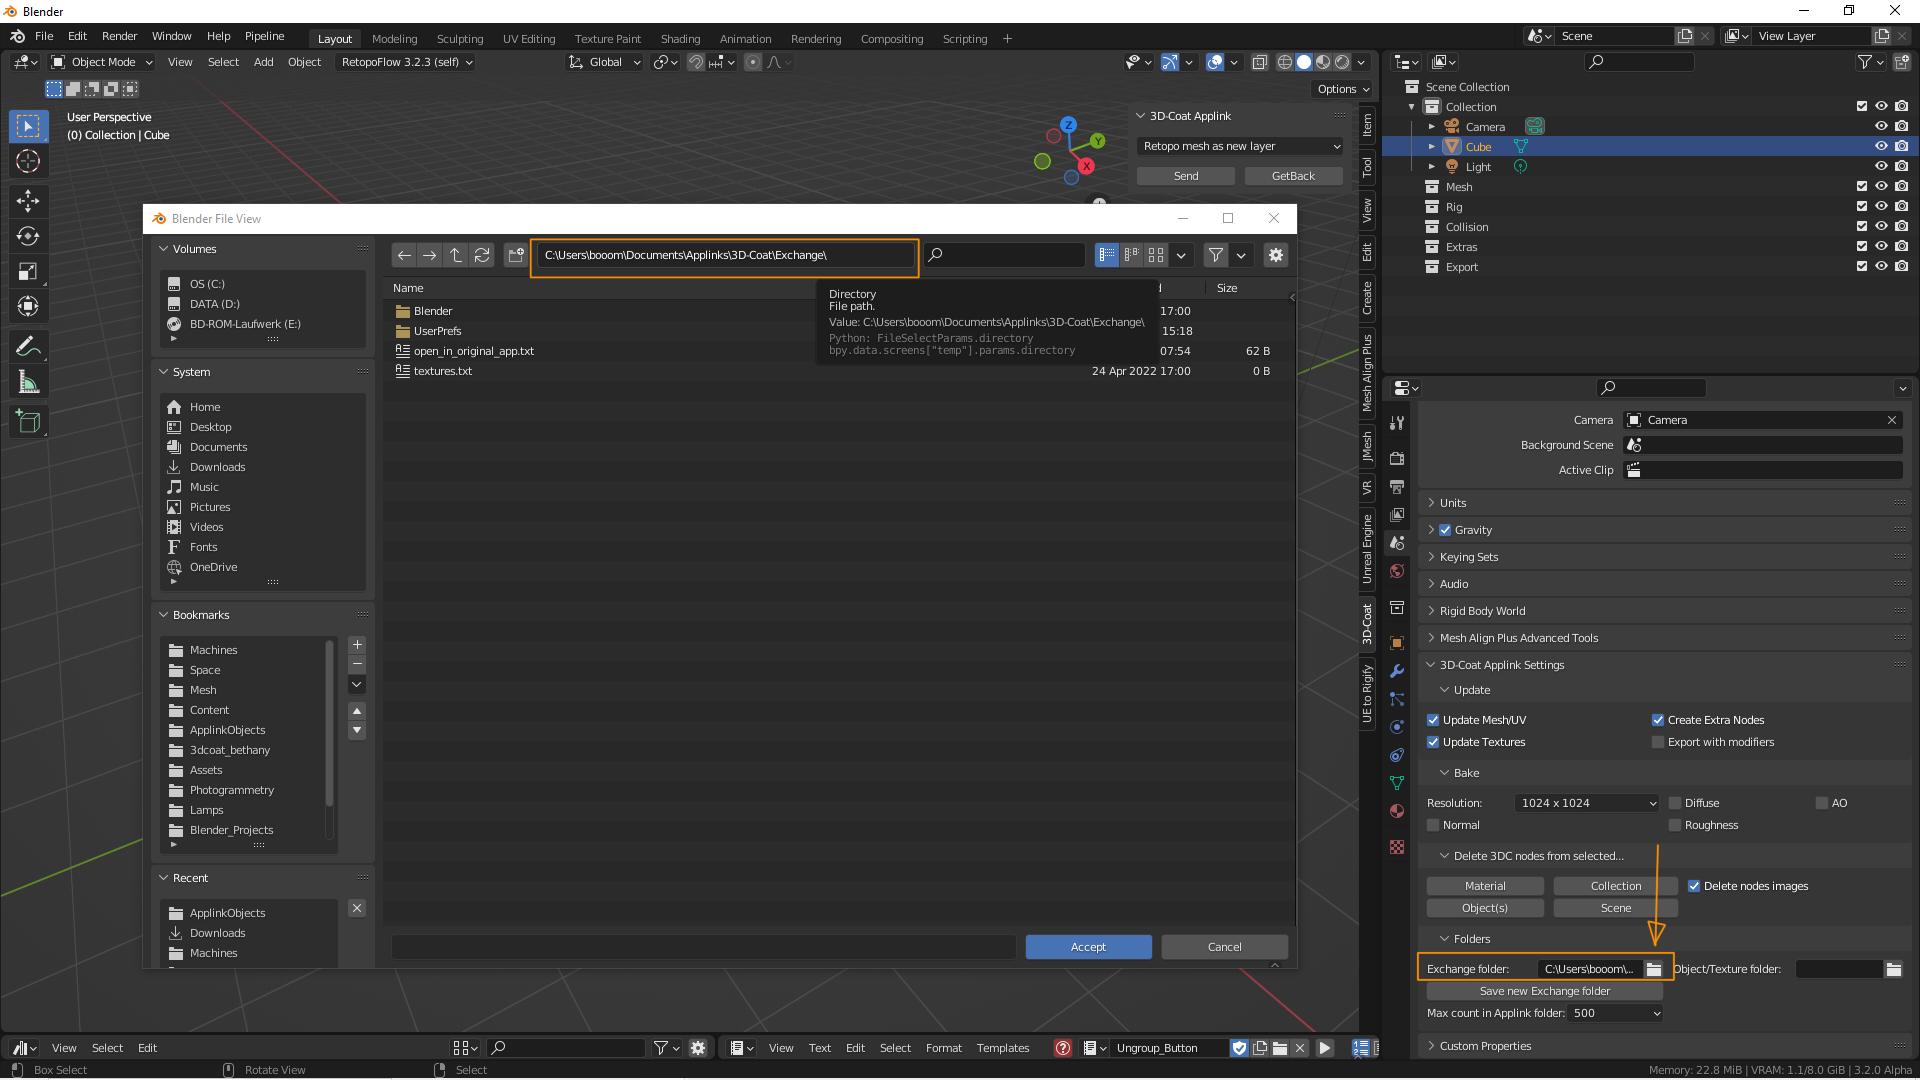
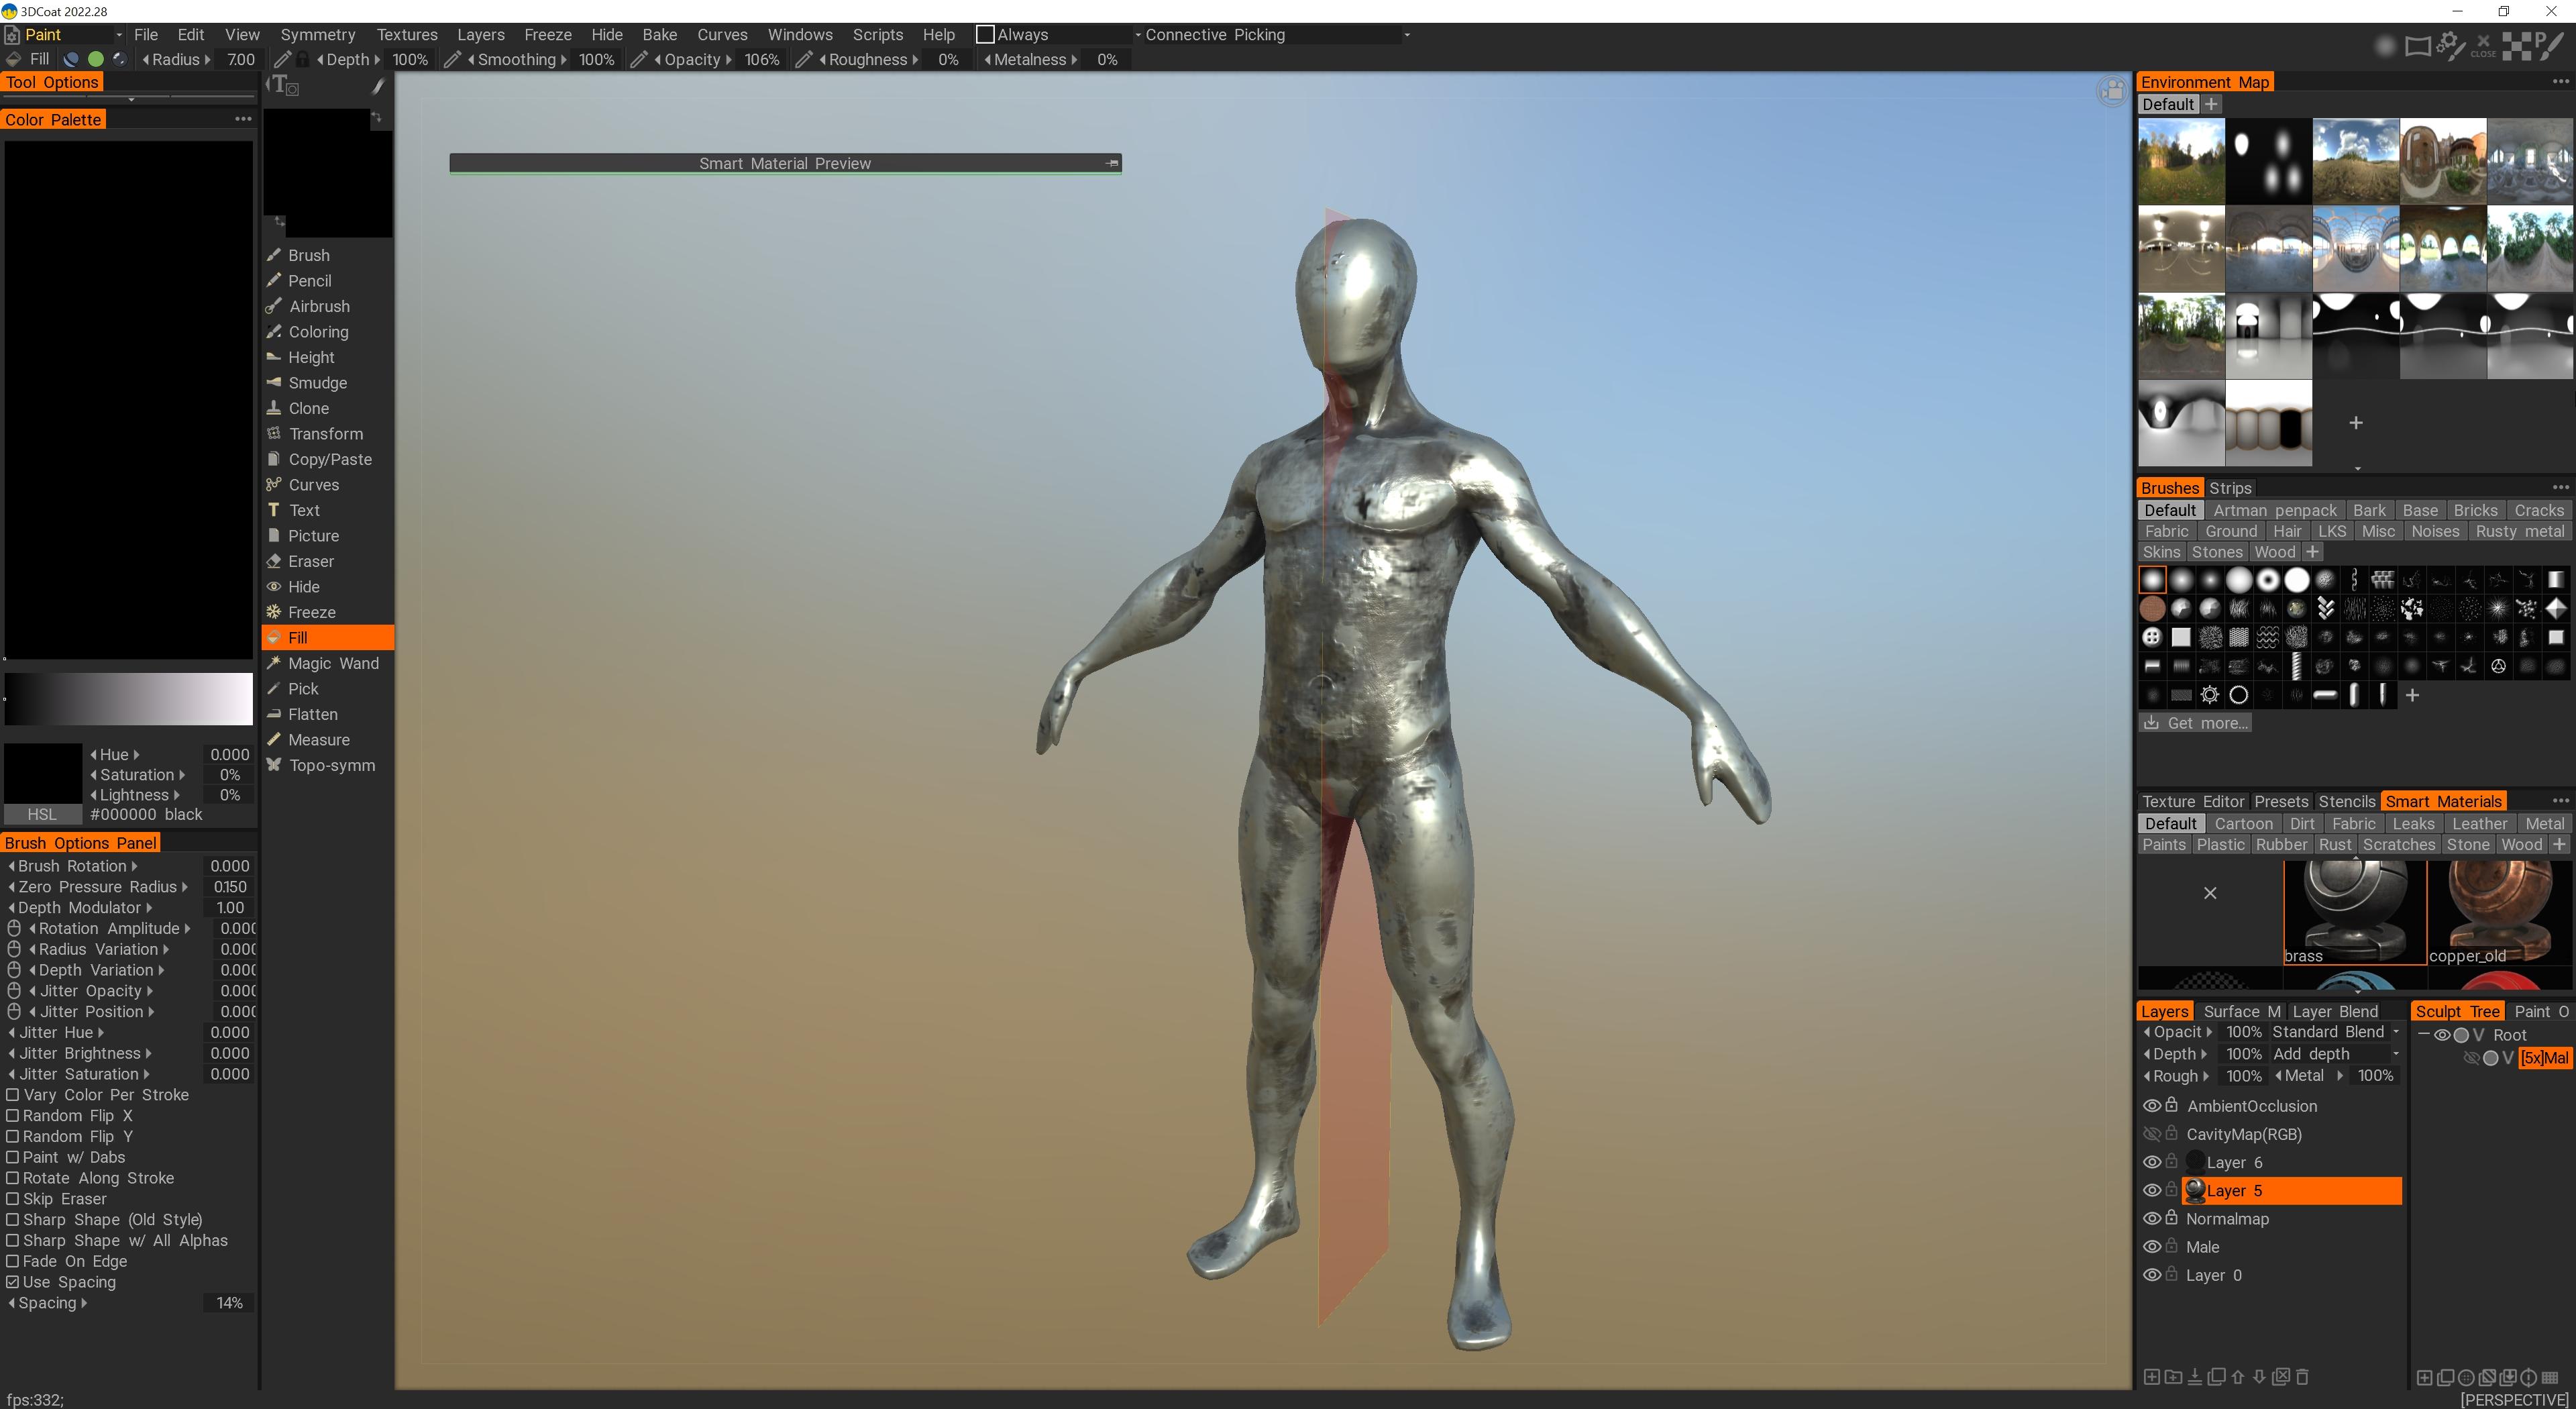
4. Avaa 3DCoat, otamme mallinnushuoneen.
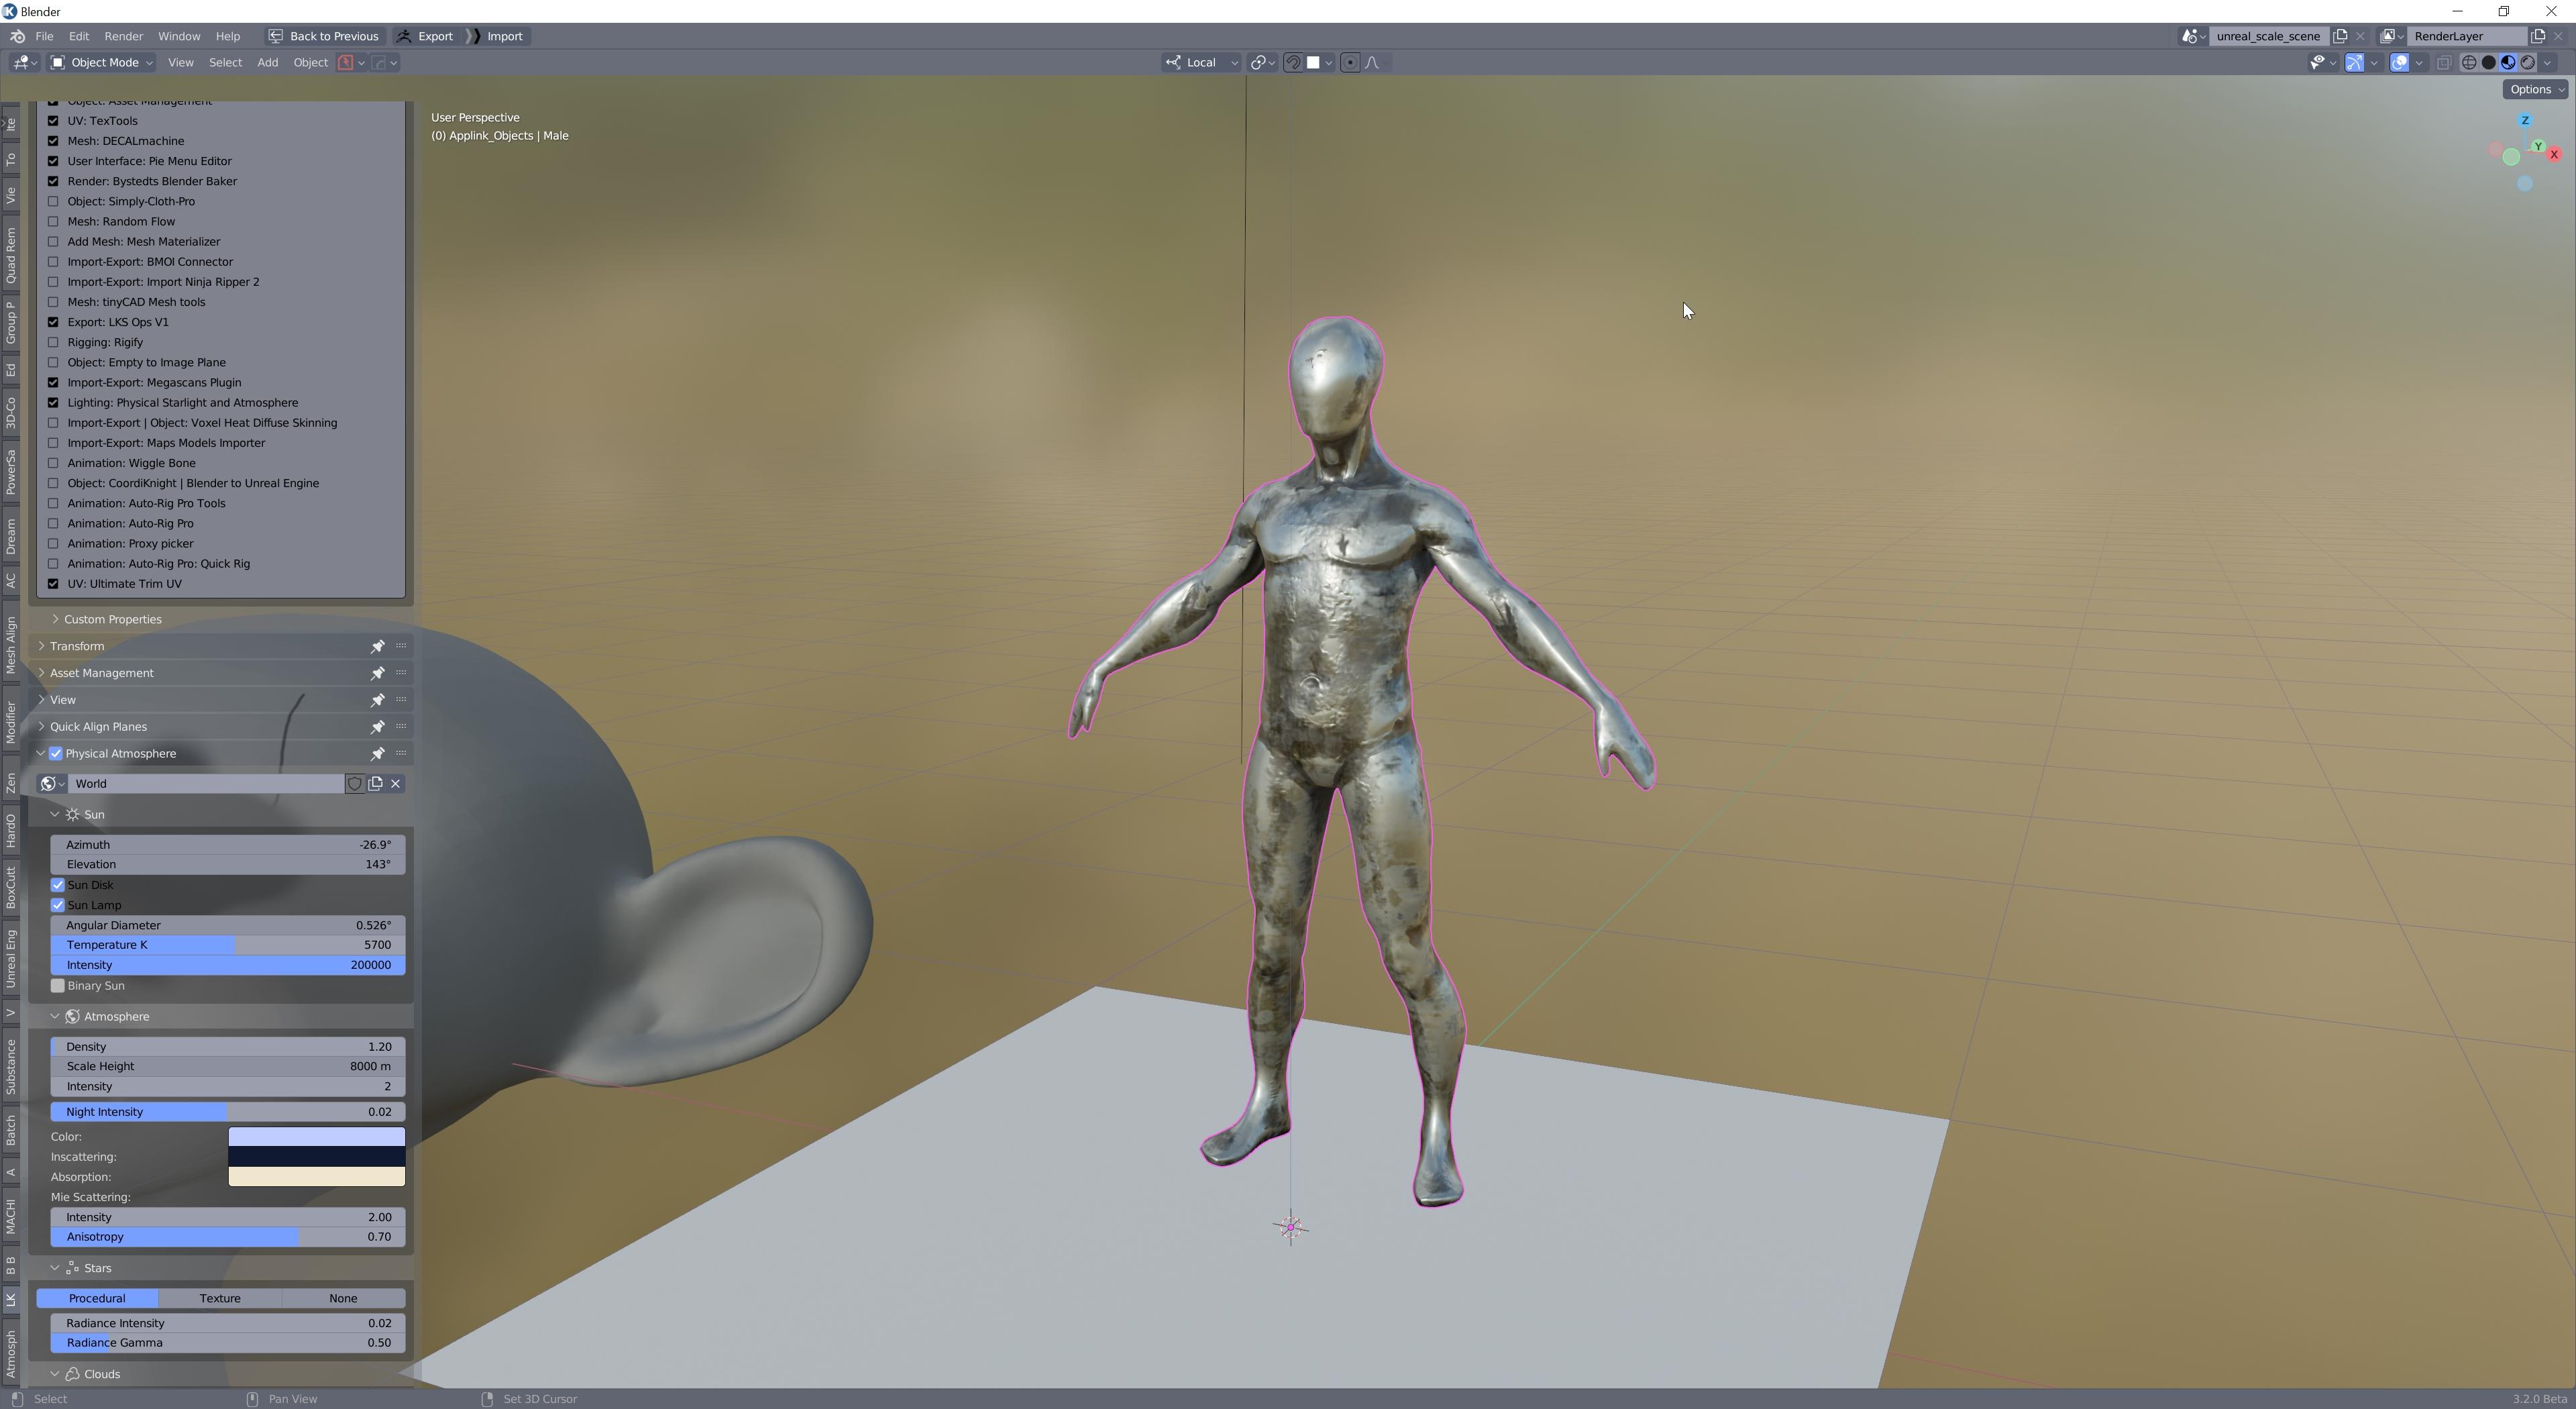
5. Takaisin Blender valitse hieno kuutio. Valitse 3D-näkymän Applink ikkunassa Retopo mesh uutena tasona ja Lähetä.
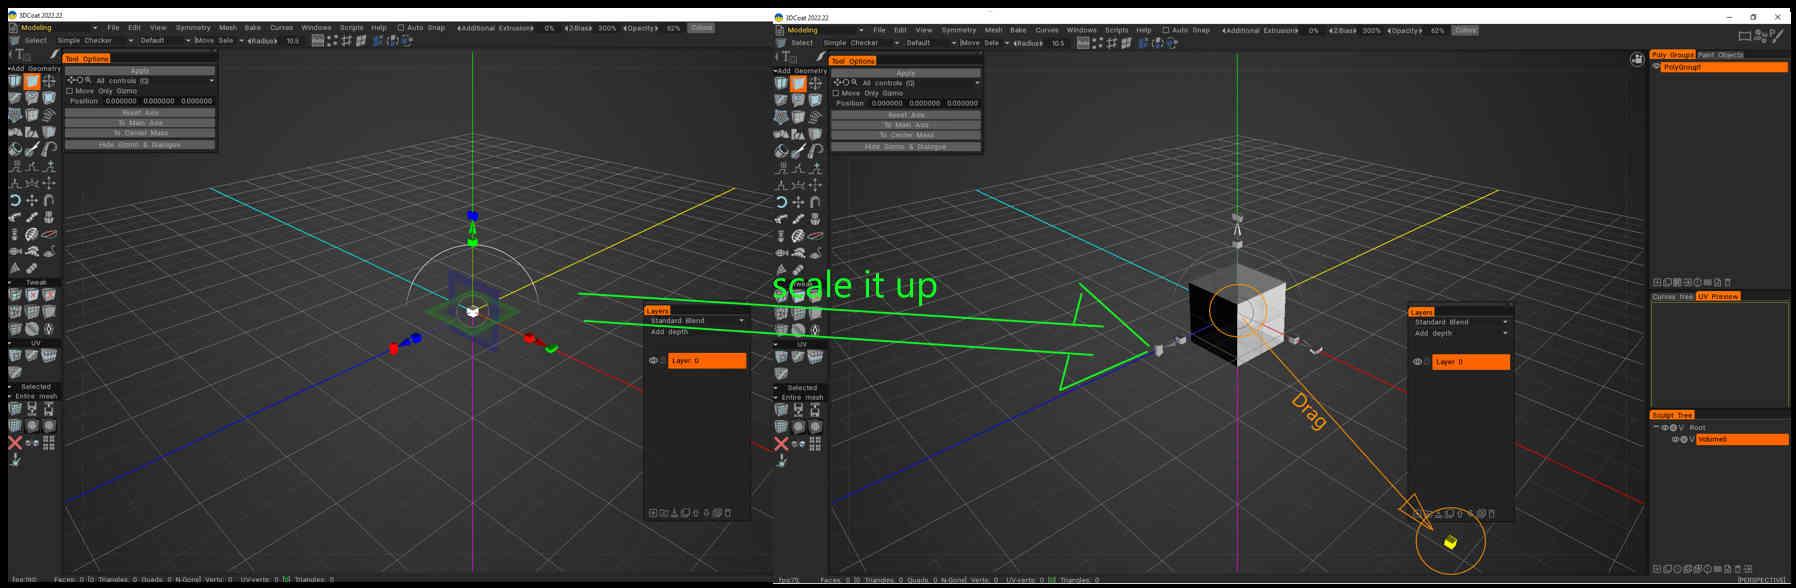
6. 3D Coat sinun pitäisi nyt nähdä sijoitusnuoli. Skaalaa sitä ylös tai alas nähdäksesi, onko Coatissa jotain saapunut, ja paina Käytä. Nyt pitäisi olla uusi taso nimeltä ‘__something’.
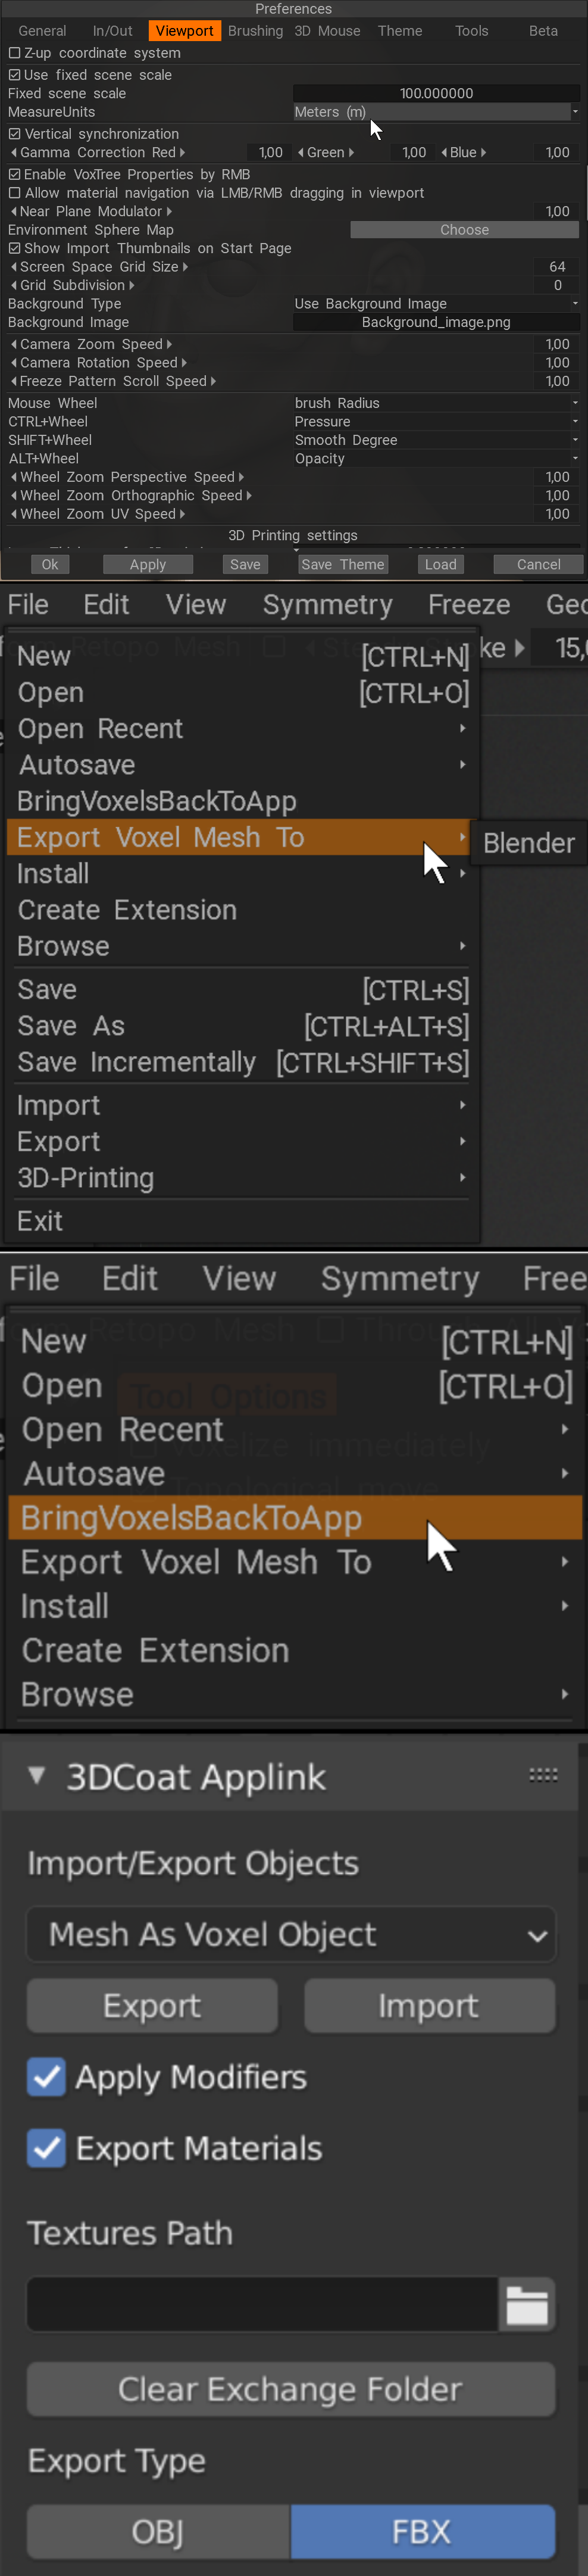
7. Jos pääset niin pitkälle, Tiedosto-kohdassa pitäisi olla ‘ Export to Blender’. Jos 3DCoat pyytää tiedostonimeä, se toimii. Kansion pitäisi olla jo “ApplinkObjects”.
8. Valitse Nimi ja käytä fbx -muotoa.
9. Paina Blender ‘GetBack’ Retopo.
Tämän pitäisi olla toistaiseksi. Toivon, että se toimii
Import/ Export Scale Applink
Tarkastin Blender Applink toimiakseen Modelling/Retopomesh-toiminnon kanssa Blender. Voin nyt siirtää edestakaisin ilman skaalausta!
Tiedosto: ..blenderver3.4scriptsaddonsio_coat3D__init__.py, vain 2 arvoa on asetettava, tehosekoittimien export ja import :
- riippuen siitä, mitä olet asettanut 3DCoat ‘ fbx Export ‘:
Työt millimetreissä:
Aseta rivillä 741 Scale arvoon 10: (bpy.ops. export ; tämä asettaa blenders fbx export 1:1 arvoon 3DCoat)
Aseta rivillä 1166 mittakaavaksi 1 mm:lle, 0,01 cm:lle tai 0,001 metreille: (bpy.ops.import_scene; tämä asettaa Blenders fbx import 3dCoatista)
Työskentele metreillä: (jos Mittaustyökalu on myös asetettu metriin)
Rivi 741: Globaali asteikko 0,01
Rivi 1166: Global Scale 1
Käynnistä sitten Blender tai Lataa Plugin uudelleen.
Asteikot edustavat objektien ‘Tuote’-sivupalkkia. Ne eivät ole 1, mutta mitat ovat oikeat.
Kun painat ‘lähetetty retopo’, asteikko otetaan käyttöön (1,1,1). Joten sitä ei tarvitse tehdä ennen.
Kirjailija: Metin Seven:
Muuta Asetukset ➔ Viewport ➔ Fixed Scene Scale arvoon 100 ja aseta MeasureUnits arvoon Mittarit. Varo kuitenkin: tämä voi aiheuttaa erittäin tiheitä primitiivejä 3D Coat.
Ajattelin lisätä hieman Blender Artists -foorumille julkaisemaani tietoa:
Löysin tämän henkilökohtaisista 3DC-muistiinpanoistani. Ehkä siitä on hyötyä:
─ Katso myös liitteenä oleva kuvakaappauskokoelma. ─
On olemassa versio, joka toimitetaan Mifthin Blender ja haarukan kanssa:
Käytä 3DCoat Applink vaihtaaksesi 3DC:n ja Blender välillä:
https://github.com/mifth/mifthtools/tree/master/ blender/addons/2.8/io_simple_3dcoat
Lähetä Export 3D Coat painamalla Blender .
Kun olet työstänyt mallia 3D Coat, valitse Tiedosto ➔ Tuo vokselit takaisin sovellukseen ja paina sitten Blender Import.
Vaihtoehtoisesti voit käyttää Tiedosto ➔ Export Voxel Mesh To ➔ Blender.
Siellä on myös Blender Artists -säie 3D-Coat App Linkille:
https://blenderartists.org/t/3d-coat-applink-for-blender-2-8/1117068
Kaikille, joilta puuttuu 3DCoat 2023:n Export to: Blender -painike
Jotta se toimisi, sinulla on oltava kansio nimeltä Blender Exchange-kansiossa. Minun piti määrittää Applink manuaalisesti kannettavien Blender versioiden takia.
Hauskaa päivän jatkoa!
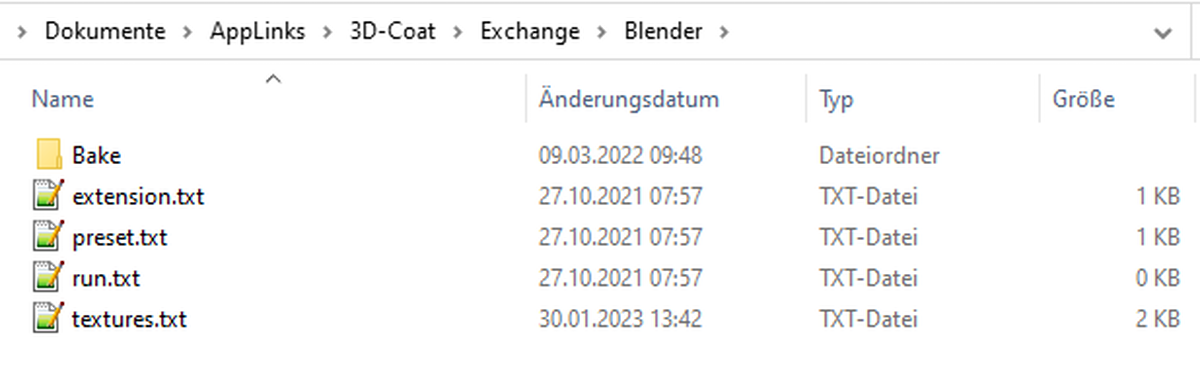
Bake: on tyhjä kansio
extension.txt: sisältää kolme kirjainta ‘ fbx’ ilman lainausmerkkejä
preset.txt: sisältää “Blender Cycles” ilman lainausmerkkejä
run.txt ja texture.txt ovat molemmat tyhjiä.
Blender AppLink päivitetty voidakseen vaihtaa tietoja 3DCoat kanssa alusta alkaen. Joten asenna vain 3DCoat, Blender, seuraa mitä 3DCoat kertoo (helppo seurata), ja sitten voit helposti pudottaa omaisuutta Blender, mukaan lukien Factures. Yhteensopivuus Blender 3.4:n kanssa parantunut.

Wendallhitherdin Blender sovelluslinkin asennusohje
Sain juuri vihdoin sovelluslinkin toimimaan monen kamppailun jälkeen. Pääongelma on, että 3dcoatin vanhat versiot häiritsevät uusia. Salaisuus on:
– Poista kaikki sovelluslinkkiin liittyvät kansiot asiakirjoistani. sekä sovelluslinkki että 3DC näyttävät kirjoittavan tekstitiedostoja, jotka sisältävät polkujonoja – jos jokin näistä tiedostoista sisältää viittauksen vanhaan hakemistoon, joko 3DC tai blender luo vanhan kansion automaattisesti uudelleen. Minun tapauksessani joka kerta kun käynnistän Blender, syntyisi “3DCoatV4”-kansio
– Jokaisen sovelluslinkkikansion poistaminen sisältää minun tapauksessani:
C:Users
C:Käyttäjät
– Avaa 3DCoat ja sulje se. Tämä palauttaa 3DC-vaihtokansion. (C:Käyttäjät
– Avaa Blender ja liitä juuri syntynyt vaihtokansio Blender laajennuksen vaihtopolkuun. Pystyin jättämään kohteen/tekstuurin tyhjäksi
– Lähetä Voxel objekti 3DC:hen. Tämä synnyttää kansion C:Users
– 3DC:ssä autopo, automap ja käytä “export -> blender”. Sikäli kuin voin sanoa, tämä saa 3DC:n luomaan C:Users
– Export tulee olla joko Blender Cycles tai BlenderAppLink. Käytin BlenderAppLinkkiä
– Takaisin Blender napsauta “GetBack”-painiketta. Tämä synnyttää 3DC:stä viedyn kohteen ja kytkee PBR varjostimen!
Sivuhuomautuksena mielestäni blender puolella oleva applink-koodi on kovakoodattu luomaan 3D-CoatV4-kansio, koska se ponnahtaa esiin, kun poistan sen, kun käytän “palauta” -toimintoa blender. Onneksi se ei näytä häiritsevän mitään, kunhan alkuasetukset ovat puhtaat.