 Svenska
  English
 Українська
 Español
 Deutsch
 Français
 日本語
日本語 Русский
 한국어
한국어 Polski
 中文 (中国)
 Português
 Italiano
 Suomi
Suomi 中文 (台灣)
 Dansk
Dansk Slovenčina
 Türkçe
 Nederlands
 Magyar
 ไทย
ไทย हिन्दी
 Ελληνικά
 Tiếng Việt
 Lietuviškai
 Latviešu valoda
 Eesti
Eesti Čeština
 Română
 Norsk Bokmål
Du kan snabbt skapa 3D-modeller med hjälp av Kitbash verktyg.
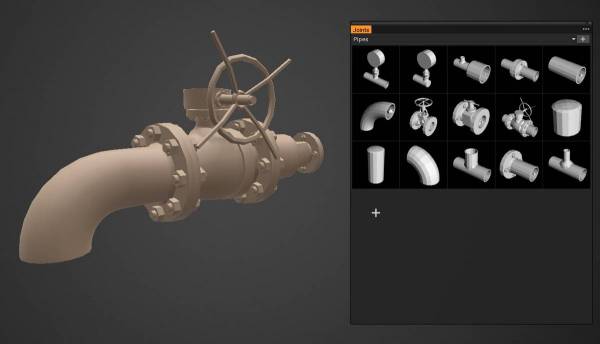
Led : ett nytt verktyg har lagts till. Det är en uppsättning av olika delar som kan fästas och länkas till varandra, som “lego”:
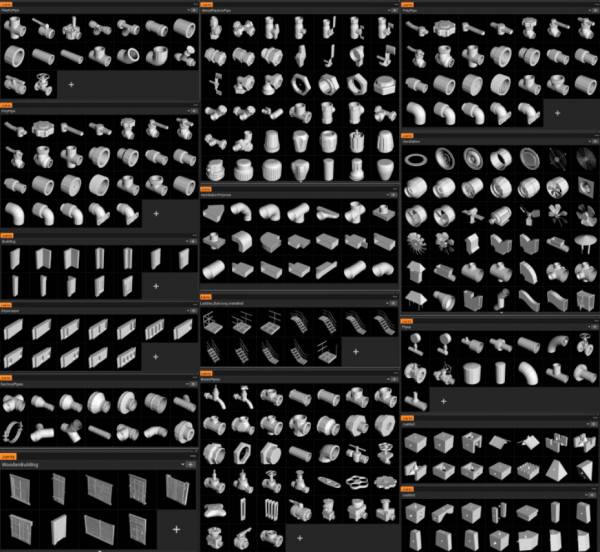
Ett nytt bibliotek med Splines har lagts till : Splines är en uppsättning flexibla objekt som kan sträckas med verktyget Curves eller Snake:

Gemensamma specifikationer
Det finns två sätt att göra elementära tegelstenar för Joints-verktyget.
– Gör fogar i 3D-Coat. Läs detta dokument .
– Gör fogar i några externa redaktörer. Läs specifikationerna .
Technical requirements for models with Joints
Modellen bör skapas med hänsyn till rutnätets skala. Till exempel, om det är en kub, då 10*10*10, en tegelsten – 20*10*10.
Blocken kunde vara större. De bör dock göras så att de appliceras snyggt på rutnätet 10*10*10.
Den vertikala axeln är Y. Om modellen är ett rör, bör diametern vara fem om rörets hörn, valfri parameter som tar hänsyn till hörnet appliceras på röret med 5 i diameter.
Du kan lägga till fogar till modellen direkt i 3DCoat. För detta ändamål, vänligen gör modellen i retopo (skulptera och retopo eller modell i retopo från grunden).
Gå sedan till Retopo rum->Gör skarvar och lägg till så många skarvar du behöver.
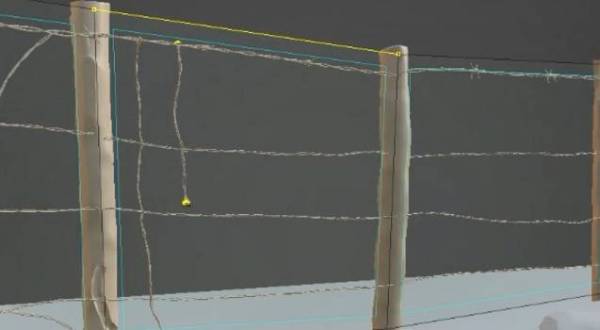
Det ser ut så här:
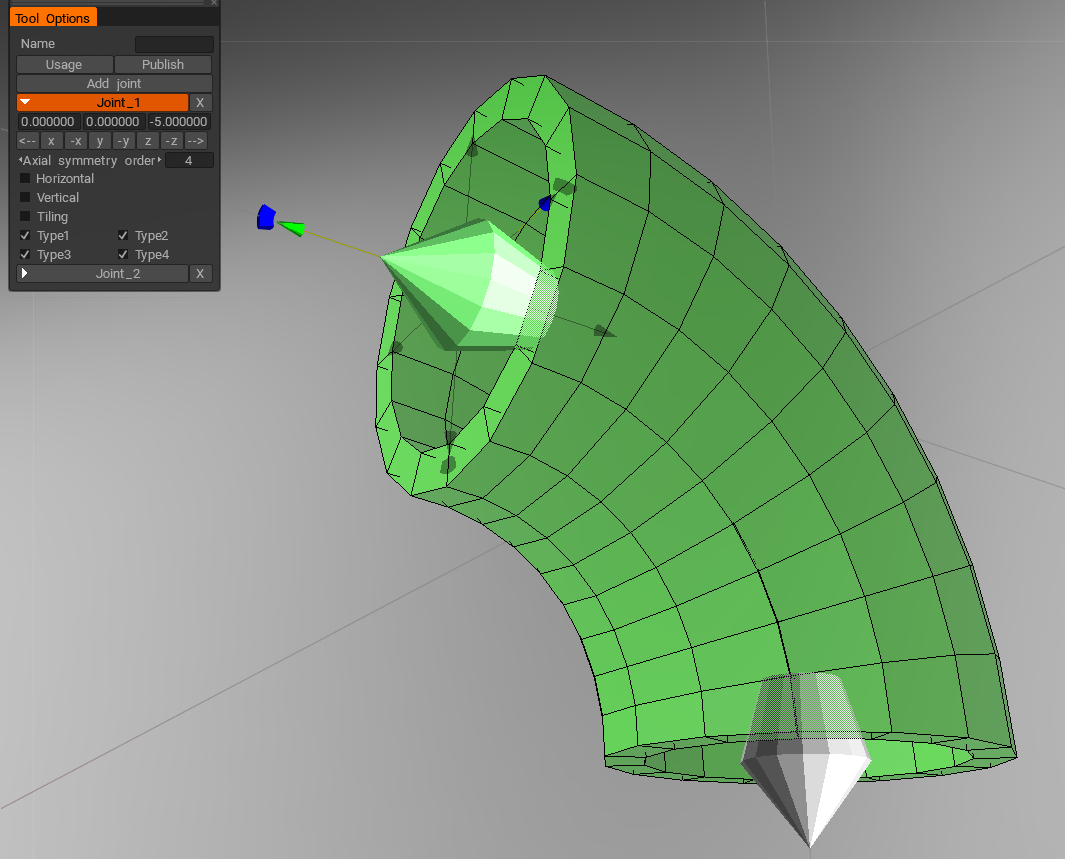
Tryck på Lägg till fog för att lägga till en ny fog. Det finns flera alternativ för varje led – axiell symmetri, vertikal/horisontell inriktning och kompatibilitet med andra leder.
Vänligen fyll i namnet på modellen och tryck på Publicera så snart modellen med skarvar är klar. Modellen kommer att placeras i Joints-paletten och du kommer till Joints-verktyget för att testa modellen med fogar. Var uppmärksam på att modellen med samma namn kommer att skrivas över.
Modellkrav.
Modellerna är lågpolygoner – upp till 5 К polygoner per modell. Om det finns ett rör designat – 16 segment ska skapas.
En modell kan vara en sammansatt. Om det finns ett underobjekt (retopo -grupp) med namnet Shader_Gold, kommer det att skapas en volym som heter Shader_Gold, där underobjekten av denna typ kommer att samlas. Den volymen kommer att tilldelas en shader vars namn passar bäst med ordet Guld.
Exempel på modeller med fogarna här
De färdiga modellerna ska placeras här
Vänster verktygspanel
Left Tool är mycket likt andra rum, med en specifik fördelning av de nödvändiga verktygen för att göra en snabb kit-bashing med greebles.