Let’s take a more detailed look at this feature. (Thanks to our users Tinker and Daniel Yarmak for the descriptions).
Greebles or Nurnies can be created in any 3D modeling application, usually with arbitrary extrusions.
This method was referred to as “kit-bashing”.
This short tutorial demonstrates features of the version of Import tool
As far as we’ll work with Import tool we’ll need greebles (small details that helps models to look more ‘technical’).
It can be created in any application for 3D modeling, usually with a series of arbitrary extrusions. You can download greebles using link at the bottom of this tutorial.
To make your models look more interesting and unique you would probably want to create your own greebles.
Details with angled surface look better than with parallel to horizon:
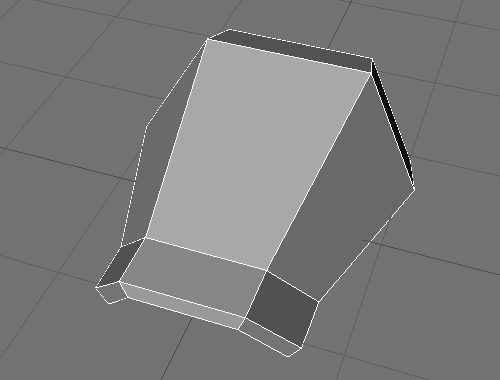
For easier placing of details on a model create a contour for the detail (that’s an object with a name “_negative” which excludes from the model automatically and leaves a slot for the detail.)
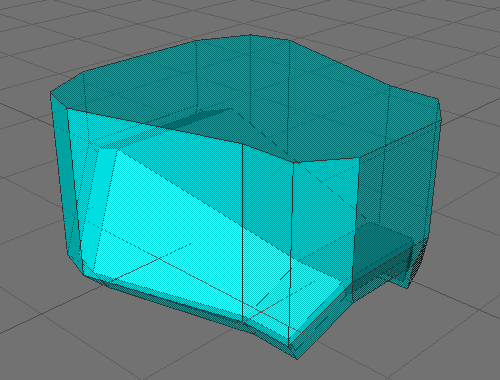
Details with angled surfaces look better than surfaces that are all parallel.
For easier placement of details on a model, create a contour for the detail, an object with the name “_negative,” which subtracts automatically from the model and leaves a slot for the detail.

Turning on “Respect negative volume” in the Import Tool Panel is important to permit contour exclusion. Because the “negative volume” width is larger than the width of the detail, we get an interesting effect.
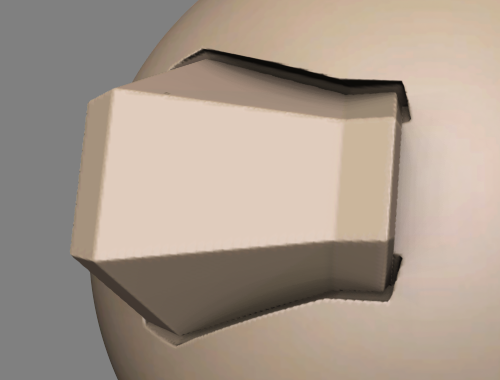
There is a joint between the body and the object. The detail looks as if it stands right on its place, and the body looks as if it has a special slot for the detail. Such joints look good with ambient occlusion.
Here is an example of how would it look without that effect. Looks not so interesting, and also there is a problem that was caused by different curvatures of the body and the detail – the detail looks tumbled down (it wouldn’t happen with negative volume).
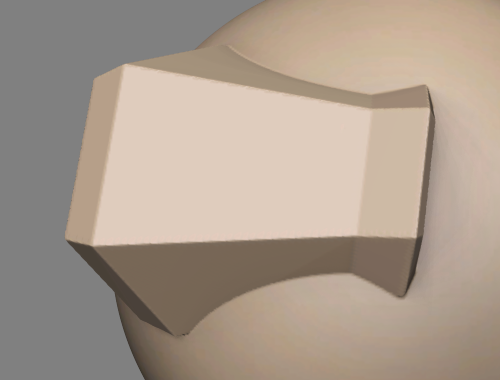
Negative volume shouldn’t have the exact form of the body. You may change its form to get various effects.
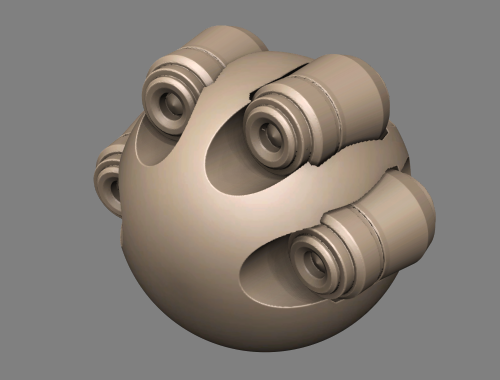
It’s time to detail the object. For this tutorial I’ve made a small set of details, they all have “negative volume” (it can’t be seen on a screenshot).
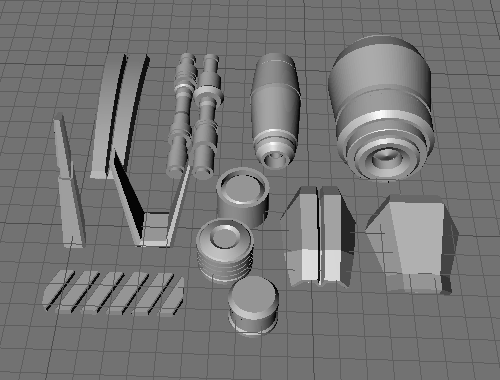
We’ll also need a base to which we will attach all the details, of course if you don’t want to attach it to a default sphere :-). The Import tool will also help us here.
With such a concave surface you can make facets on objects.
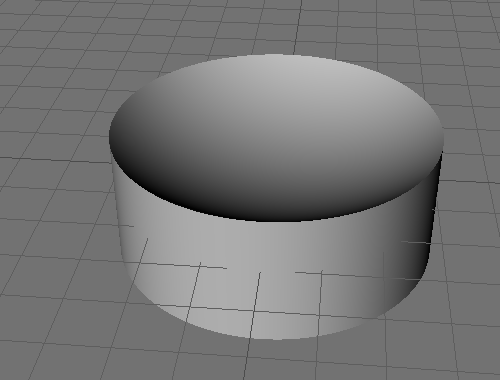
Load the Greebles using the “Import” tool.
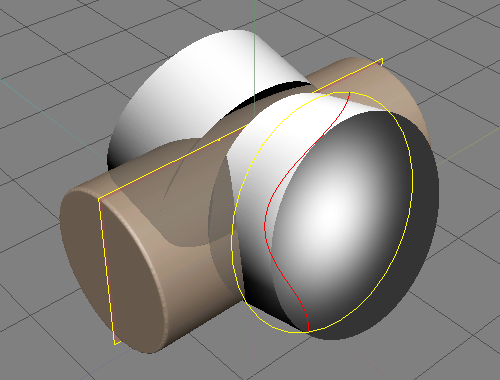
In transform regime cut any shape from a primitive.
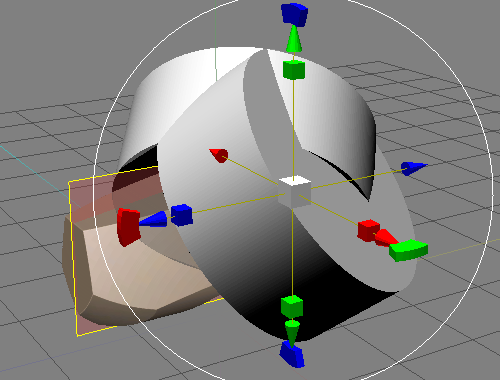
You can also use frame for cutting but cuts made with Import tool looks more interesting than those made with a frame.
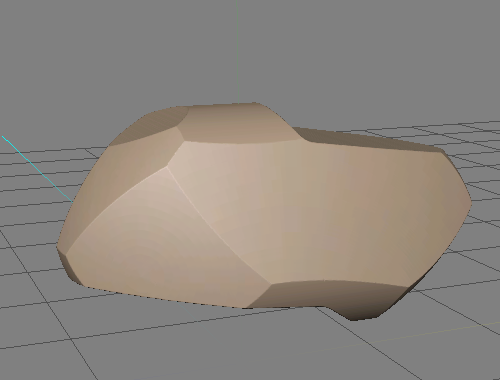
It’s time to detail the object. Load the greebles using Import tool. Use ‘on pen’ mode. Use ‘9’ and ‘0’ keys to rotate the brush.
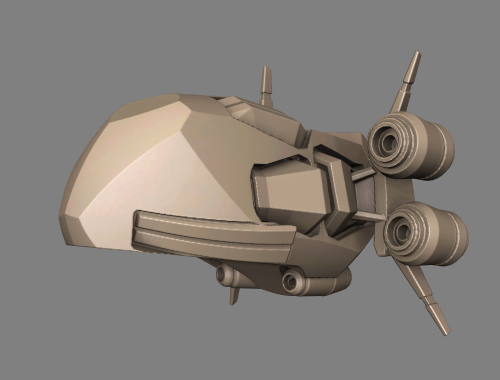
That’s all
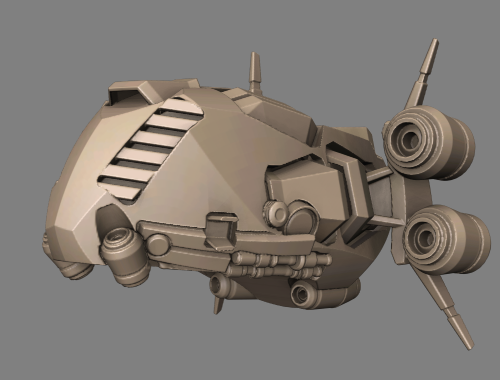
Primitives Library from Tinker
How to make ‘negative volume’
Steps:
1) On Modeling Room or your 3D app make a greeble.
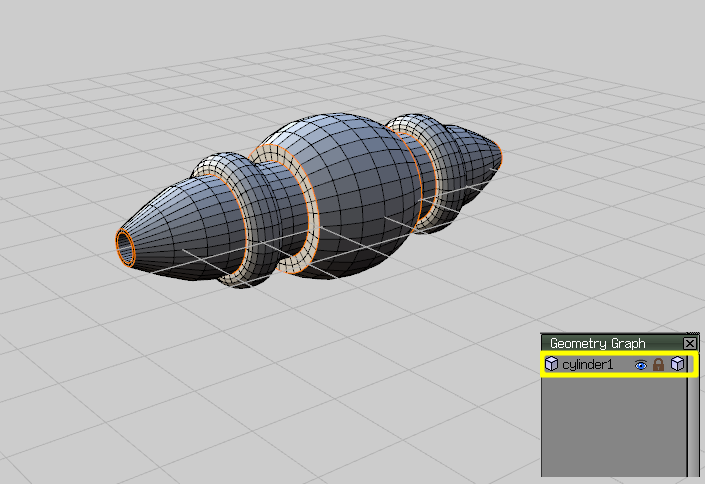
Create another object in the same scene (that object will be ‘negative volume’)
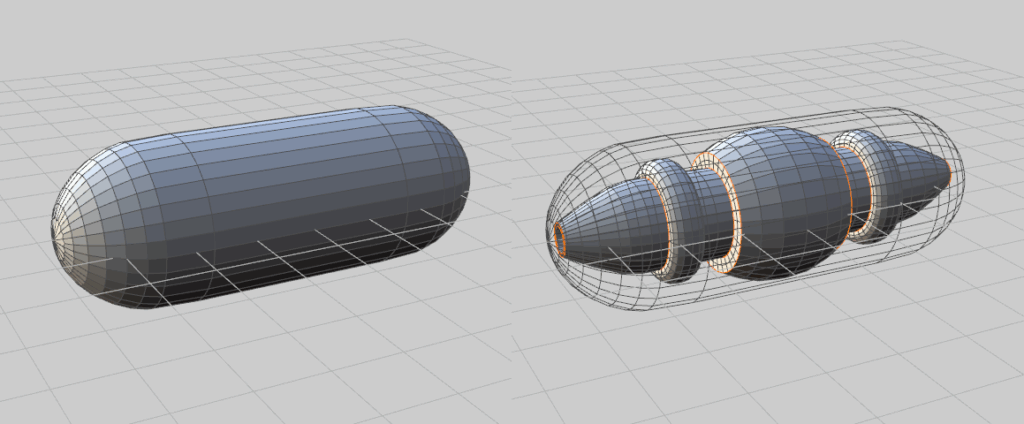
As you can see the detail locates inside the capsule (’cause I’m gonna use capsule as ‘negative volume’):
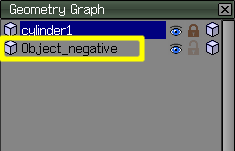
Rename the second object (capsule in this case) as you like BUT (!!!) add “_negative” in the end. Like this:
Export in Wavefront (.obj) format.
Do everything as below is explained. And… enjoy the results:
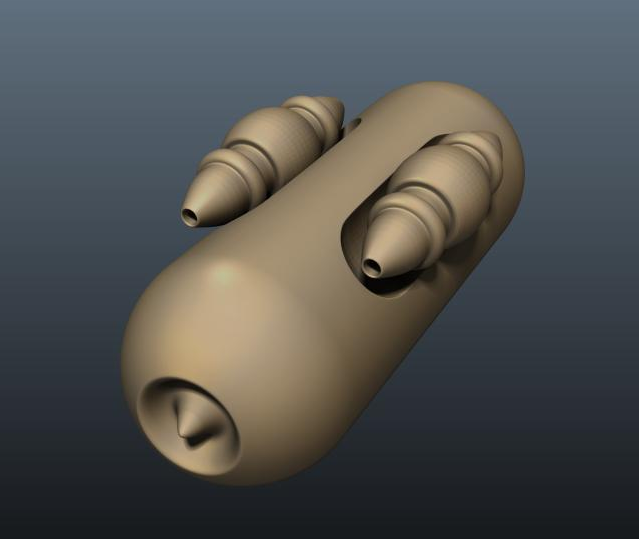
If you export the model from Blender. Rename one object with _negative, but then you have to make sure you select “groups” in the export settings.
 English
  Українська
 Español
 Deutsch
 Français
 日本語
日本語 Русский
 한국어
한국어 Polski
 中文 (中国)
 Português
 Italiano
 Suomi
Suomi Svenska
 中文 (台灣)
 Dansk
Dansk Slovenčina
 Türkçe
 Nederlands
 Magyar
 ไทย
ไทย हिन्दी
 Ελληνικά
 Tiếng Việt
 Lietuviškai
 Latviešu valoda
 Eesti
Eesti Čeština
 Română
 Norsk Bokmål